

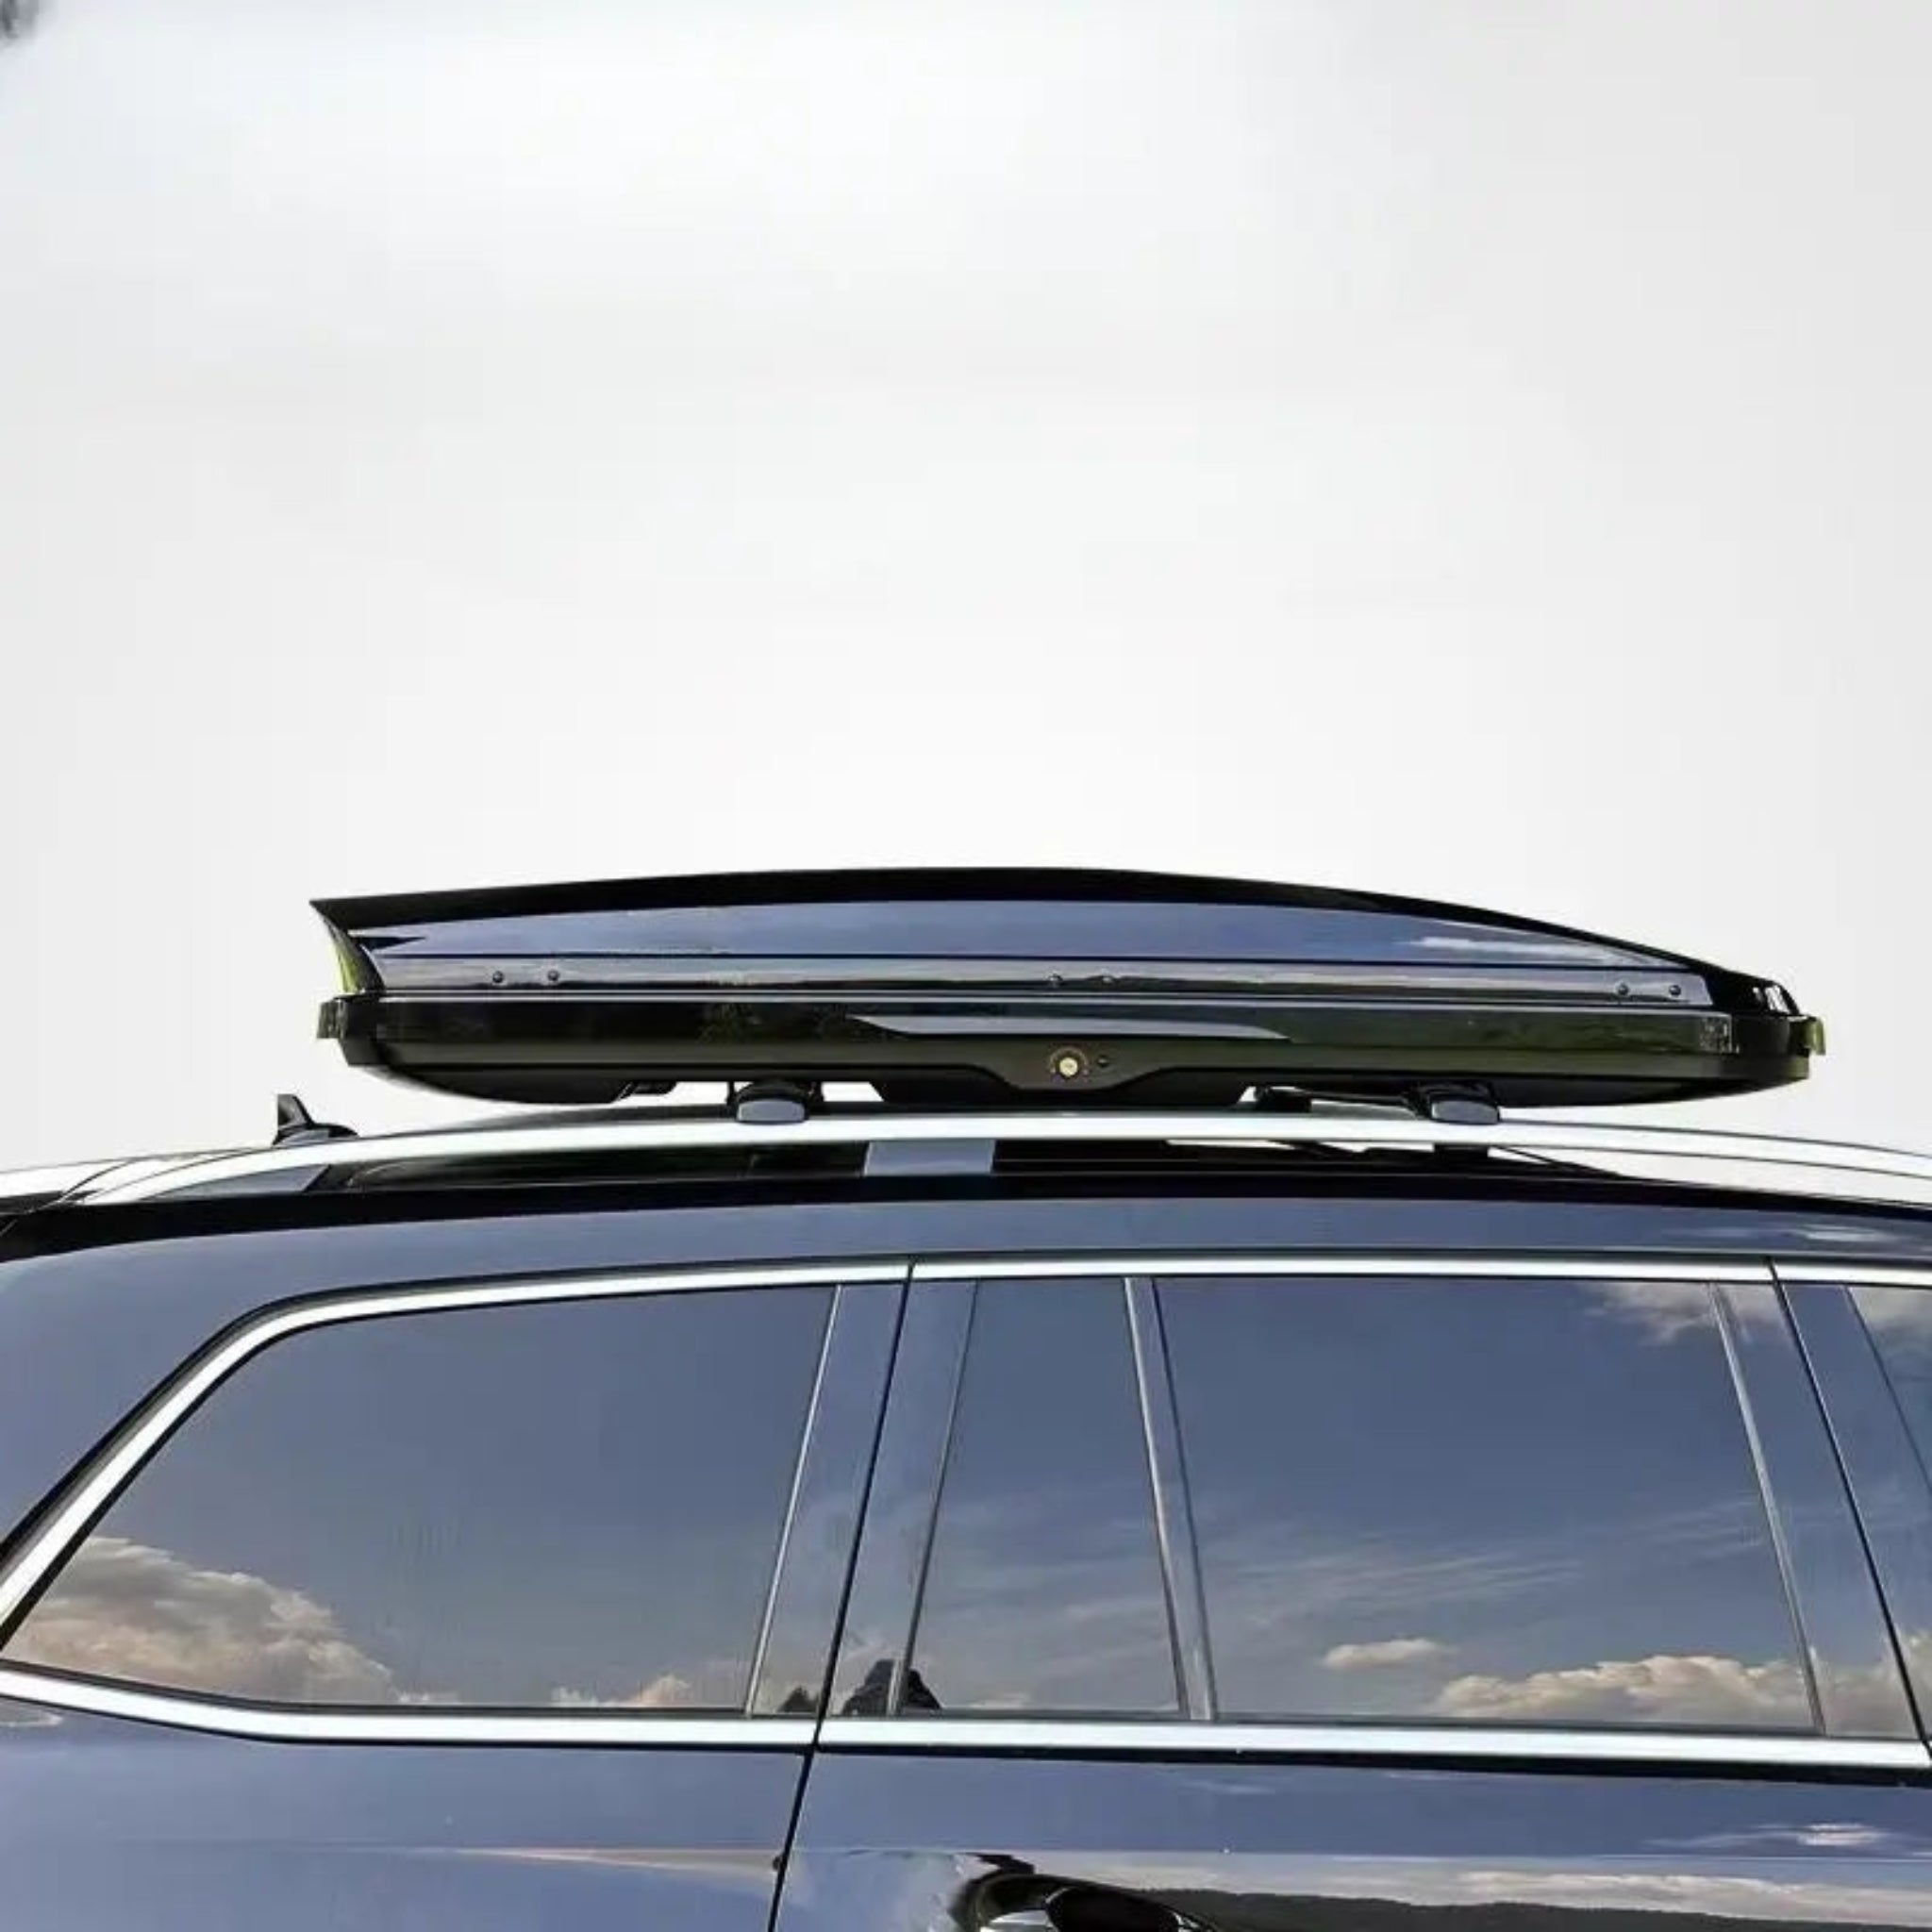
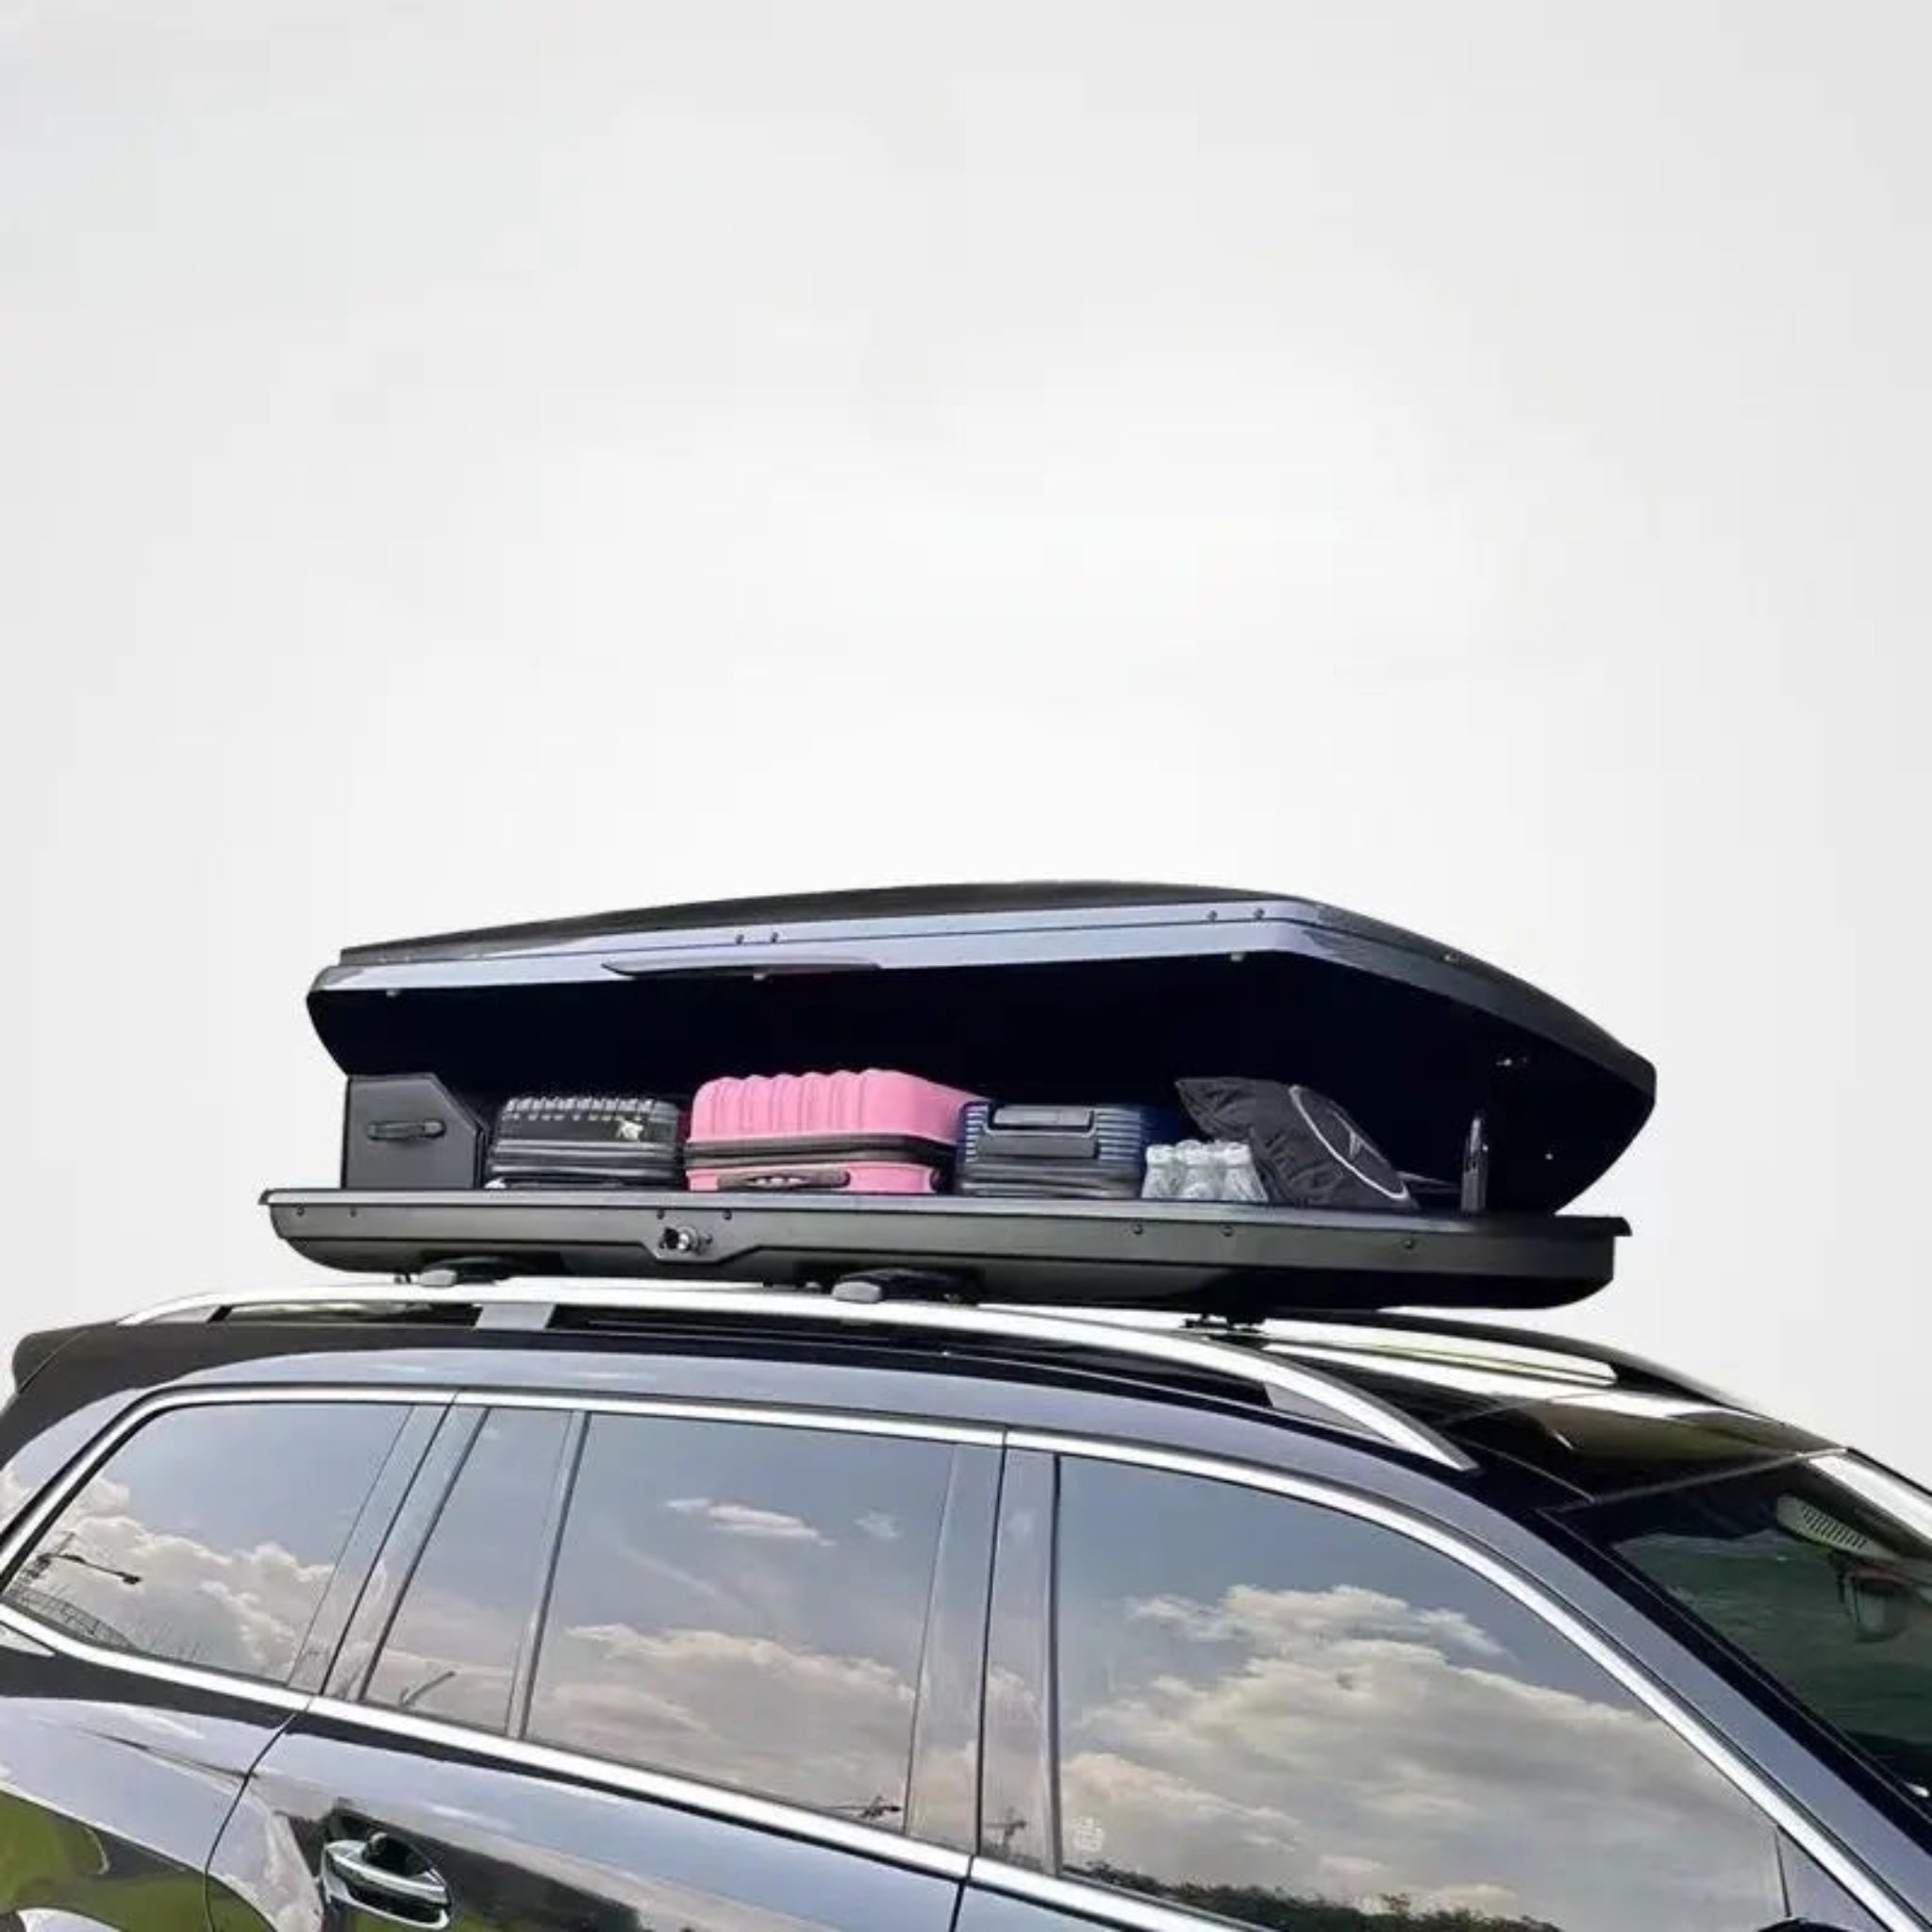

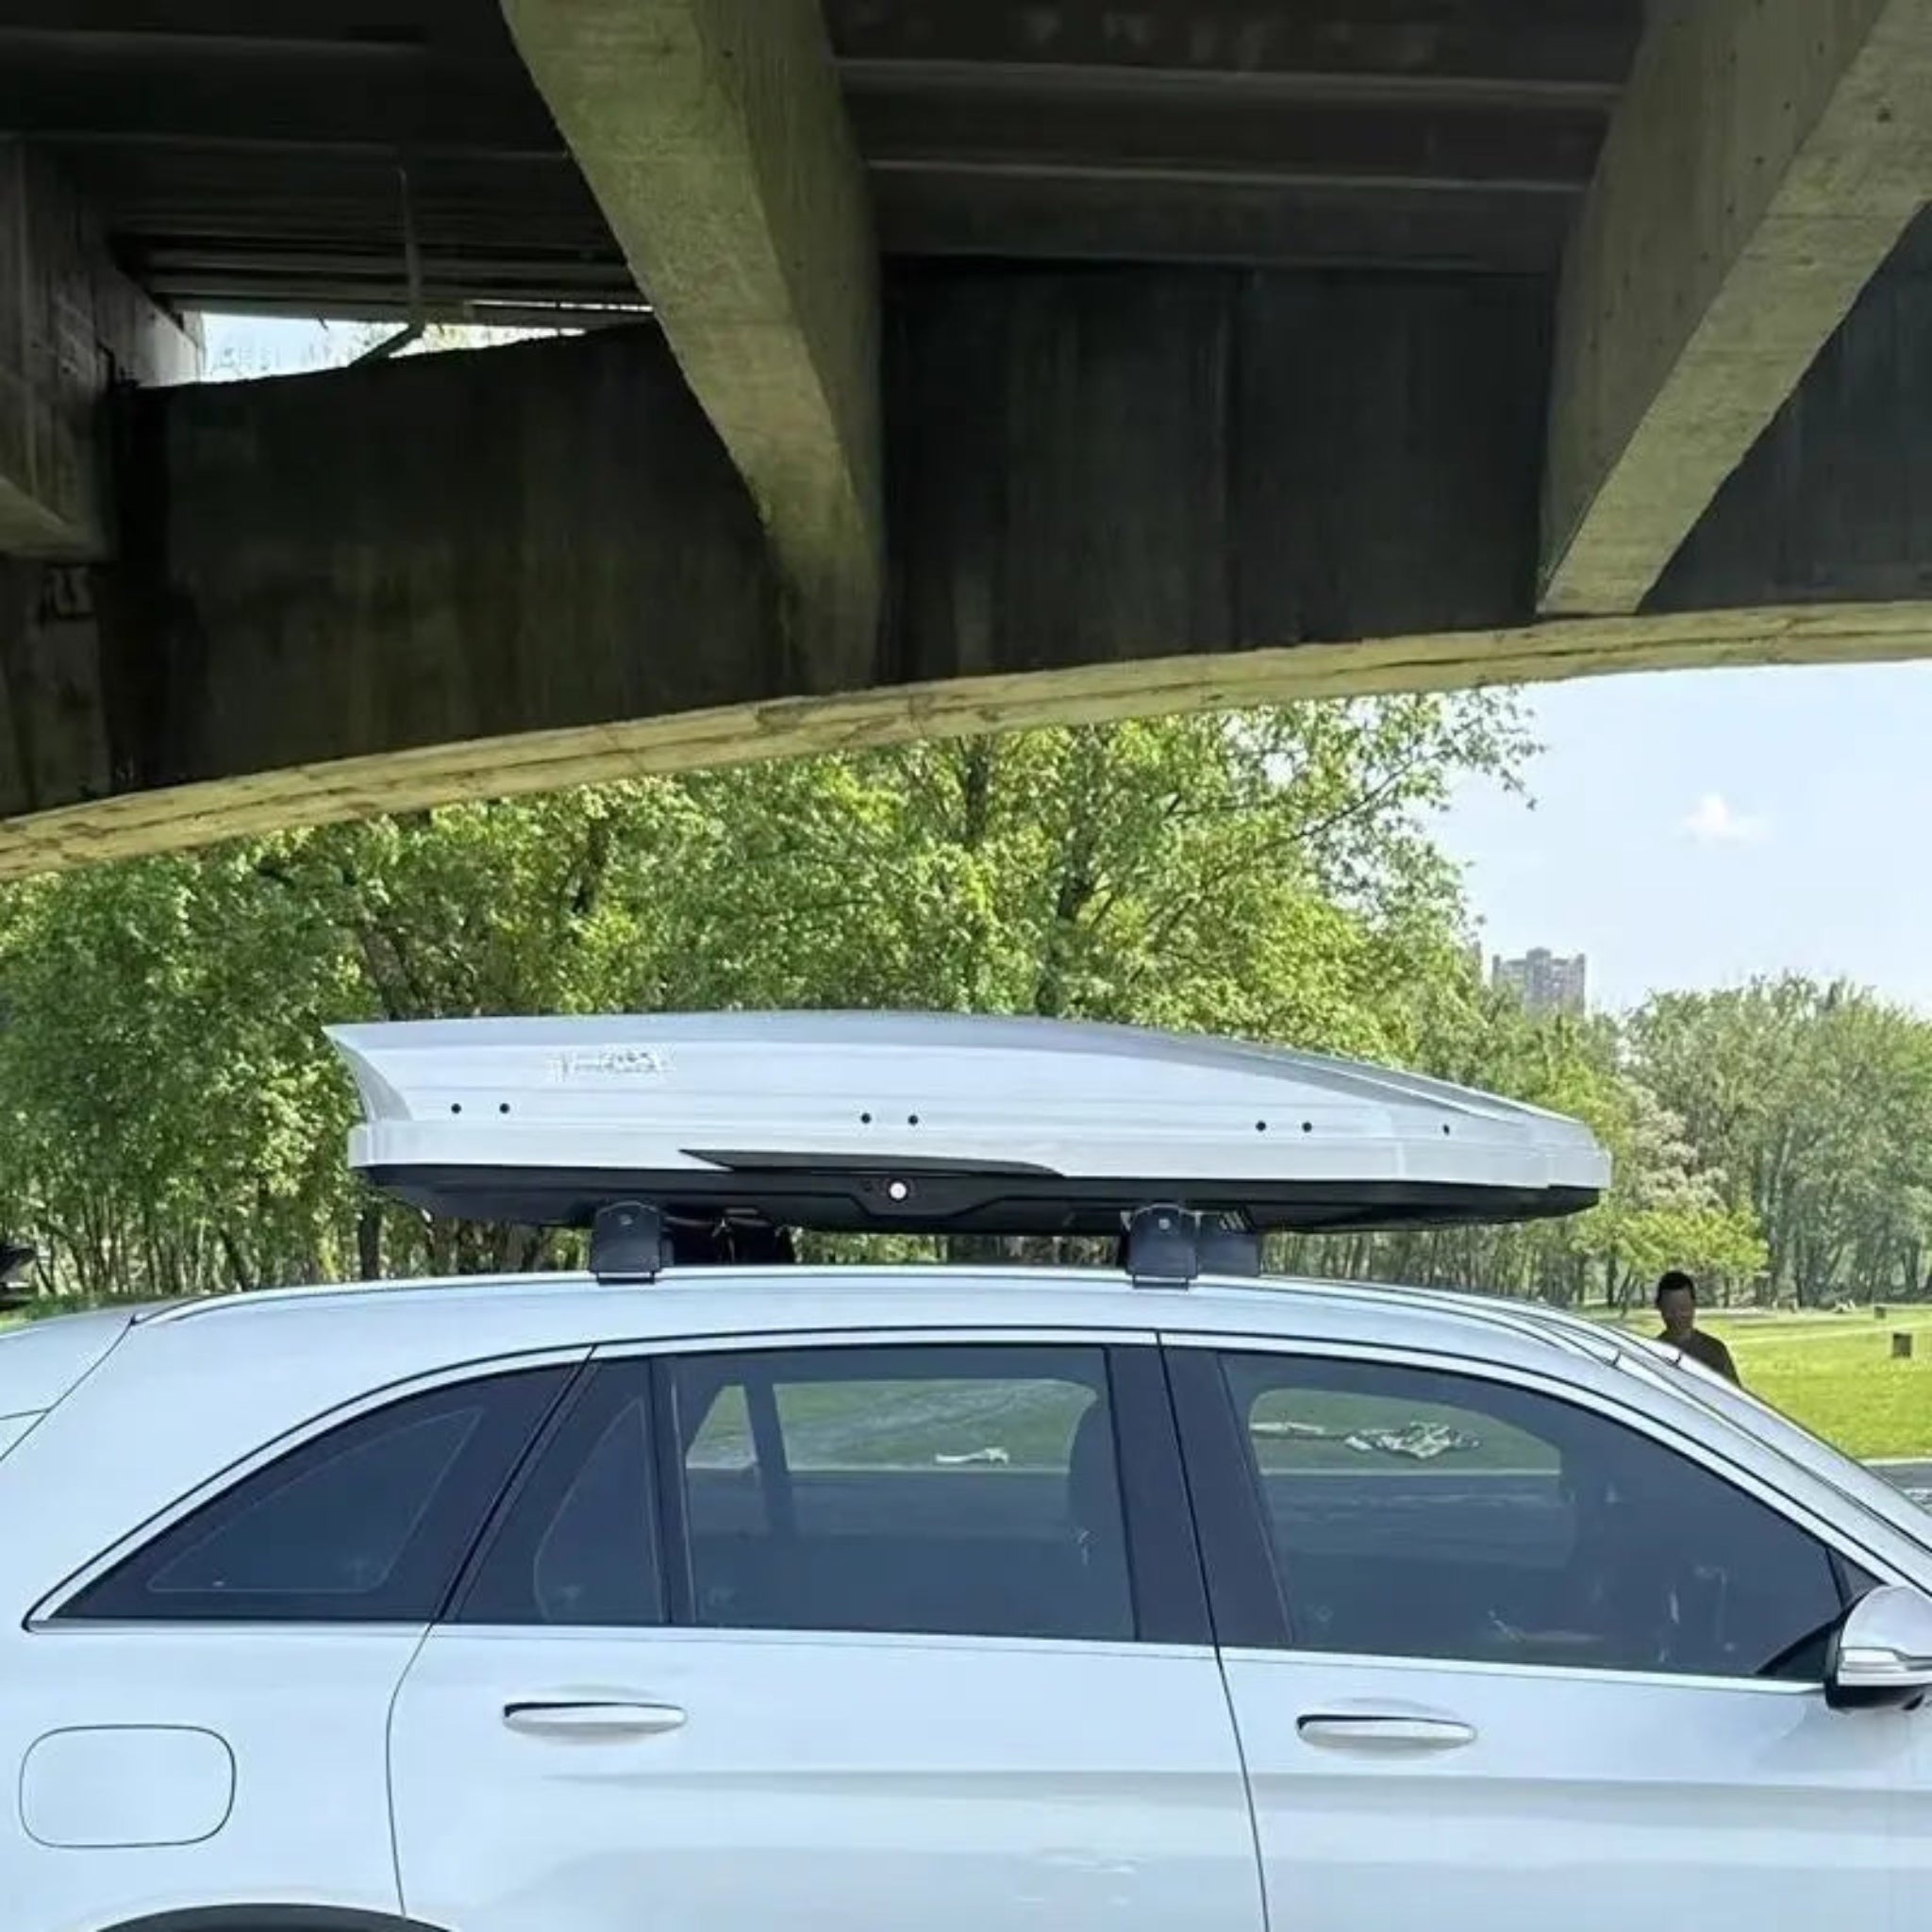
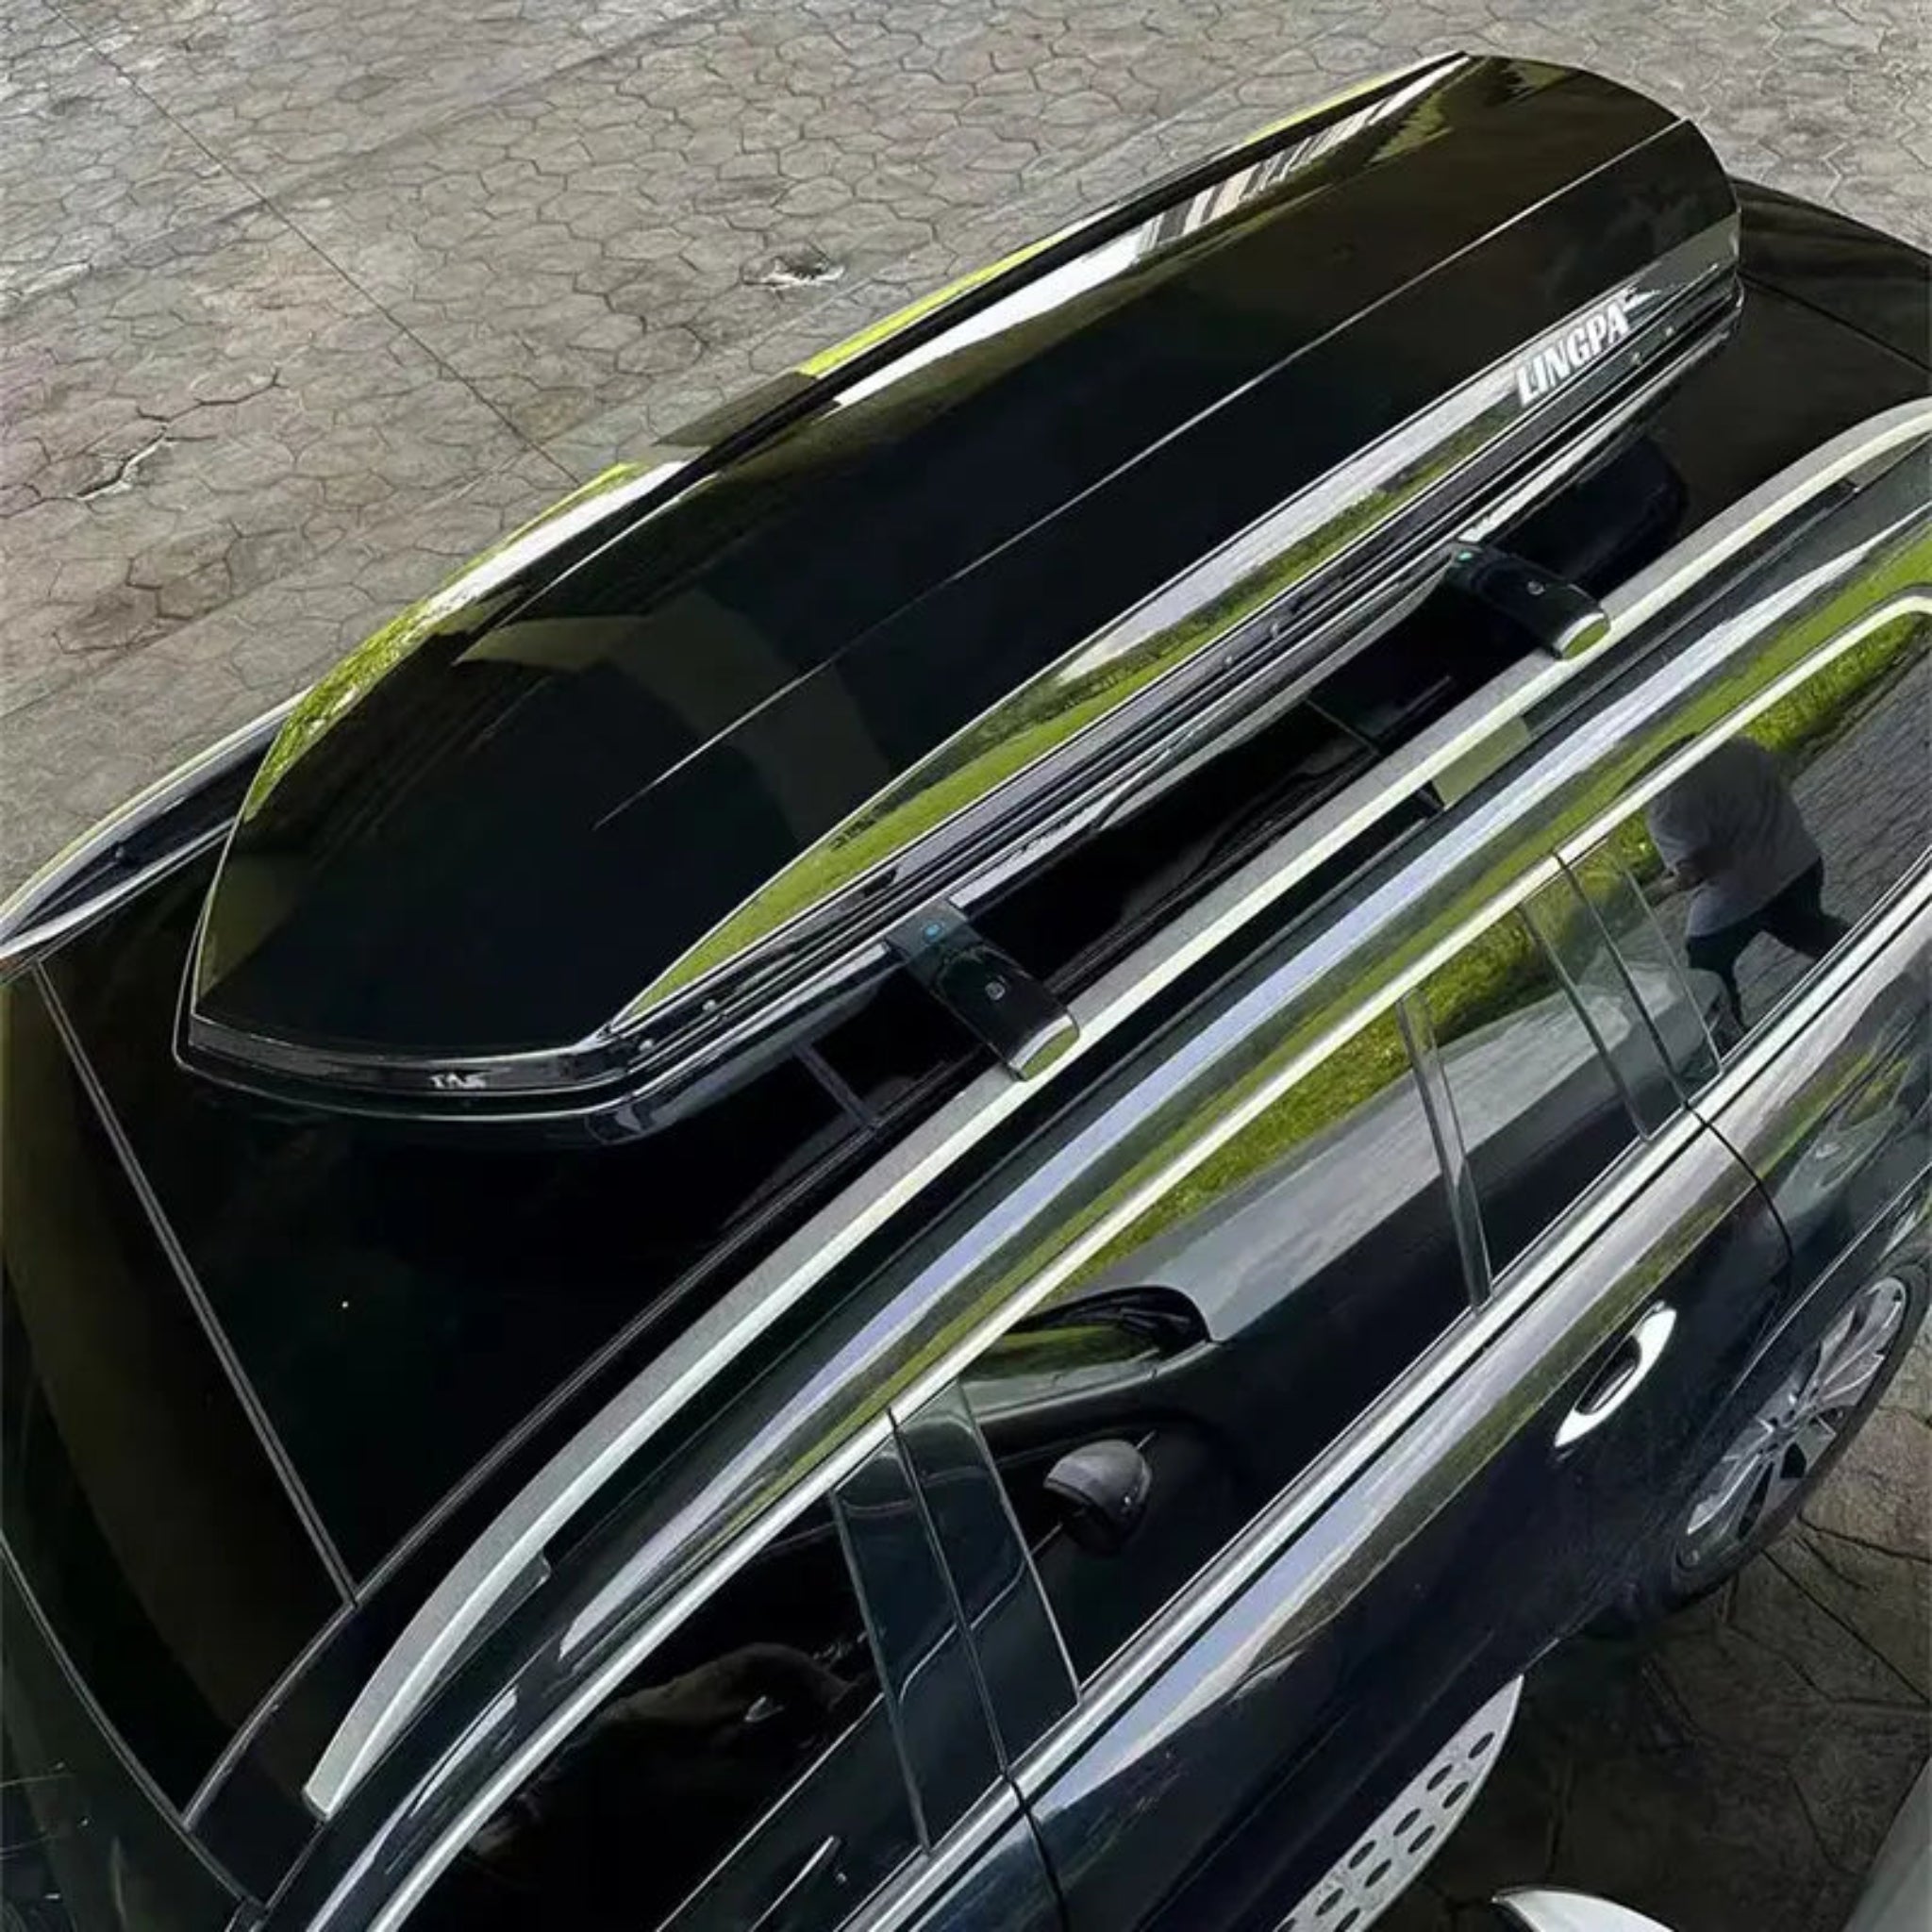


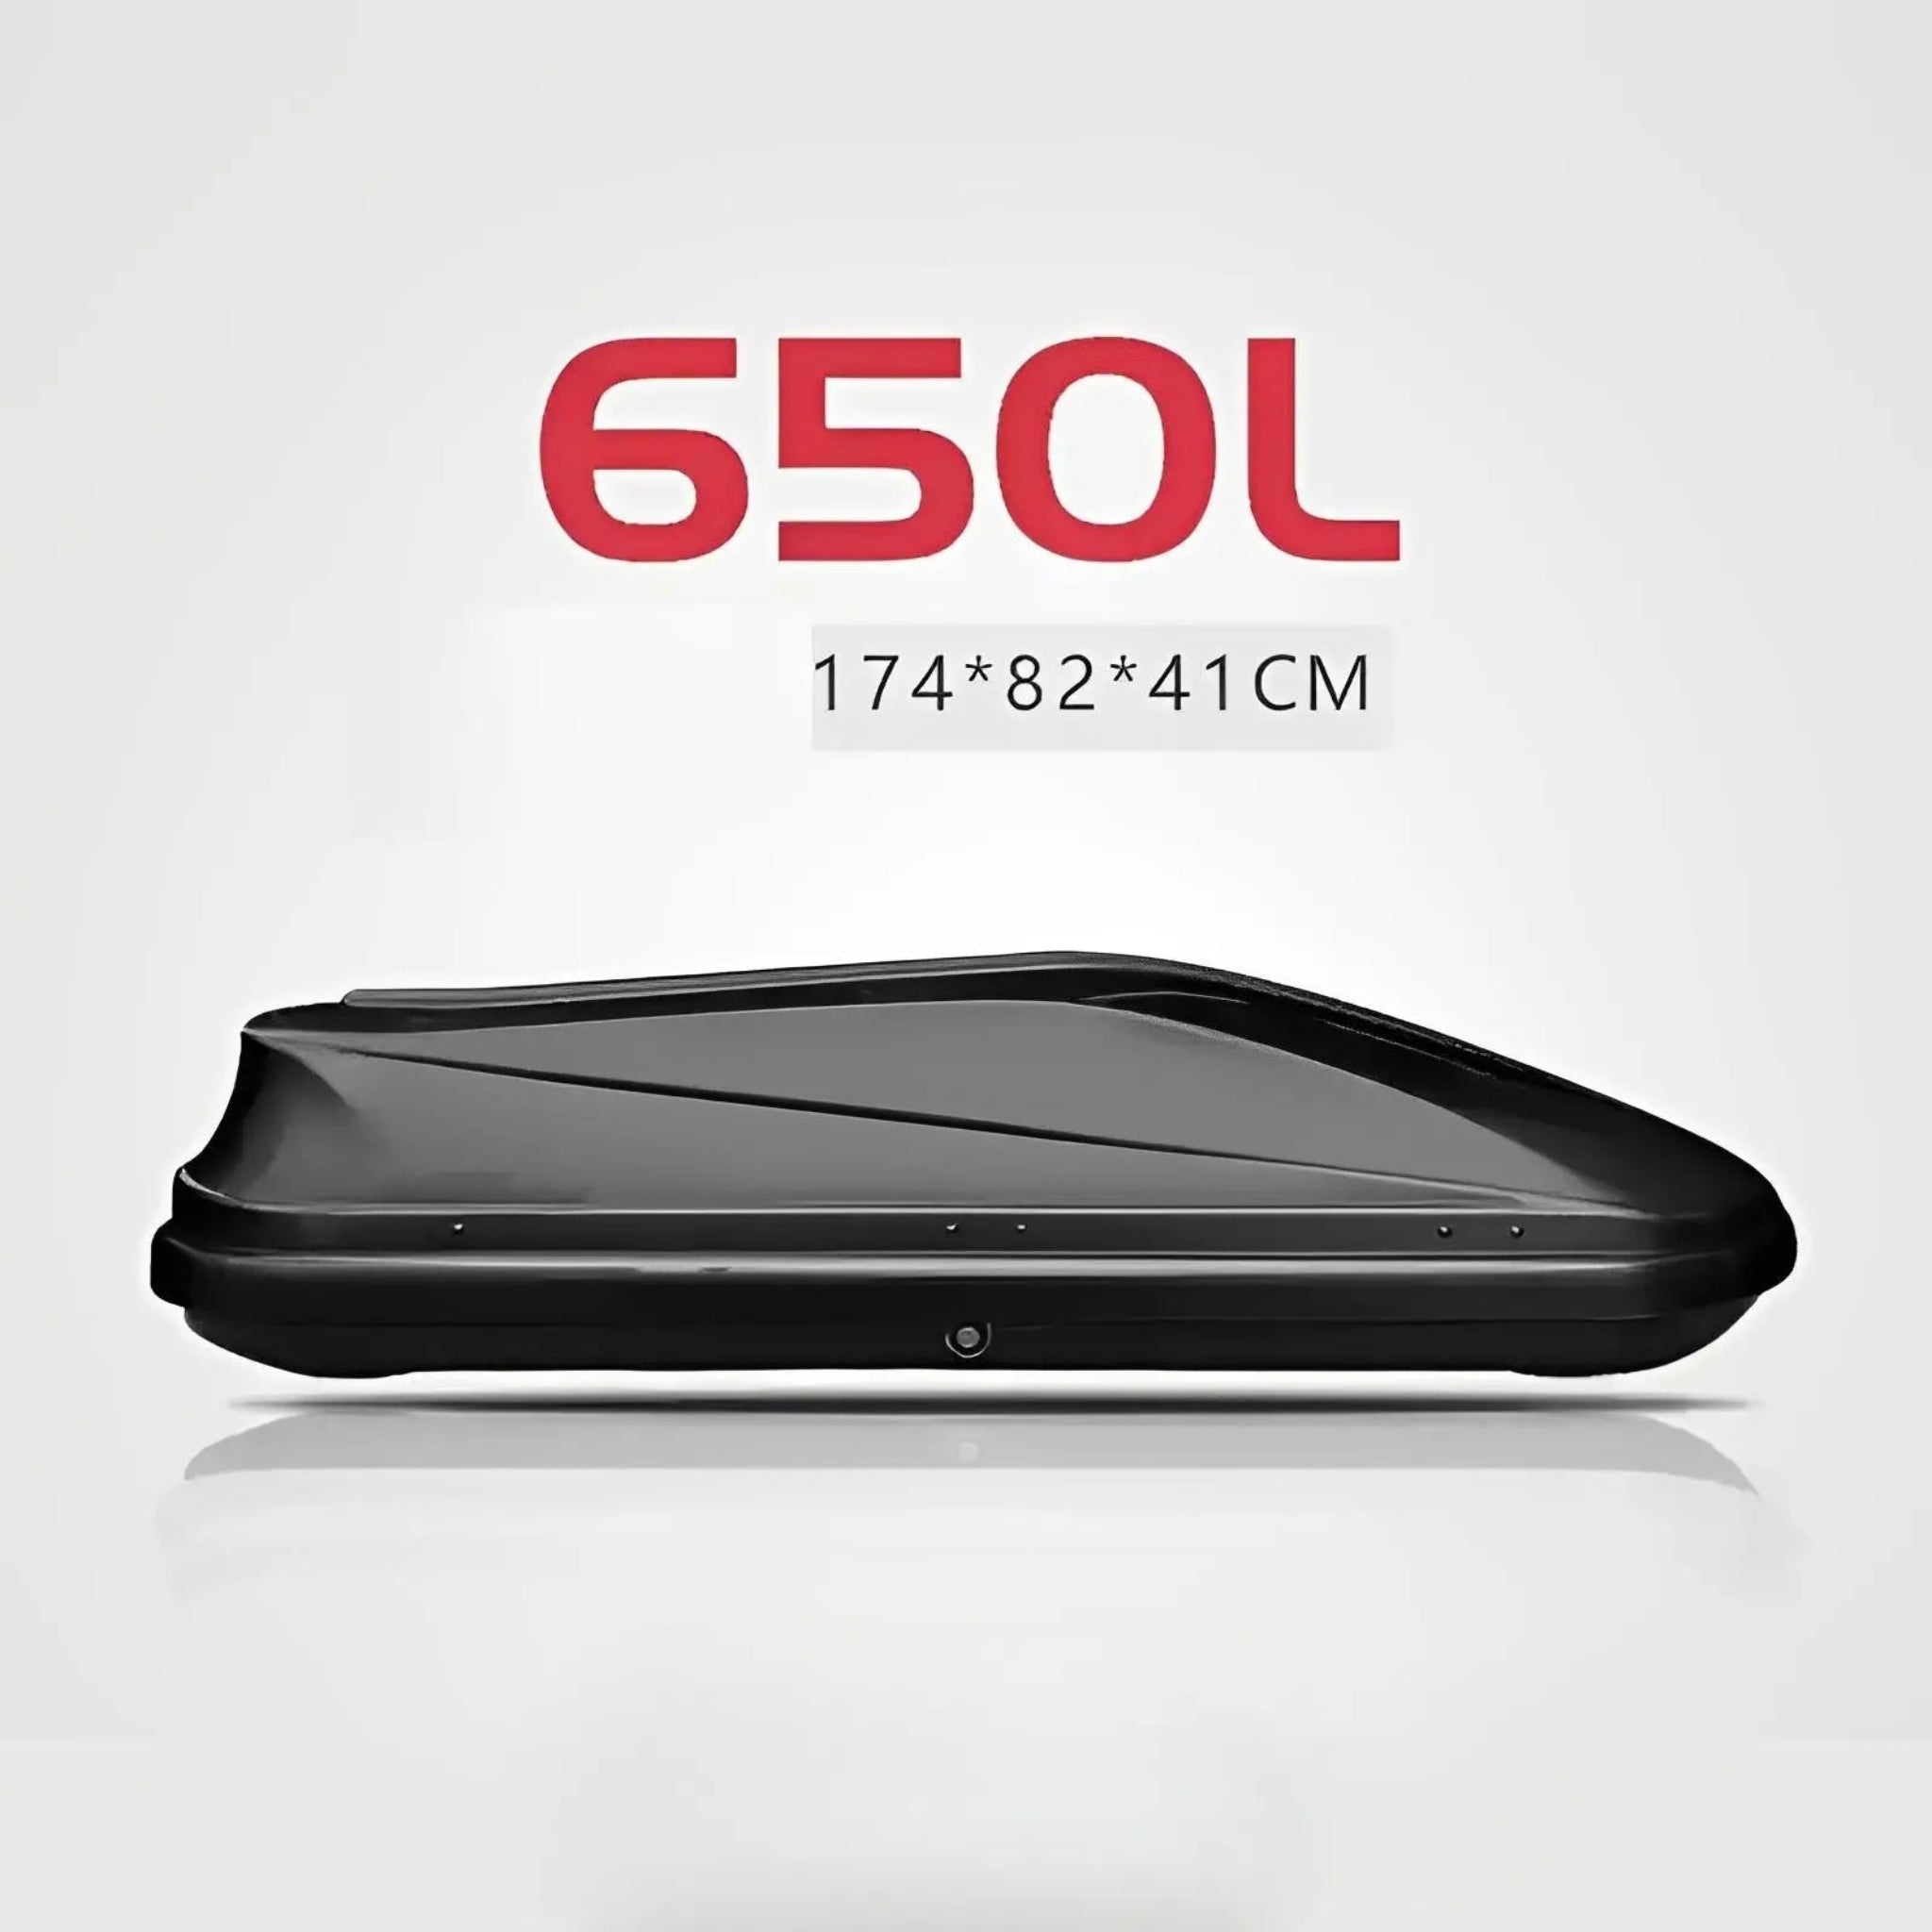
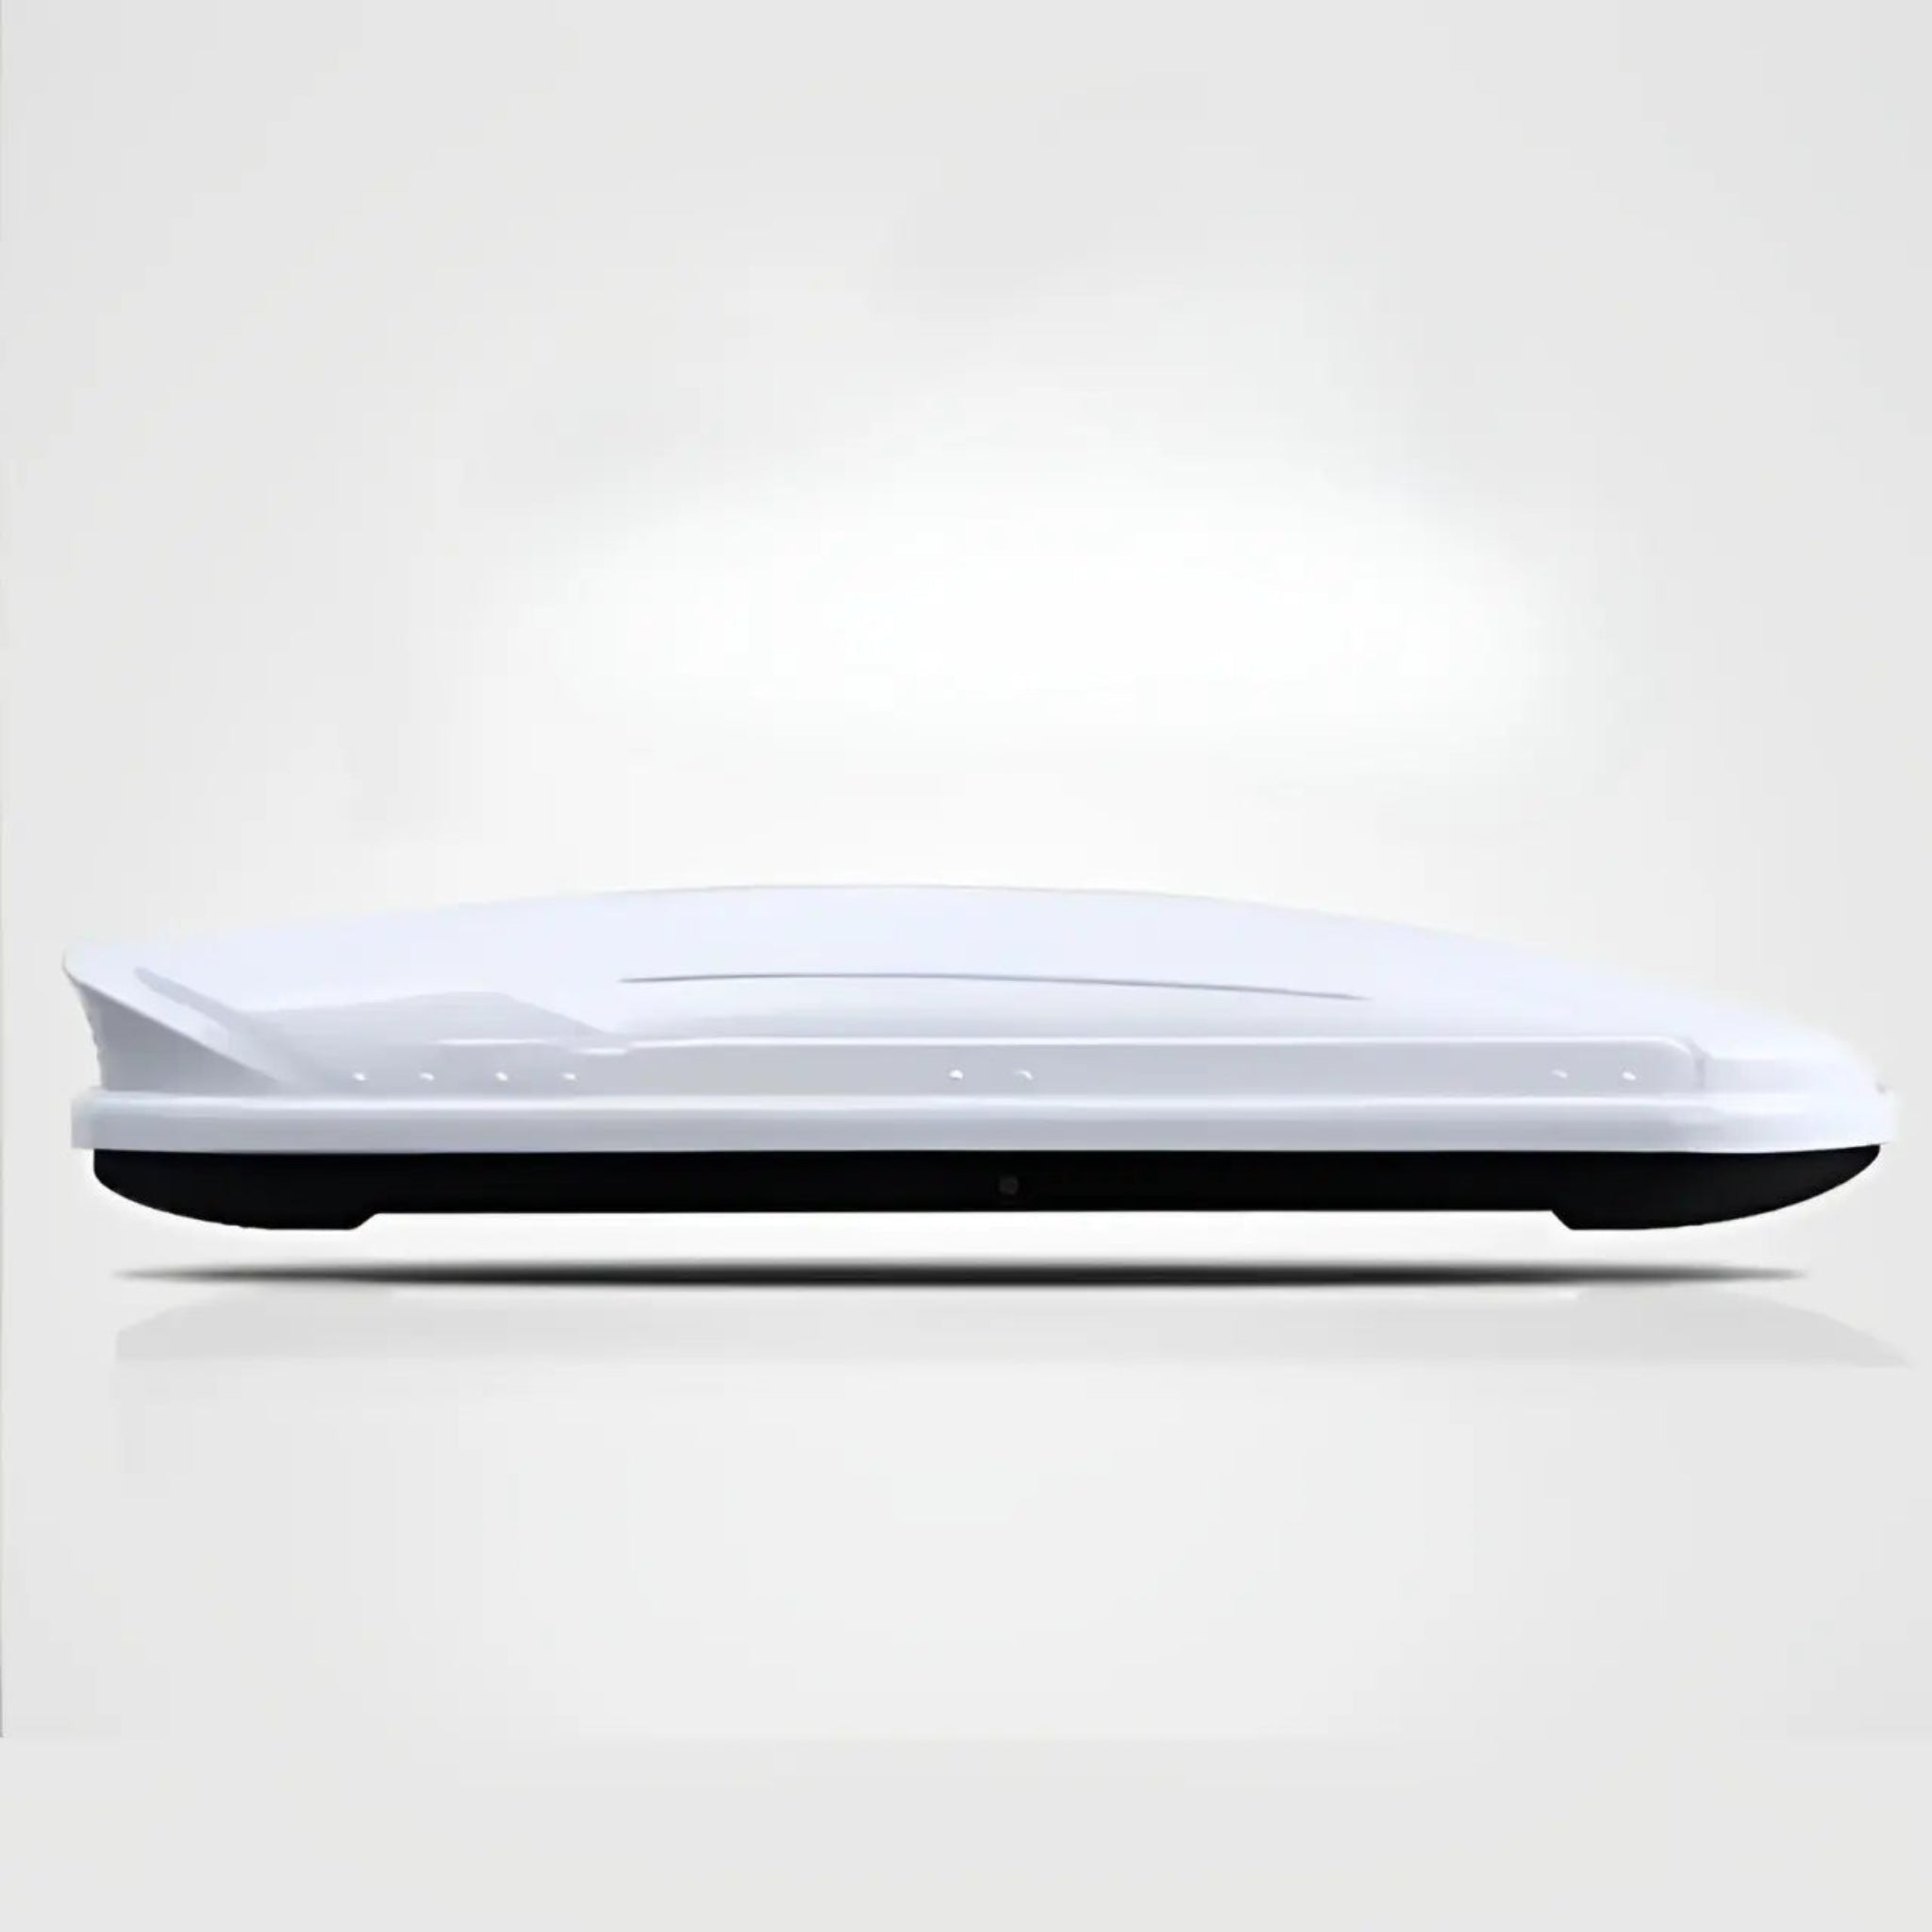
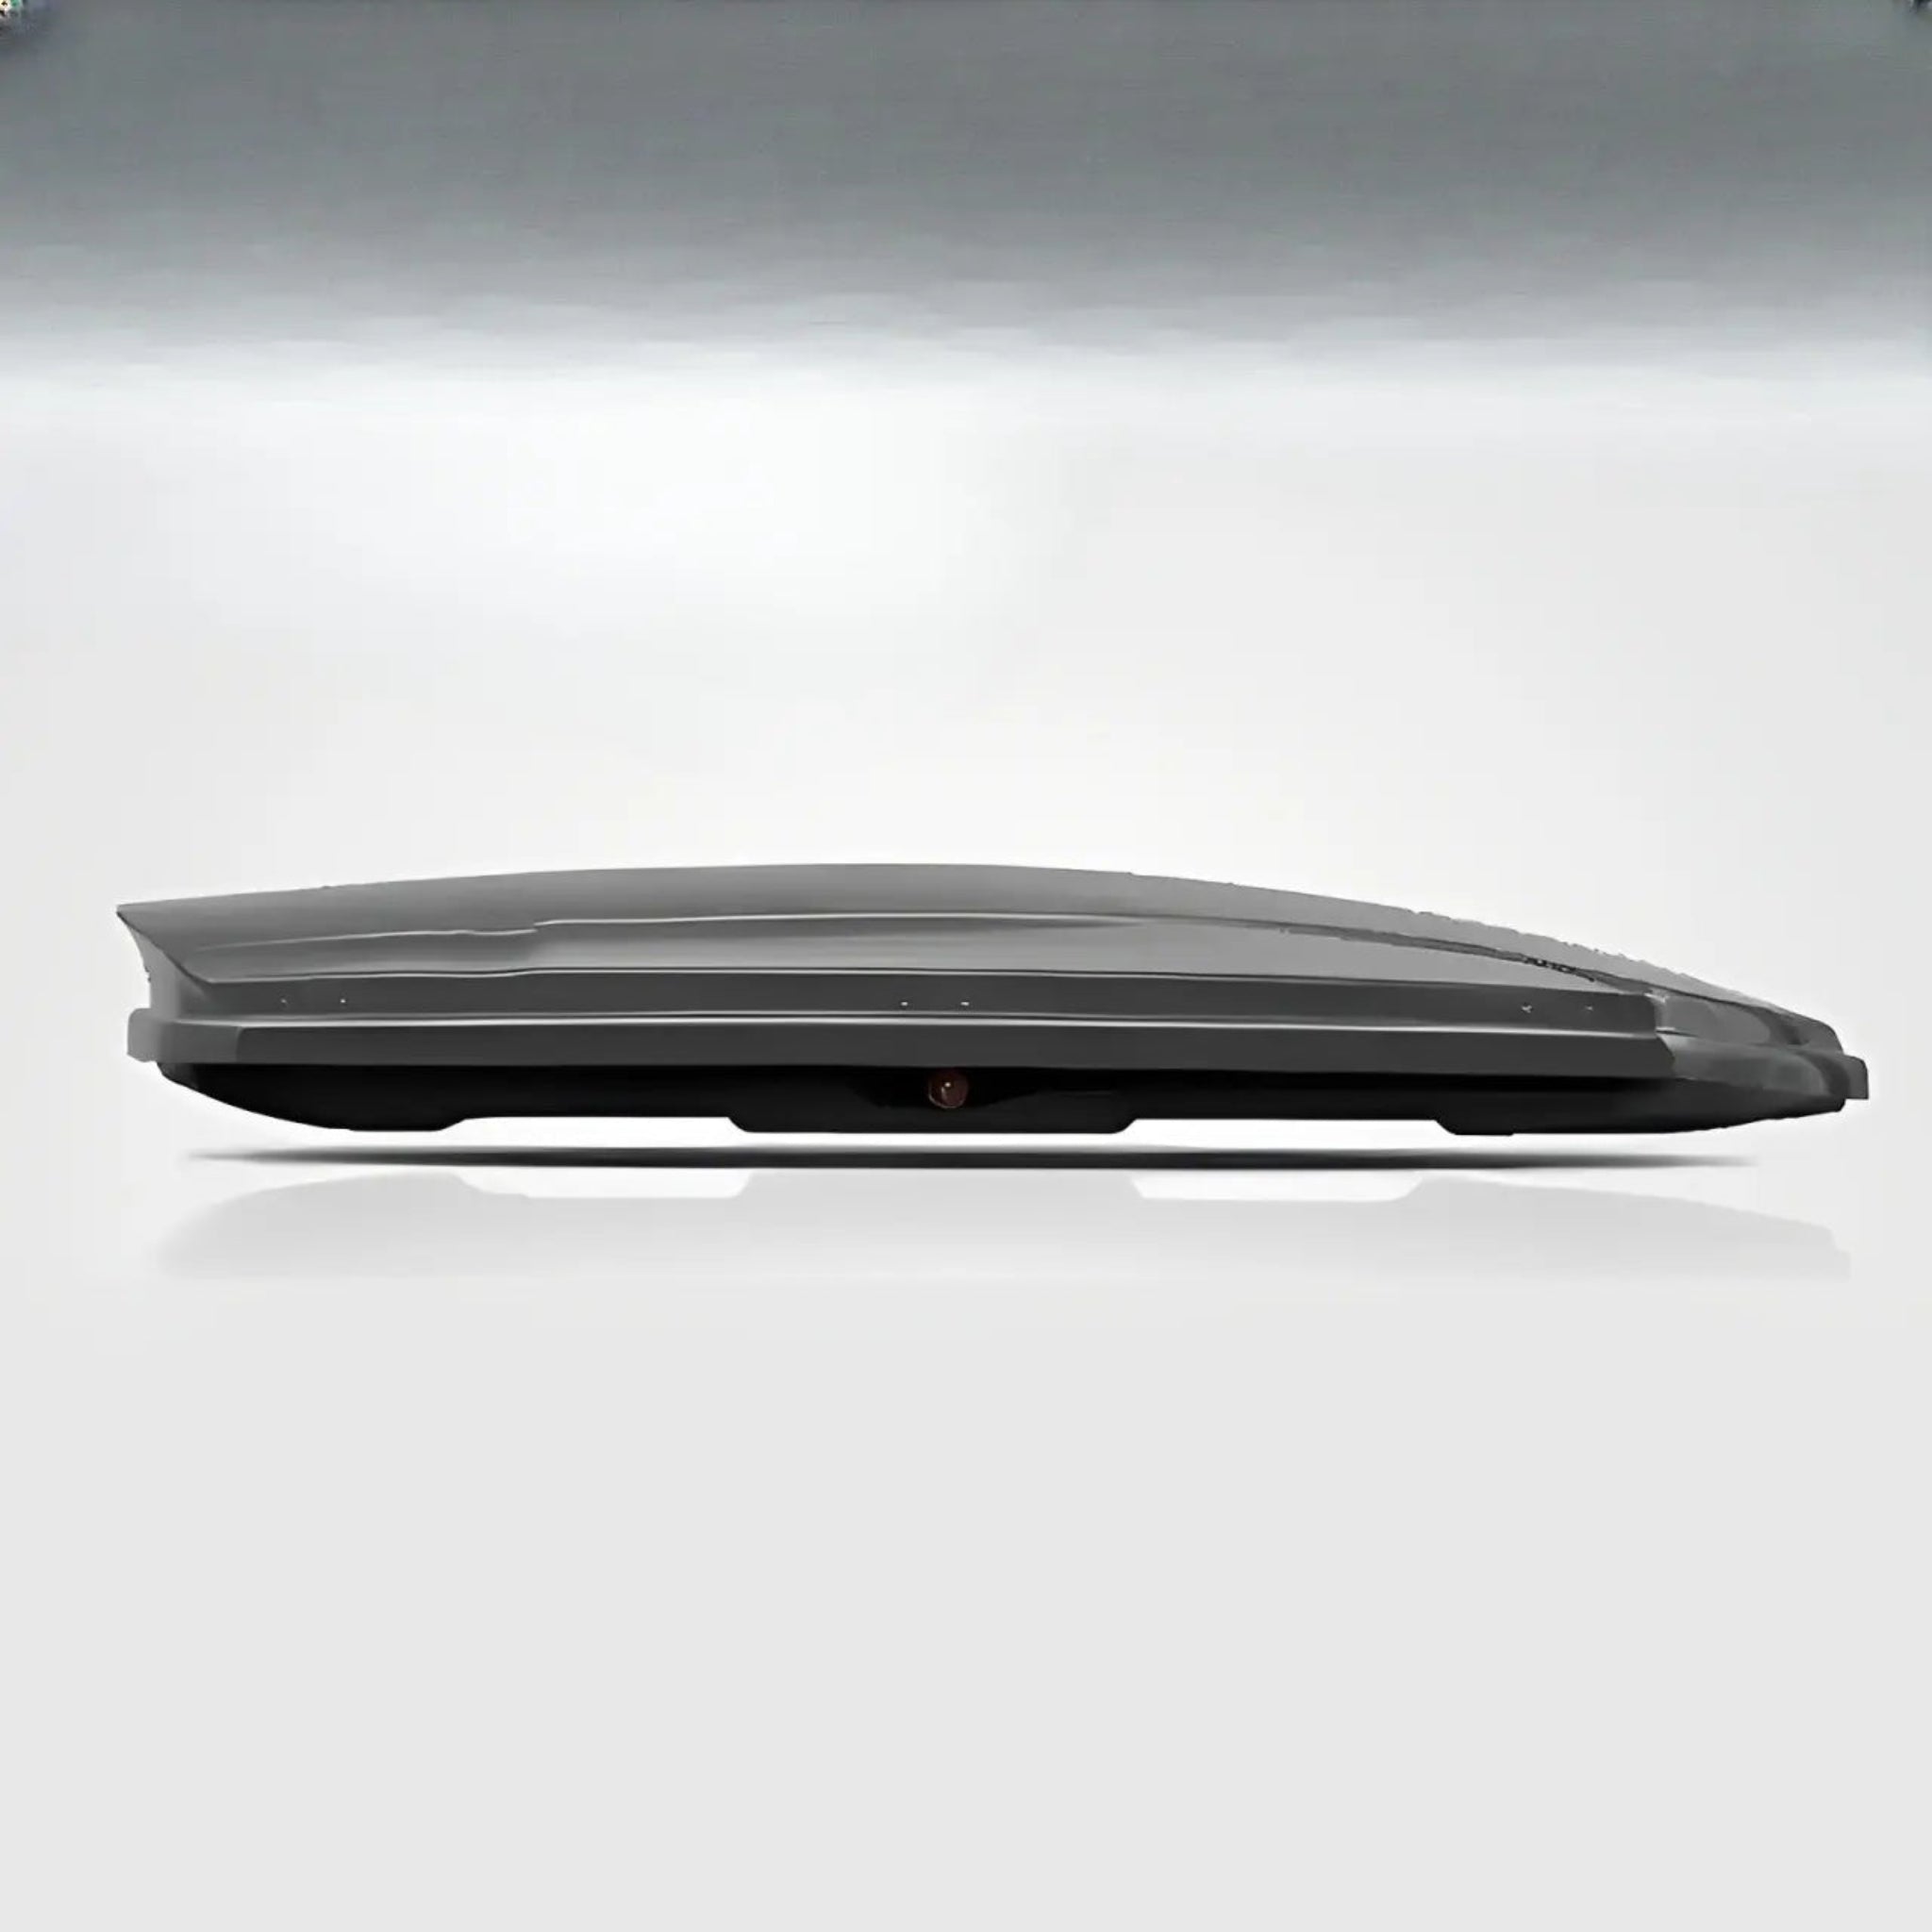
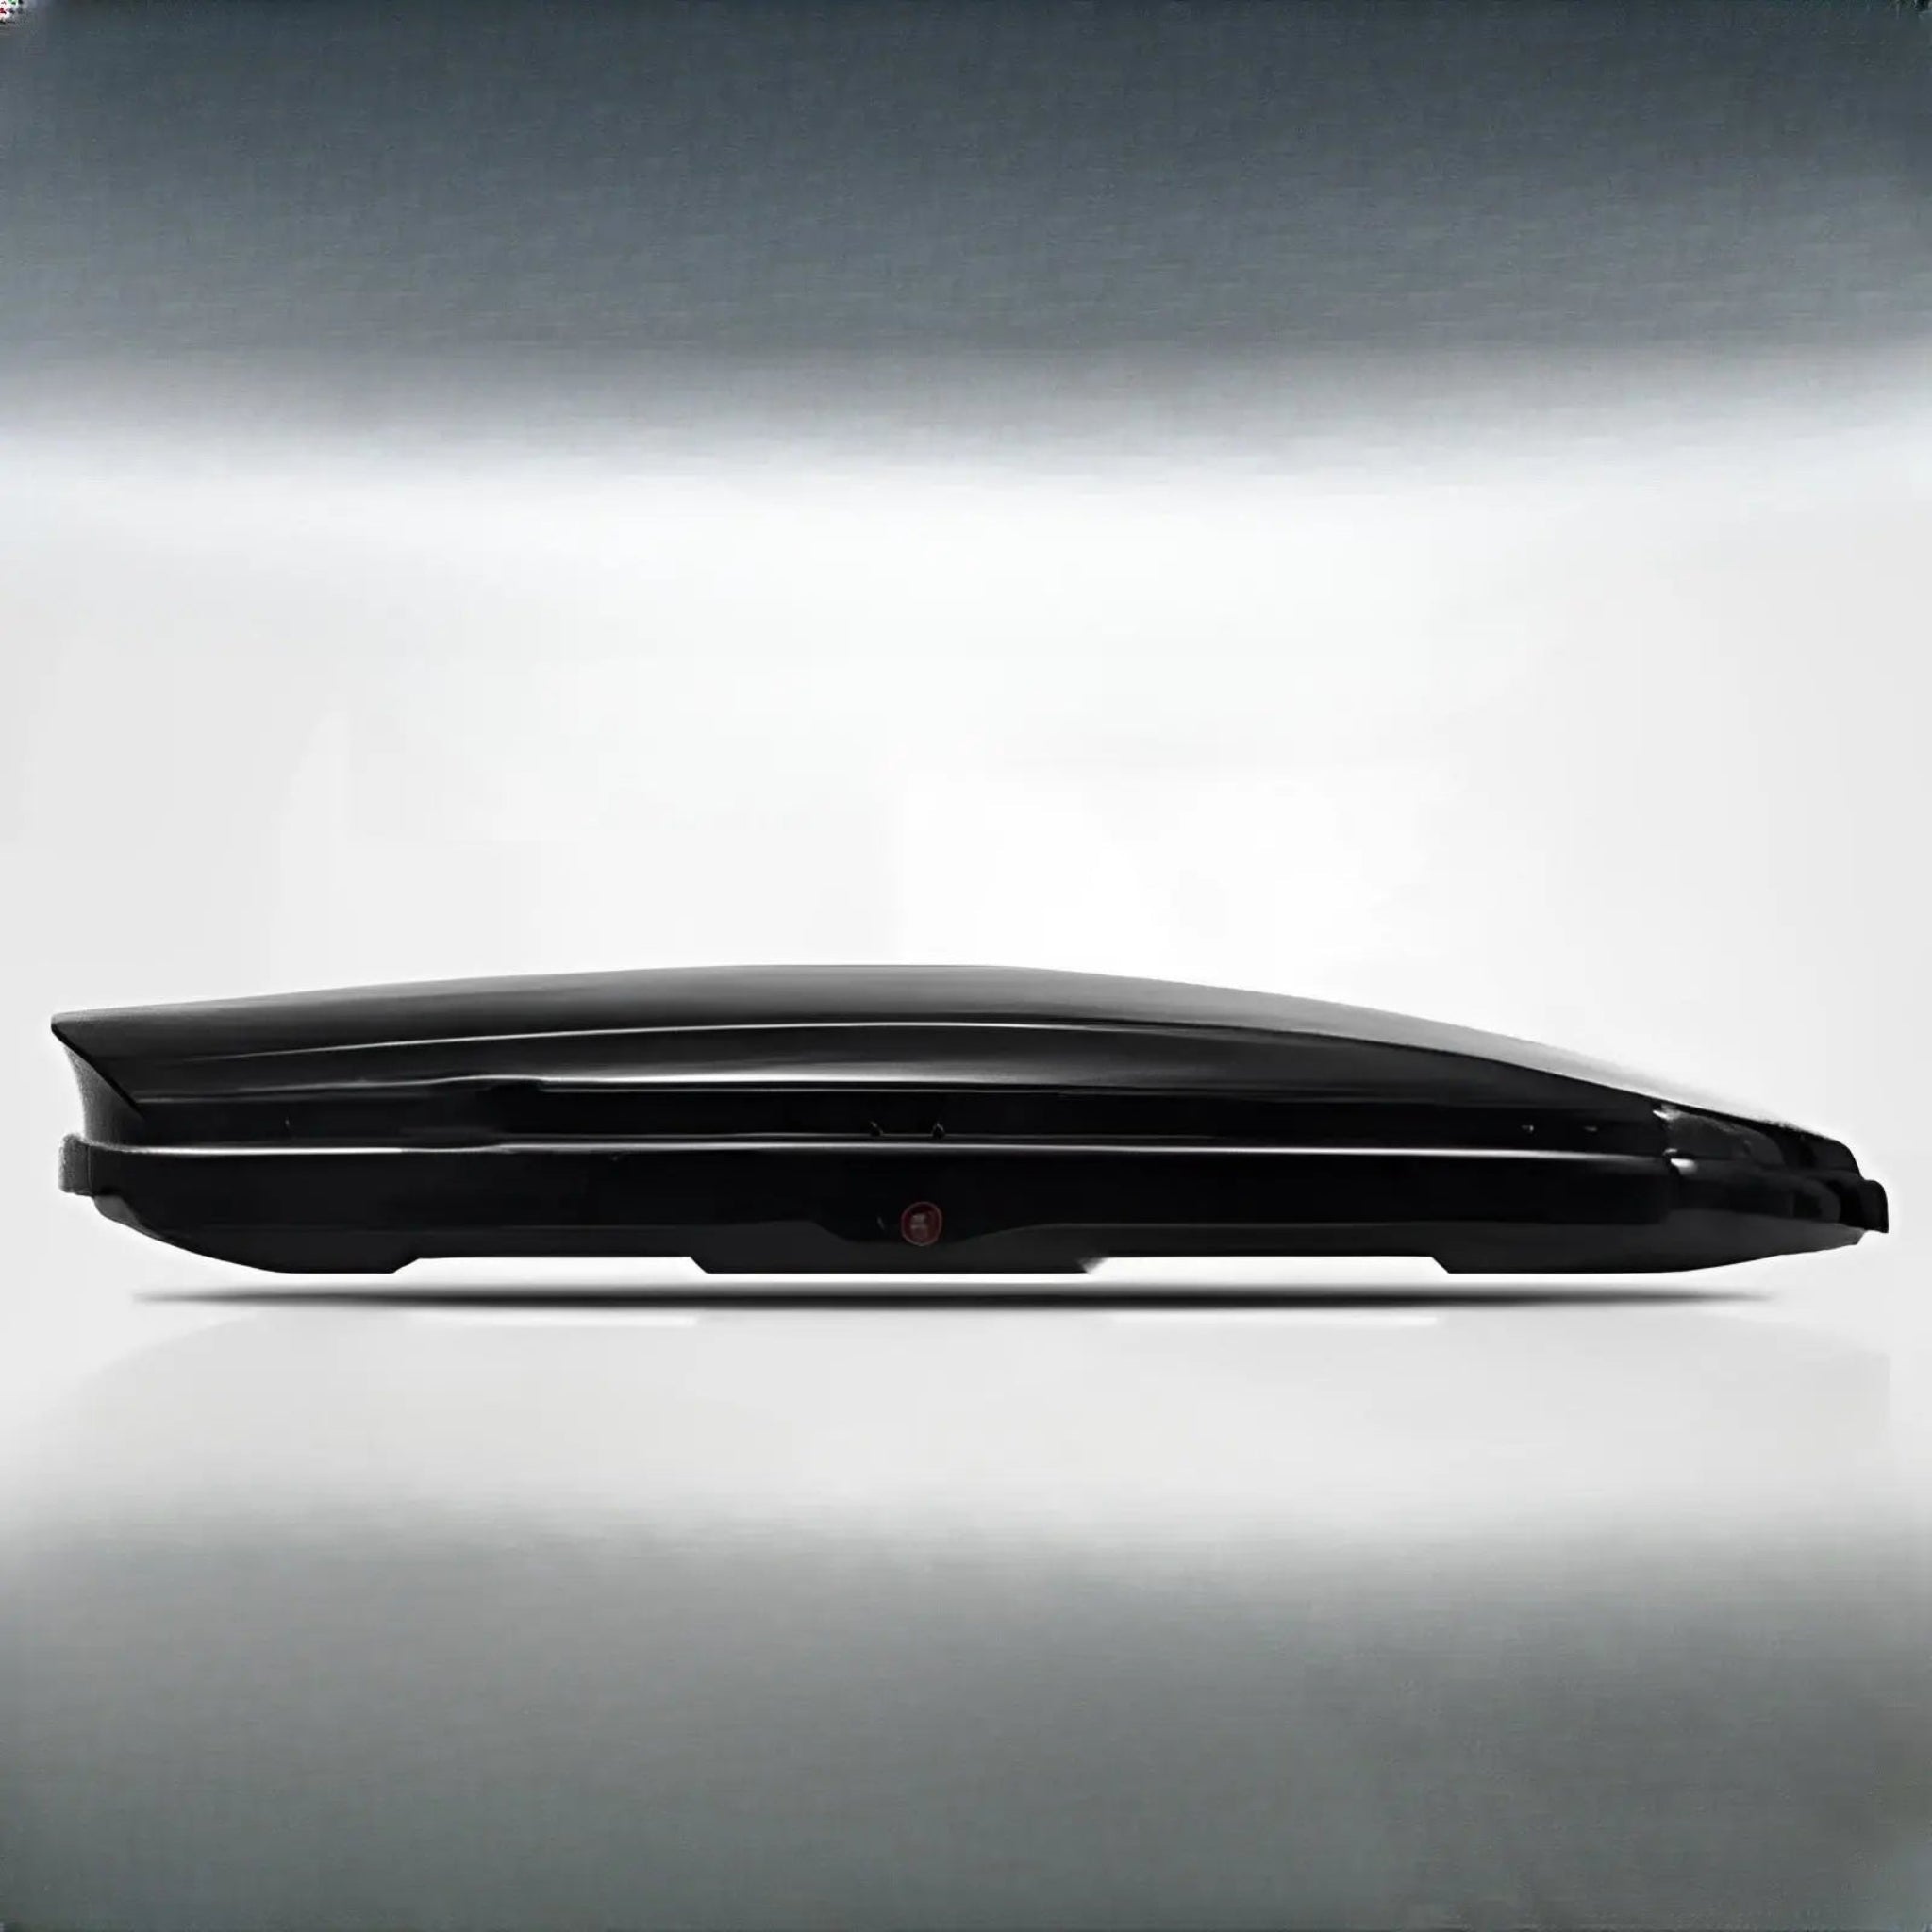
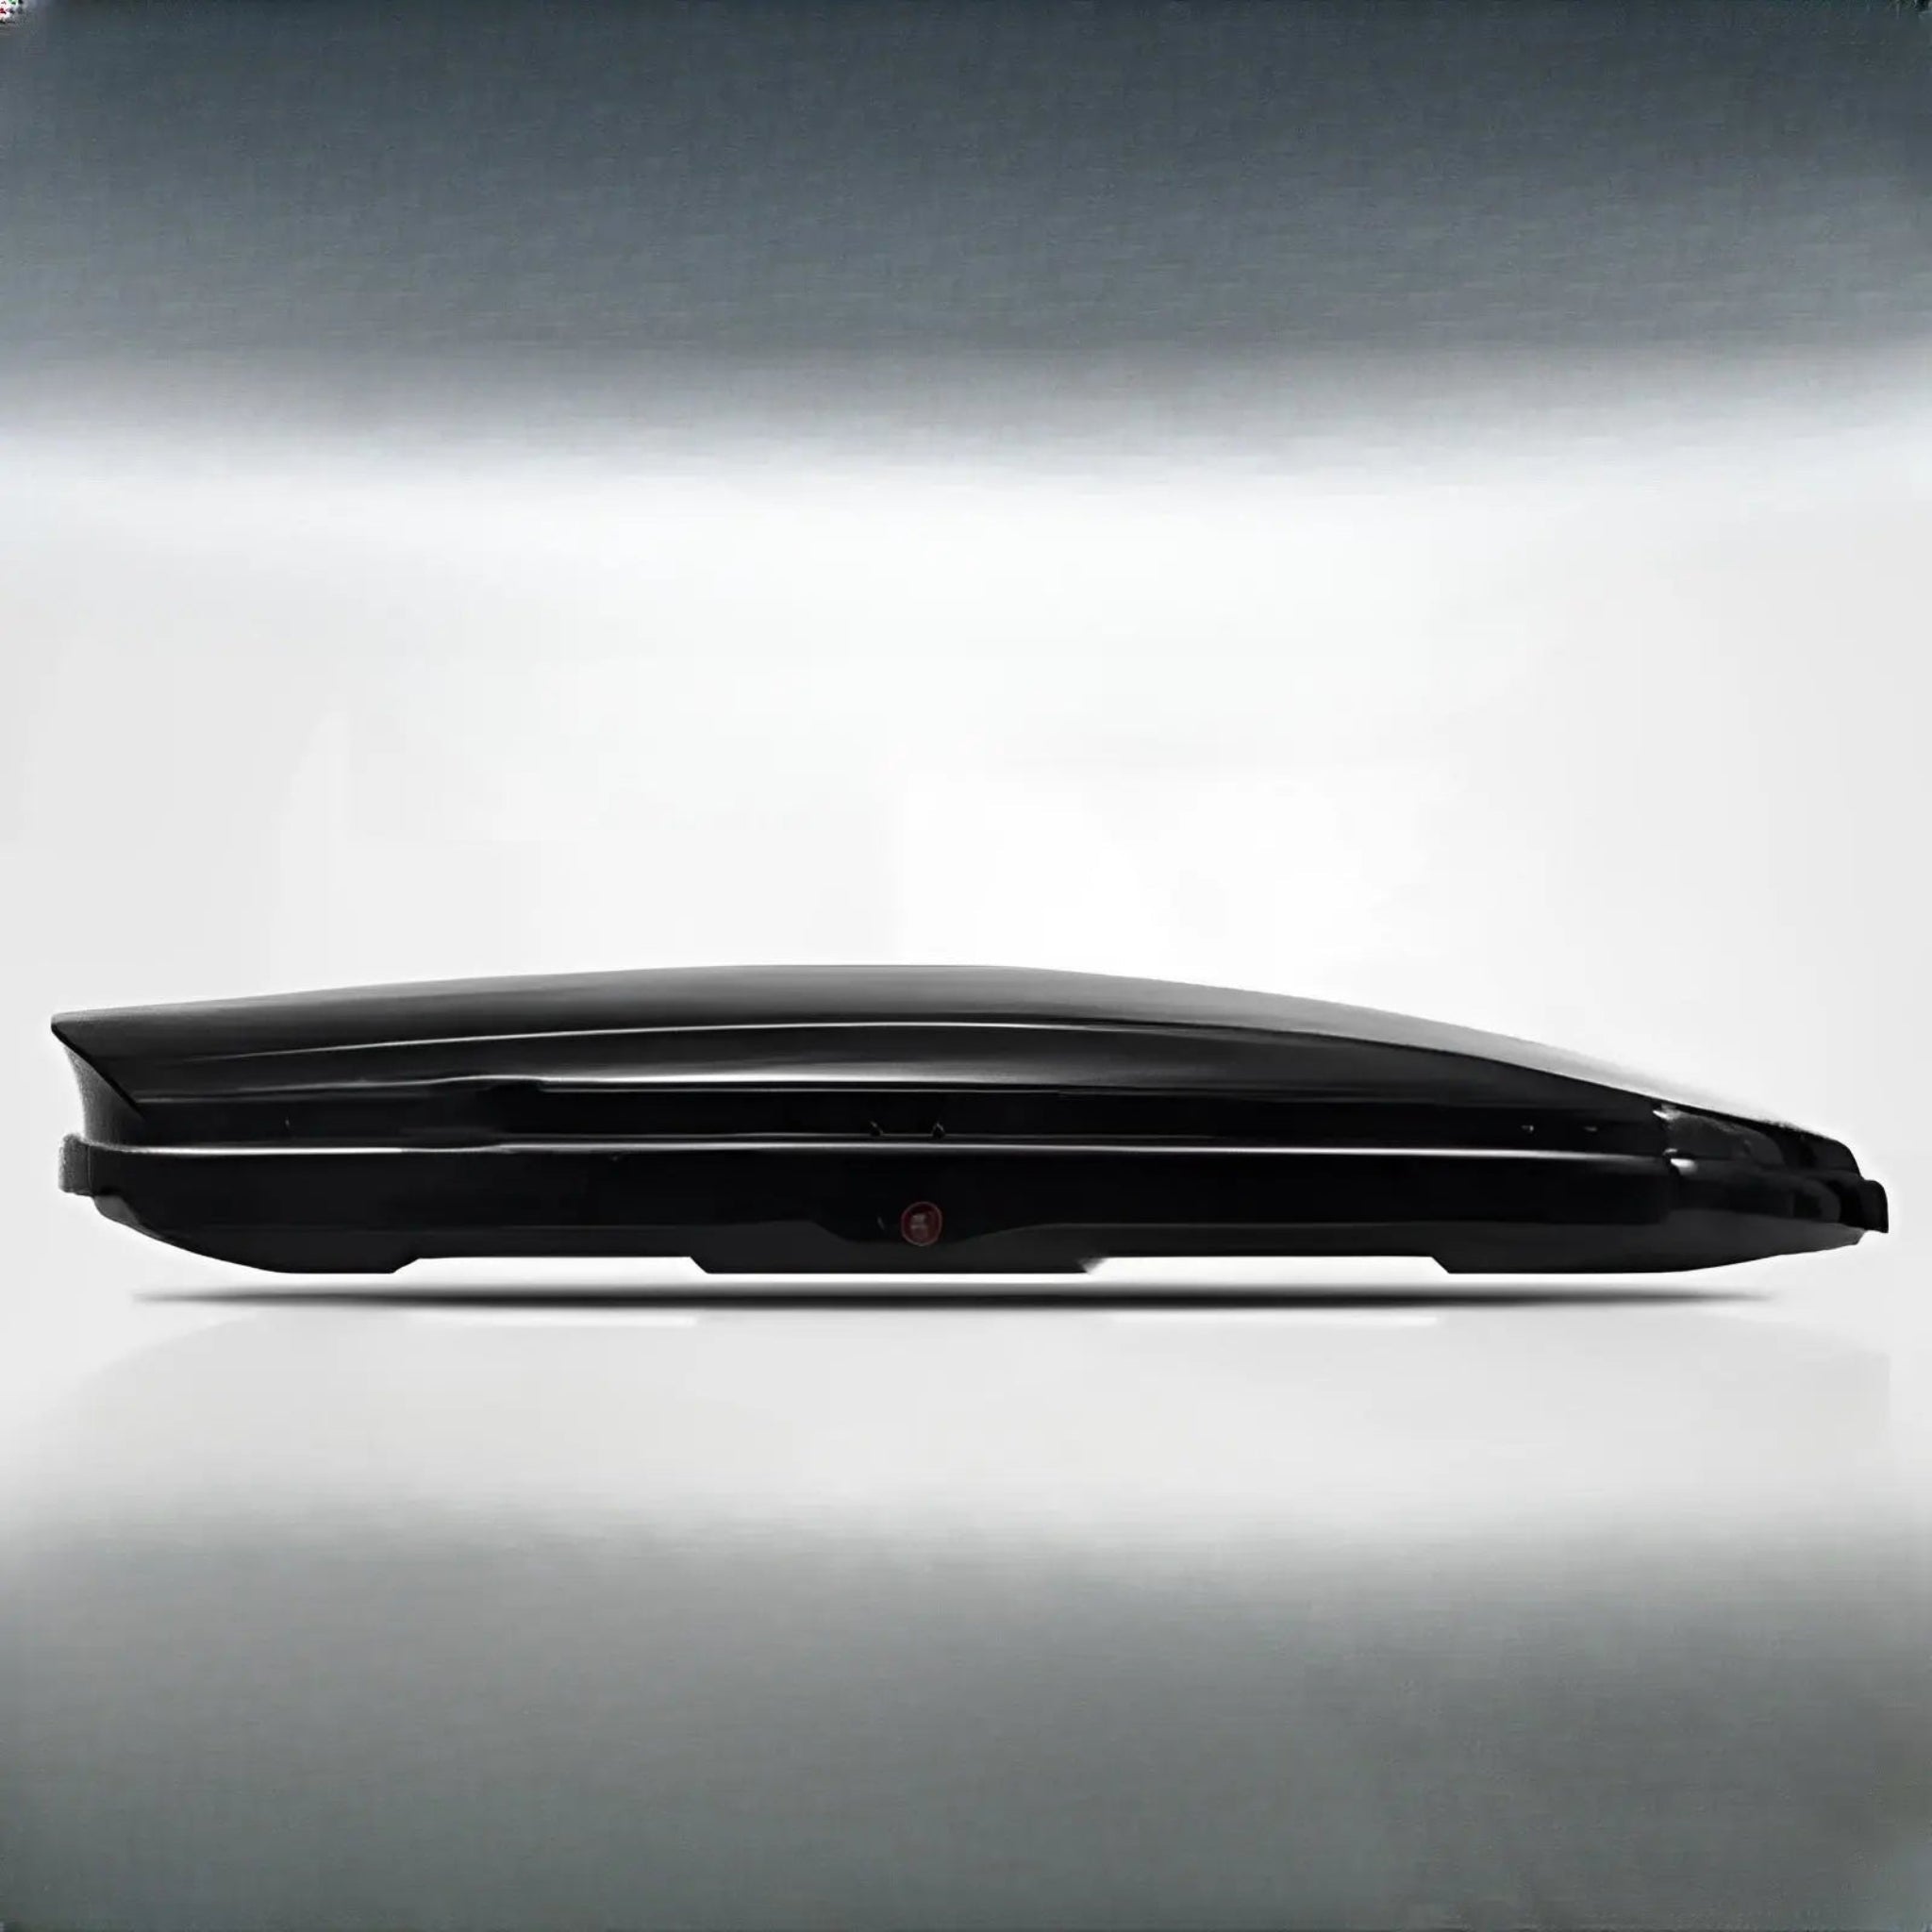
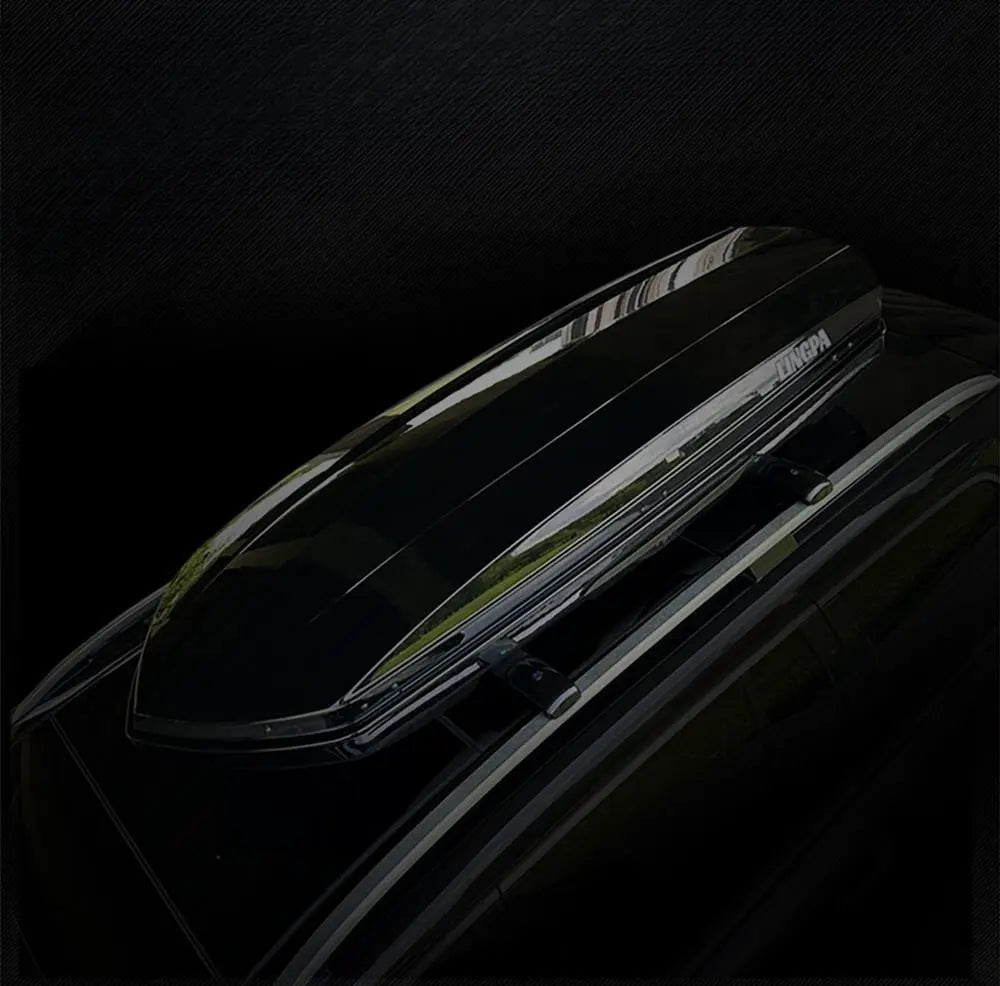
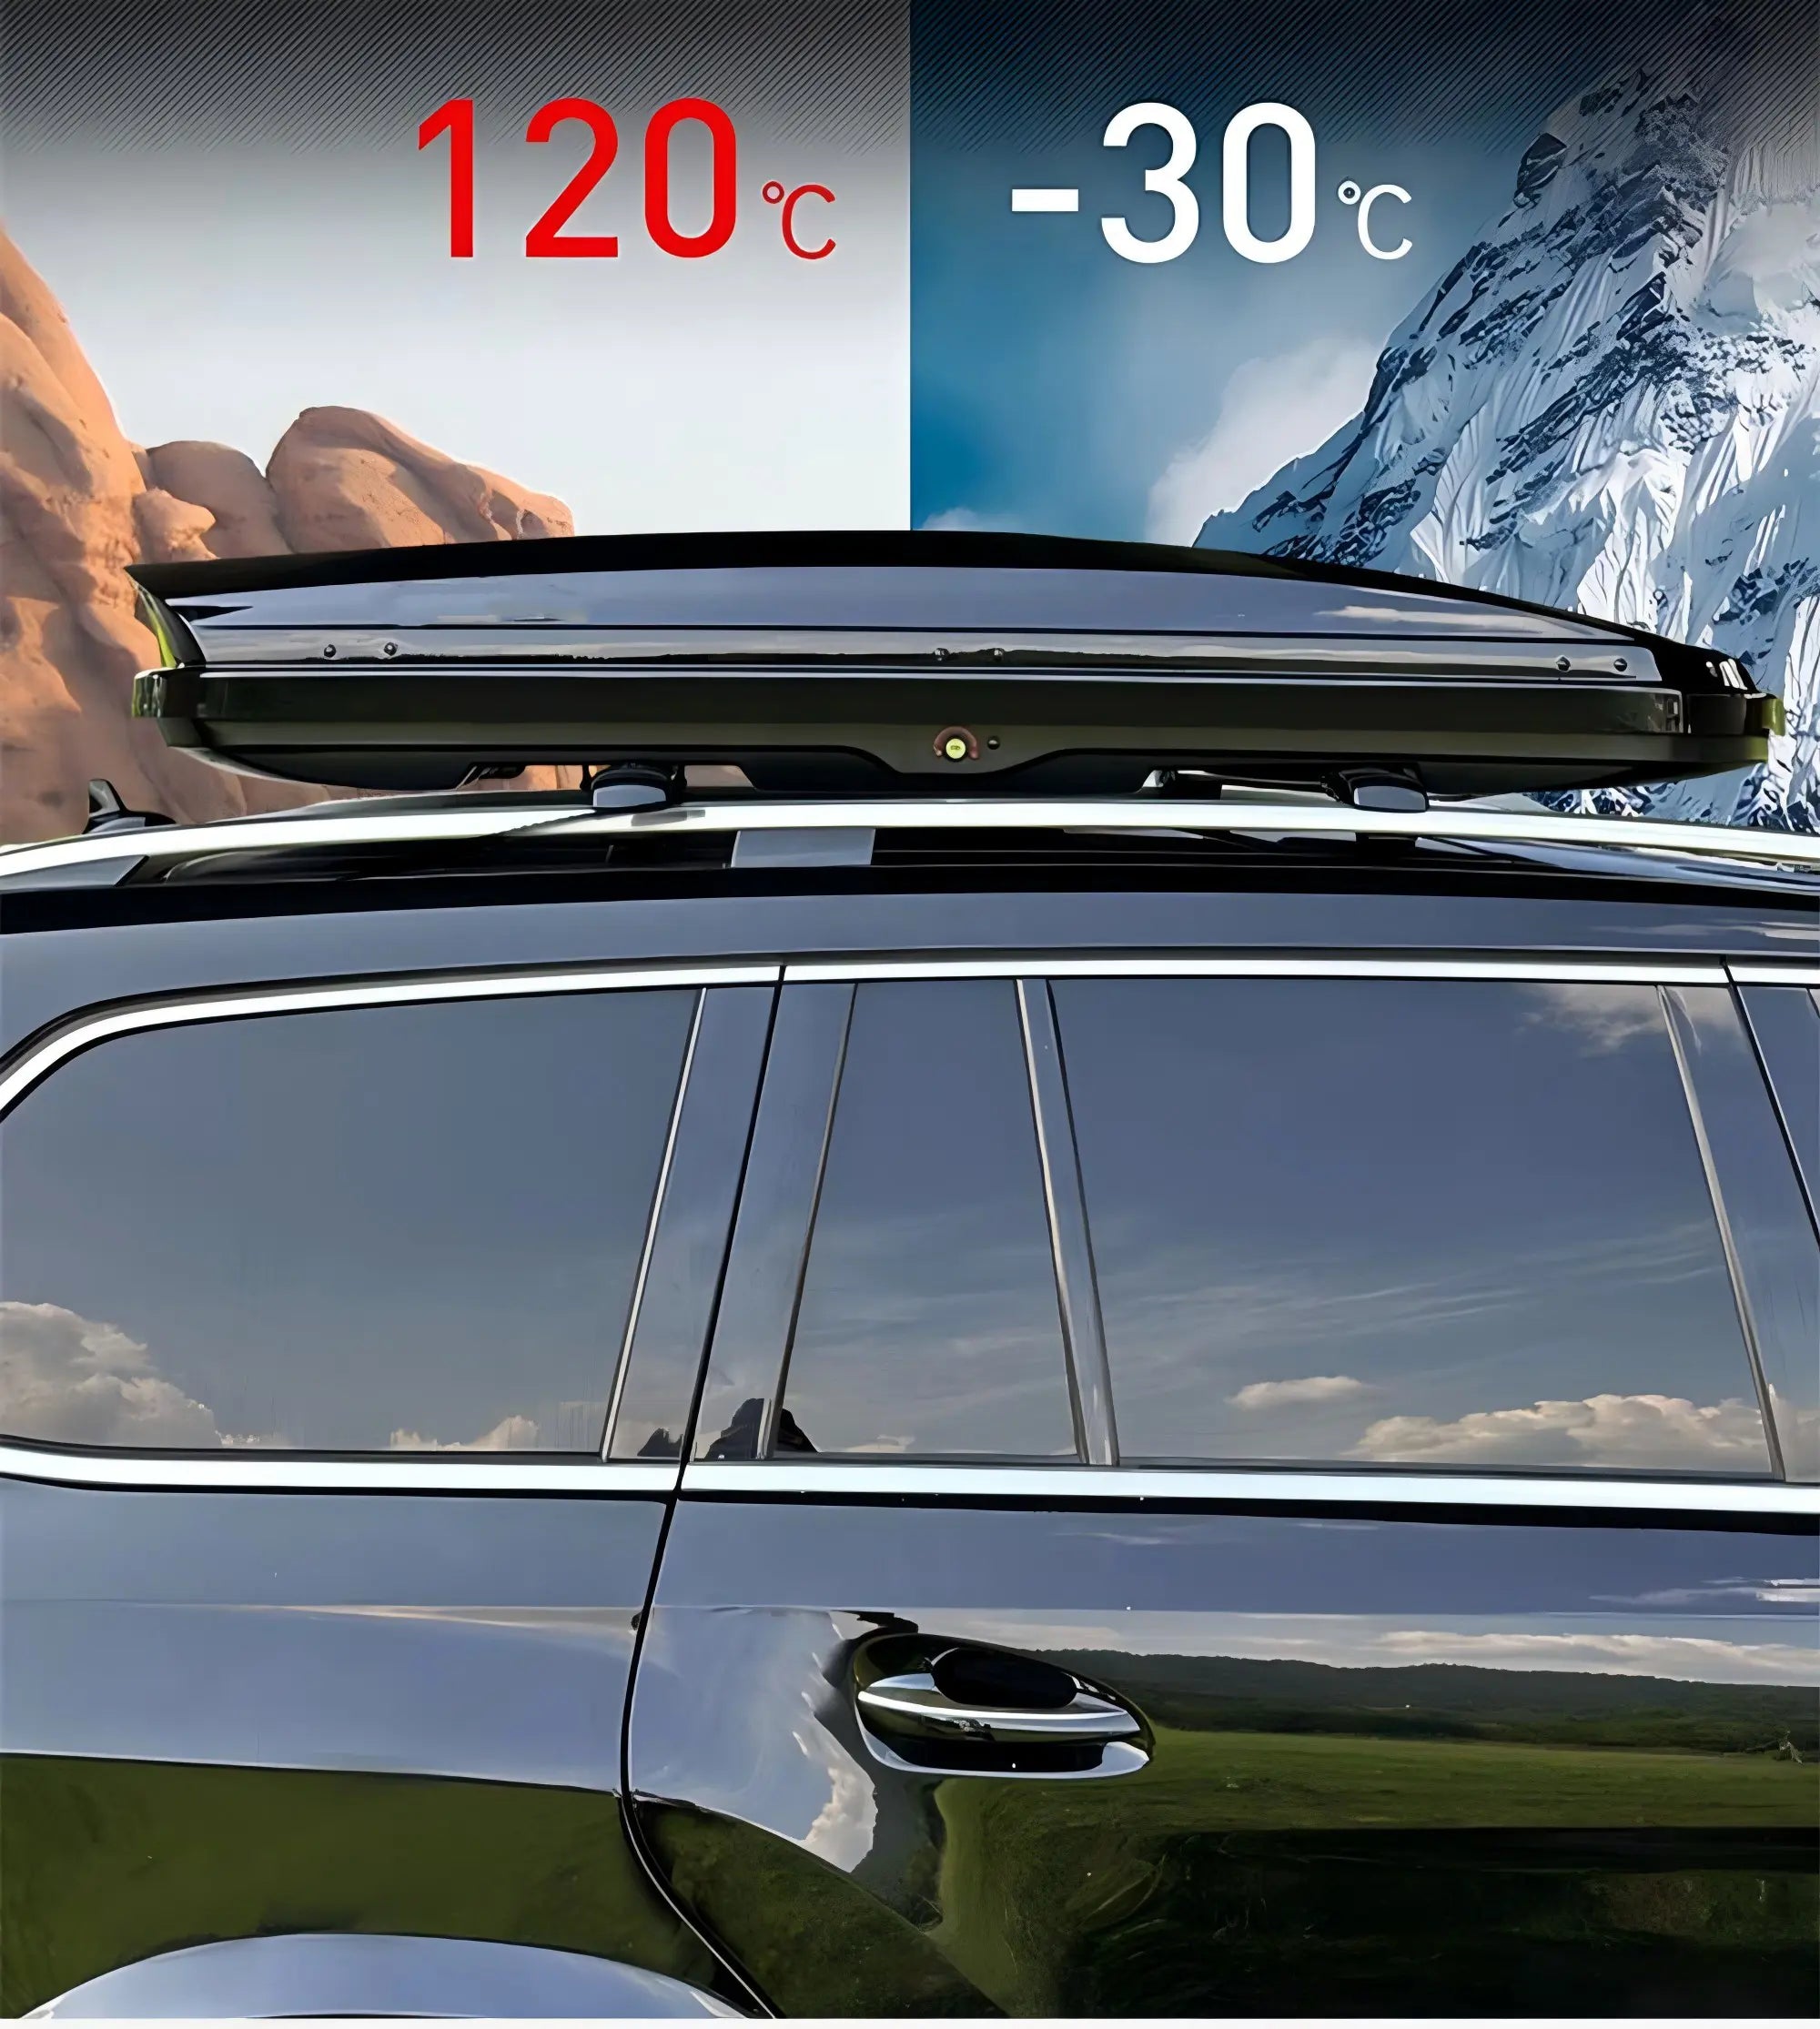
- Premium Aluminum Alloy Build: Crafted from high-strength aluminum alloy for superior durability, weather resistance, and a lightweight profile compared to standard plastic boxes.
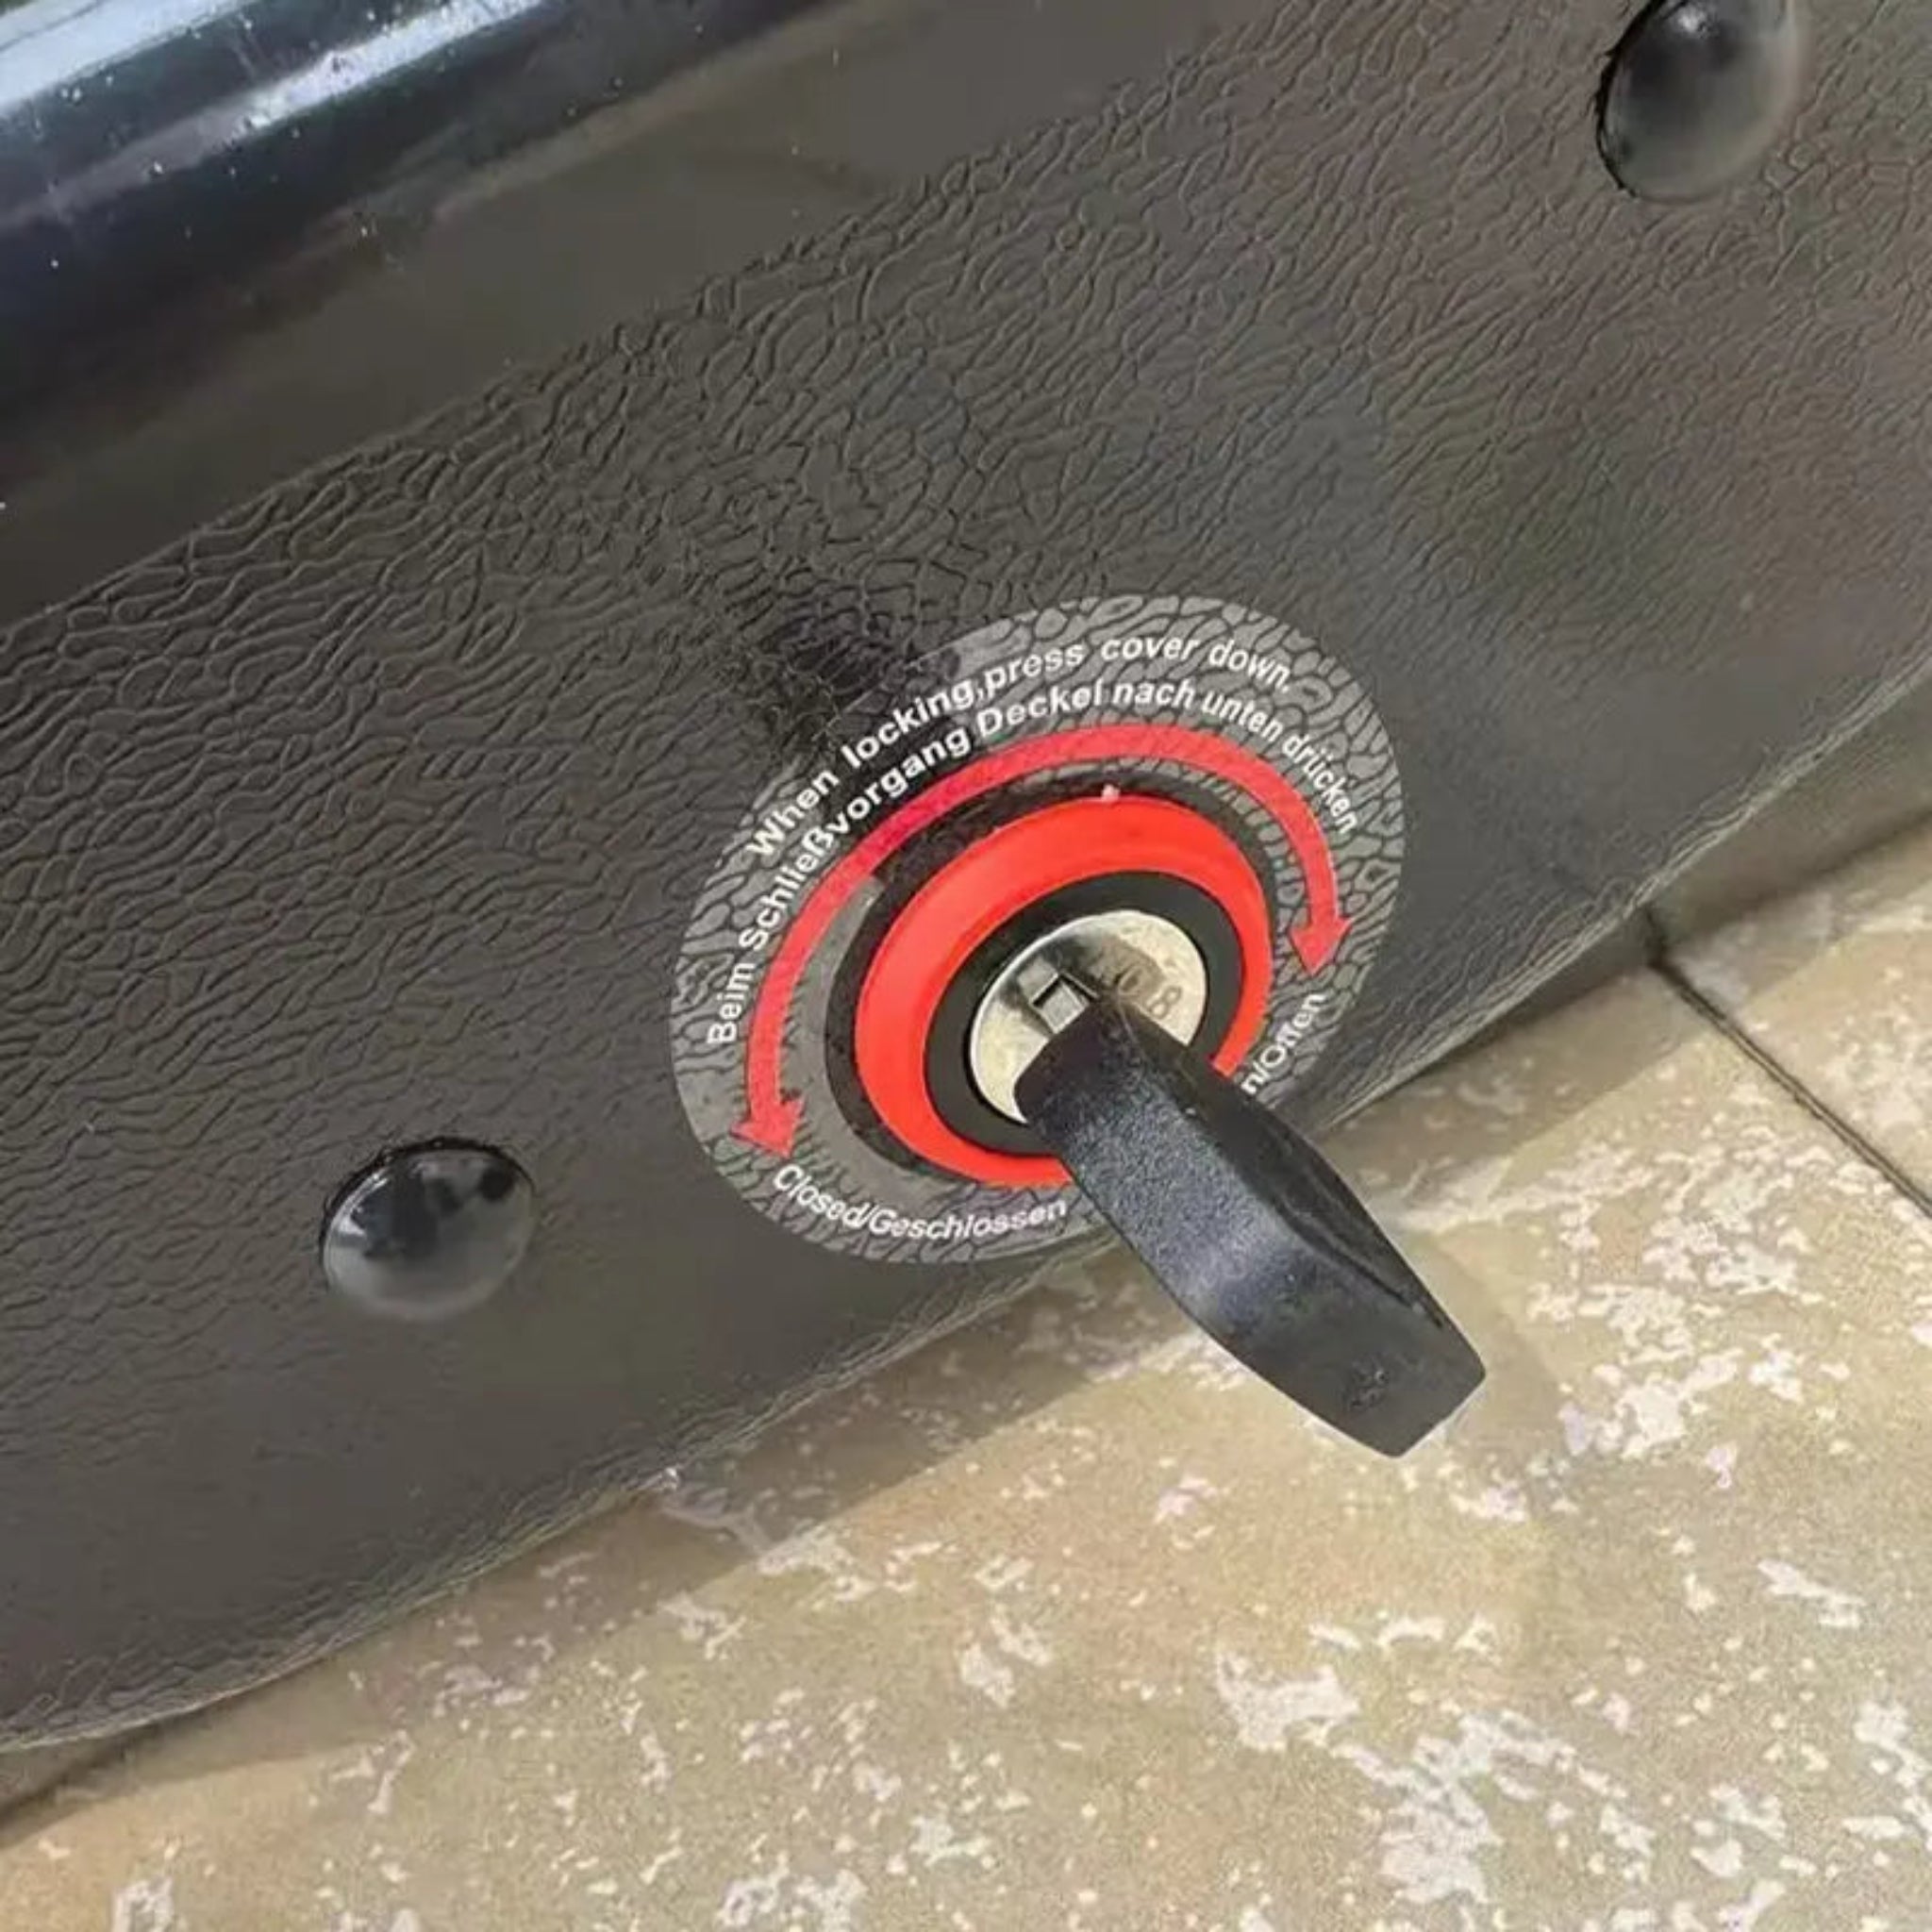
- Enhanced Anti-Theft Security: Features an upgraded safety system where the key can only be removed once all lock points are fully engaged, ensuring your cargo is always secure.
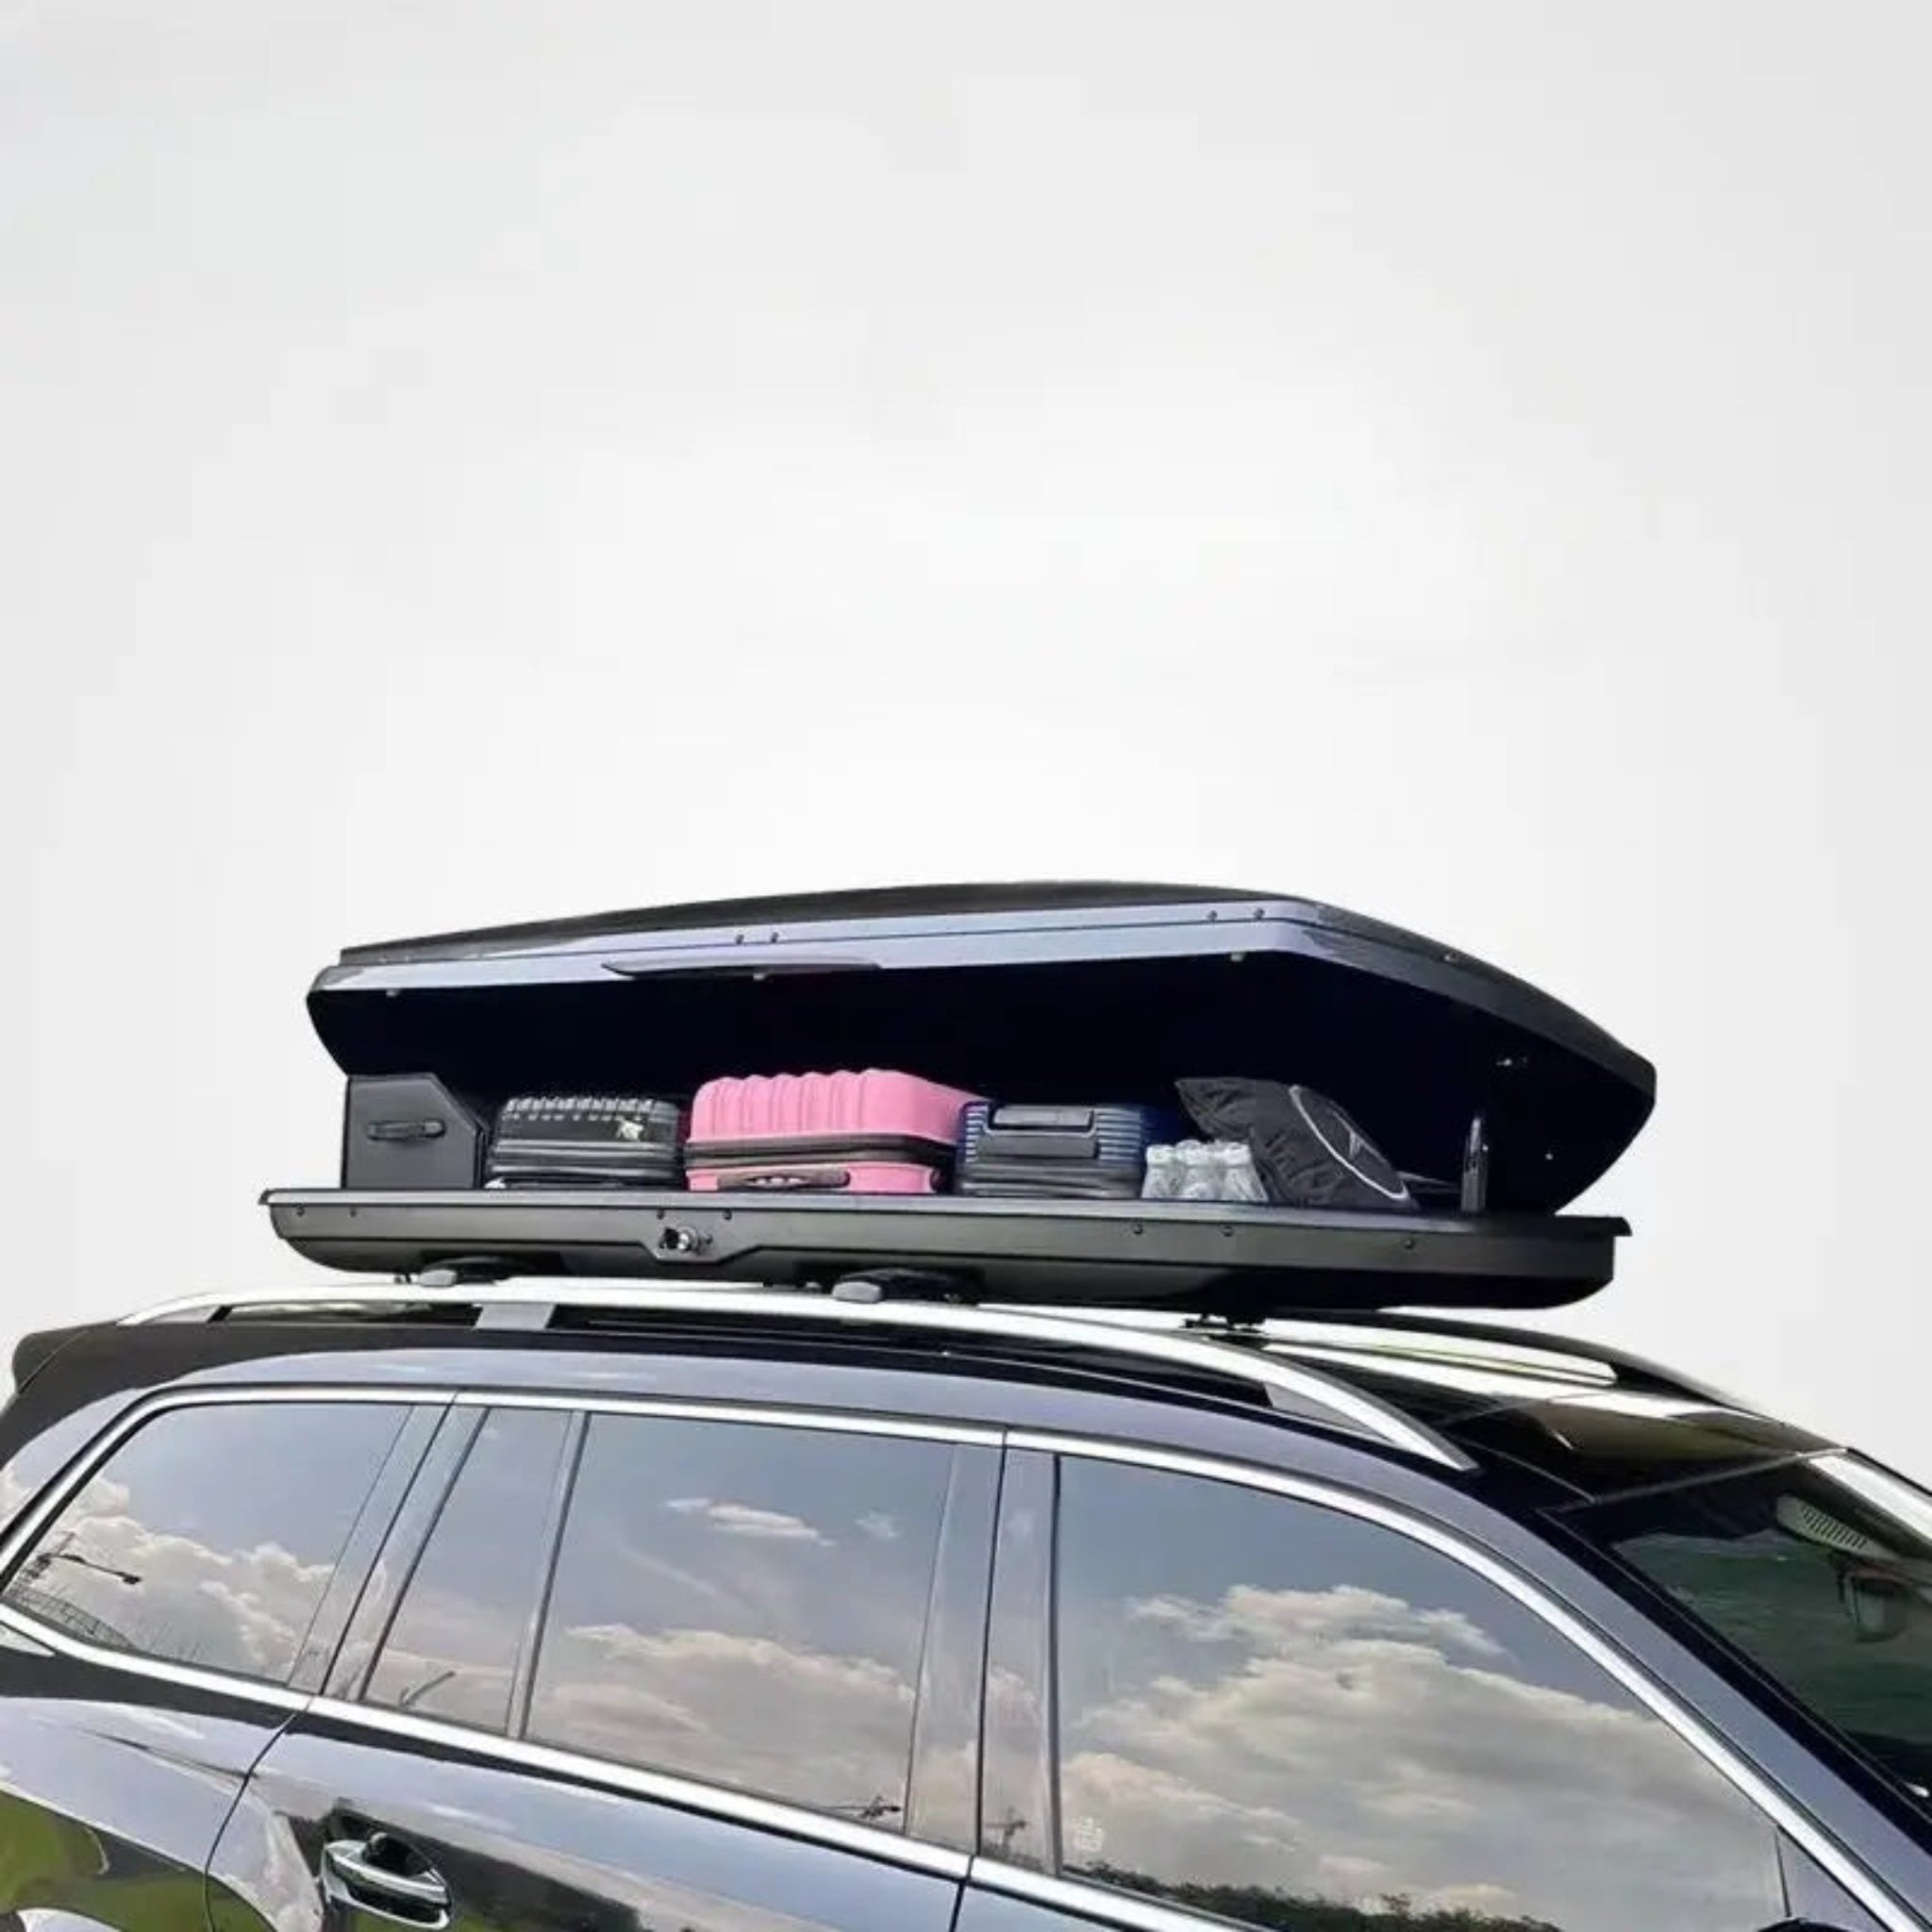
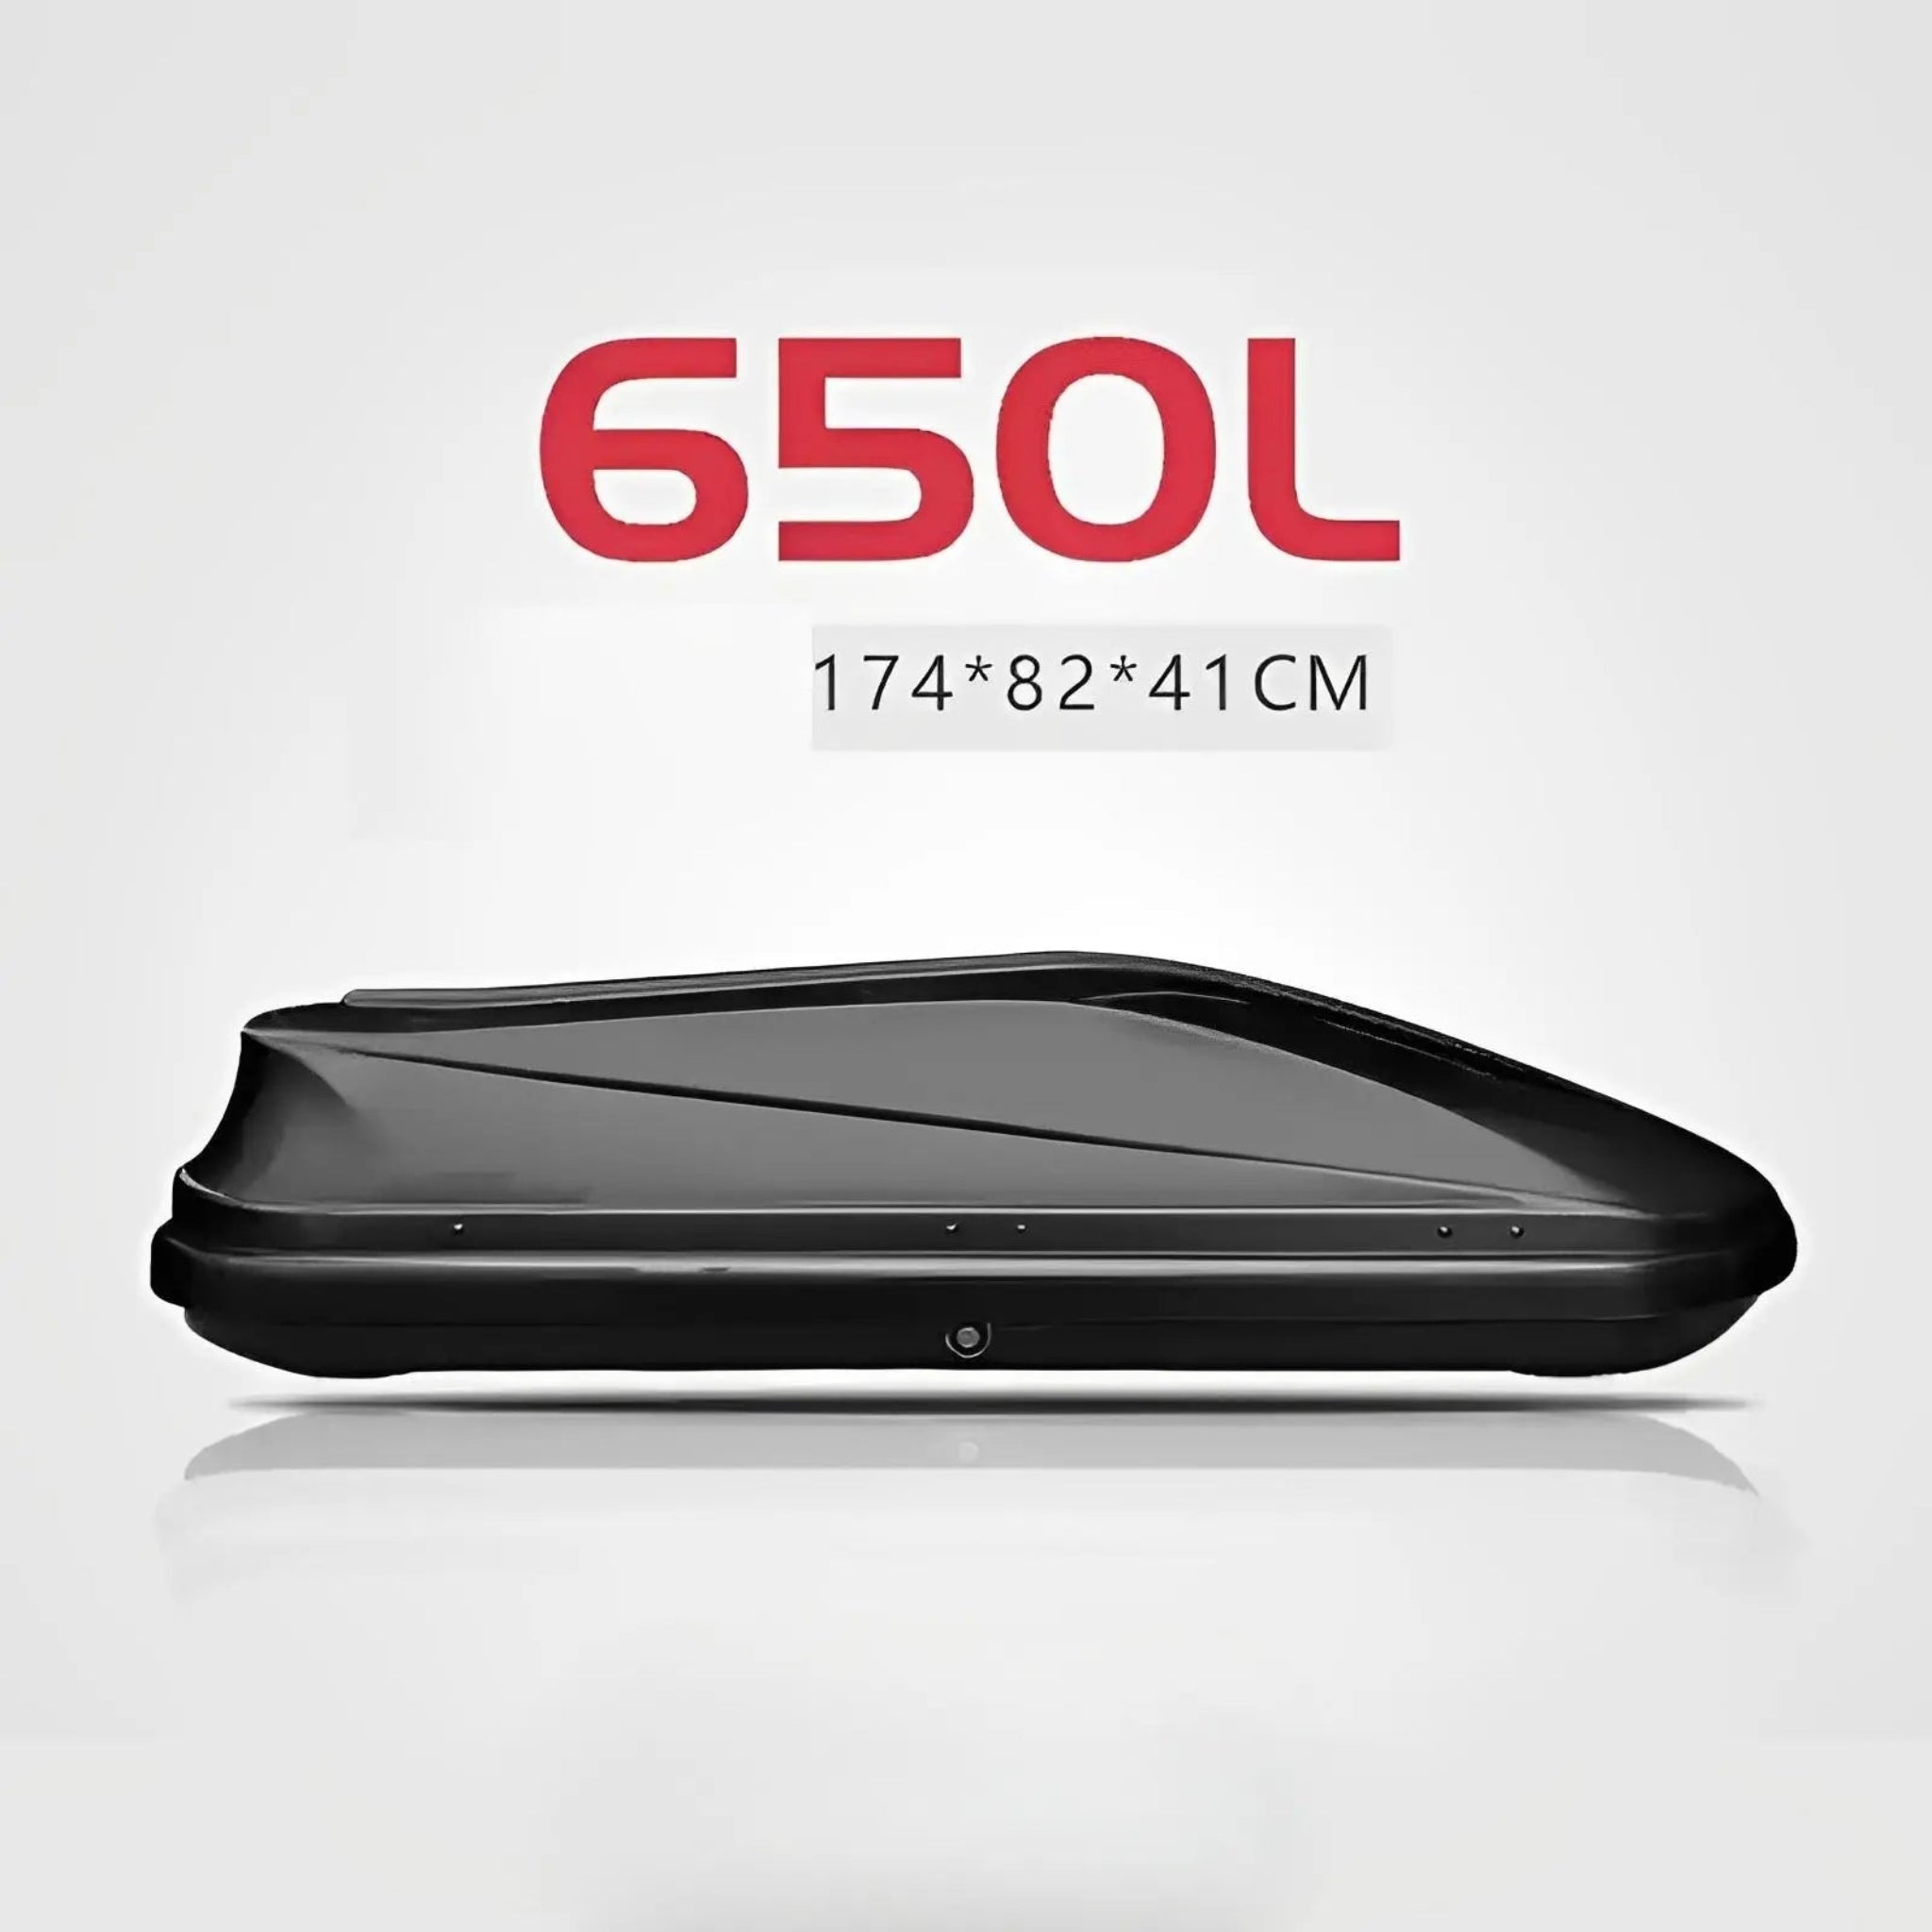
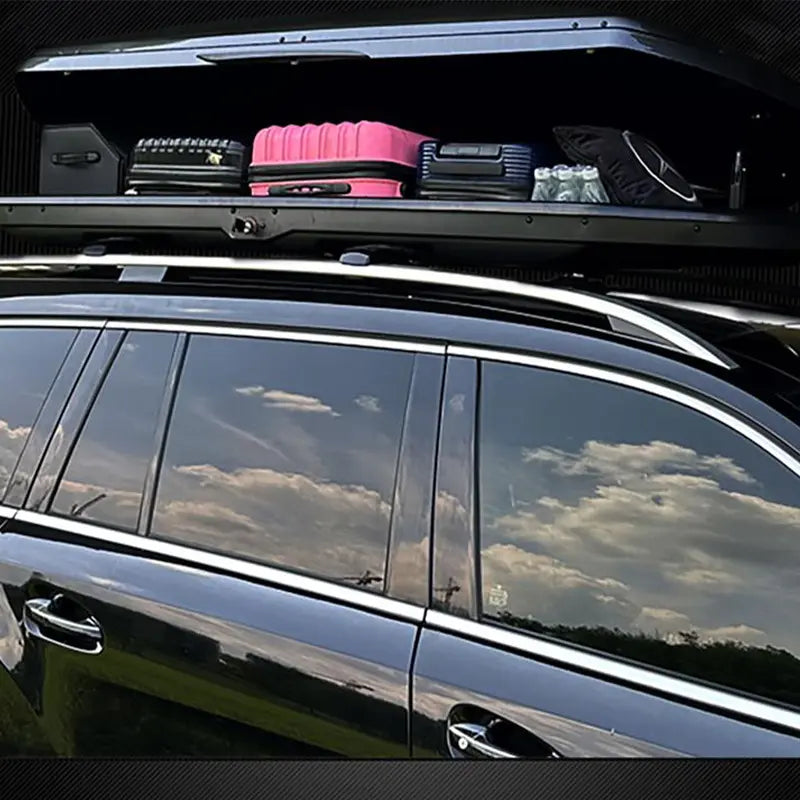
- Multiple Size Options: Available in 6 different capacities (580L, 600L, 650L, 750L, 820L, 900L) to match your vehicle's storage needs and roof load capacity.
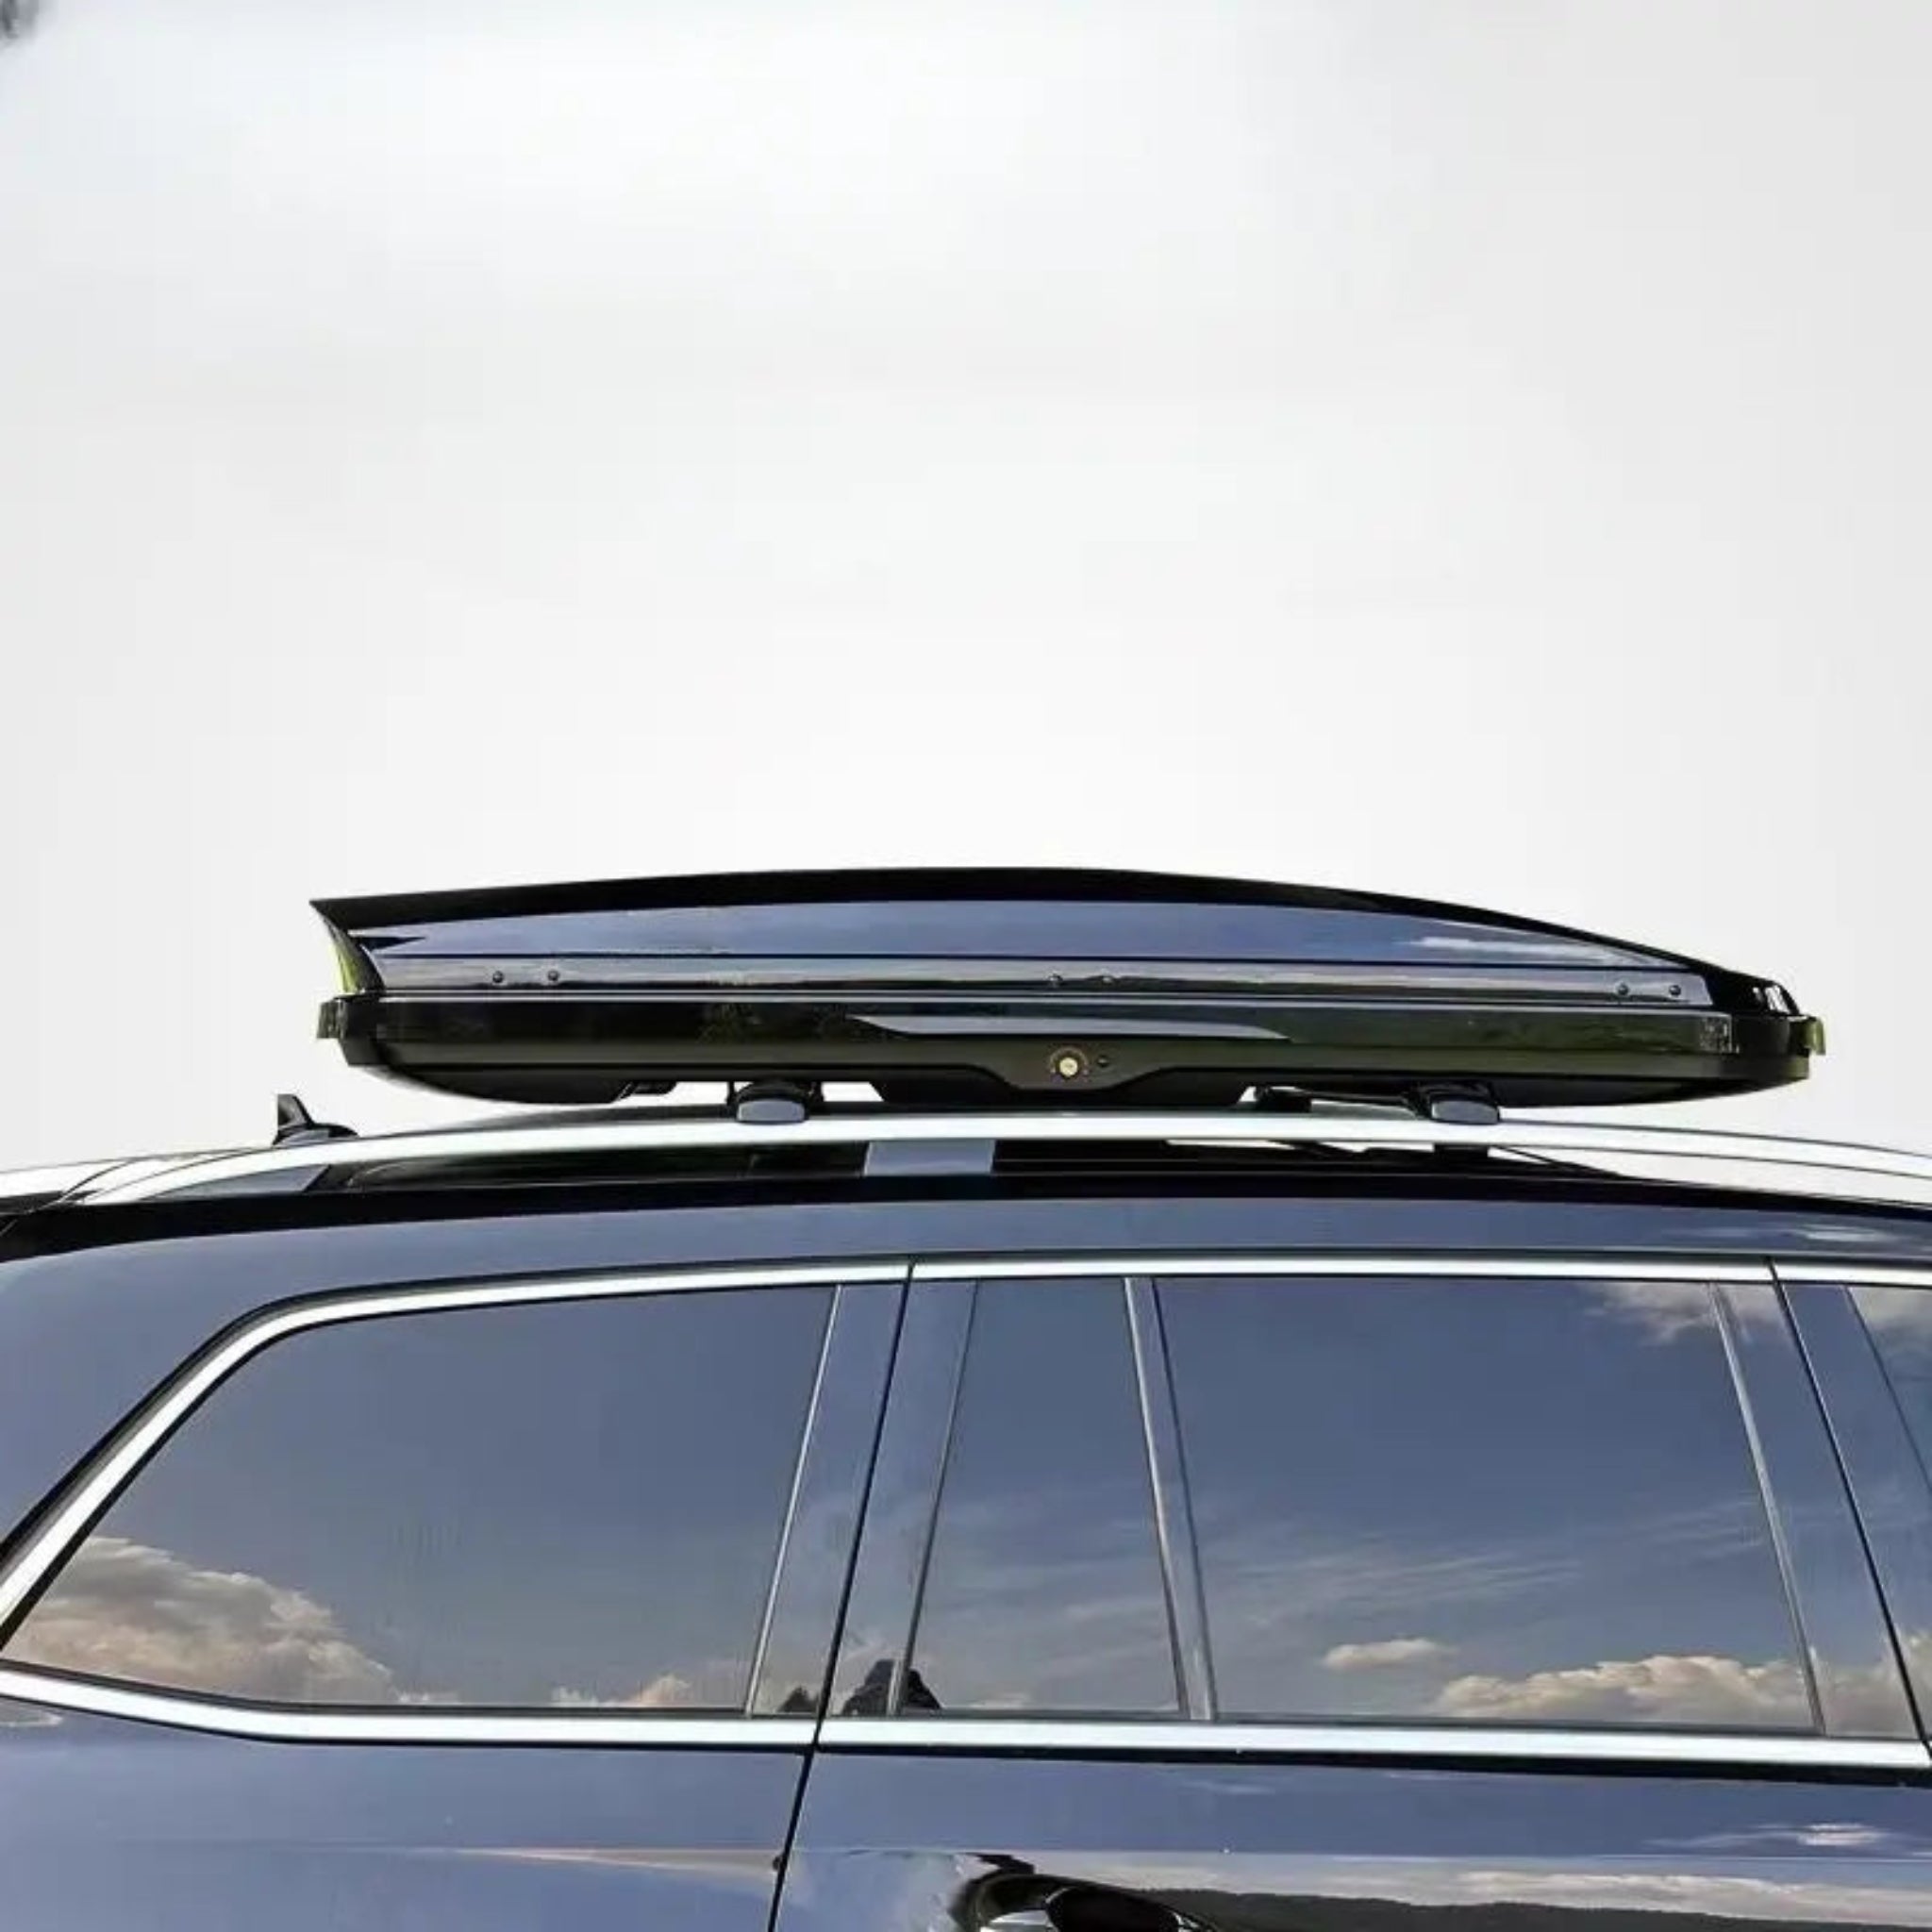
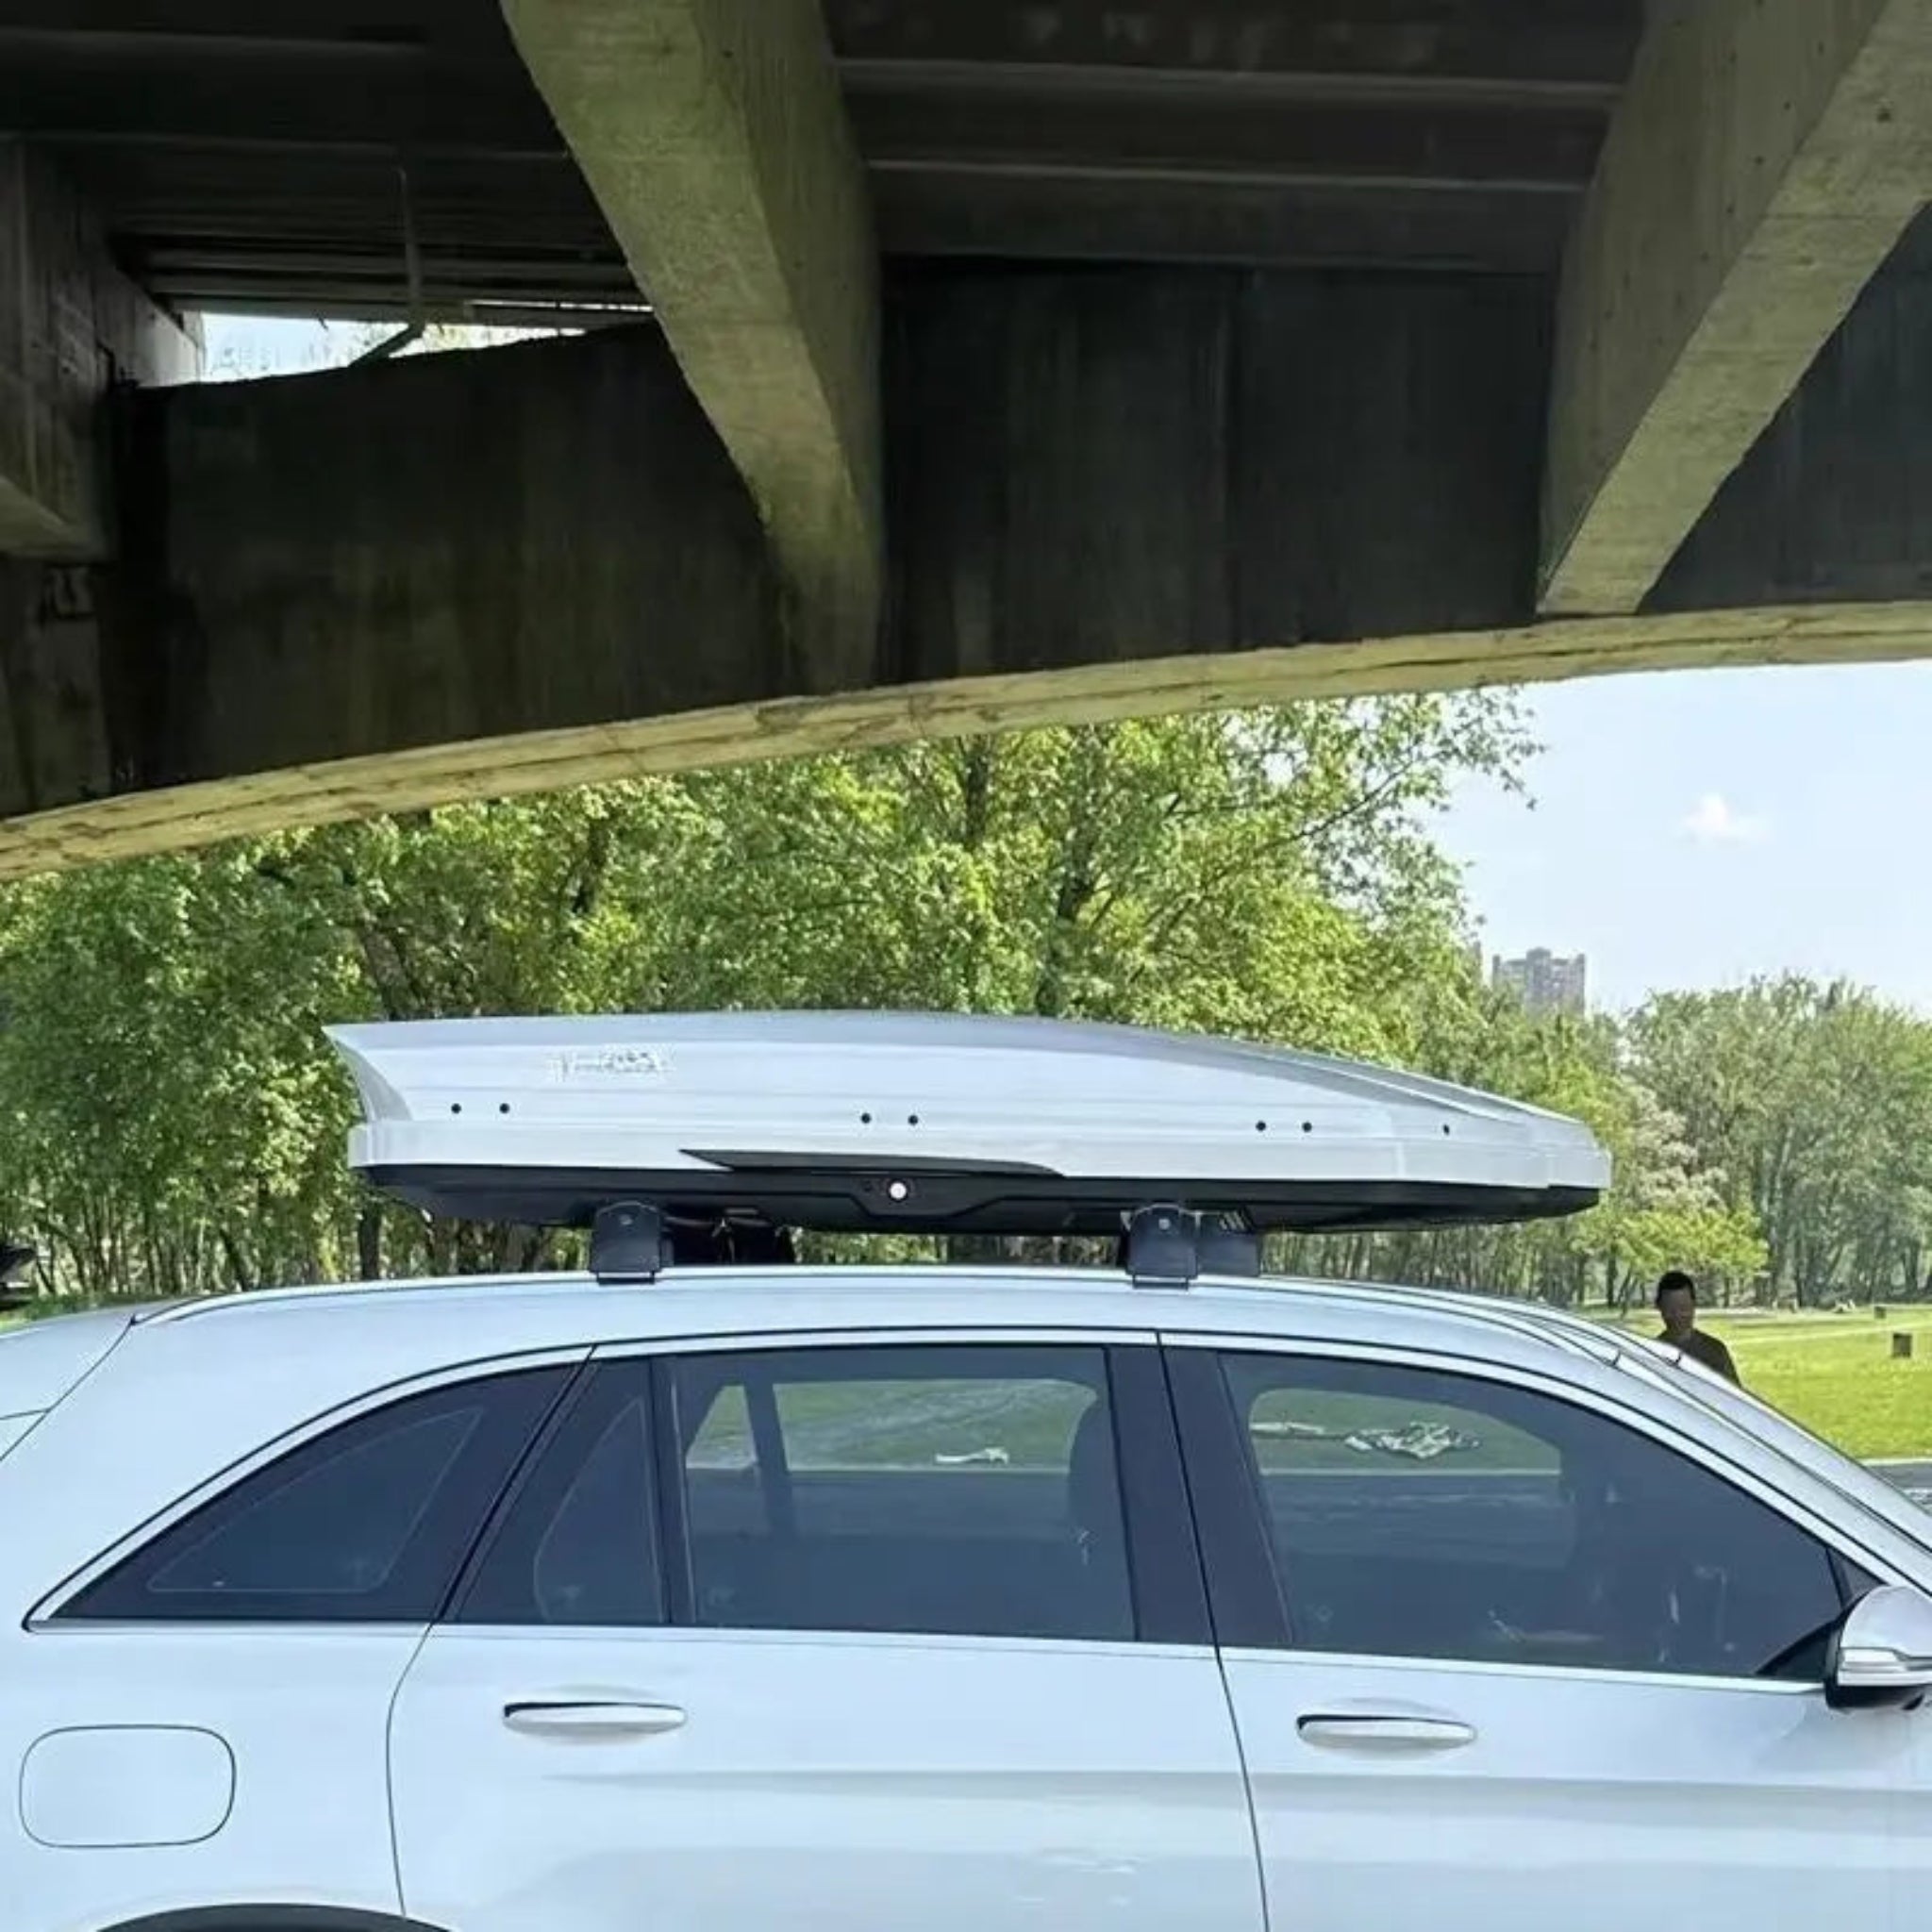
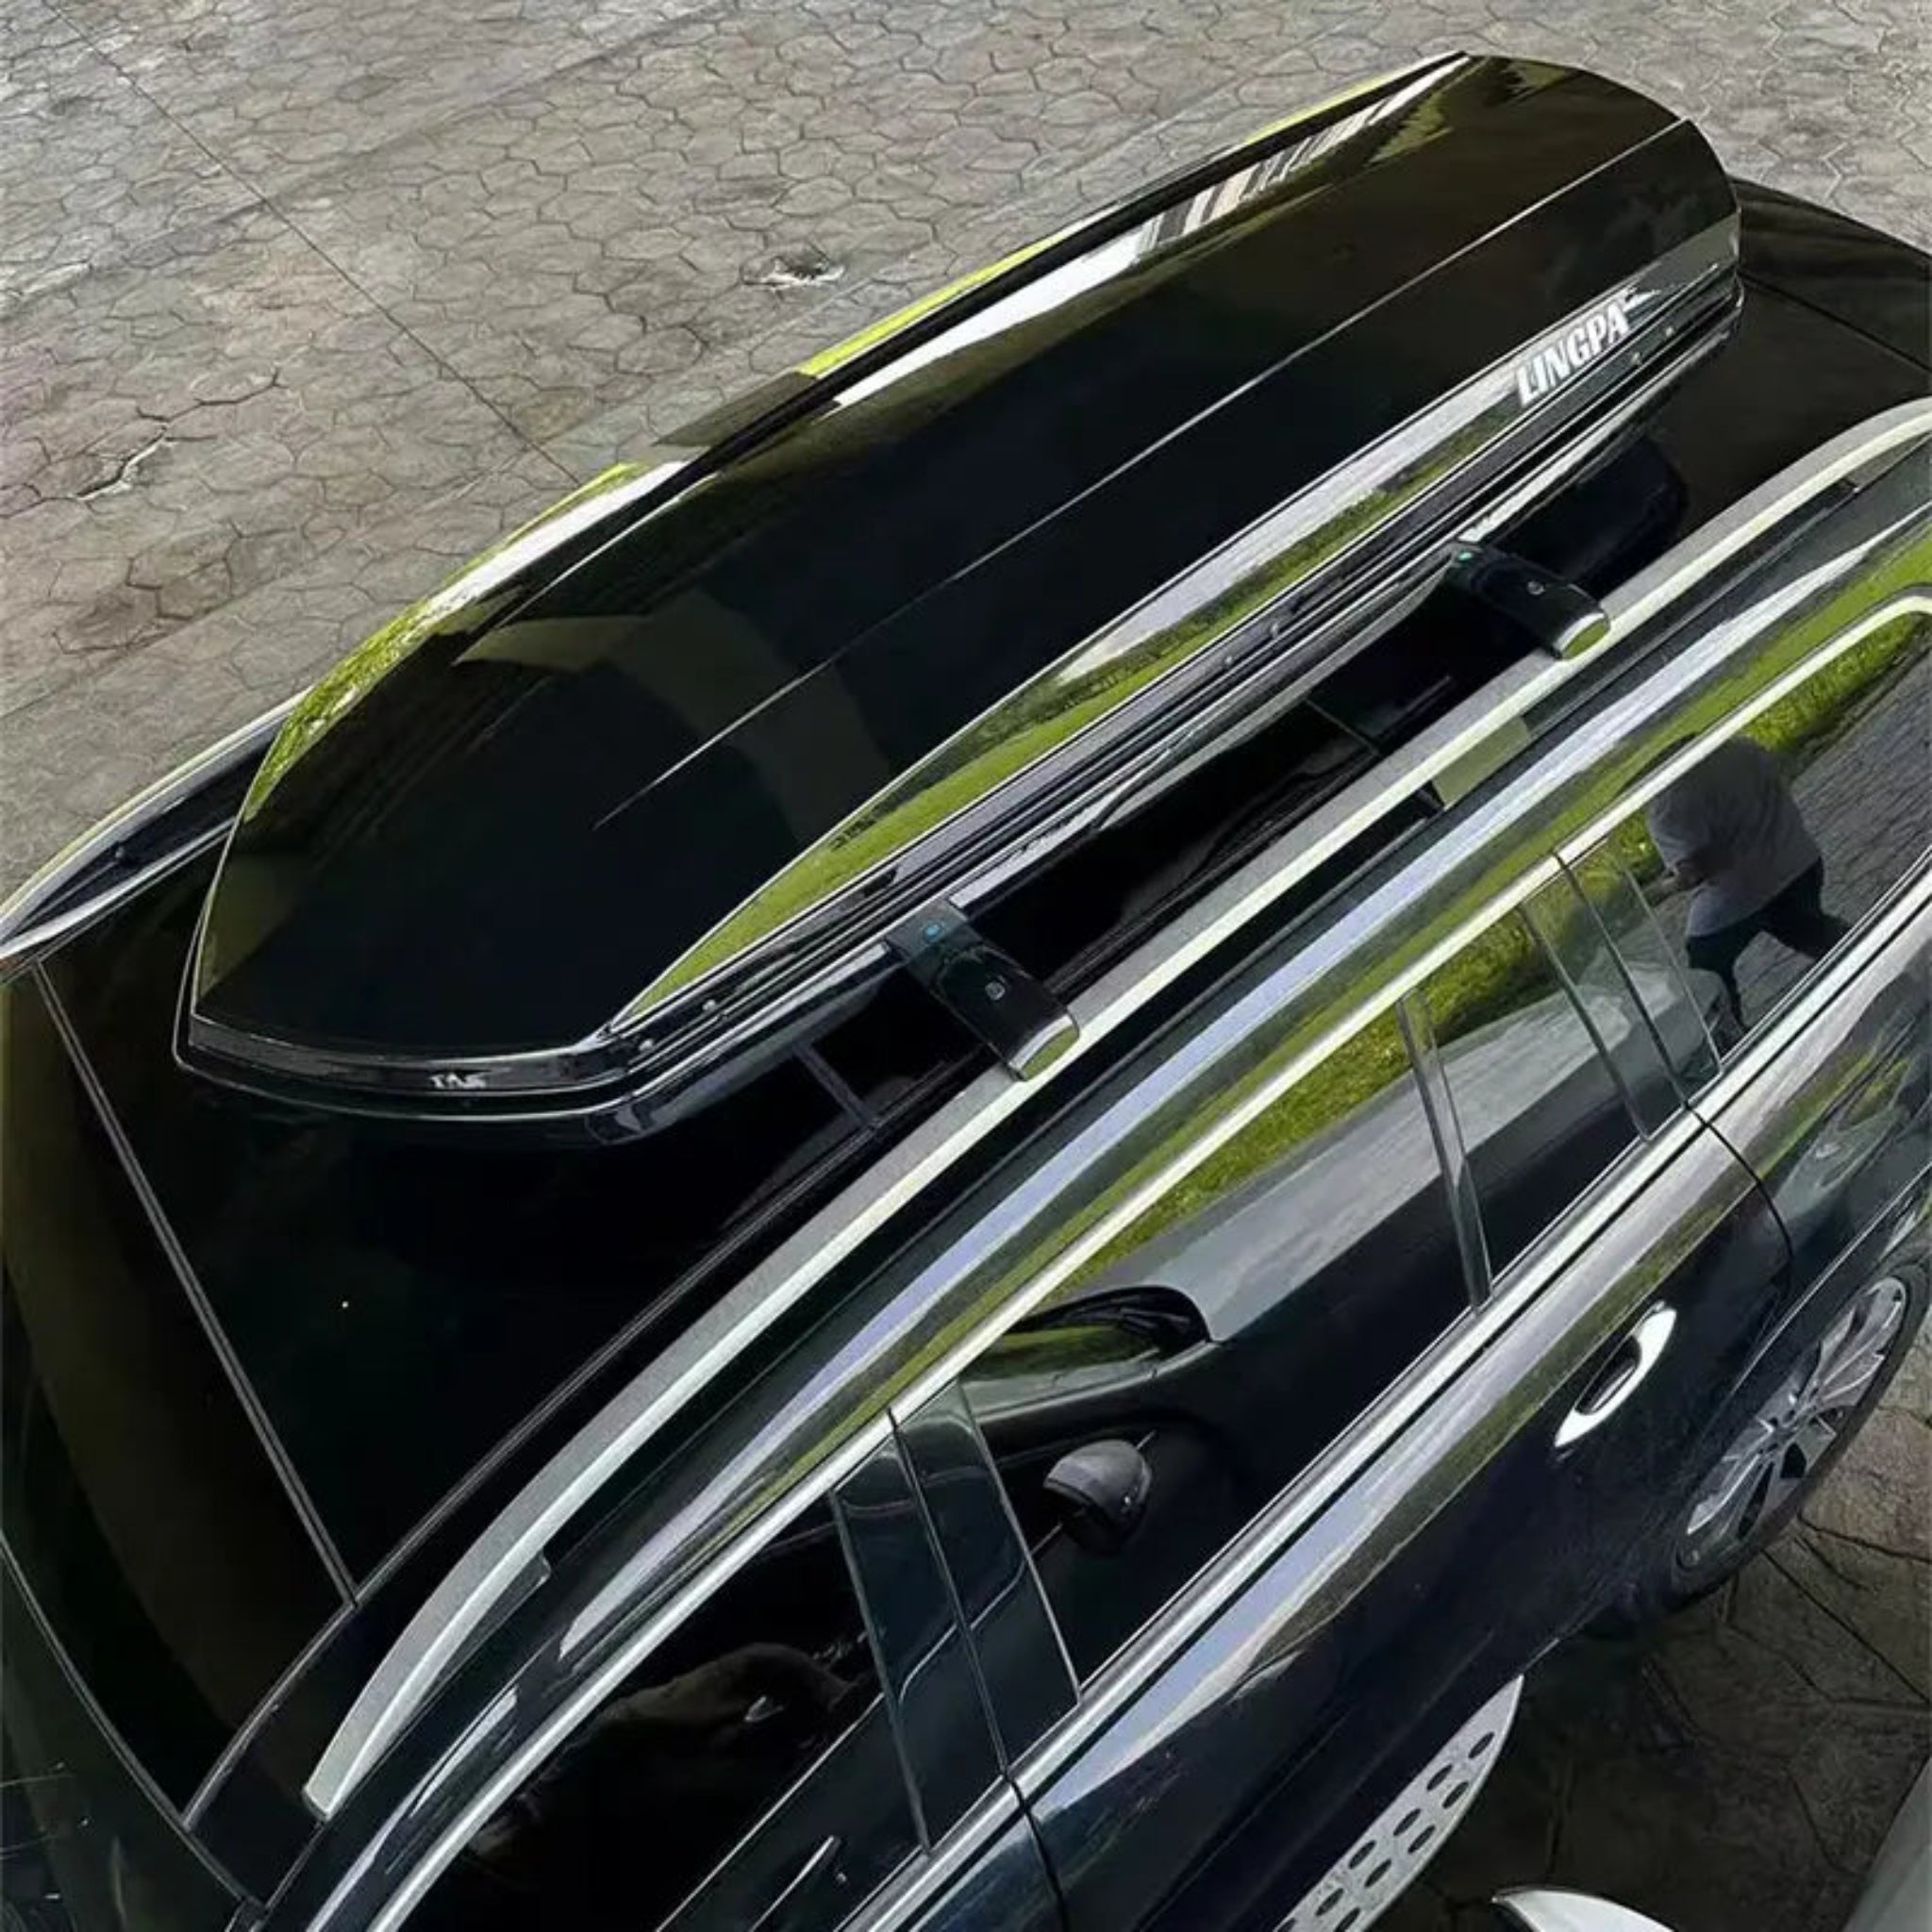
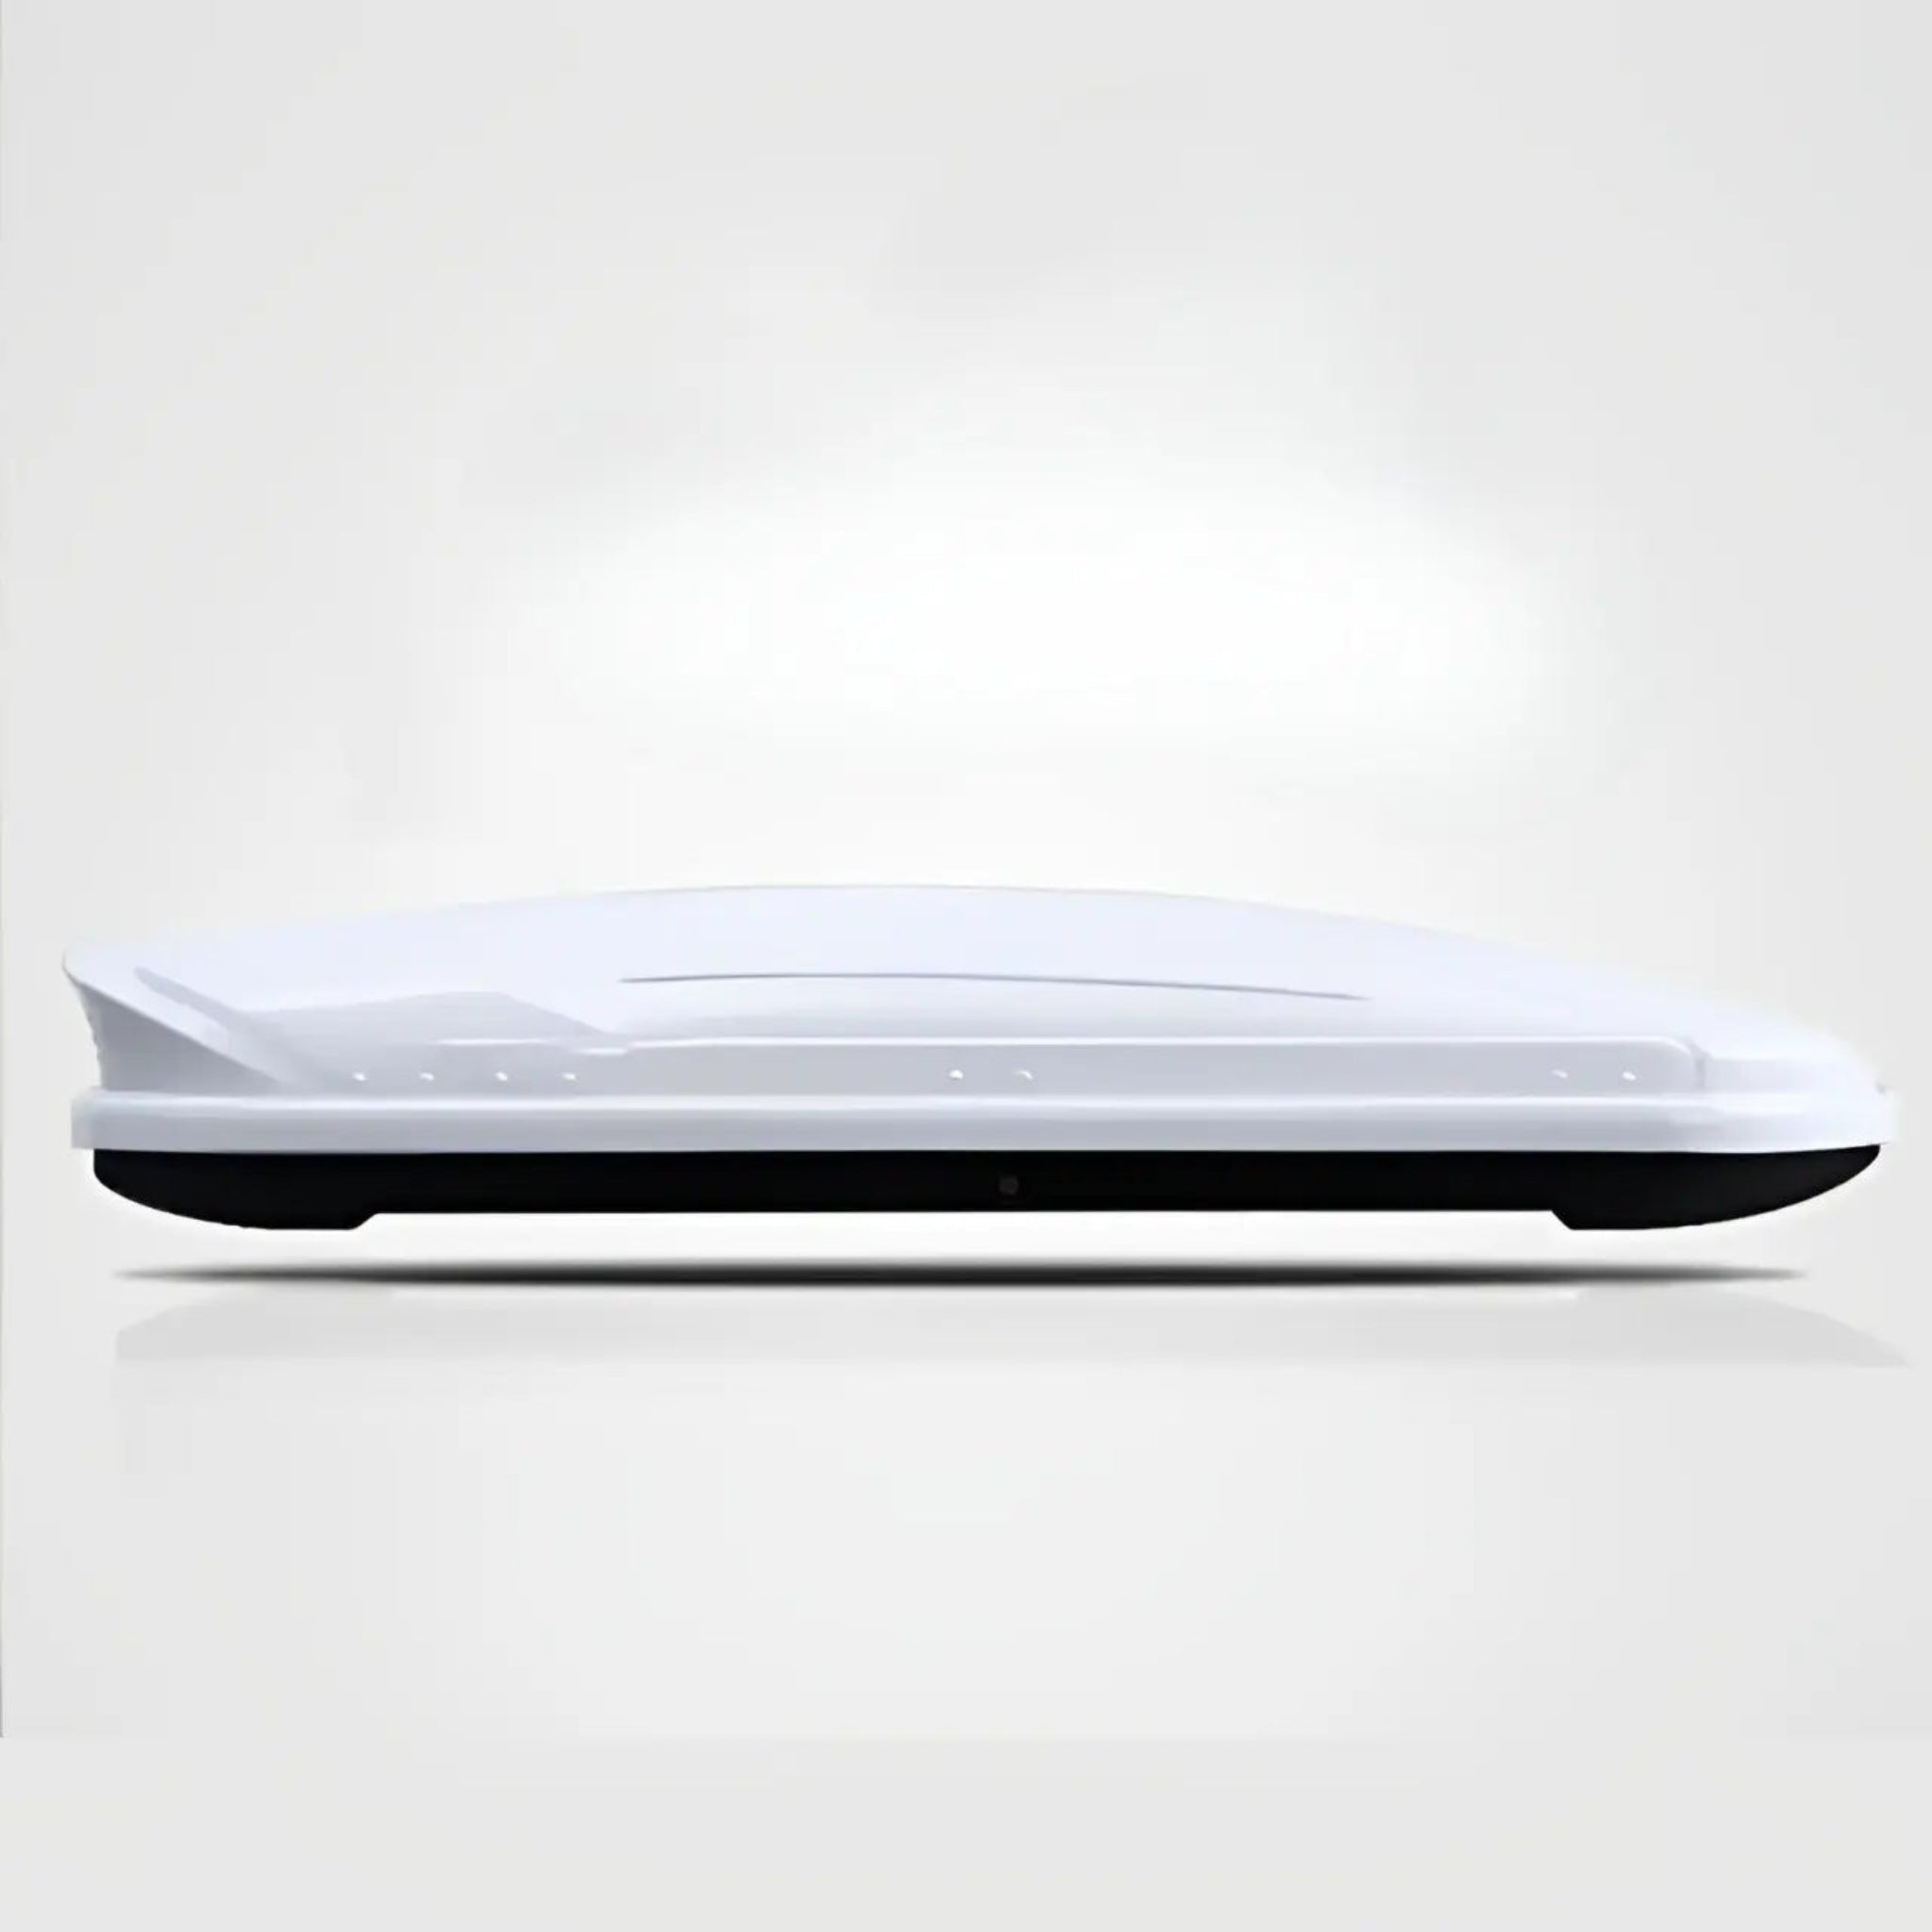
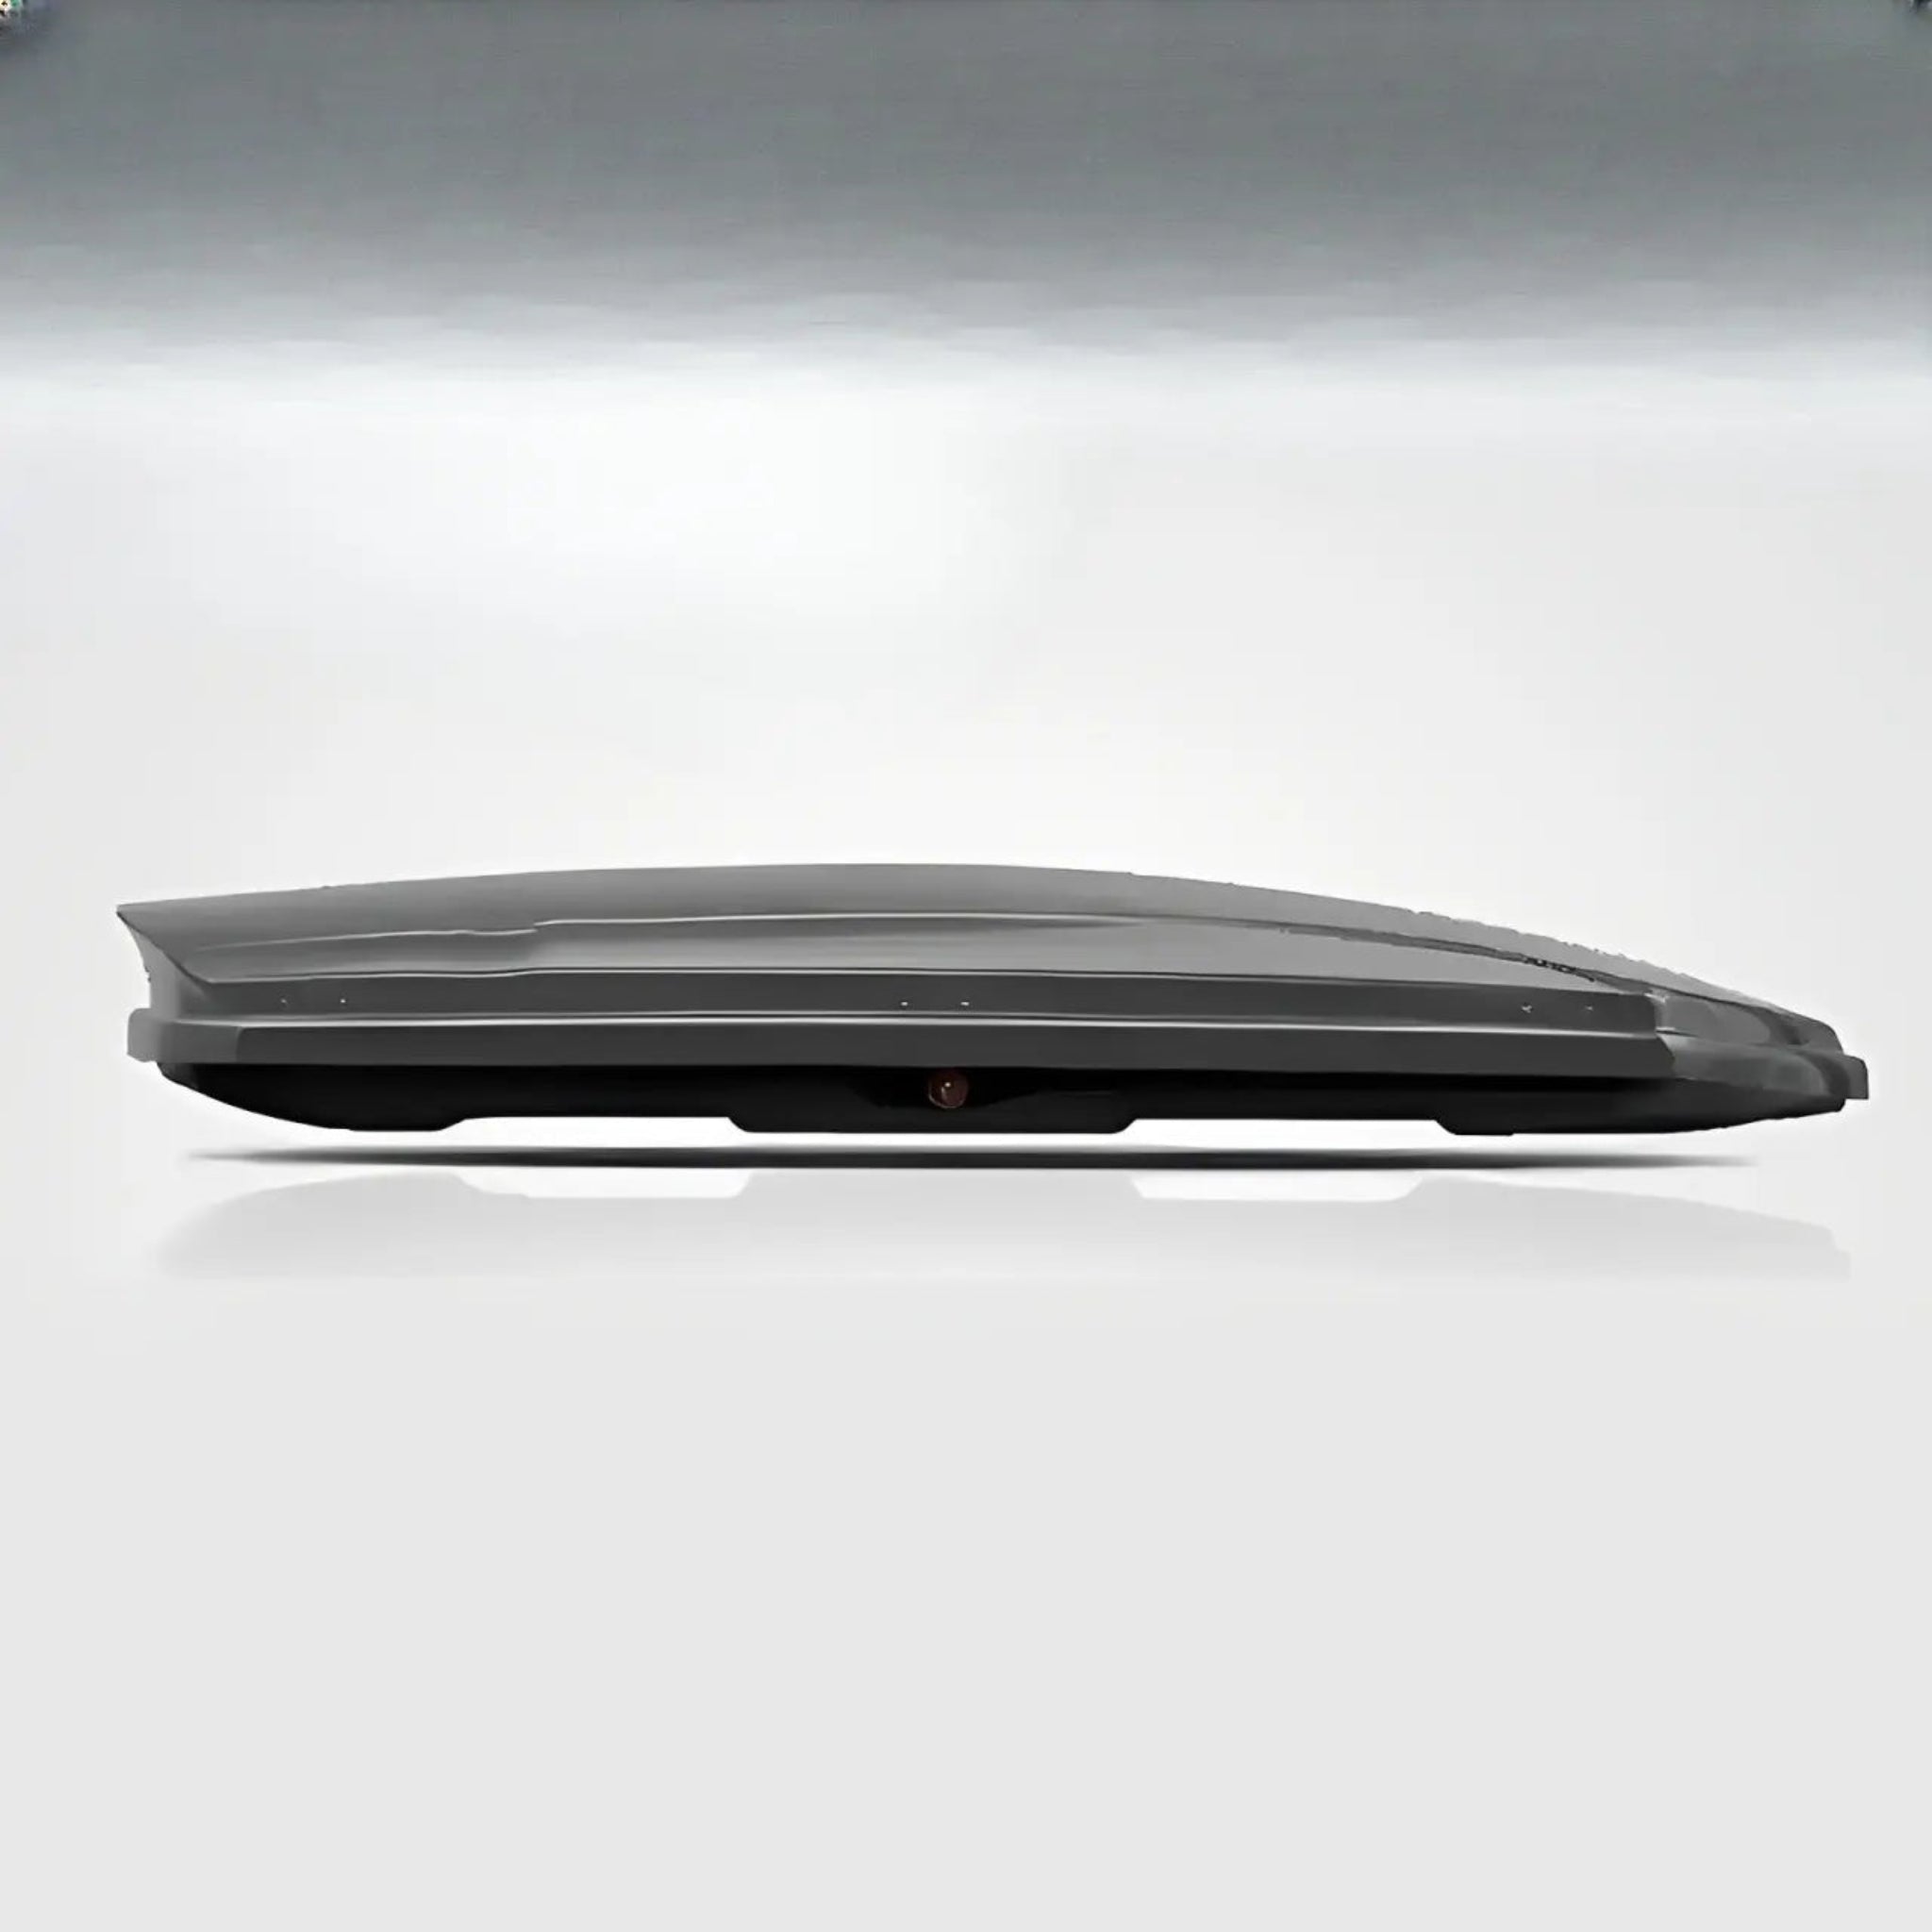
- Classic Color Selection: Choose from 3 timeless colors (Black, White, Gray) plus Carbon Fibre finish to perfectly complement your vehicle's aesthetics.
- Smart Key System: Each unit comes with dedicated lock cylinders and keys, providing professional-grade security and peace of mind during travel.
- Adjustable Mounting Straps: Secure straps with adjustable tension allow customization based on roof box size and vehicle configuration.
- Hassle-Free Installation: Designed for quick and easy setup with comprehensive video tutorial guidance and tool-friendly mounting system.


1
/
11
Upgraded Roof Cargo Box with Bars
2,943.00 SAR
Shipping fees will be calculated at checkout.
Quantity
Features & Benefits
What's Included
Product Gallery
Installation Guide
Total time
45-60 minutes
Drilling required
No - pre-drilled
Warranty
Yes - bolt-on
Shipping insurance
In the event ofalost or damaged package we guarantee a full refund or replacement product
Expedited order support
We support expedited order processing, can contact us.
securety payments
Easy returns and refundsSecure payments
Return Policy
30-day return policyavailable forall purchases.