

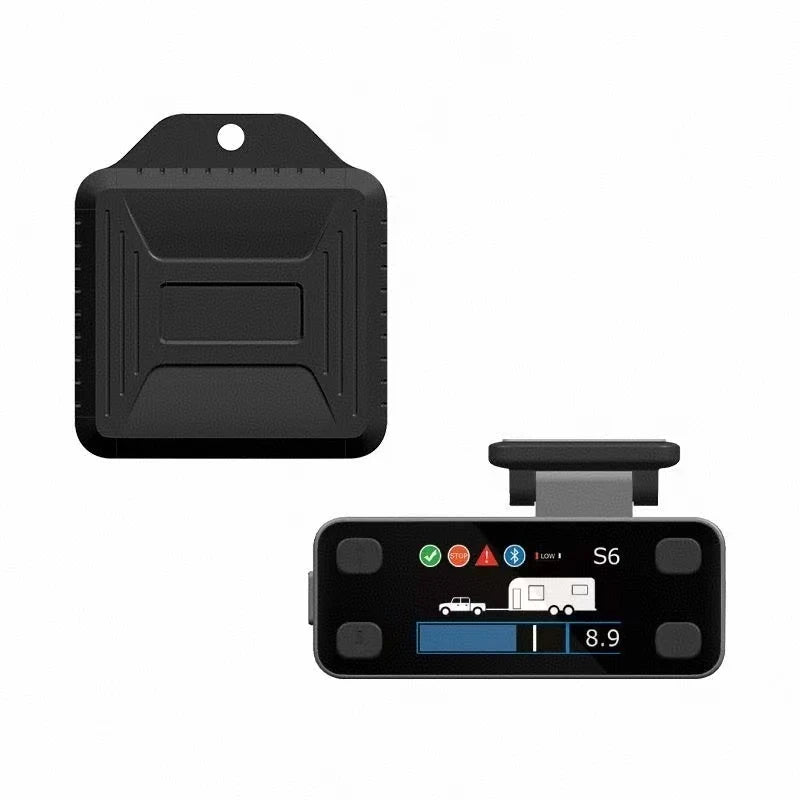
- Proportional inertial braking - high-precision sensors in both the display and the main unit measure real deceleration and scale trailer brake output to match, delivering smooth, unified stops instead of on/off grabbing. Output increases proportionally on hills, through corners and over rough roads.
- Electric and electro-hydraulic - a menu-selectable brake mode drives both standard electromagnetic drum brakes and electro-hydraulic actuator brakes, on trailers and caravans from 1 to 4 axles.
- 8 trailer memory profiles - store brake type, power and boost for up to 8 different trailers. Hold the S button for 2 seconds to switch profiles instantly and tow a different trailer without re-tuning.
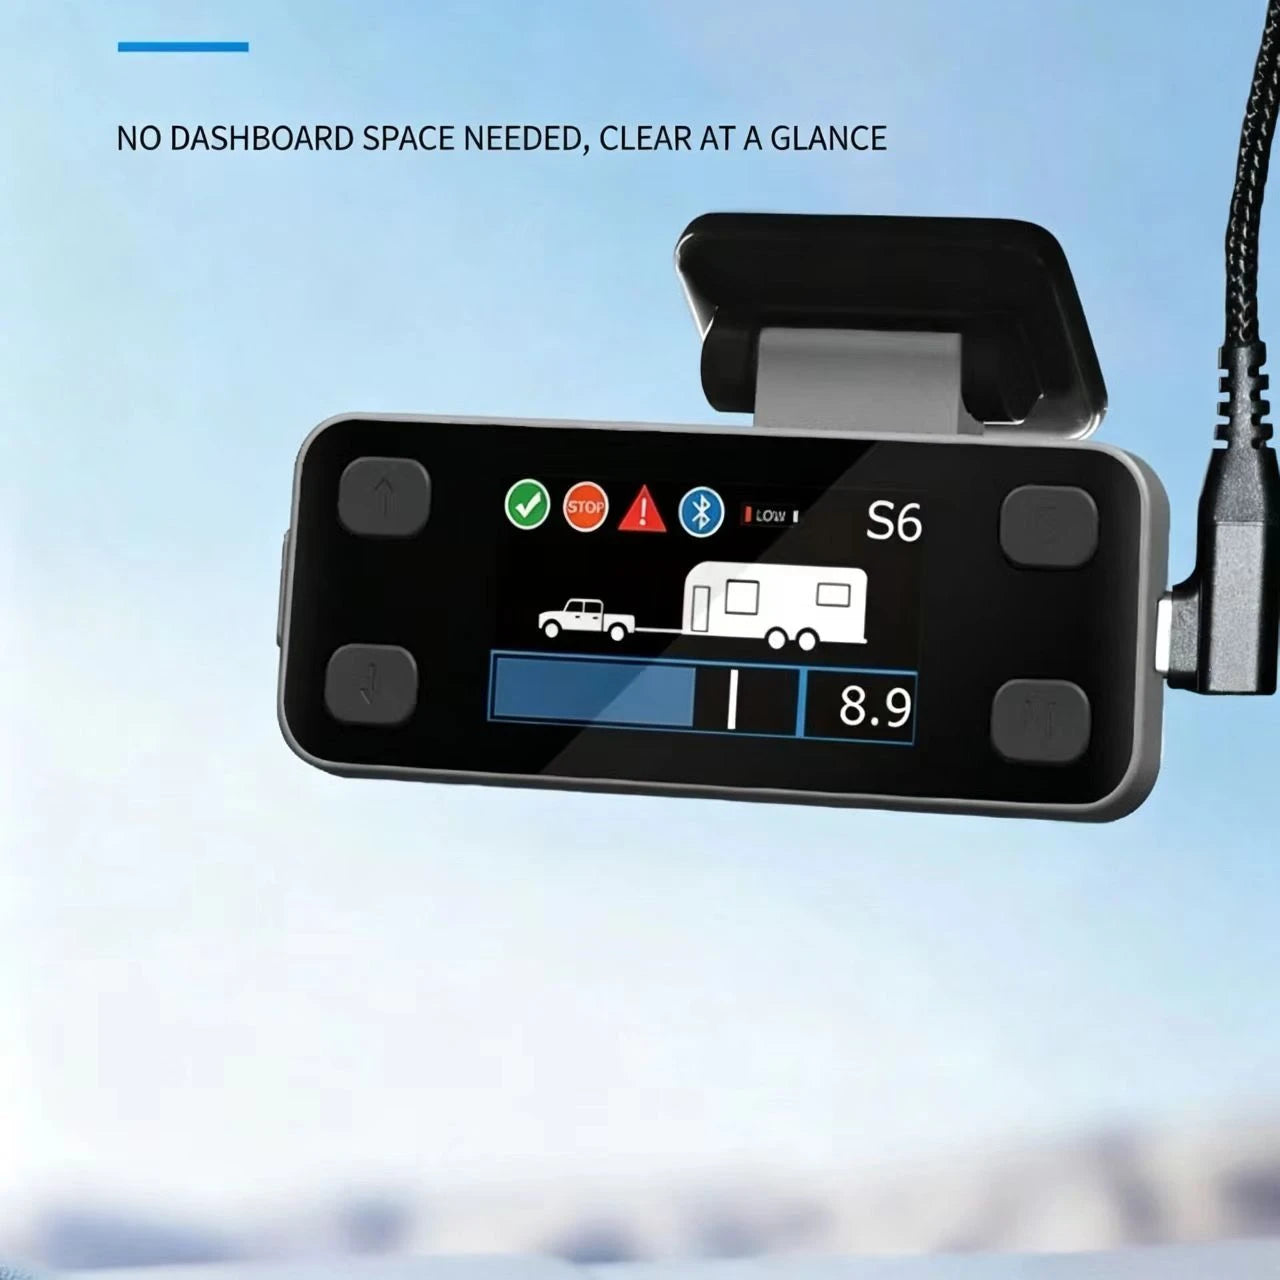
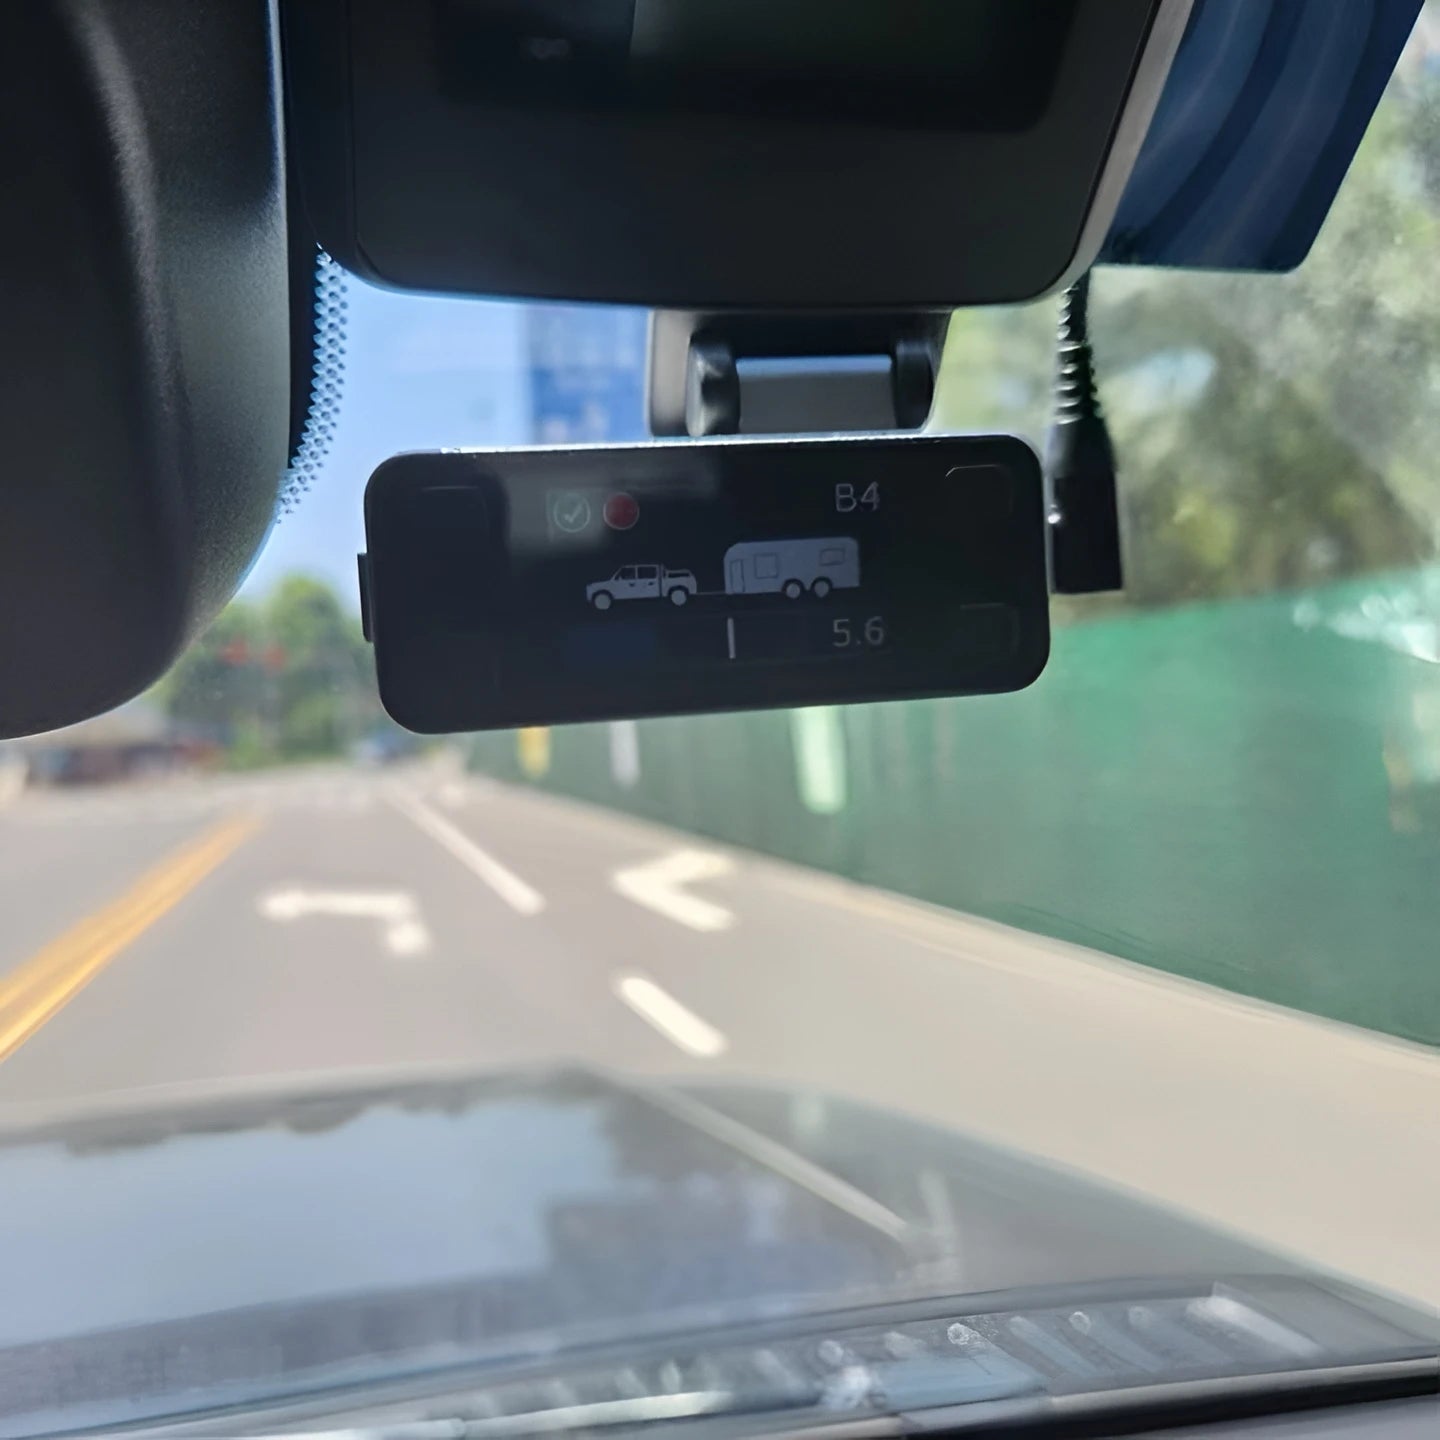
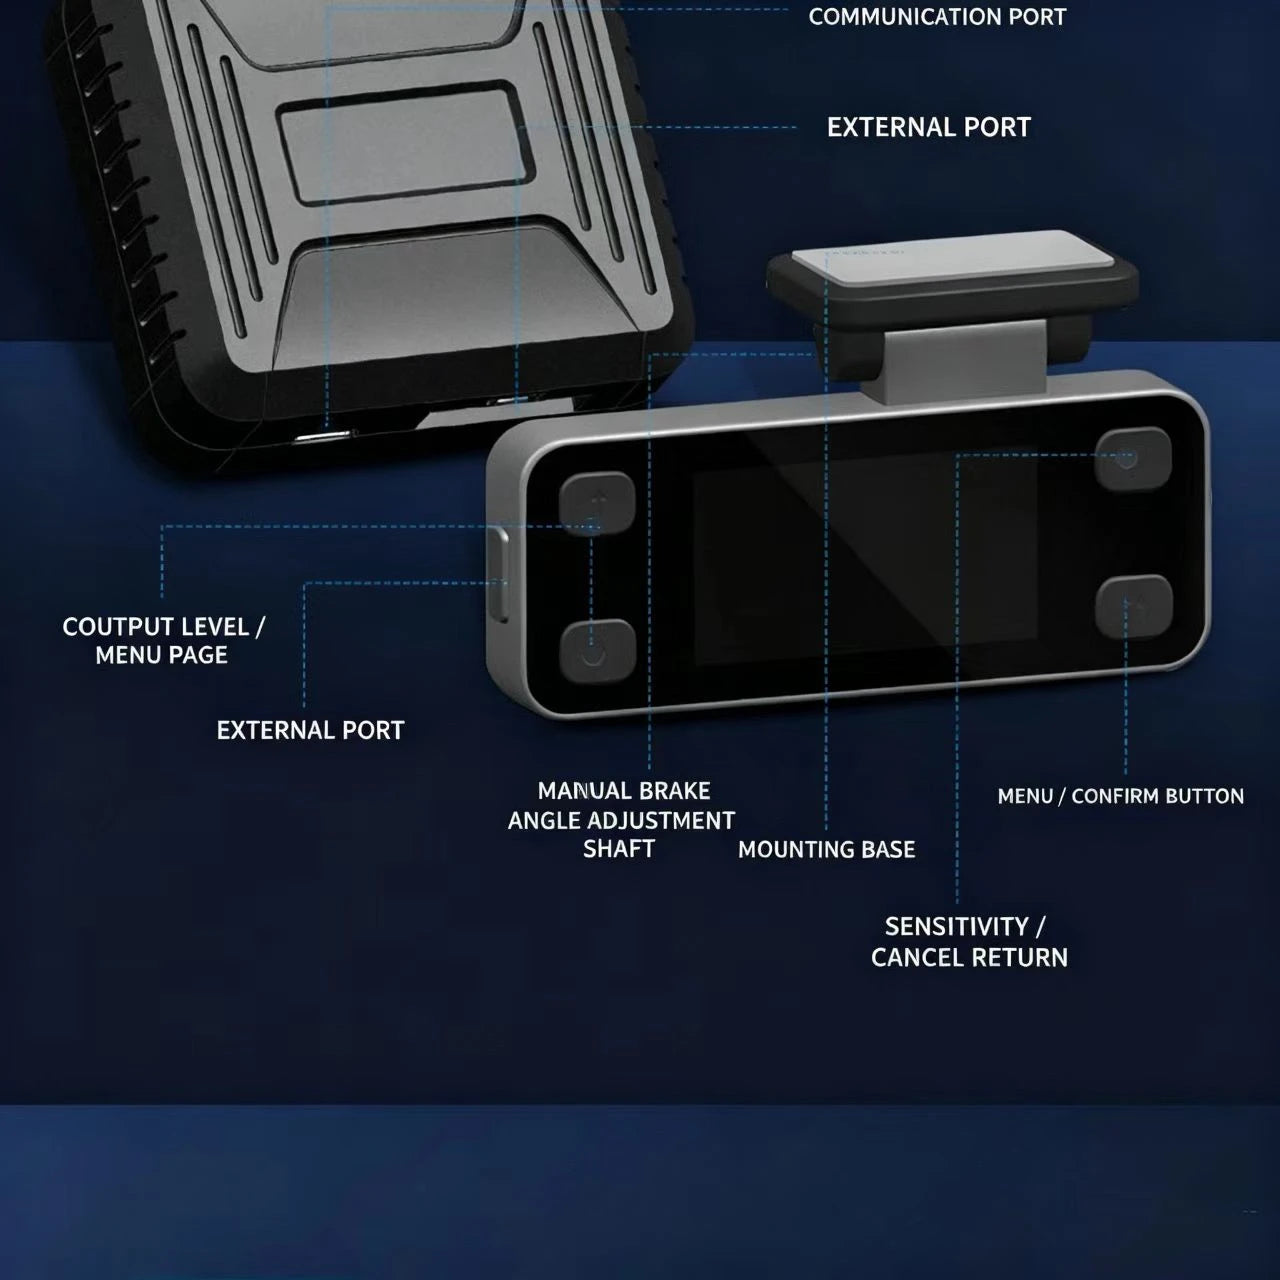
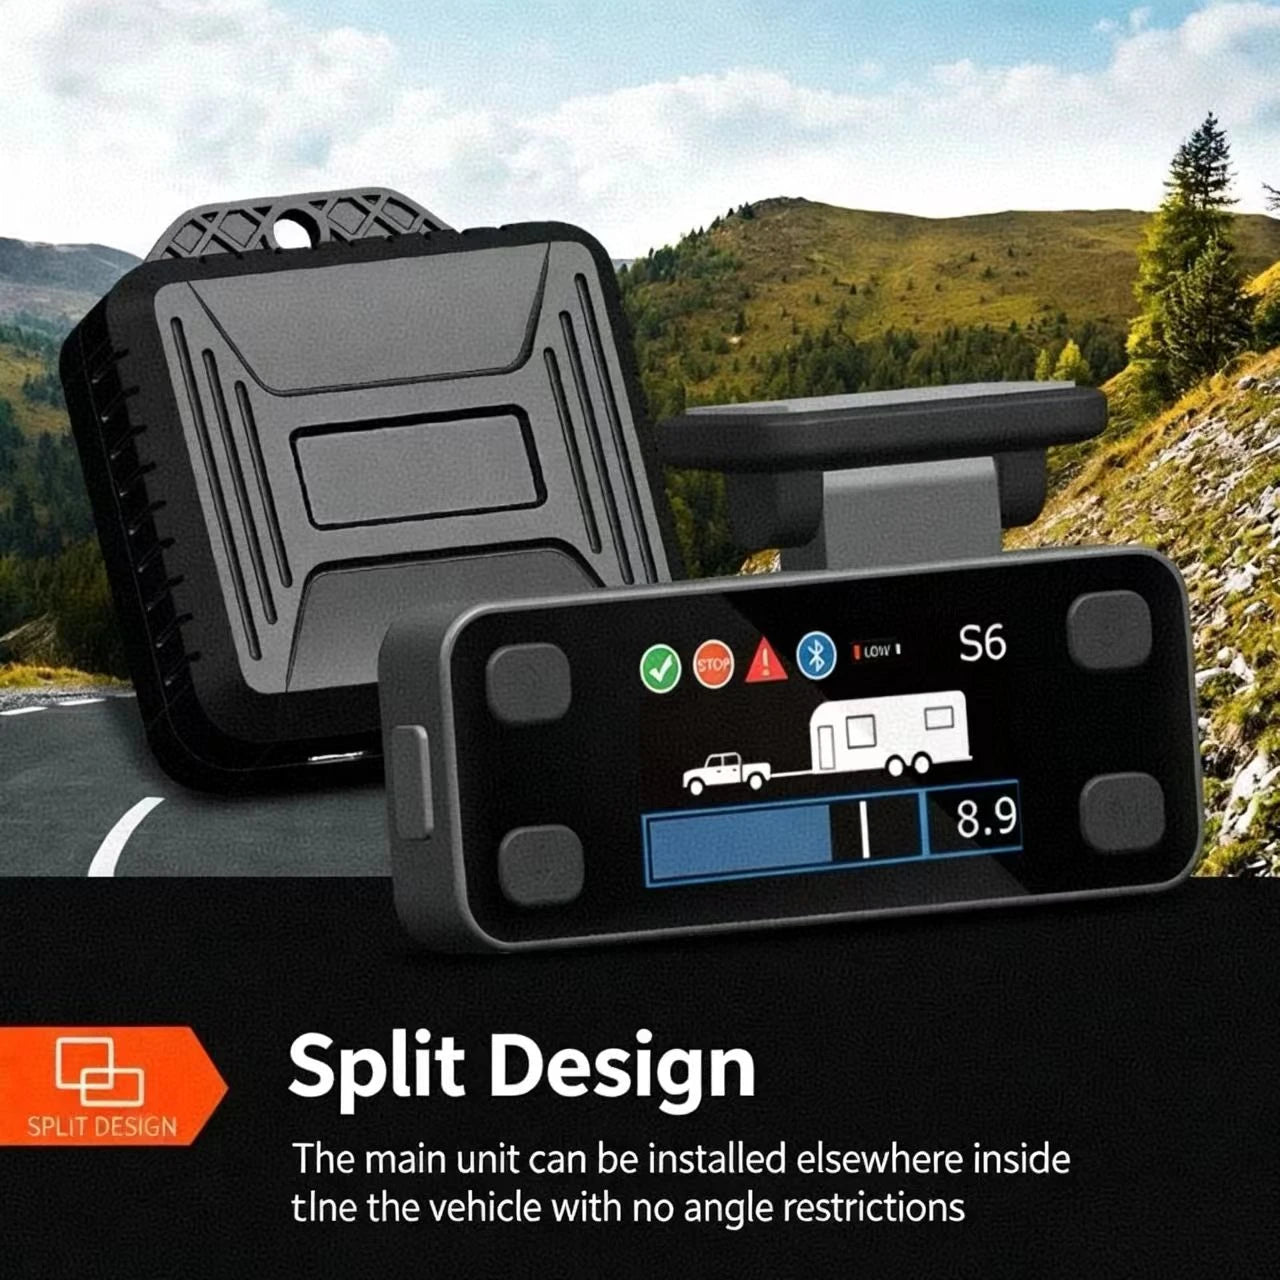
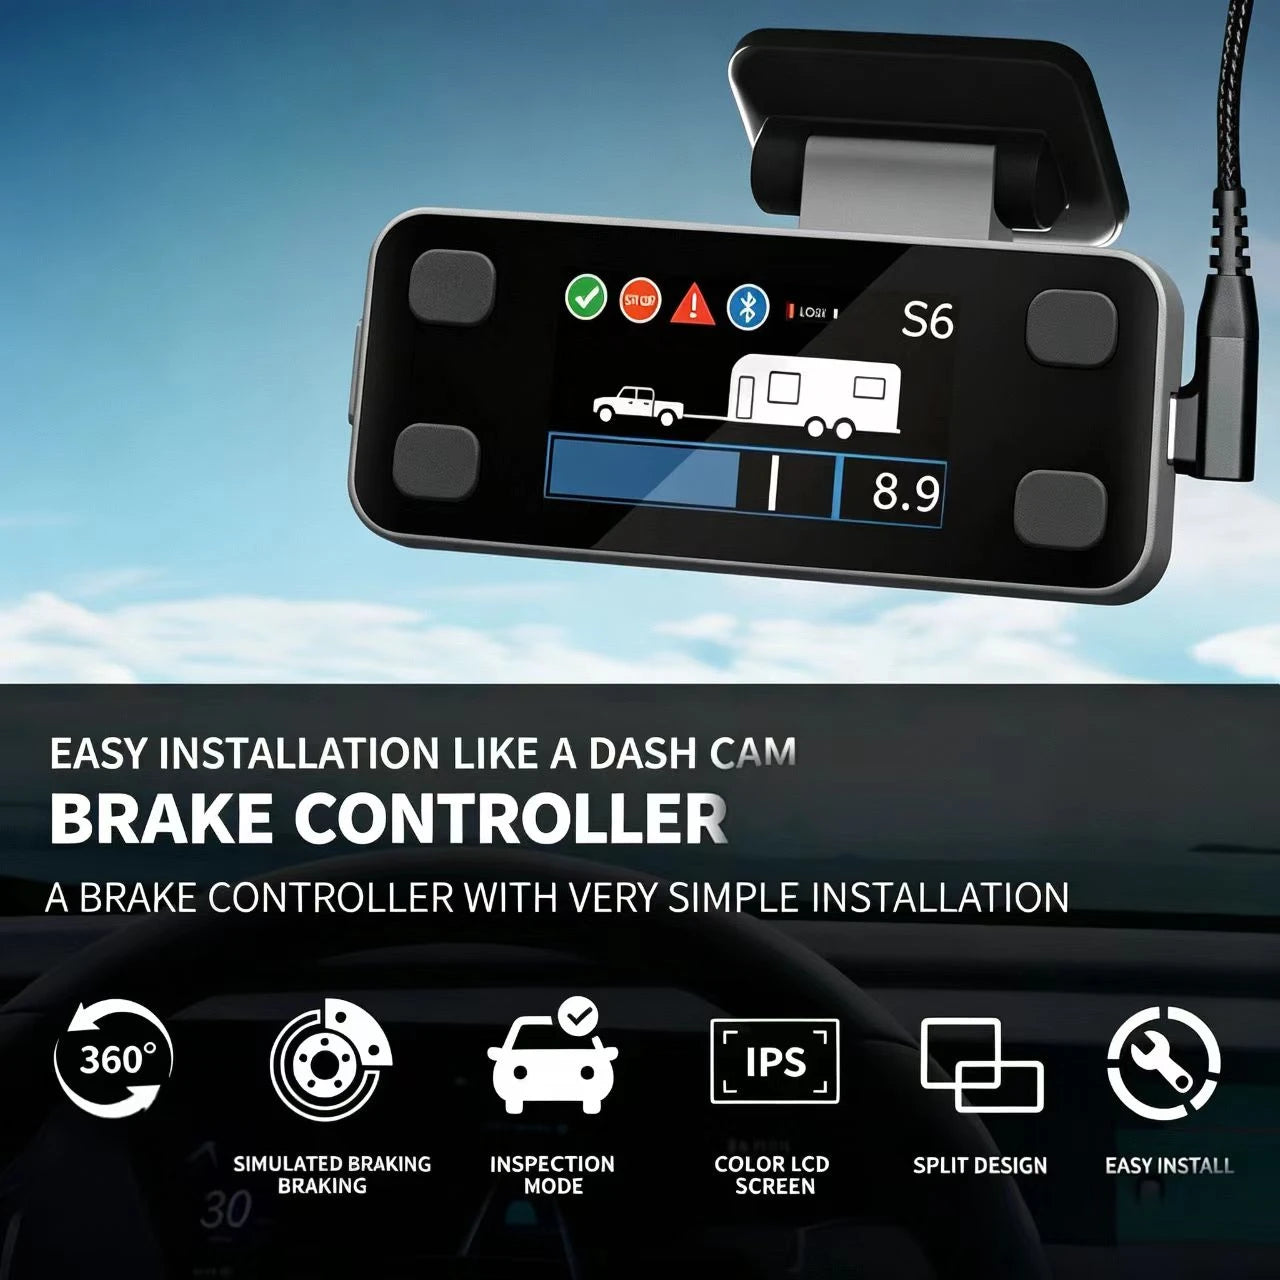
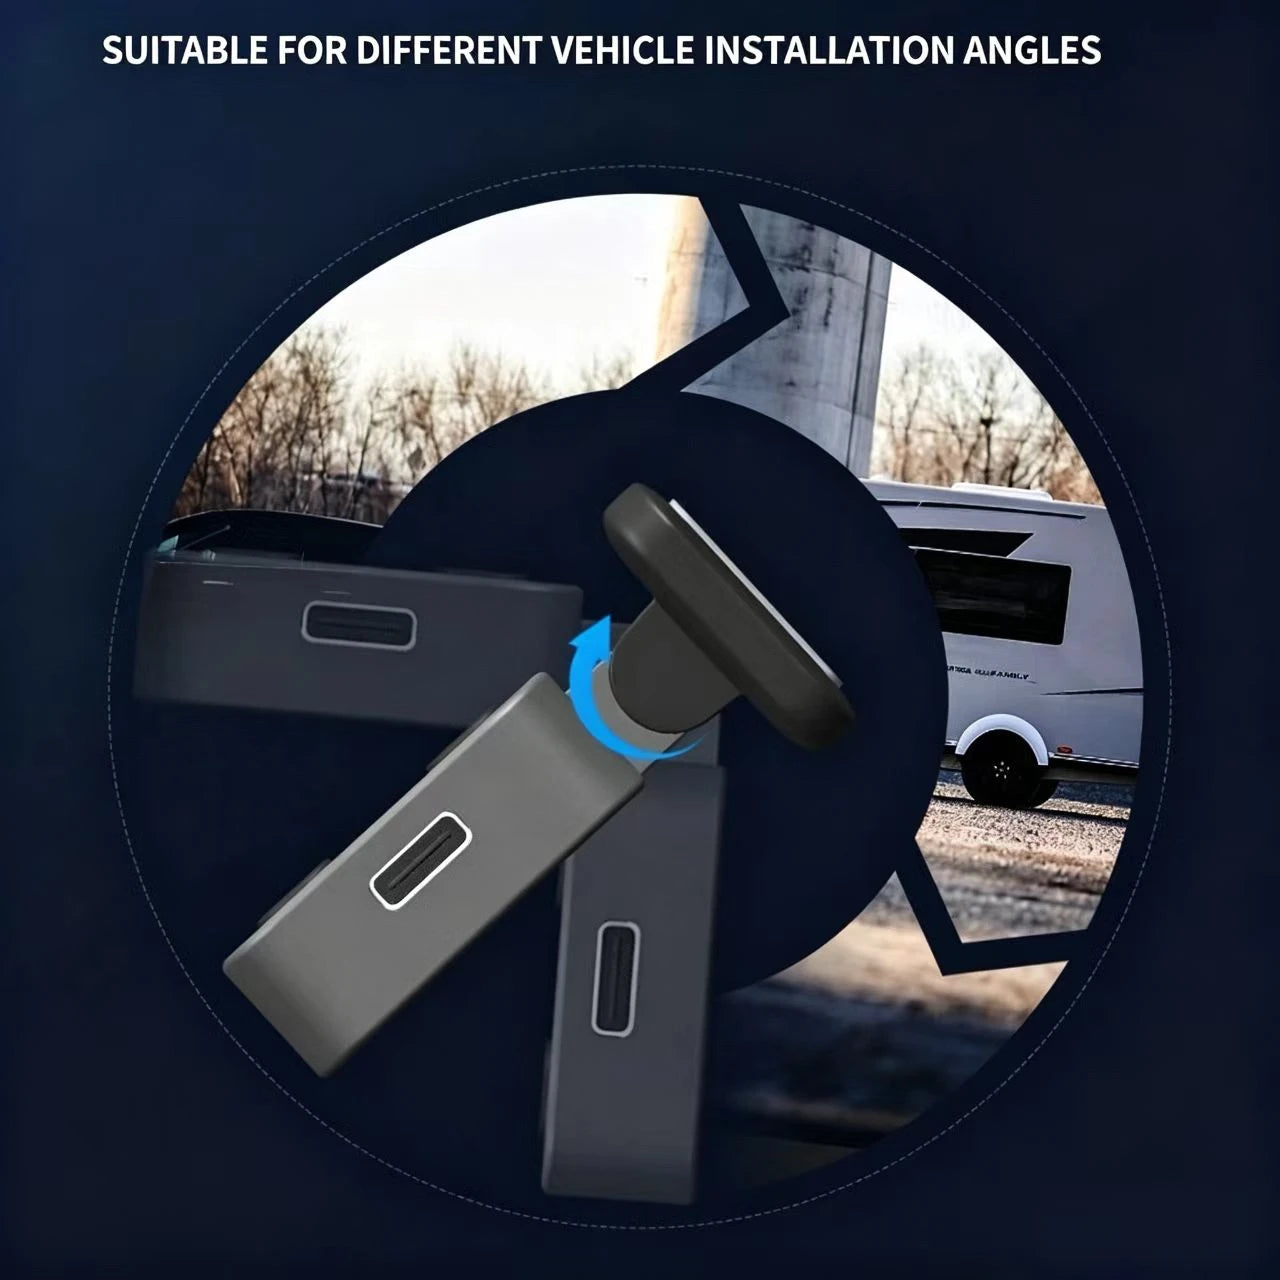
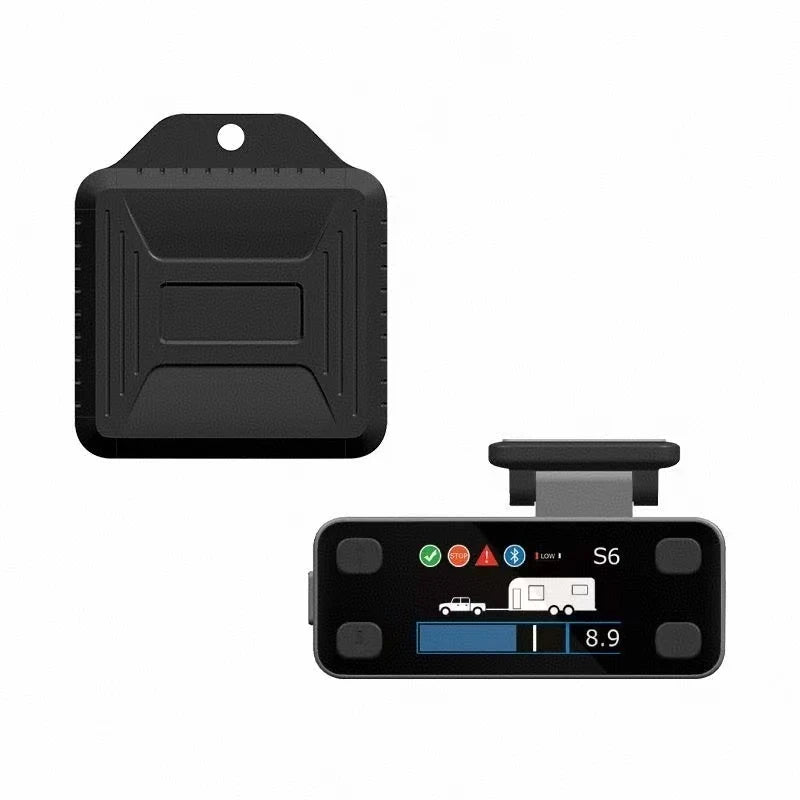
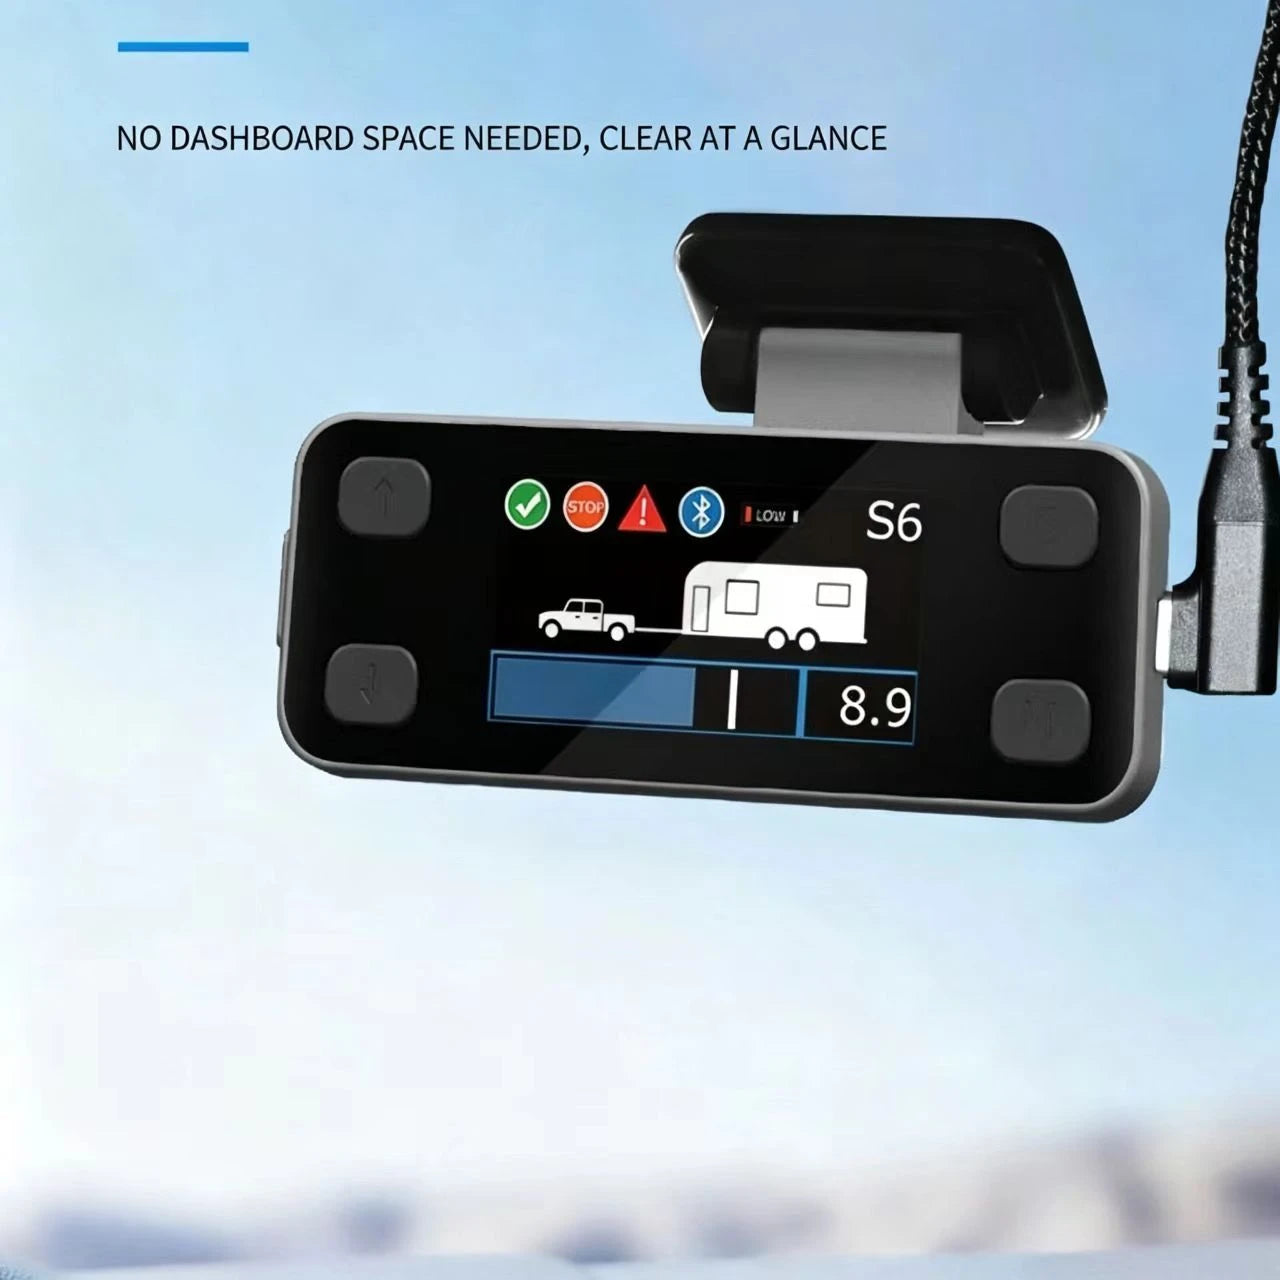
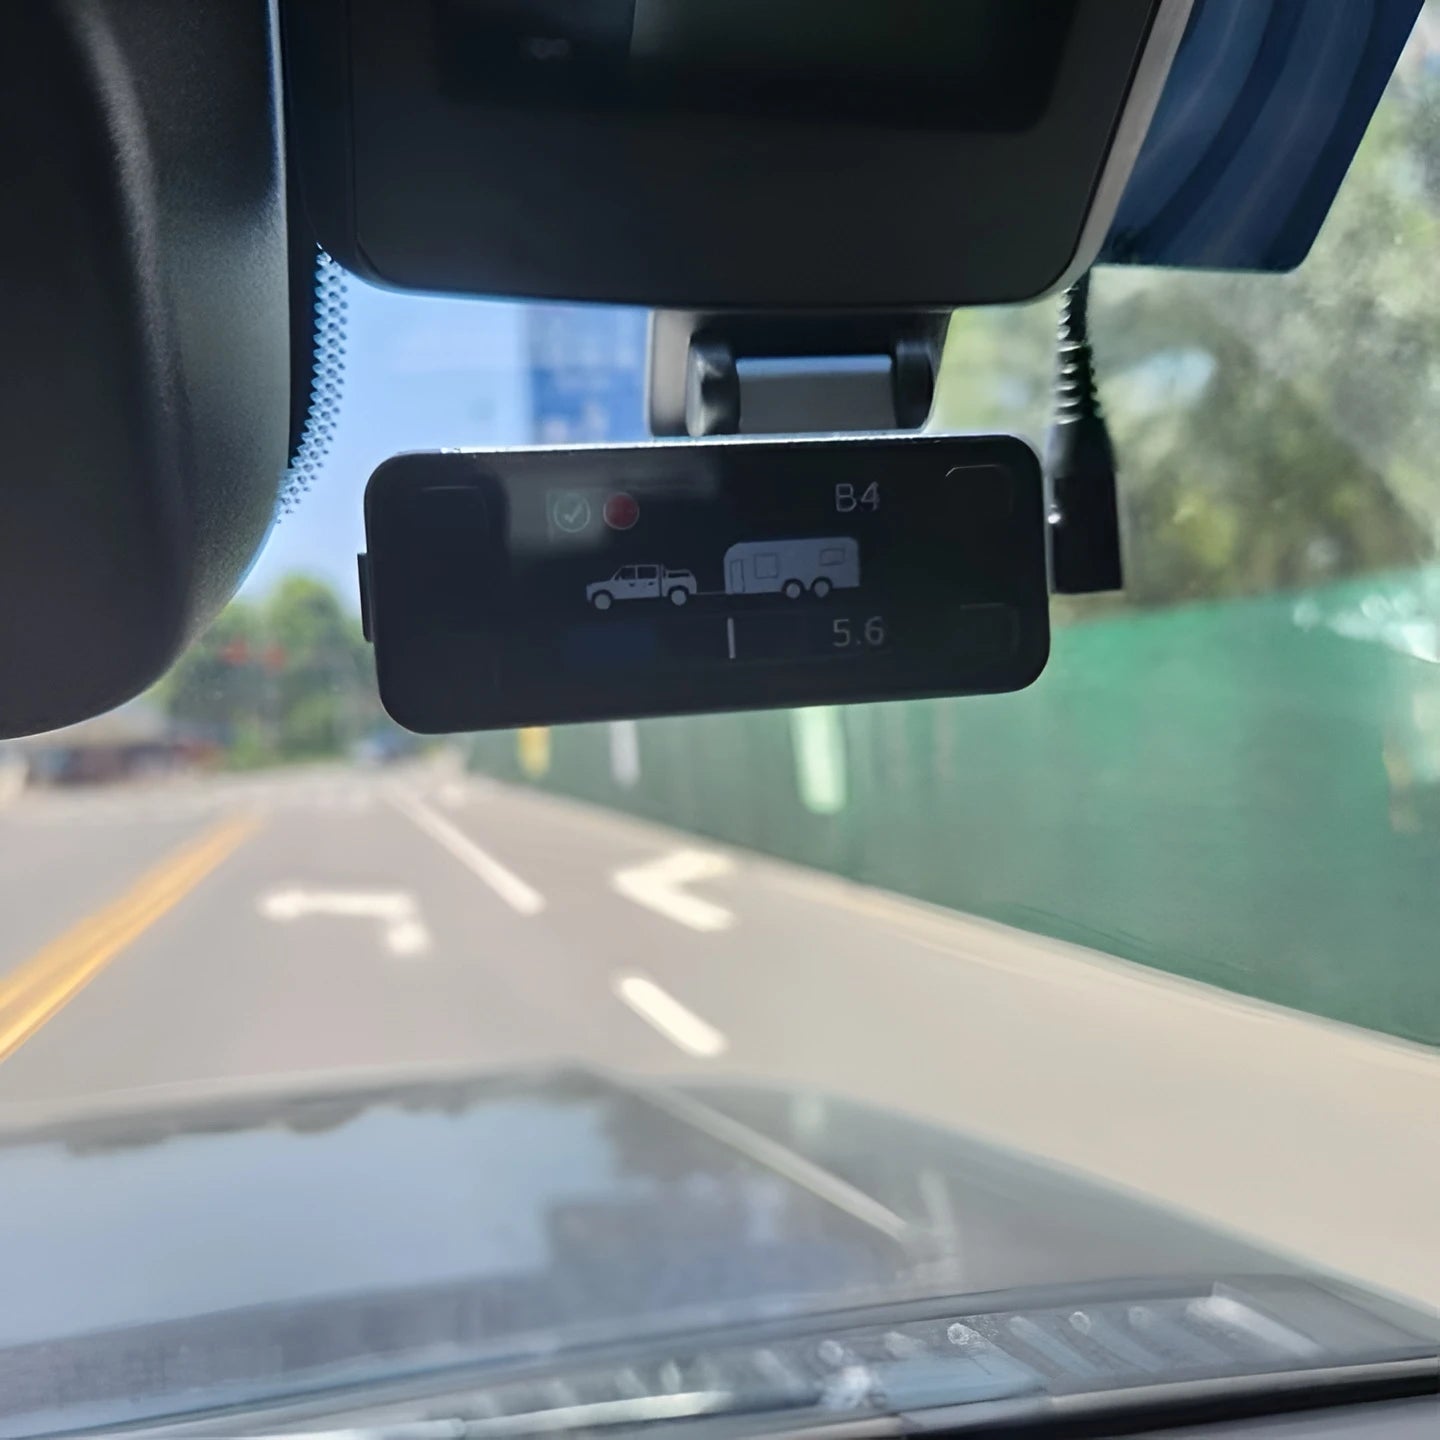
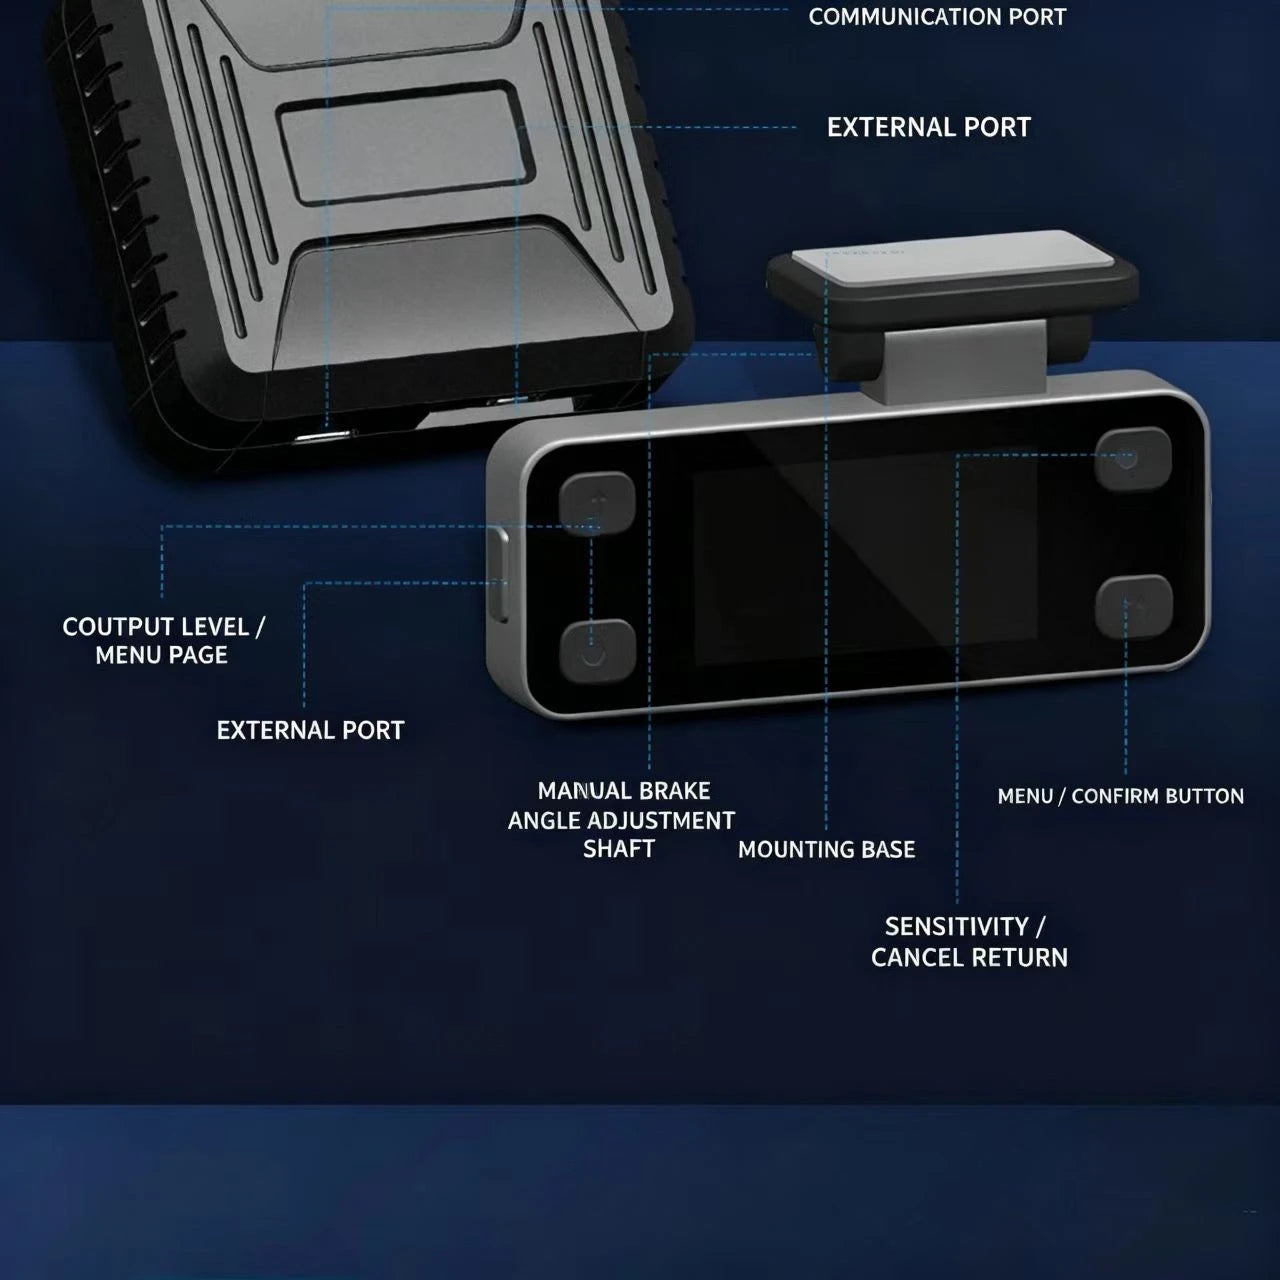
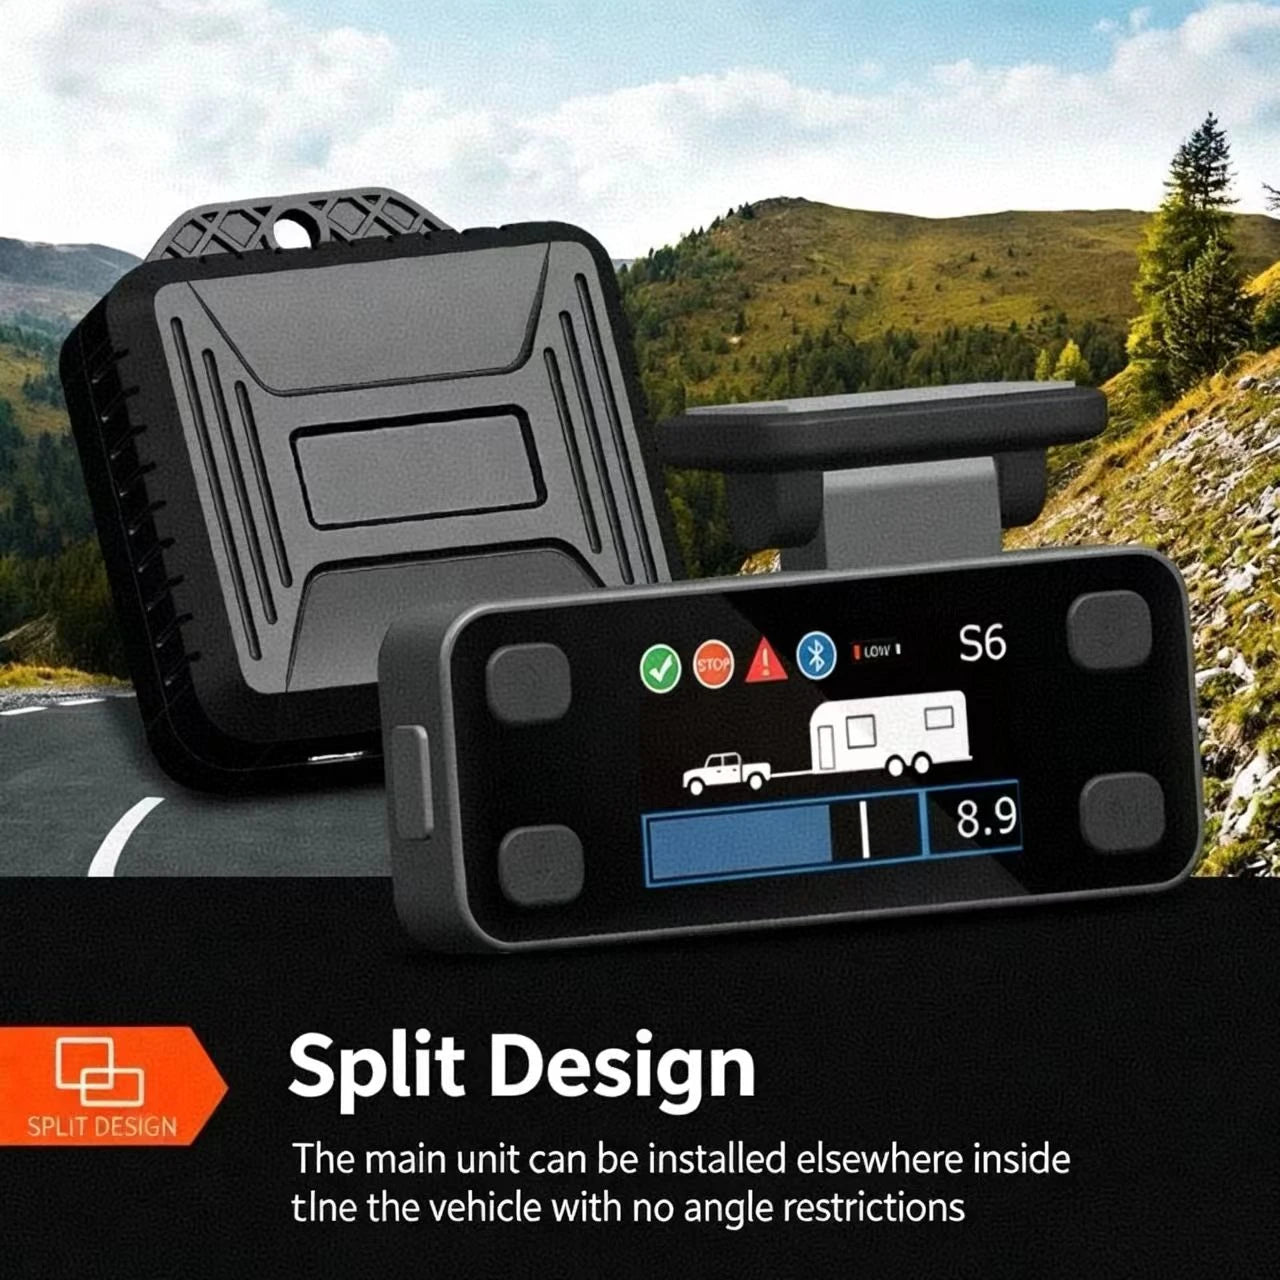
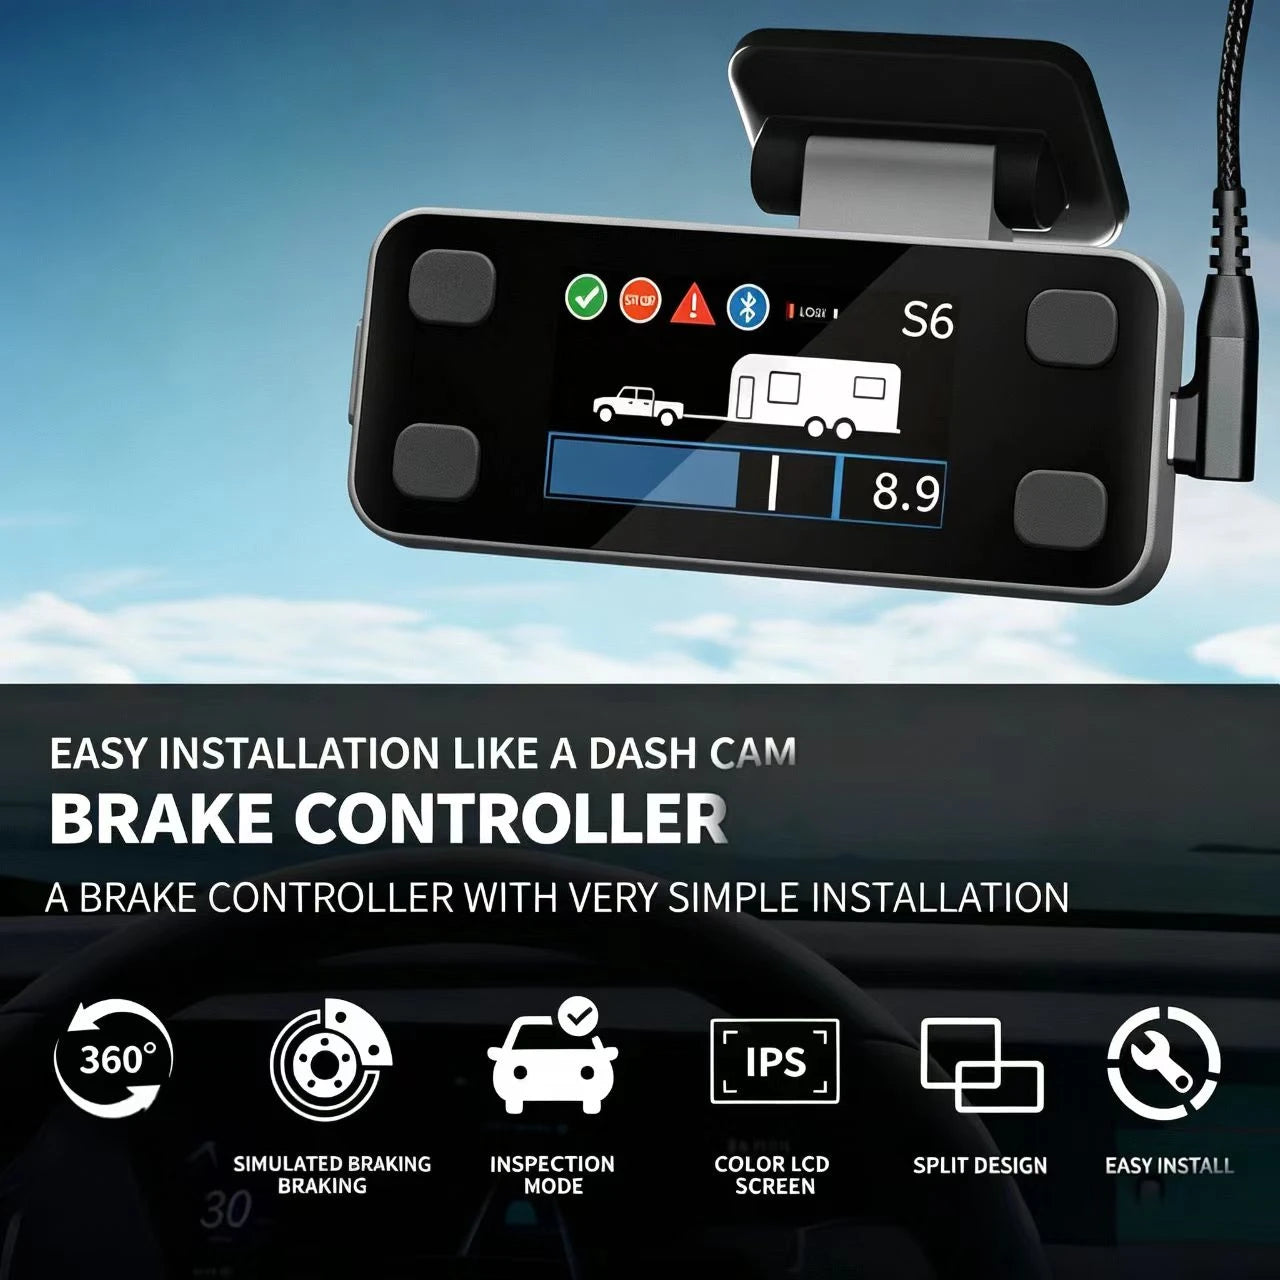
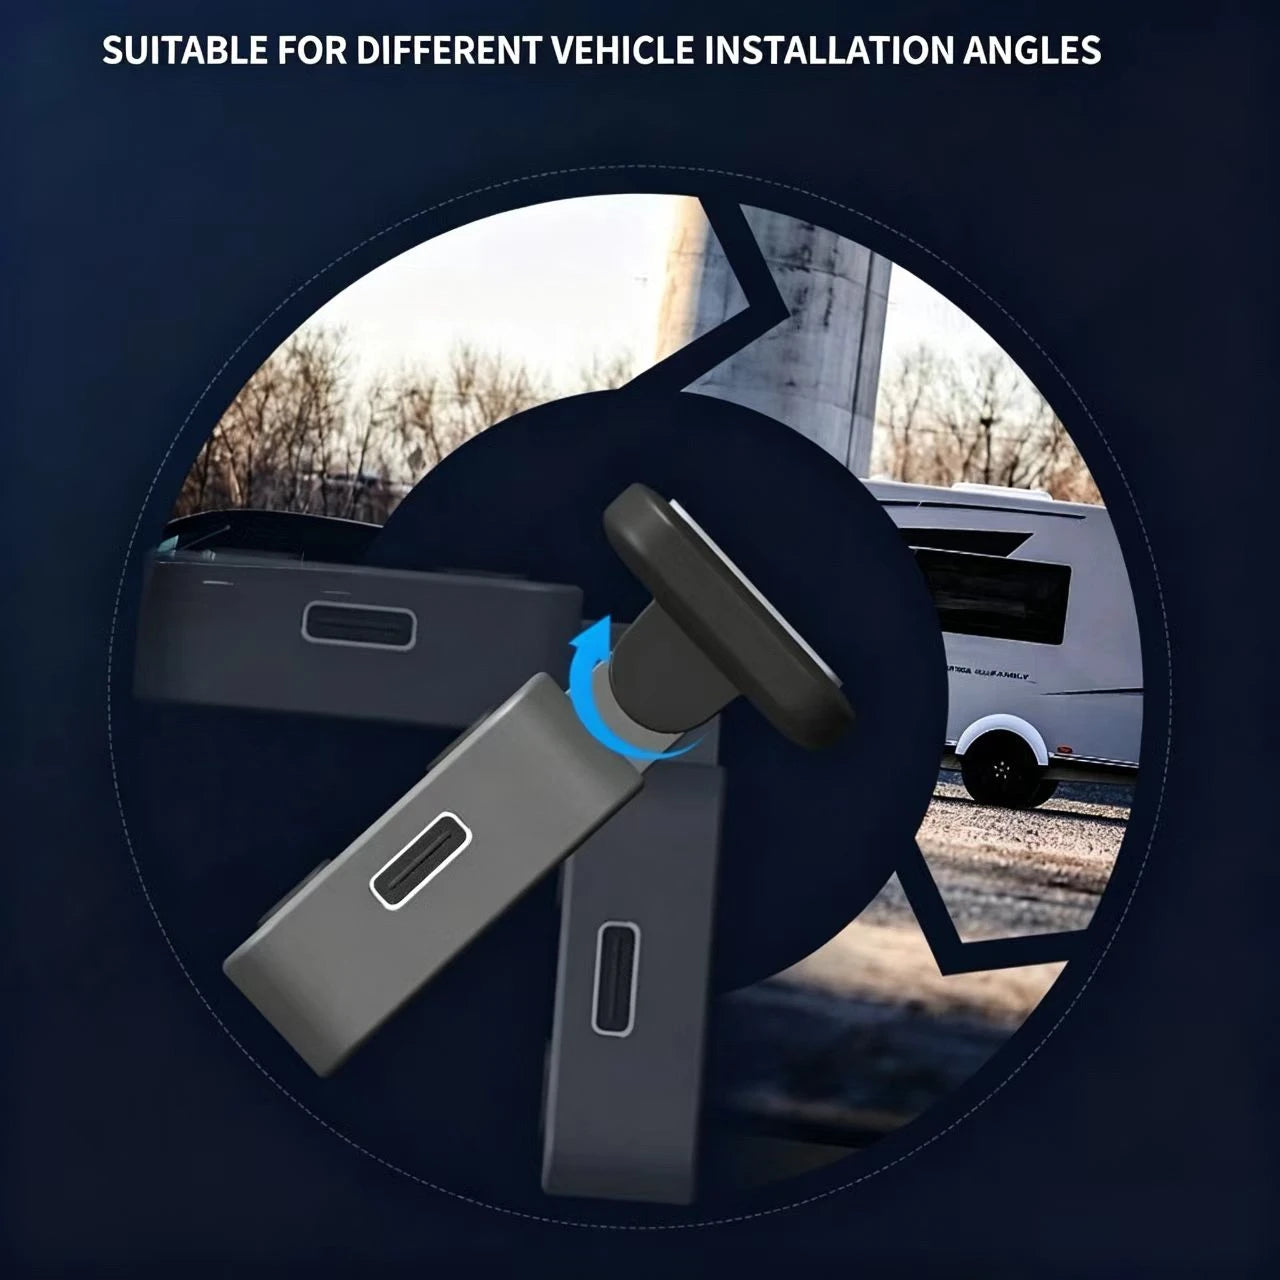
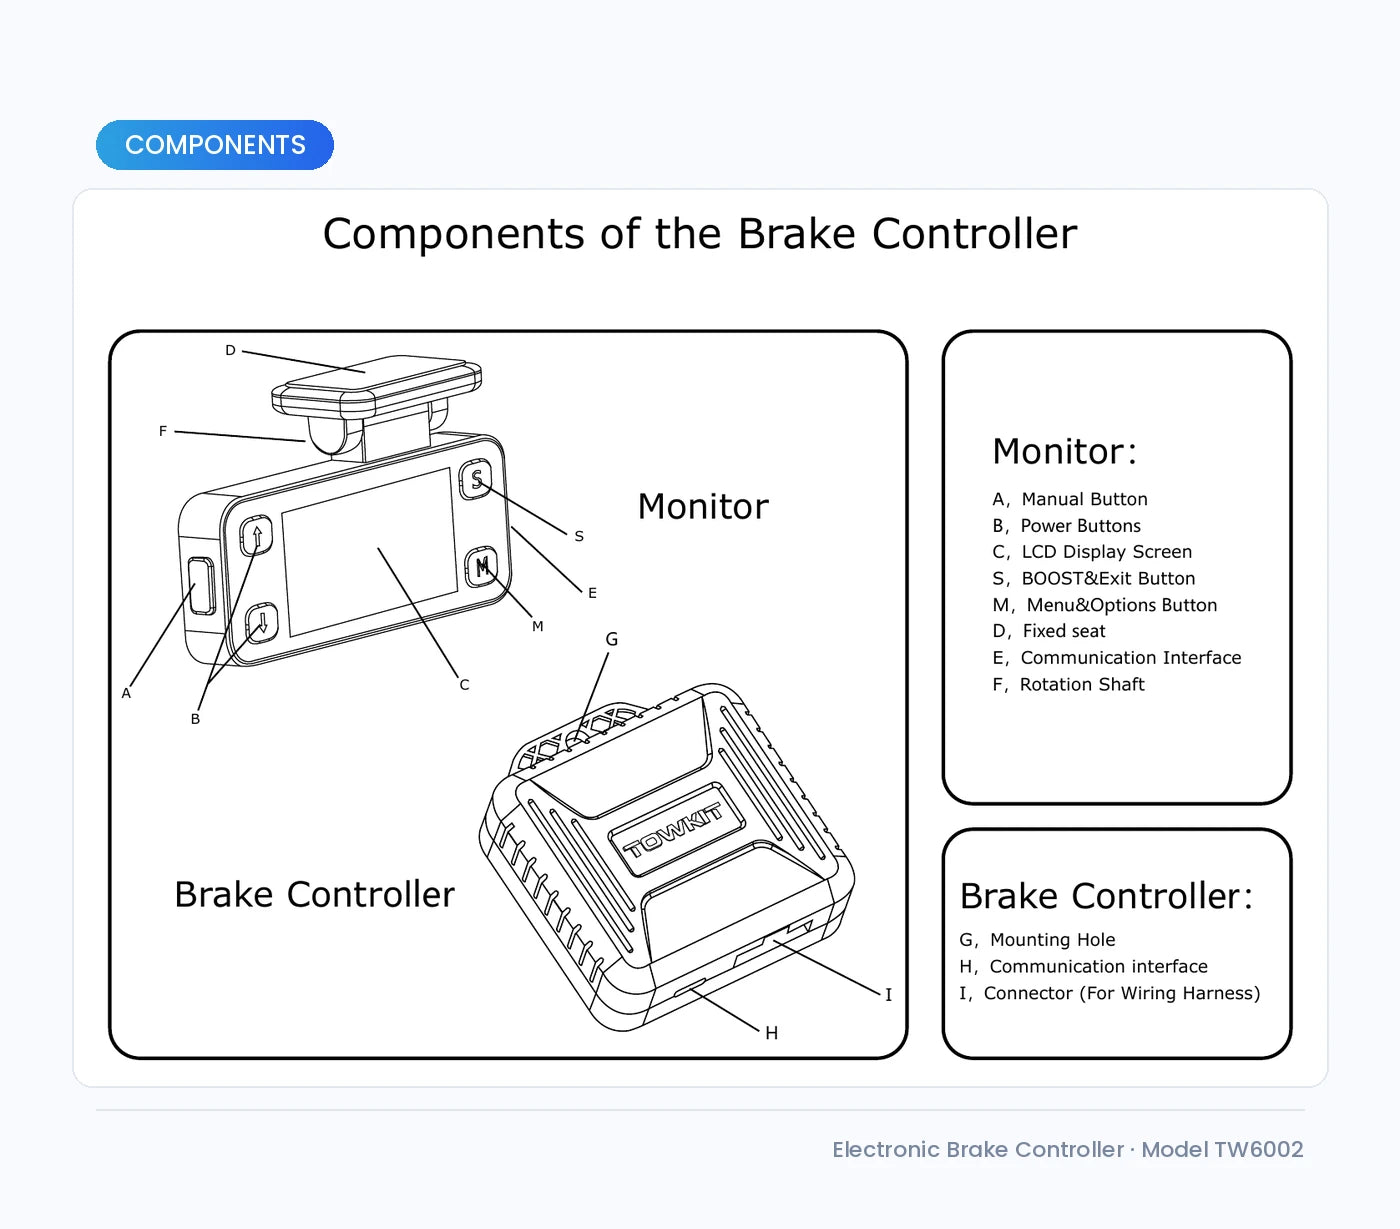
- Patented split design - the main unit mounts anywhere in the cabin with zero angle restriction, and the slimline display clips to the windscreen without taking up dashboard space. The display tilts through 360 degrees for a clear read from any seat.
- One-touch vehicle levelling - auto-levels on power-up, or park on level ground and calibrate from the menu (or hold M for 3 seconds). Re-level in under a minute whenever you move the unit.
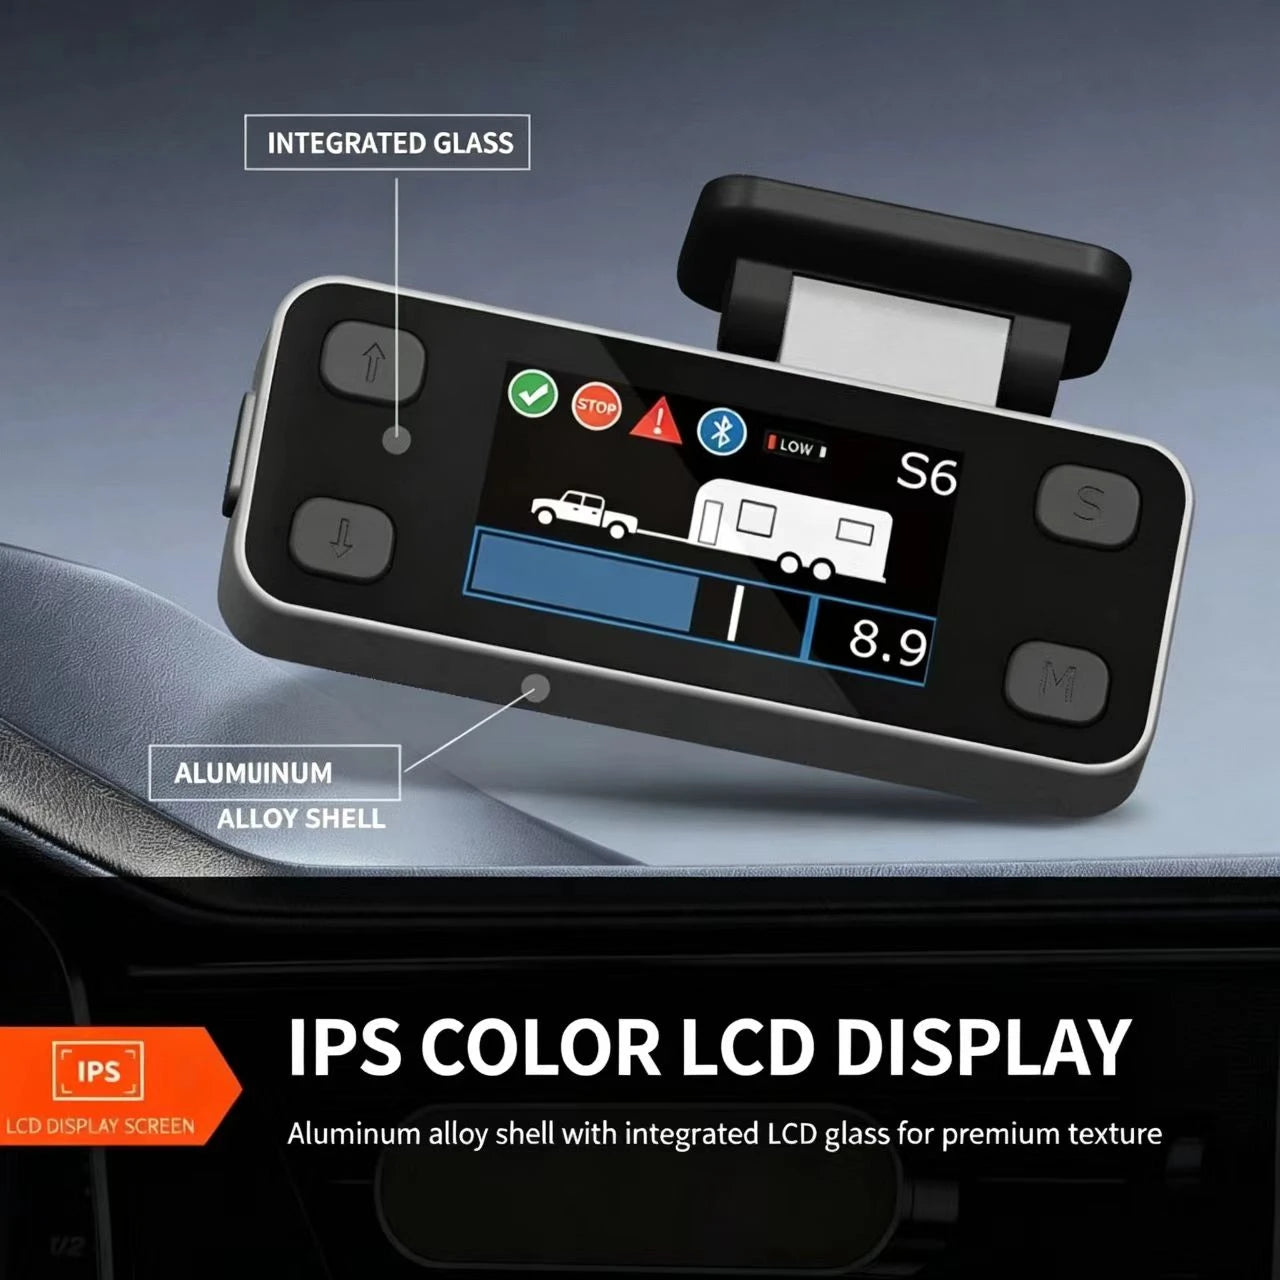
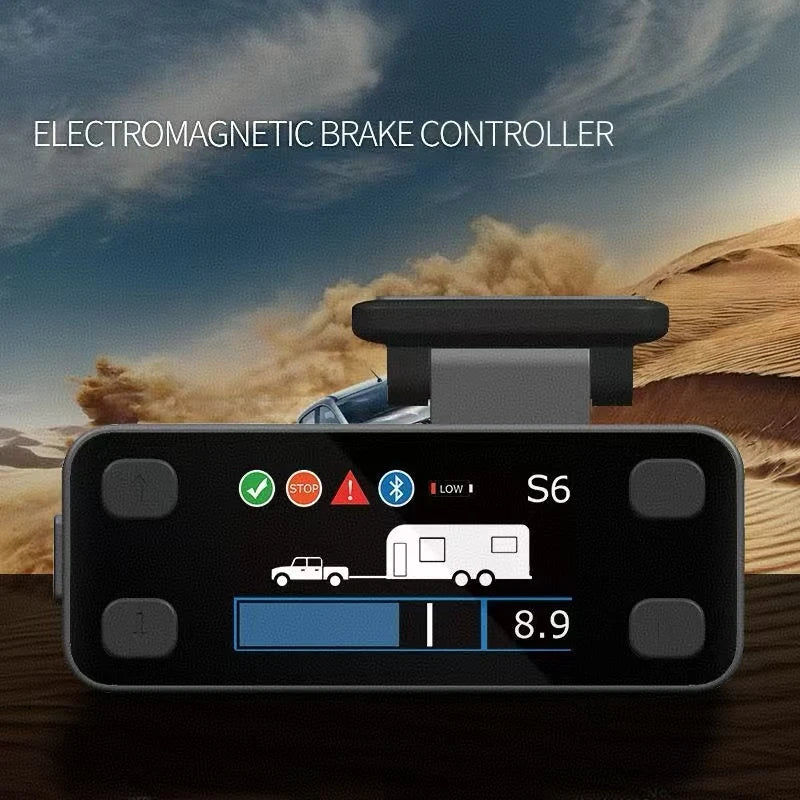
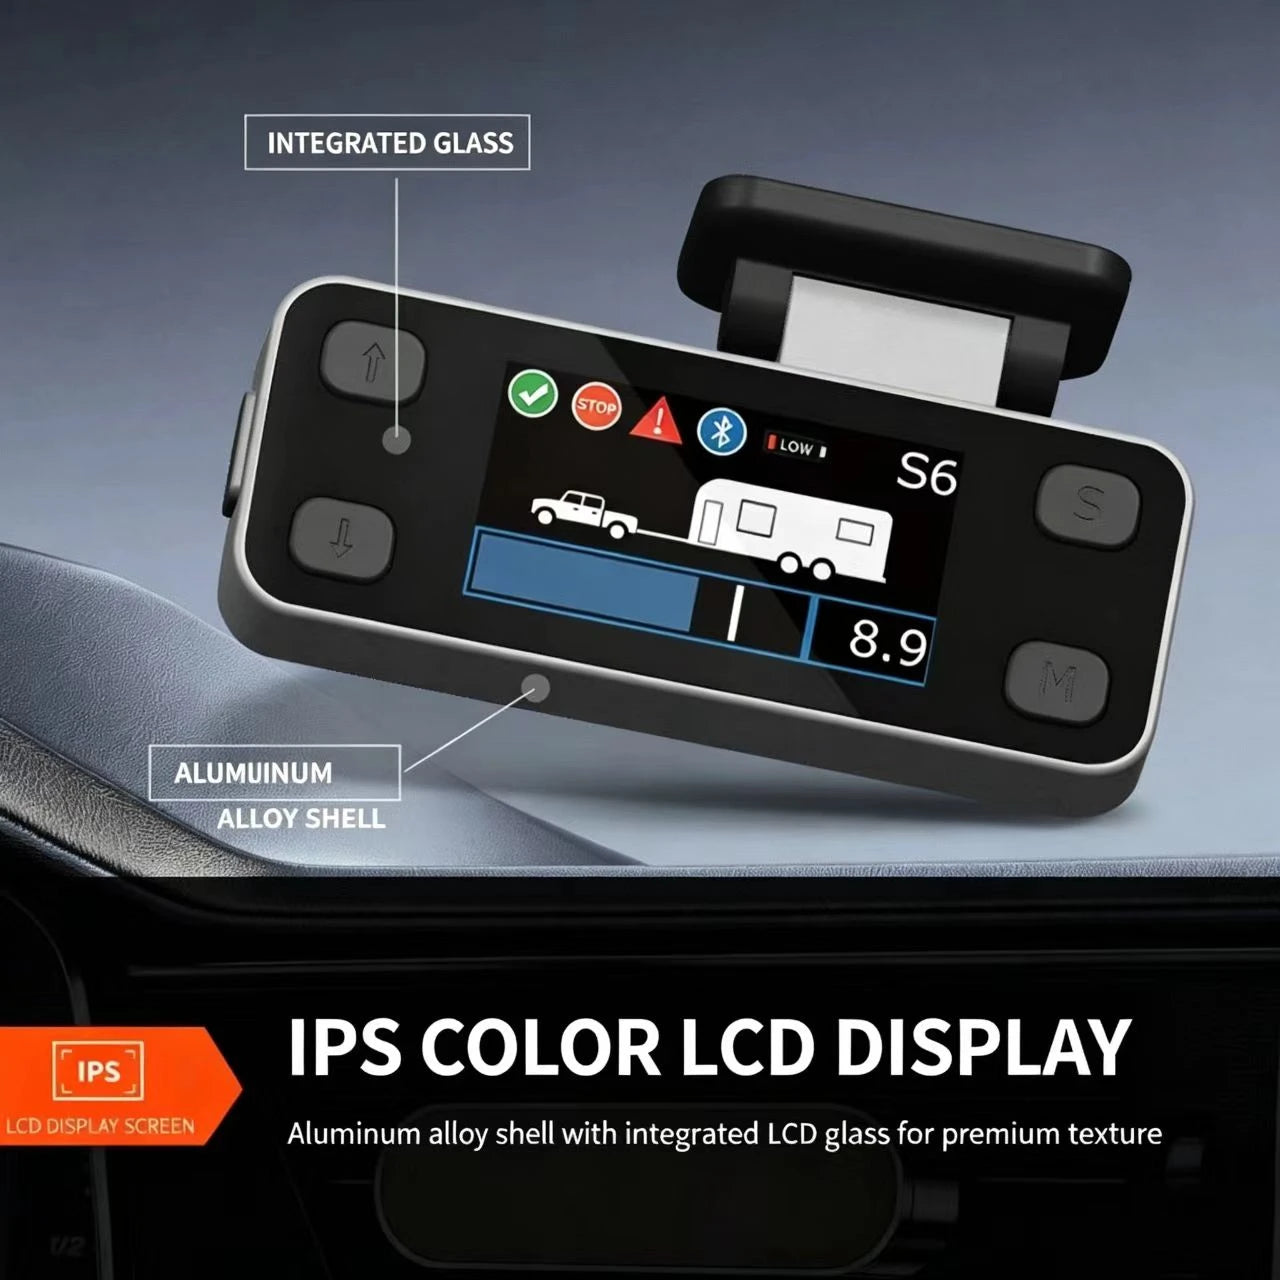
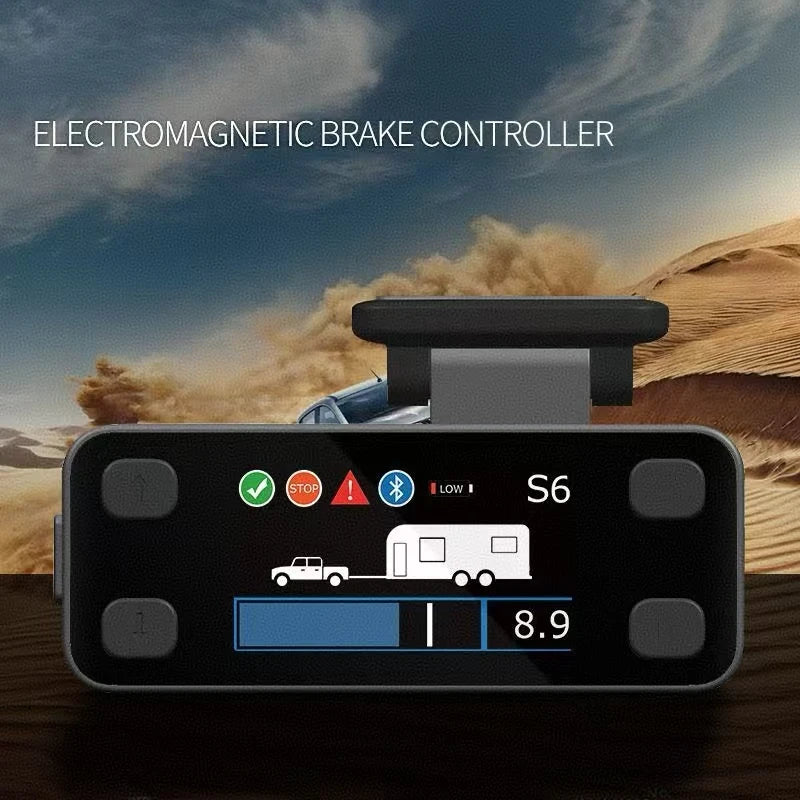
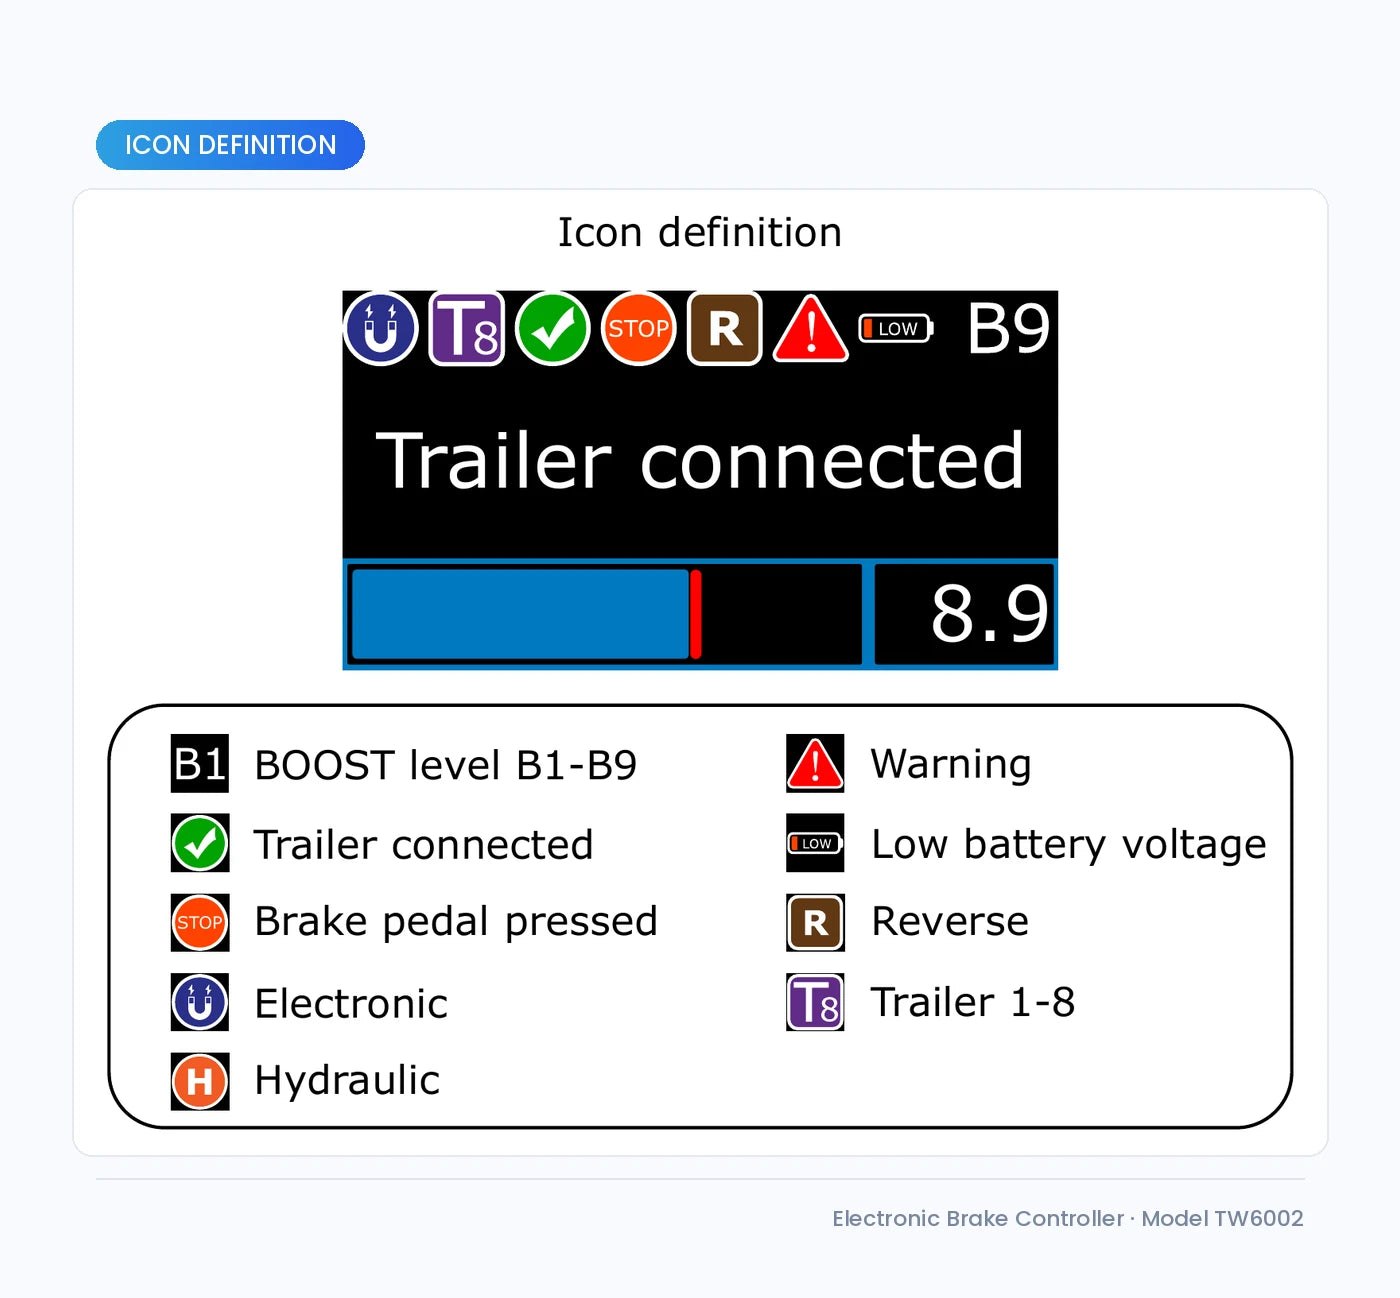
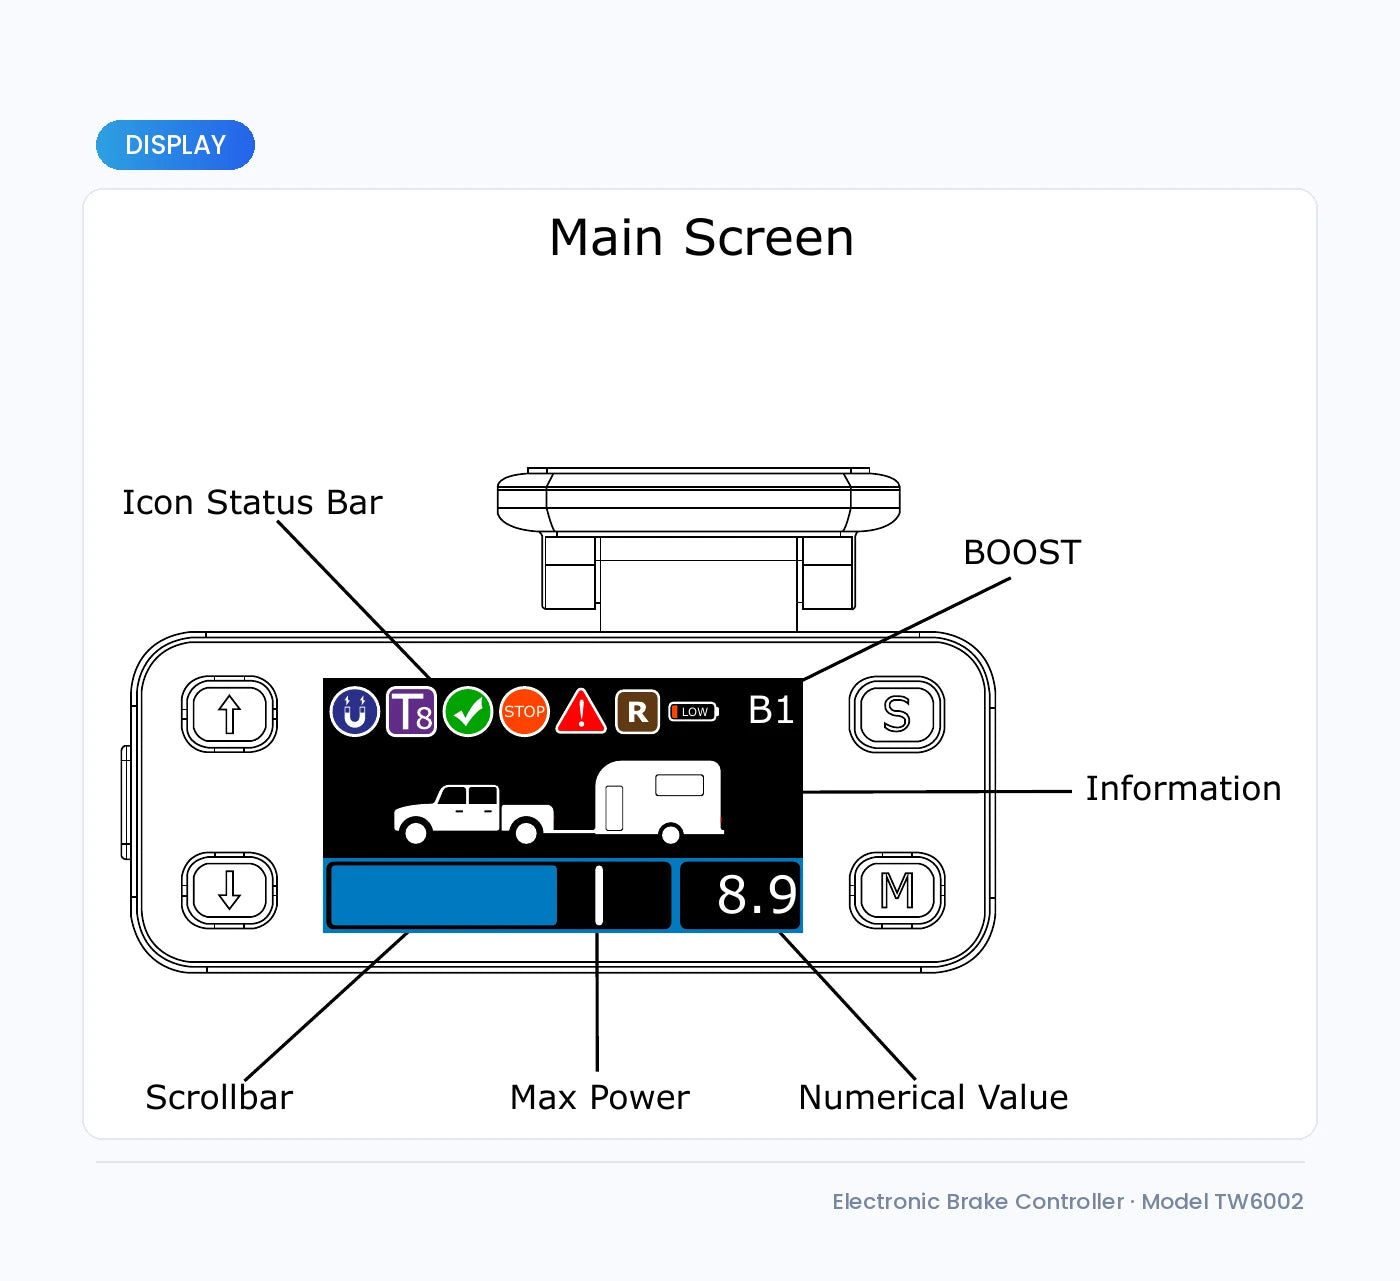
- IPS colour display - shows real-time brake output, your maximum power setting, boost level and status icons for trailer connected, brake applied, warning and low voltage. Four brightness levels.
- Nine boost levels (B1-B9) - each step raises sensor sensitivity and shortens ramp-up (0 to 40 percent), so the trailer joins in harder and sooner. Adjustable on the move with the S button.
- Manual brake with selectable ramp - apply trailer brakes independently to settle sway, with fast, normal or slow ramp-up (0.5 / 1.0 / 1.5 seconds). Optional stoplight activation warns the vehicle behind.
- Reverse mode - pauses boost and hold for 3 minutes so backing up stays smooth, then restores your settings automatically.
- Auto-hold at a standstill - holding the pedal for more than 3 seconds applies about 25 percent output to stop the trailer creeping.
- Full diagnostics and protection - plain-language alerts for trailer connected, disconnected, ground error, power error, output shorted, output overload, trailer short and low voltage, plus a live readout of supply voltage, input voltage and output current.
- Always-on, ultra-low standby - constant power lets the controller brake the trailer even with the vehicle off, drawing just 4.5mA in standby so the battery is safe.
- CNC aluminium housing with edge-to-edge glass and an automotive-grade chip set, built to sit on a windscreen through heat cycling without warping or fading.
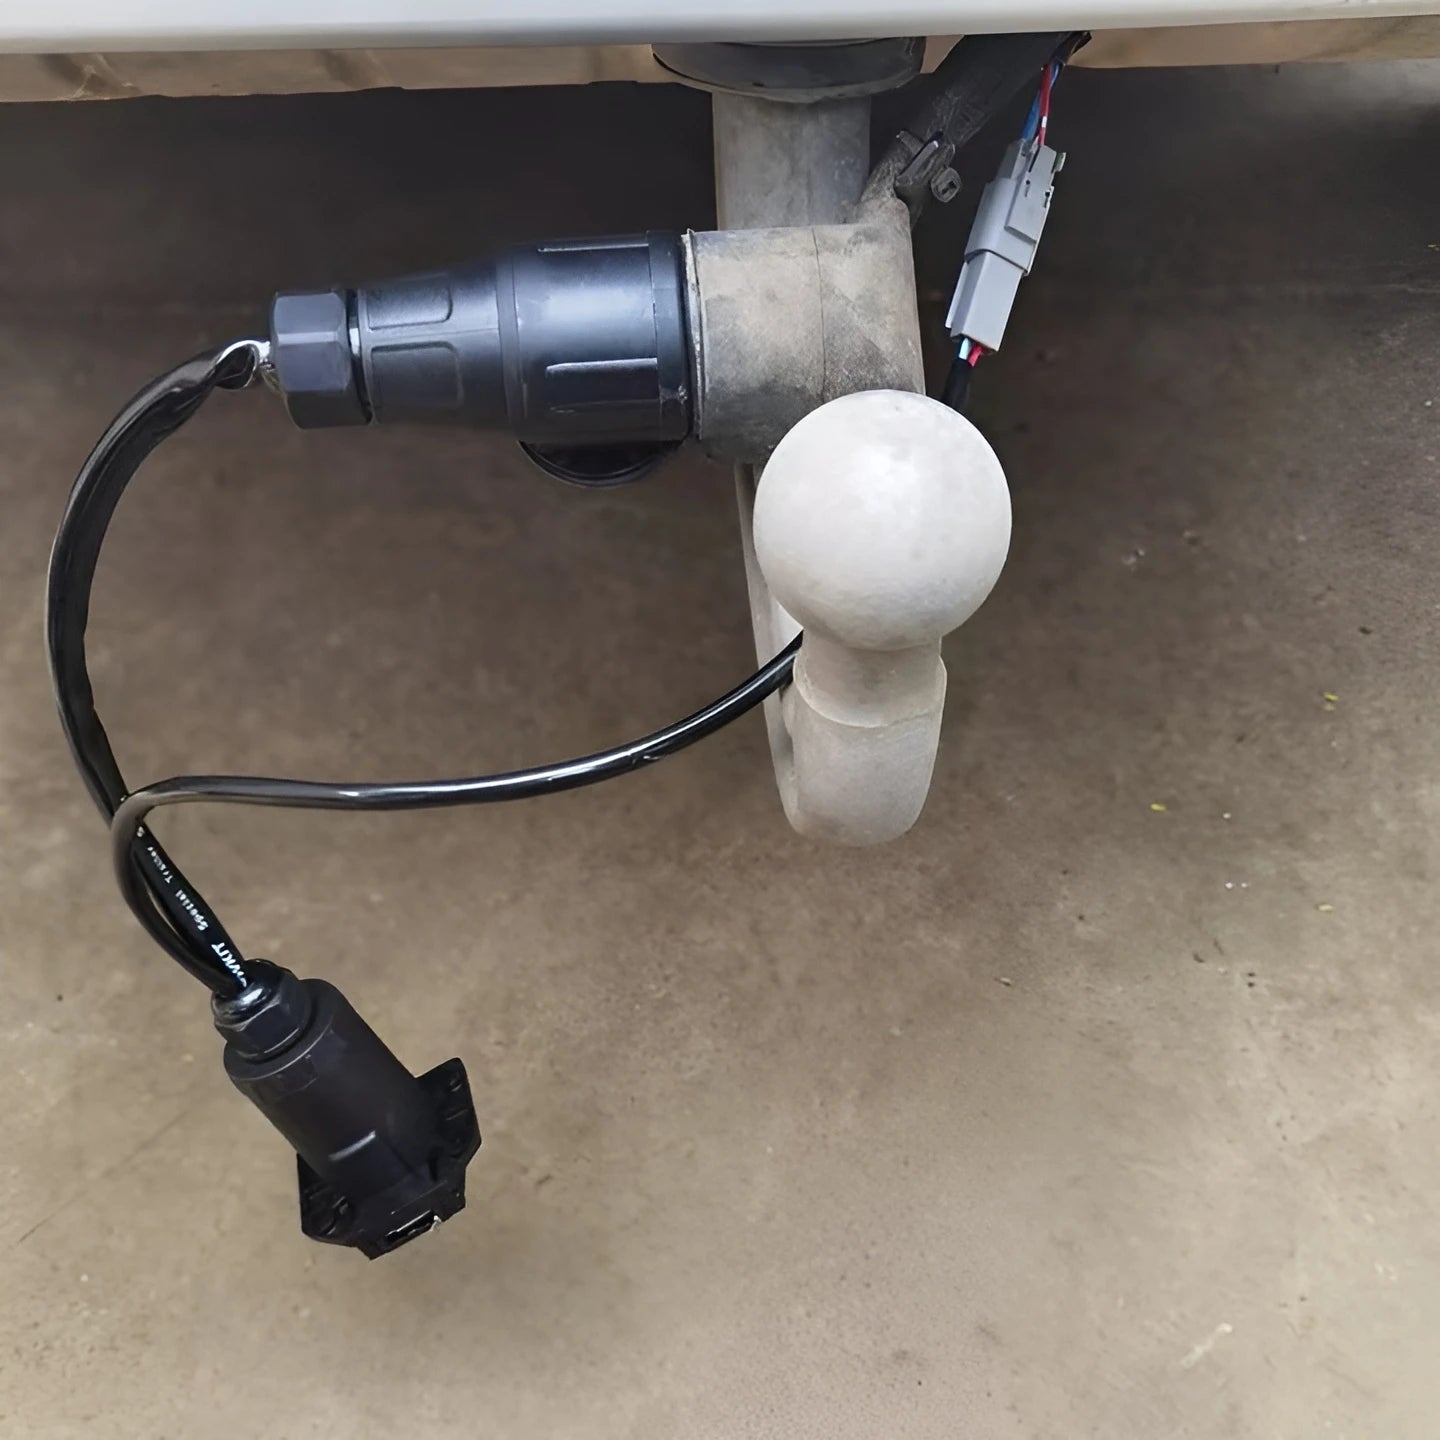
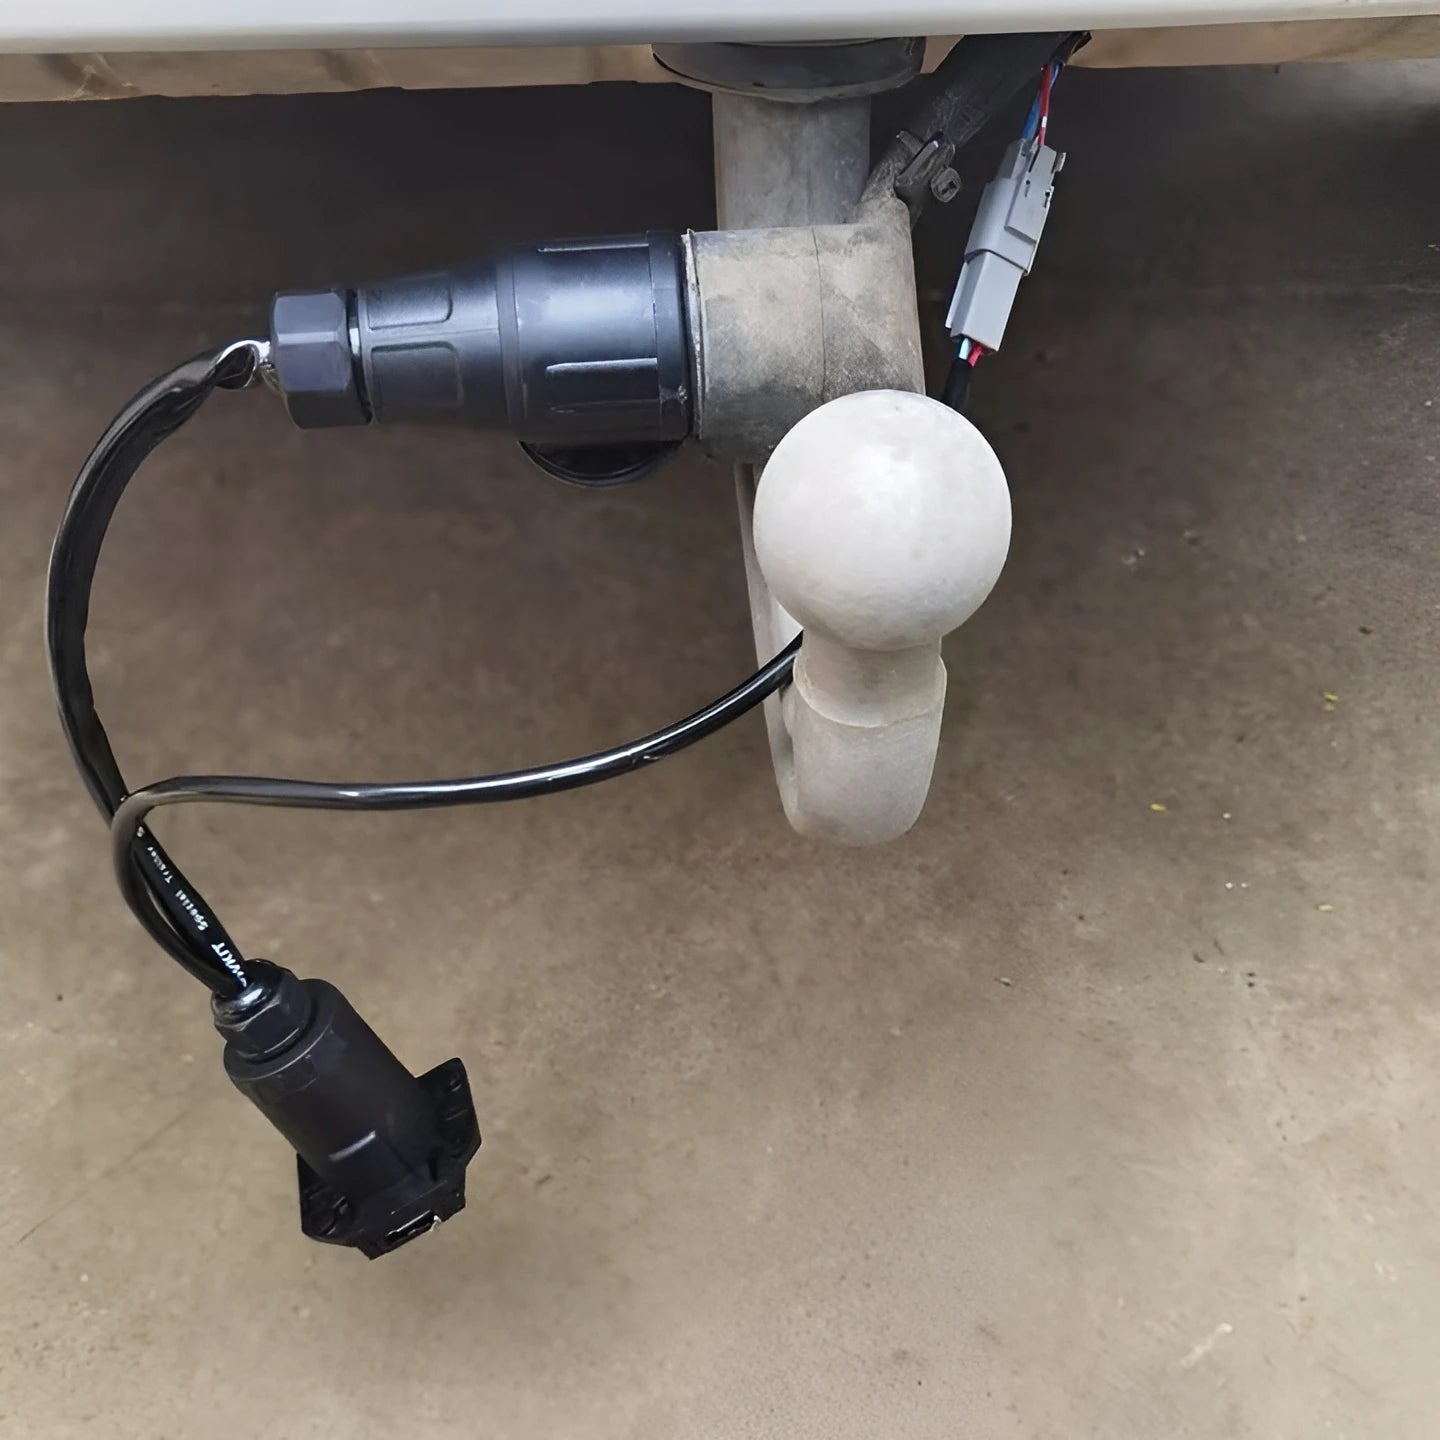
- Universal 4-wire fitment - black to battery positive (via the supplied 20/30A auto-reset fuse), red to the stoplight signal, white to chassis earth, blue to the trailer output, using 14-12 AWG copper. Menu available in English and Chinese.
1
/
10
Electric Brake Controller | Proportional, Fits All 12V Tow Vehicles
13,698.00 ฿ THB
Shipping fees will be calculated at checkout.
Quantity
Features & Benefits
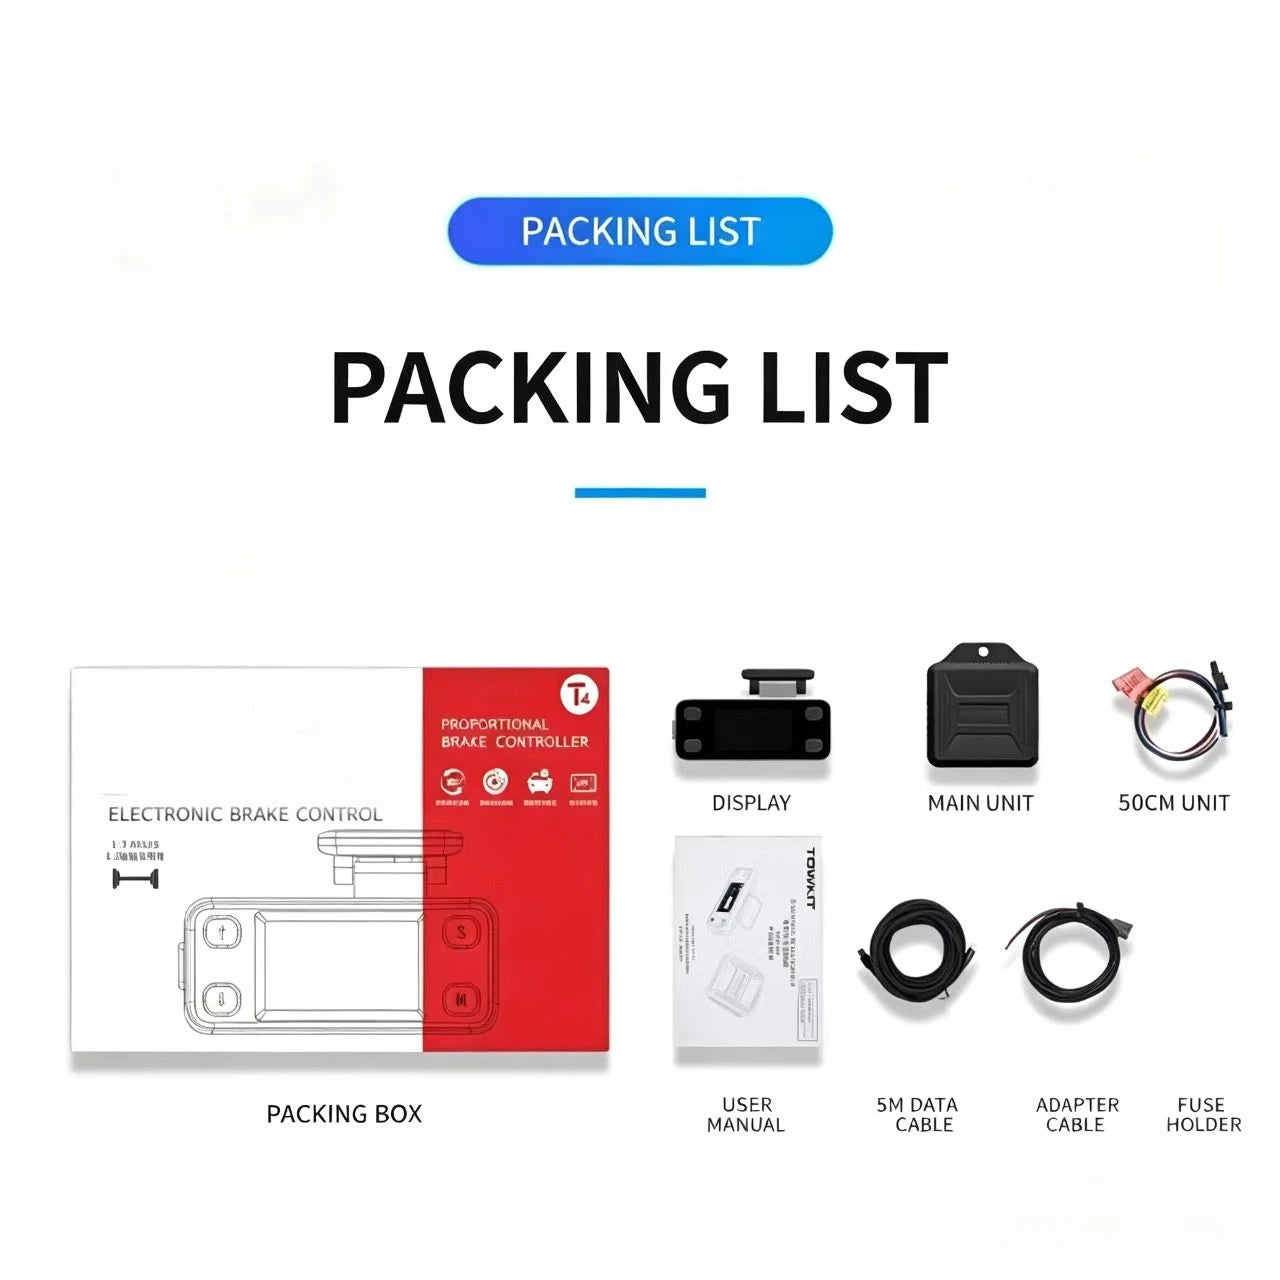
What's Included
Product Gallery
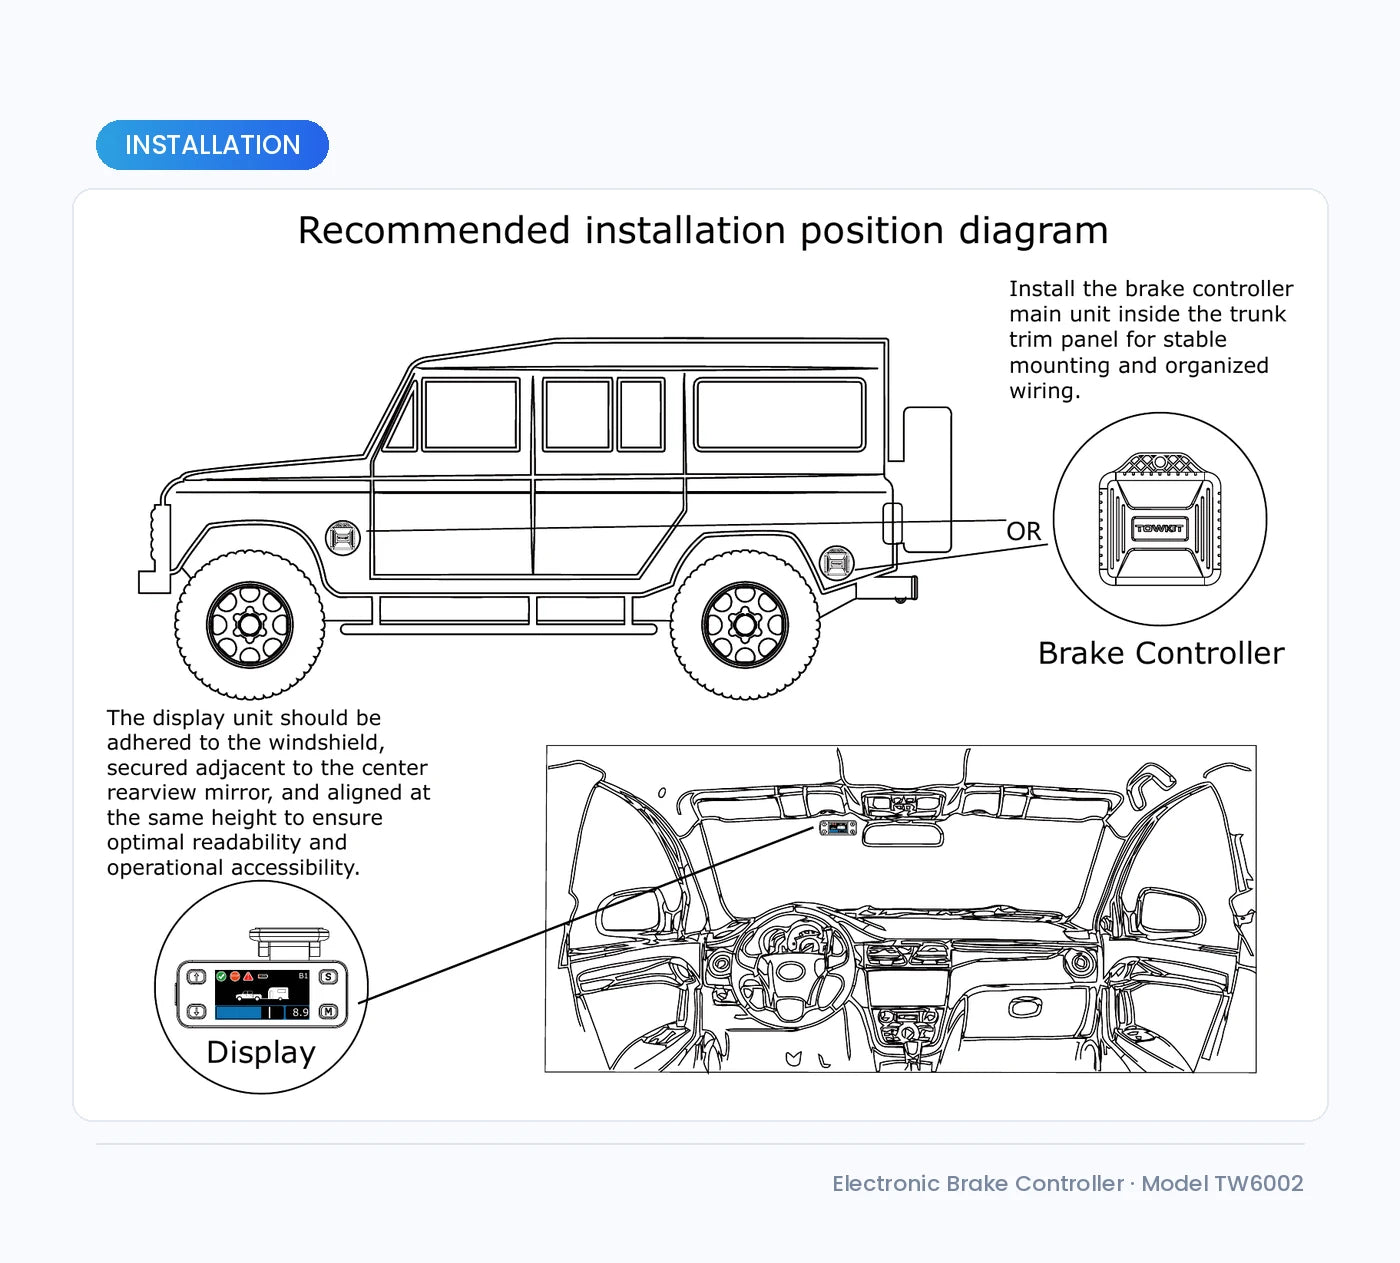
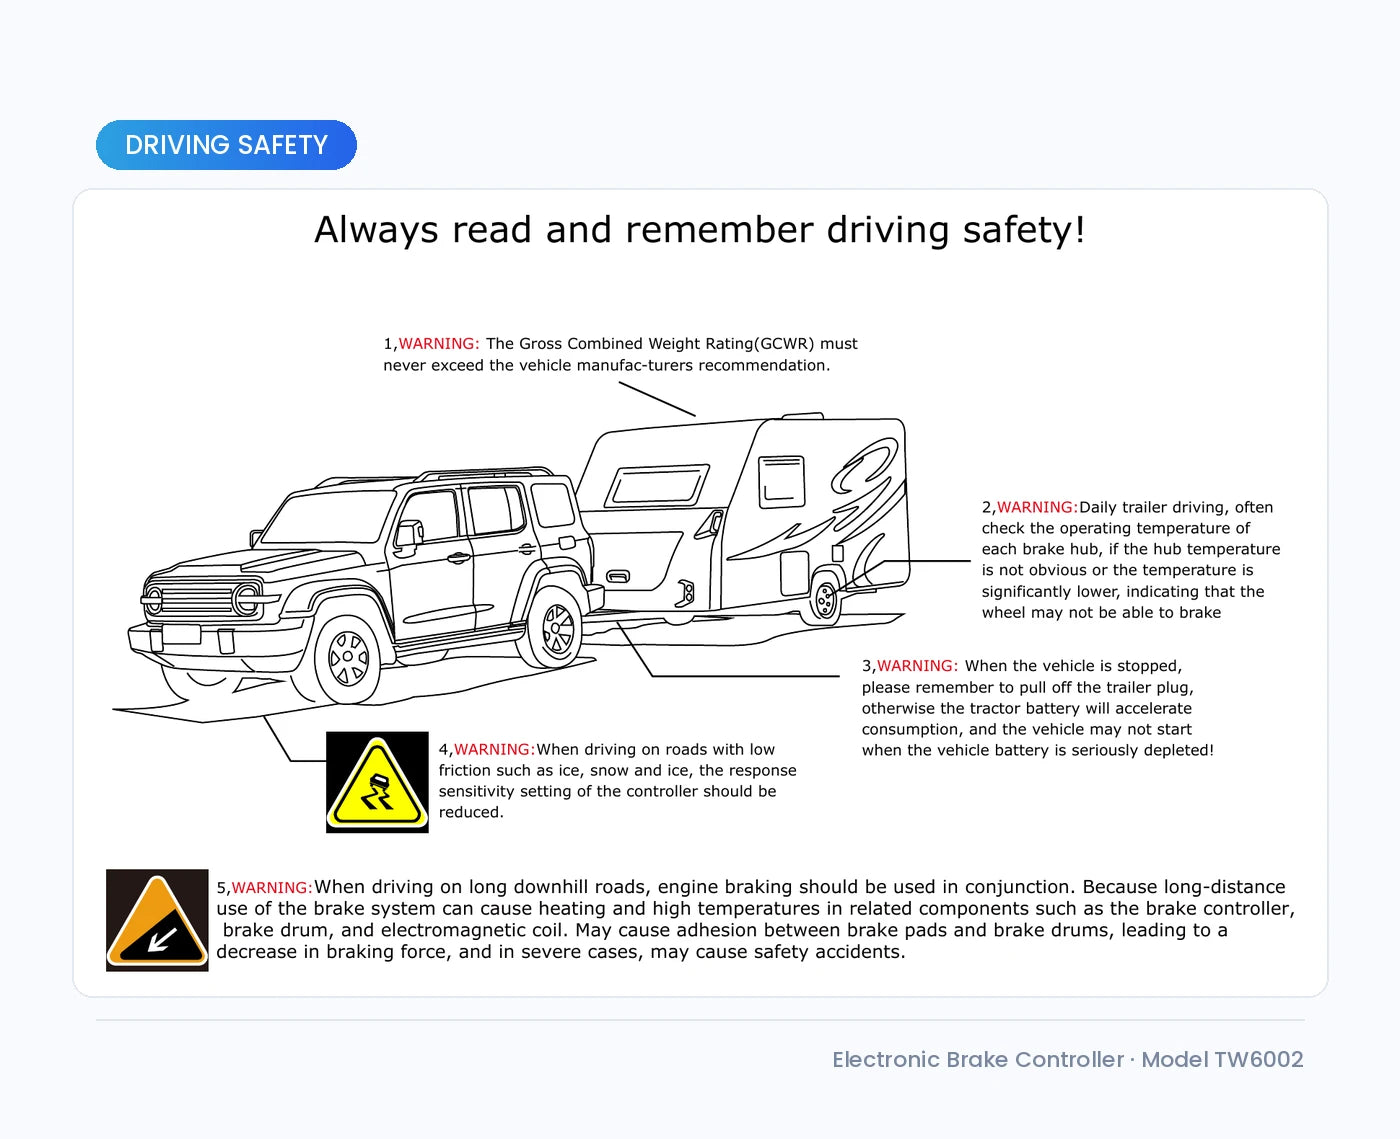
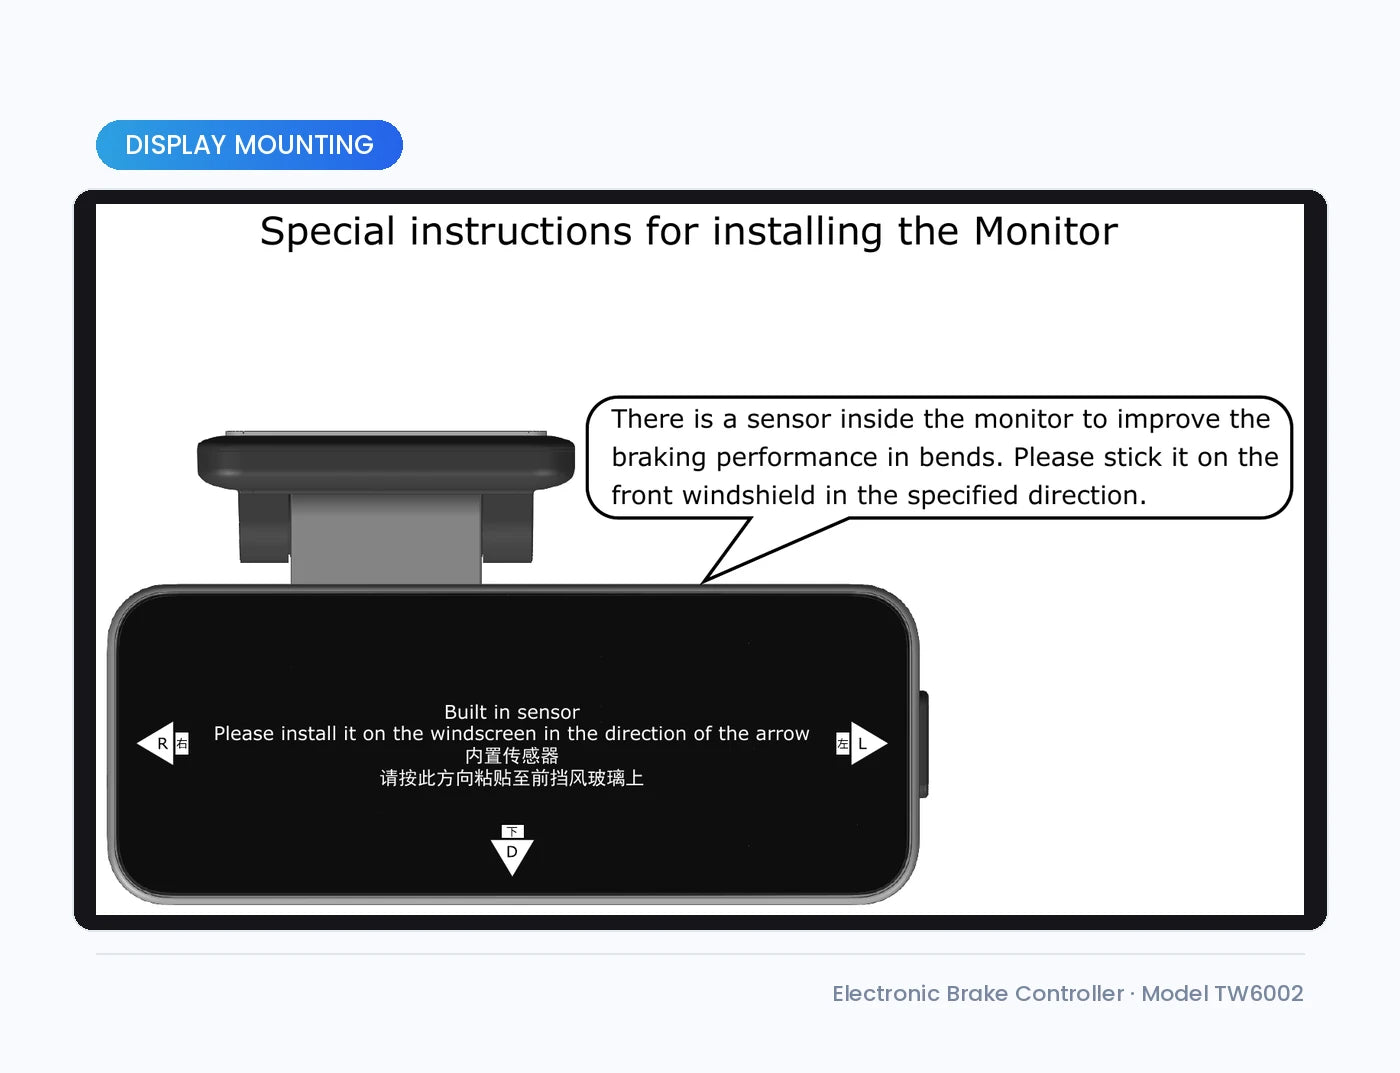
Installation Guide
Total time
60-90 minutes DIY. Under 1 hour with an auto electrician.
Drilling required
No - plug-in 4-wire loom, adhesive windscreen mount for the display.
Warranty
Yes - no factory loom cutting. Fused direct-to-battery feed keeps vehicle warranty intact.
Shipping insurance
In the event ofalost or damaged package we guarantee a full refund or replacement product
Expedited order support
We support expedited order processing, can contact us.
securety payments
Easy returns and refundsSecure payments
Return Policy
30-day return policyavailable forall purchases.