

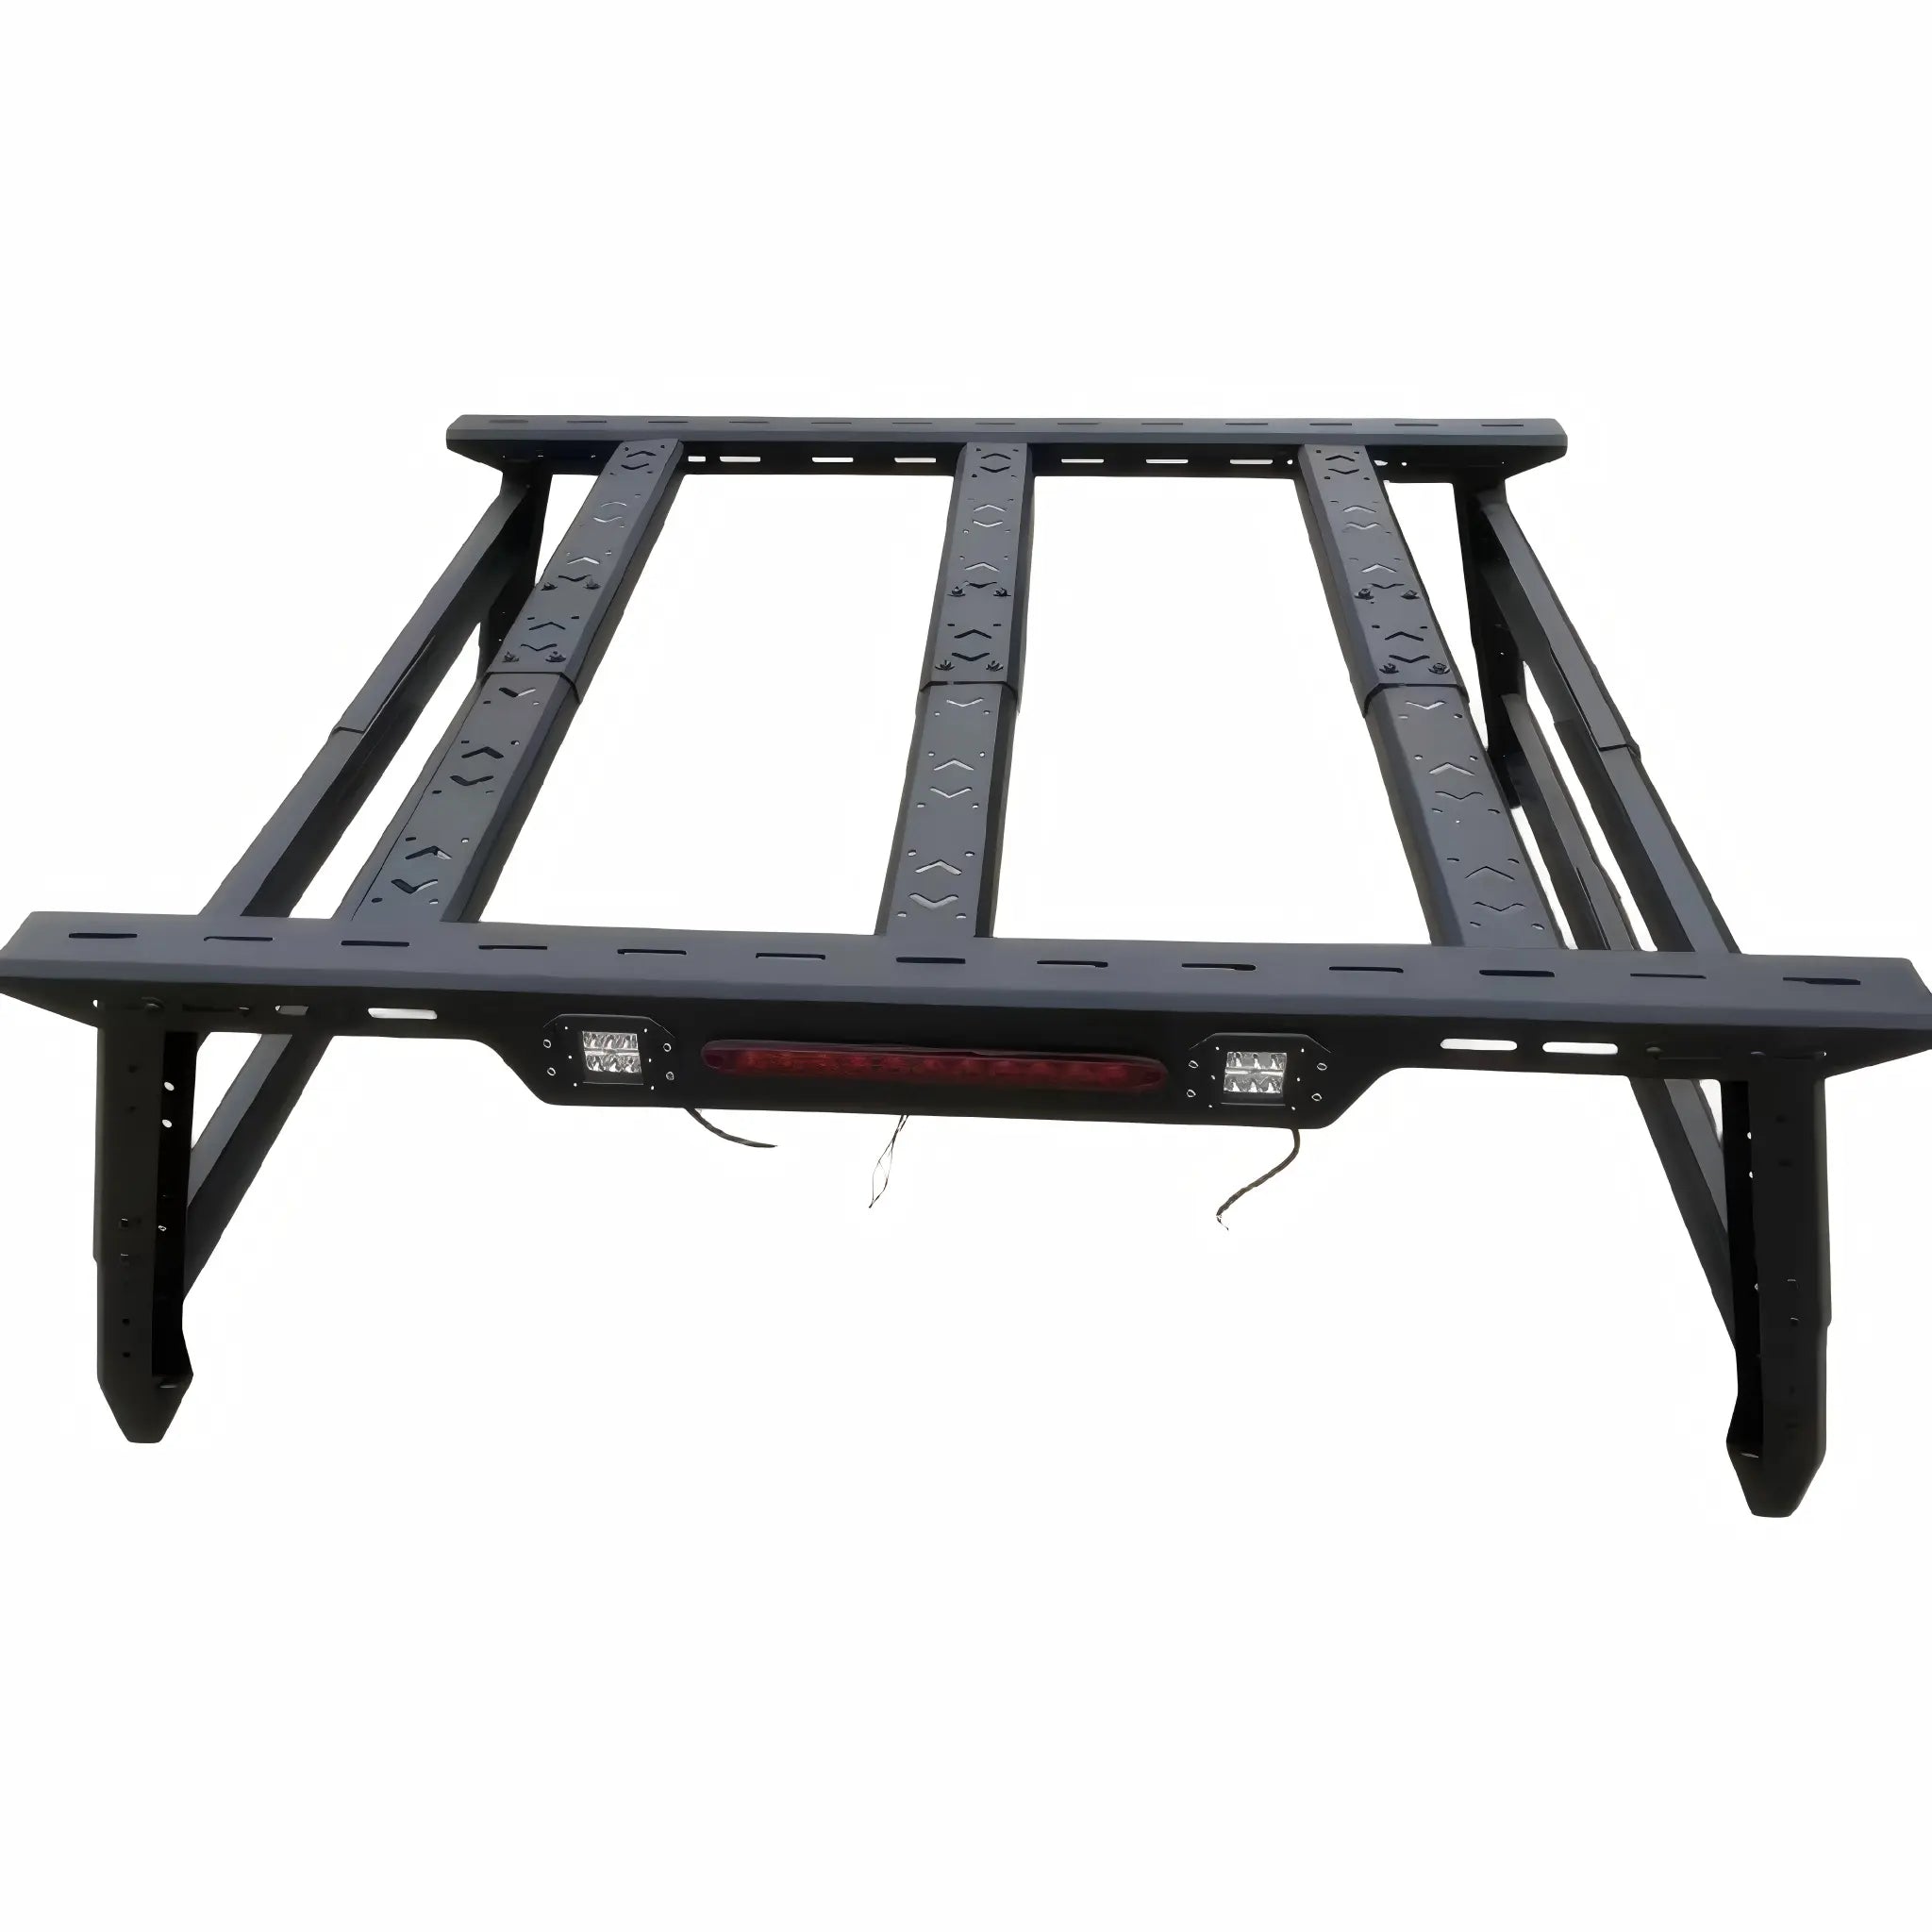
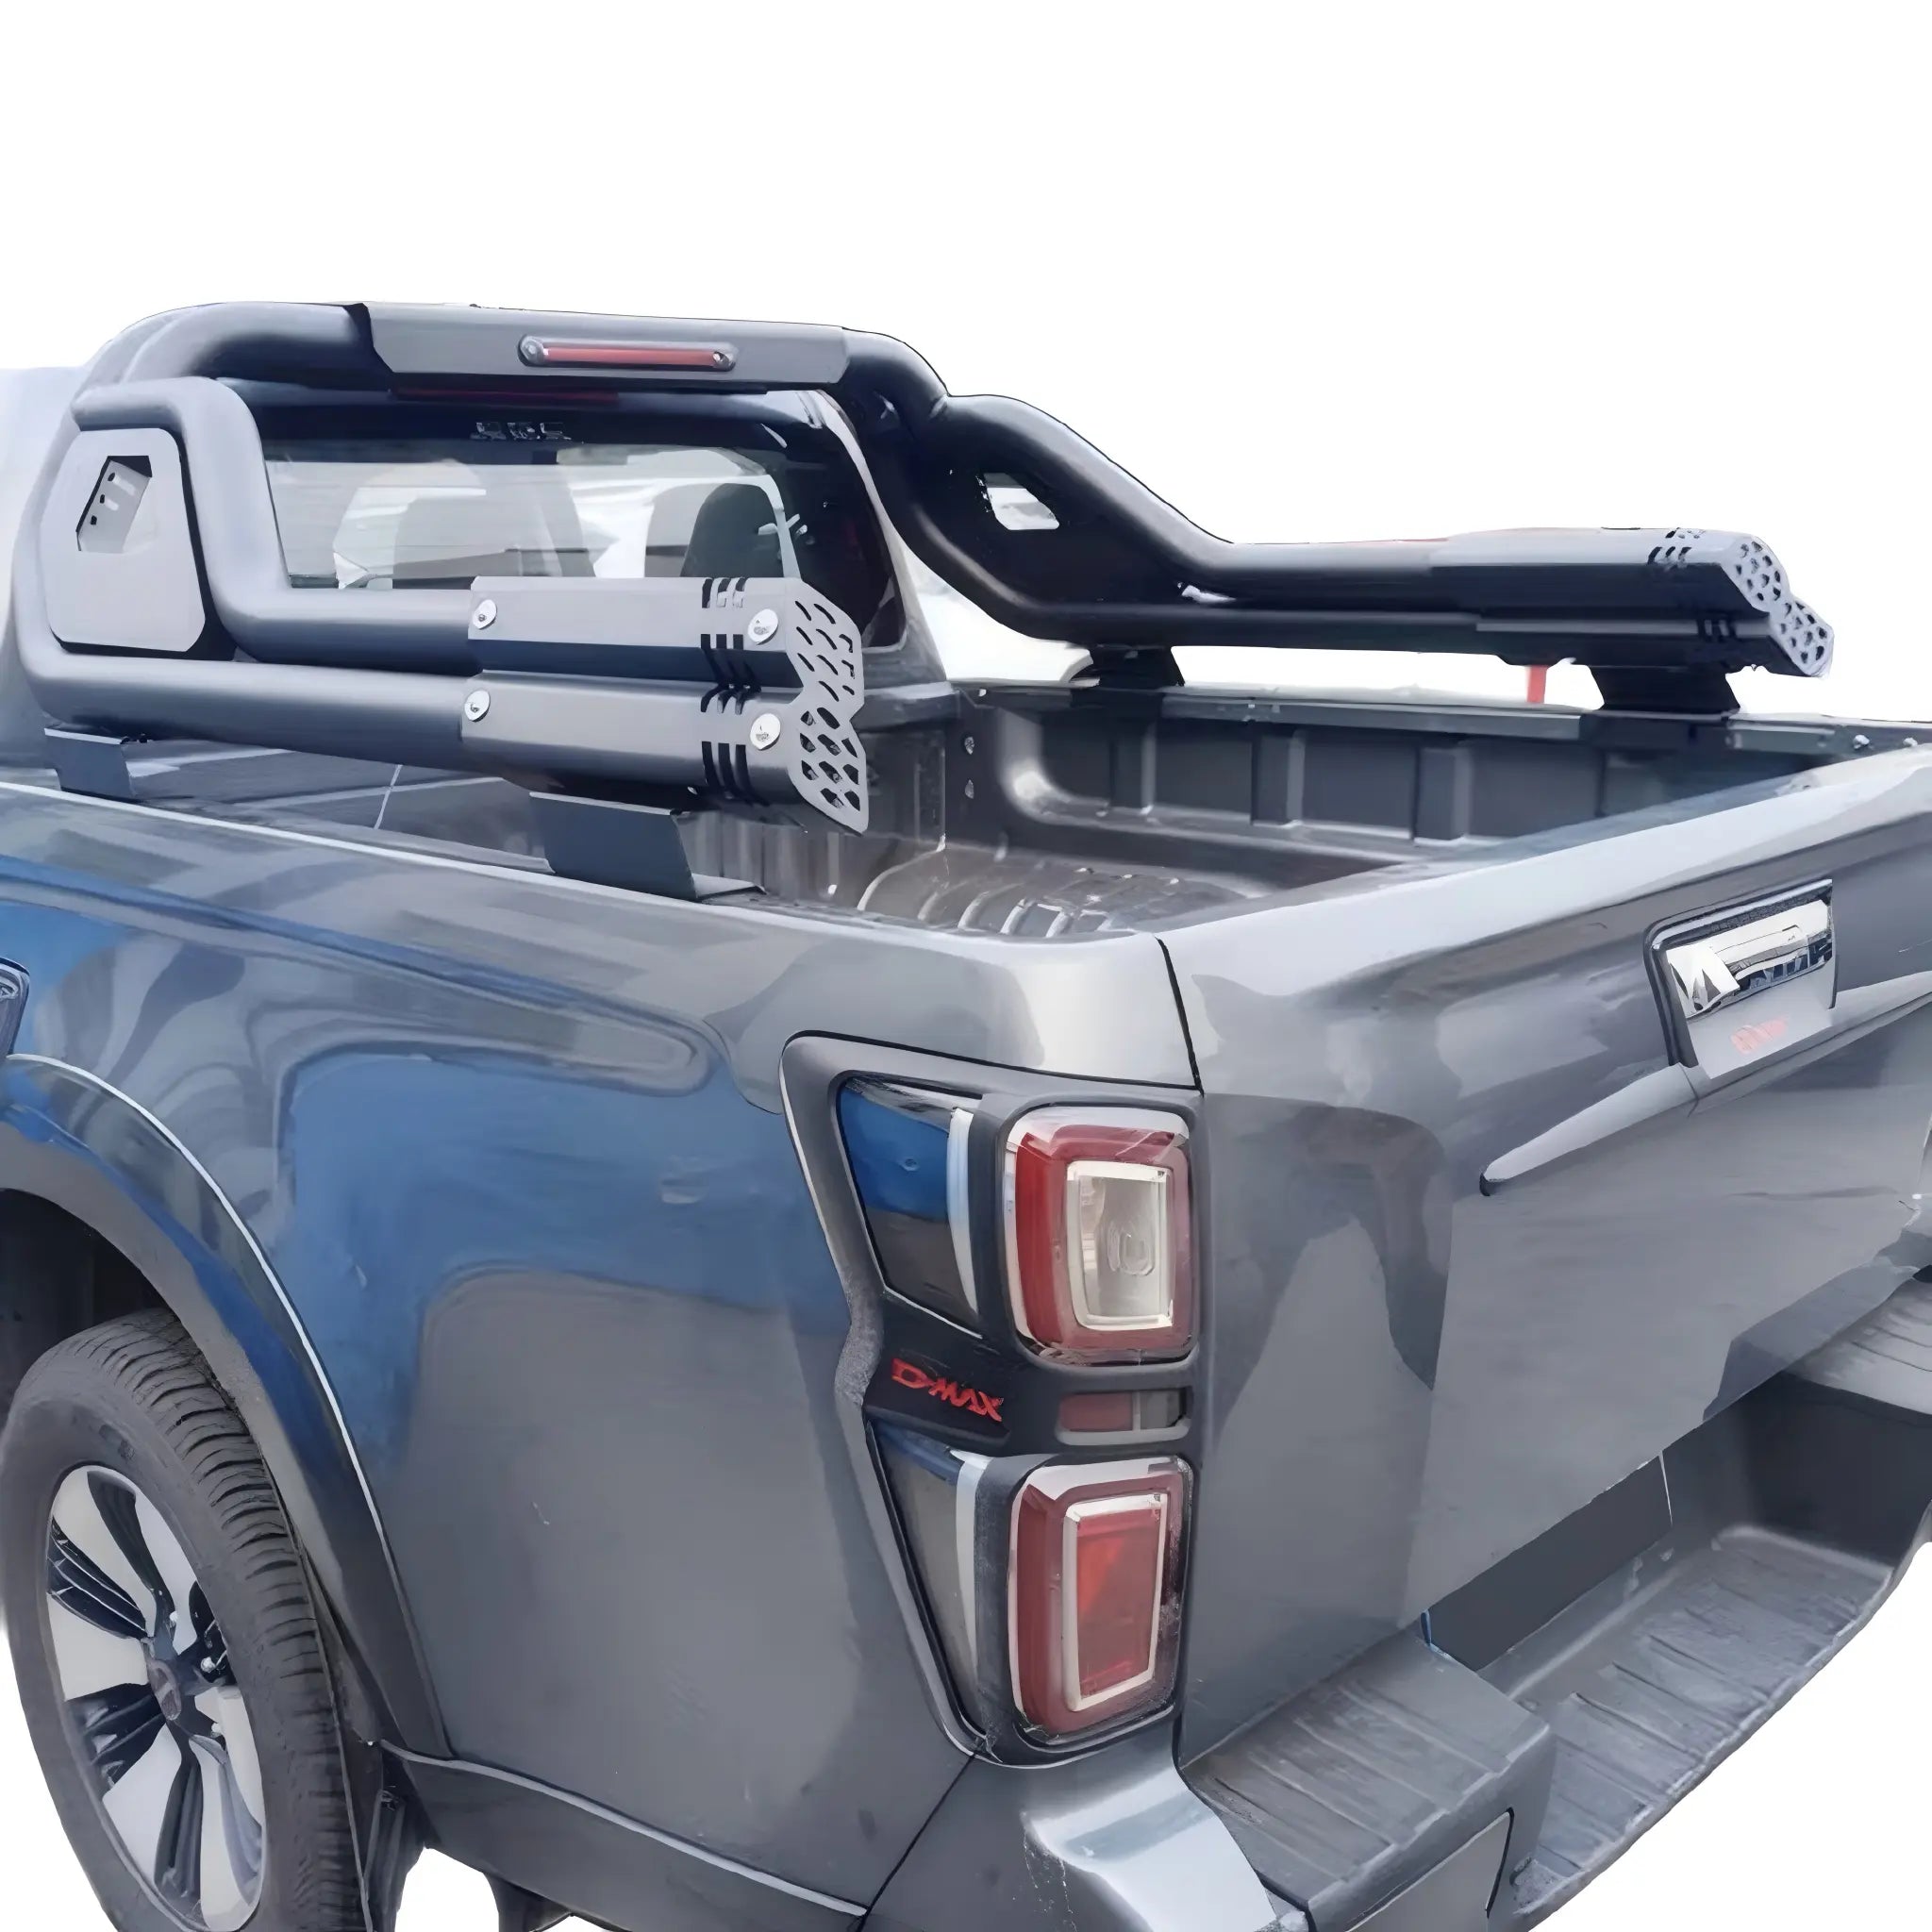
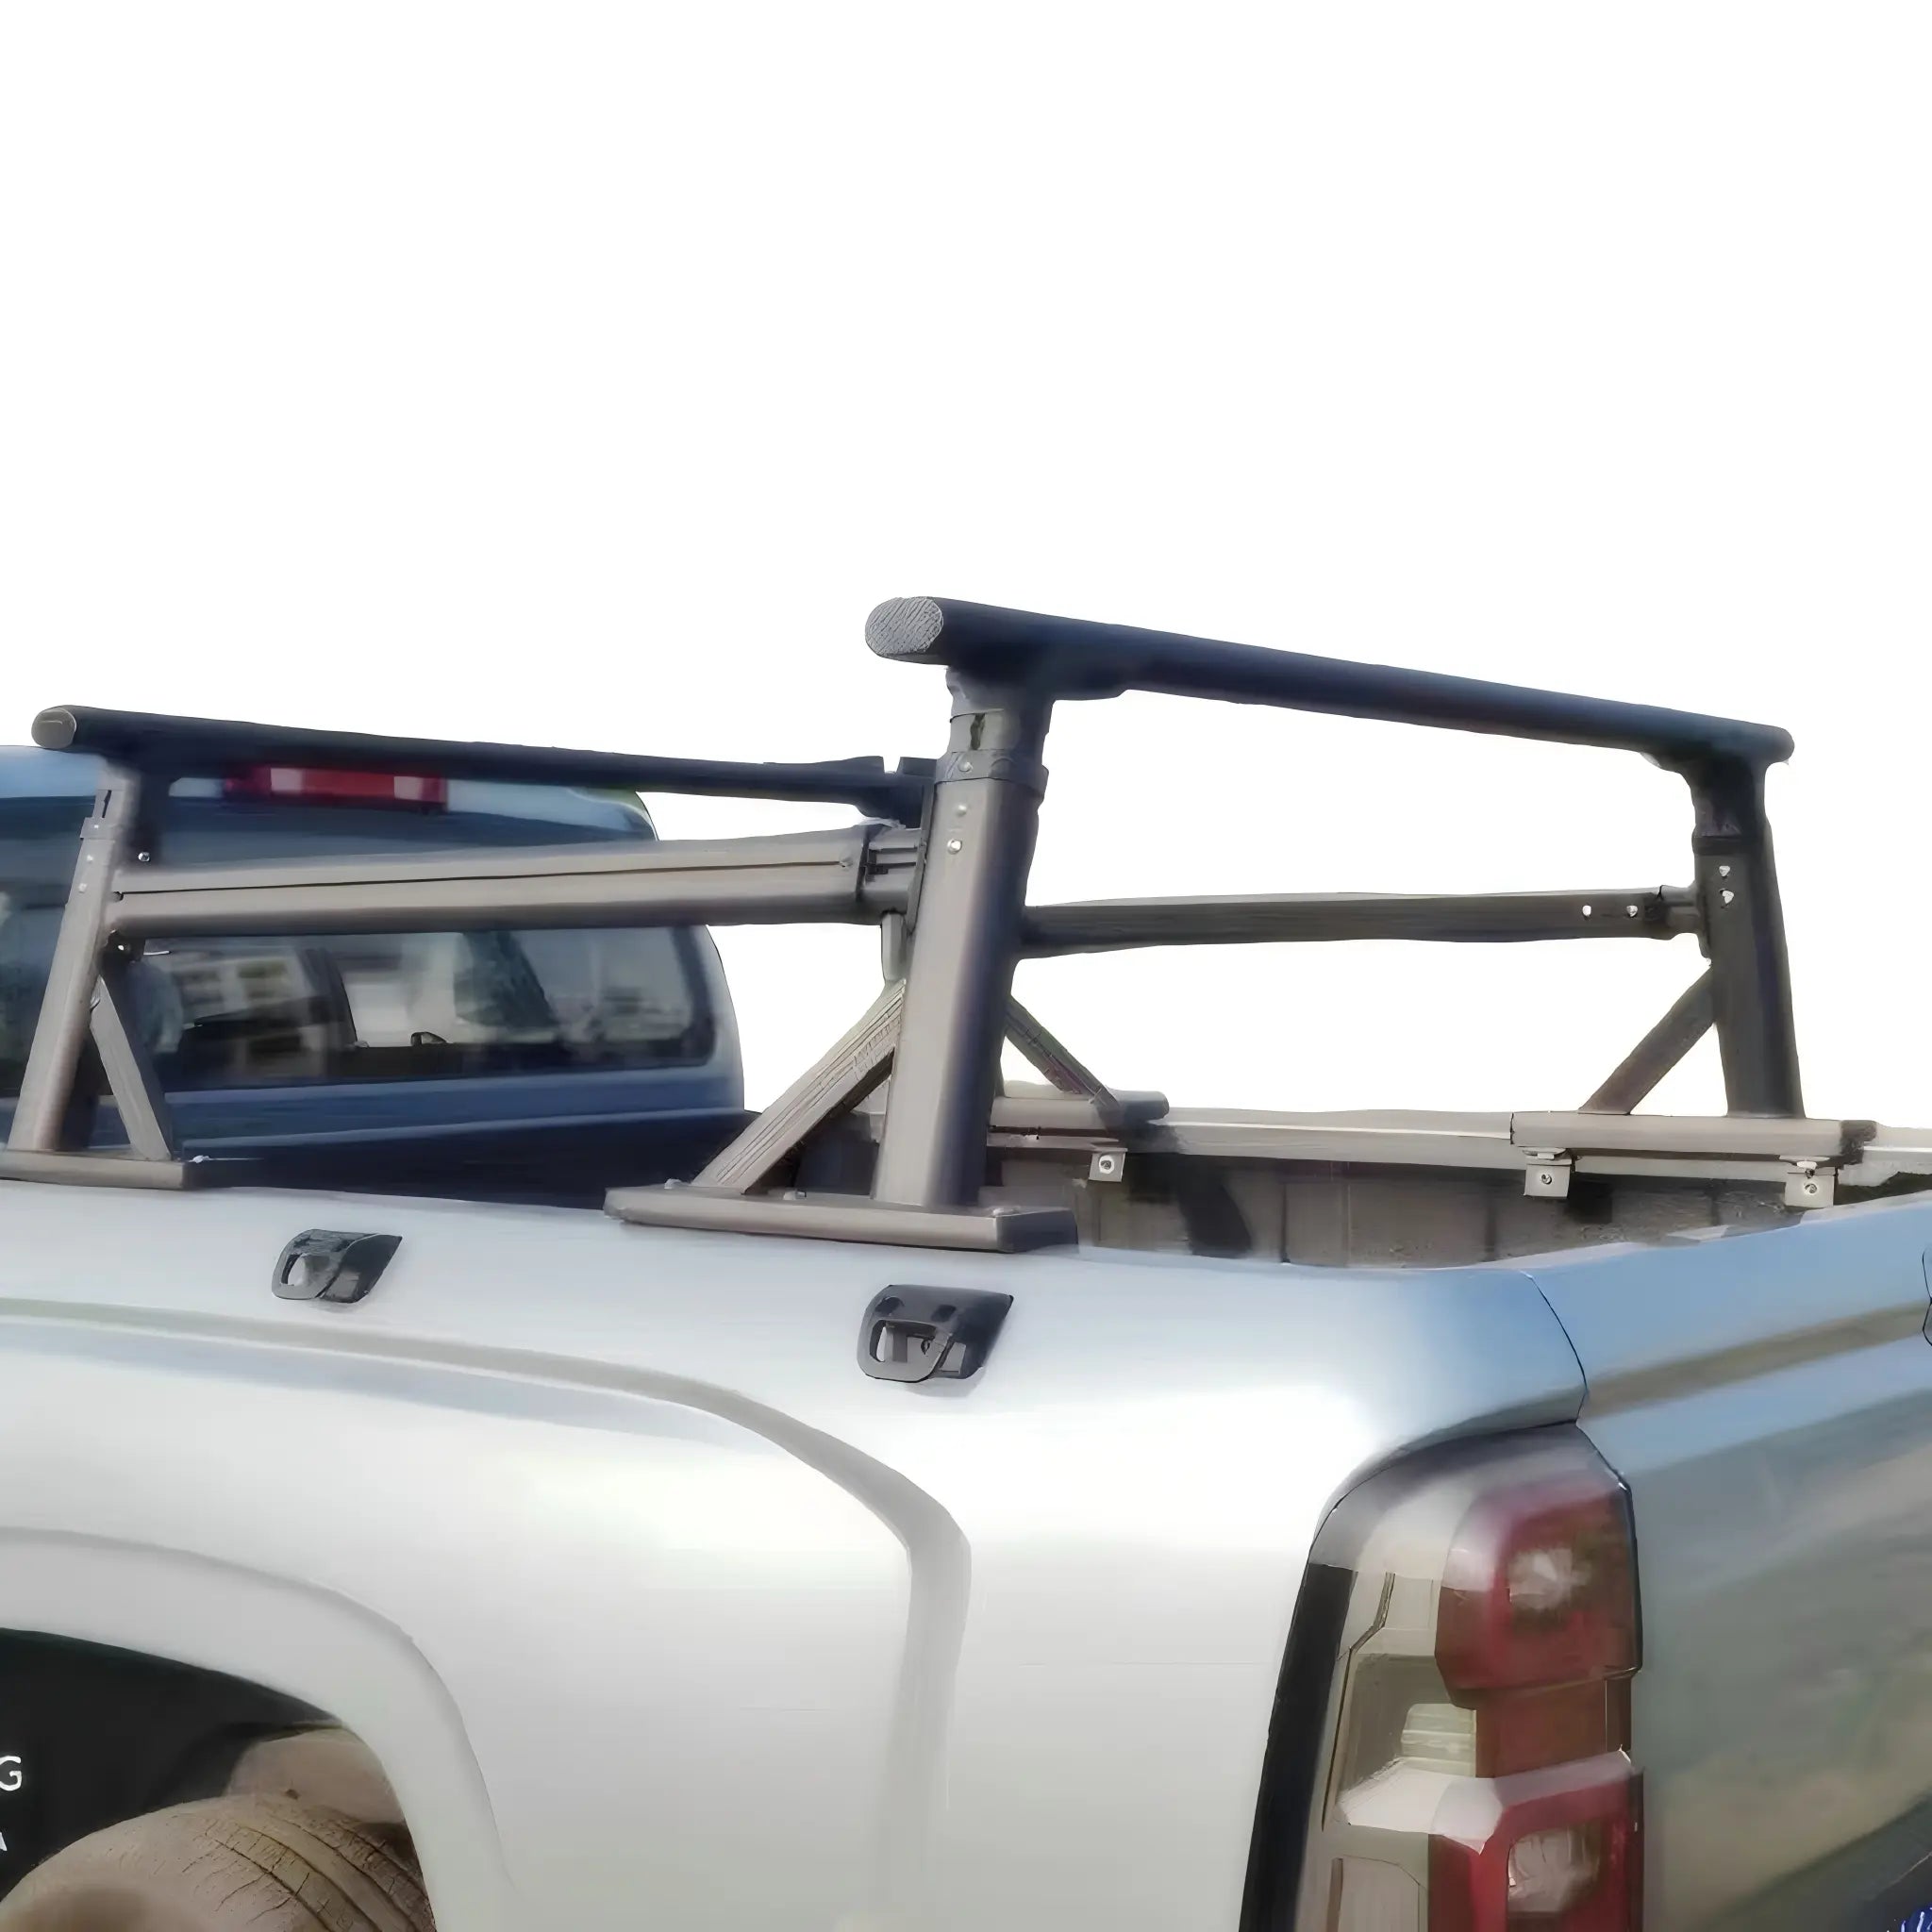
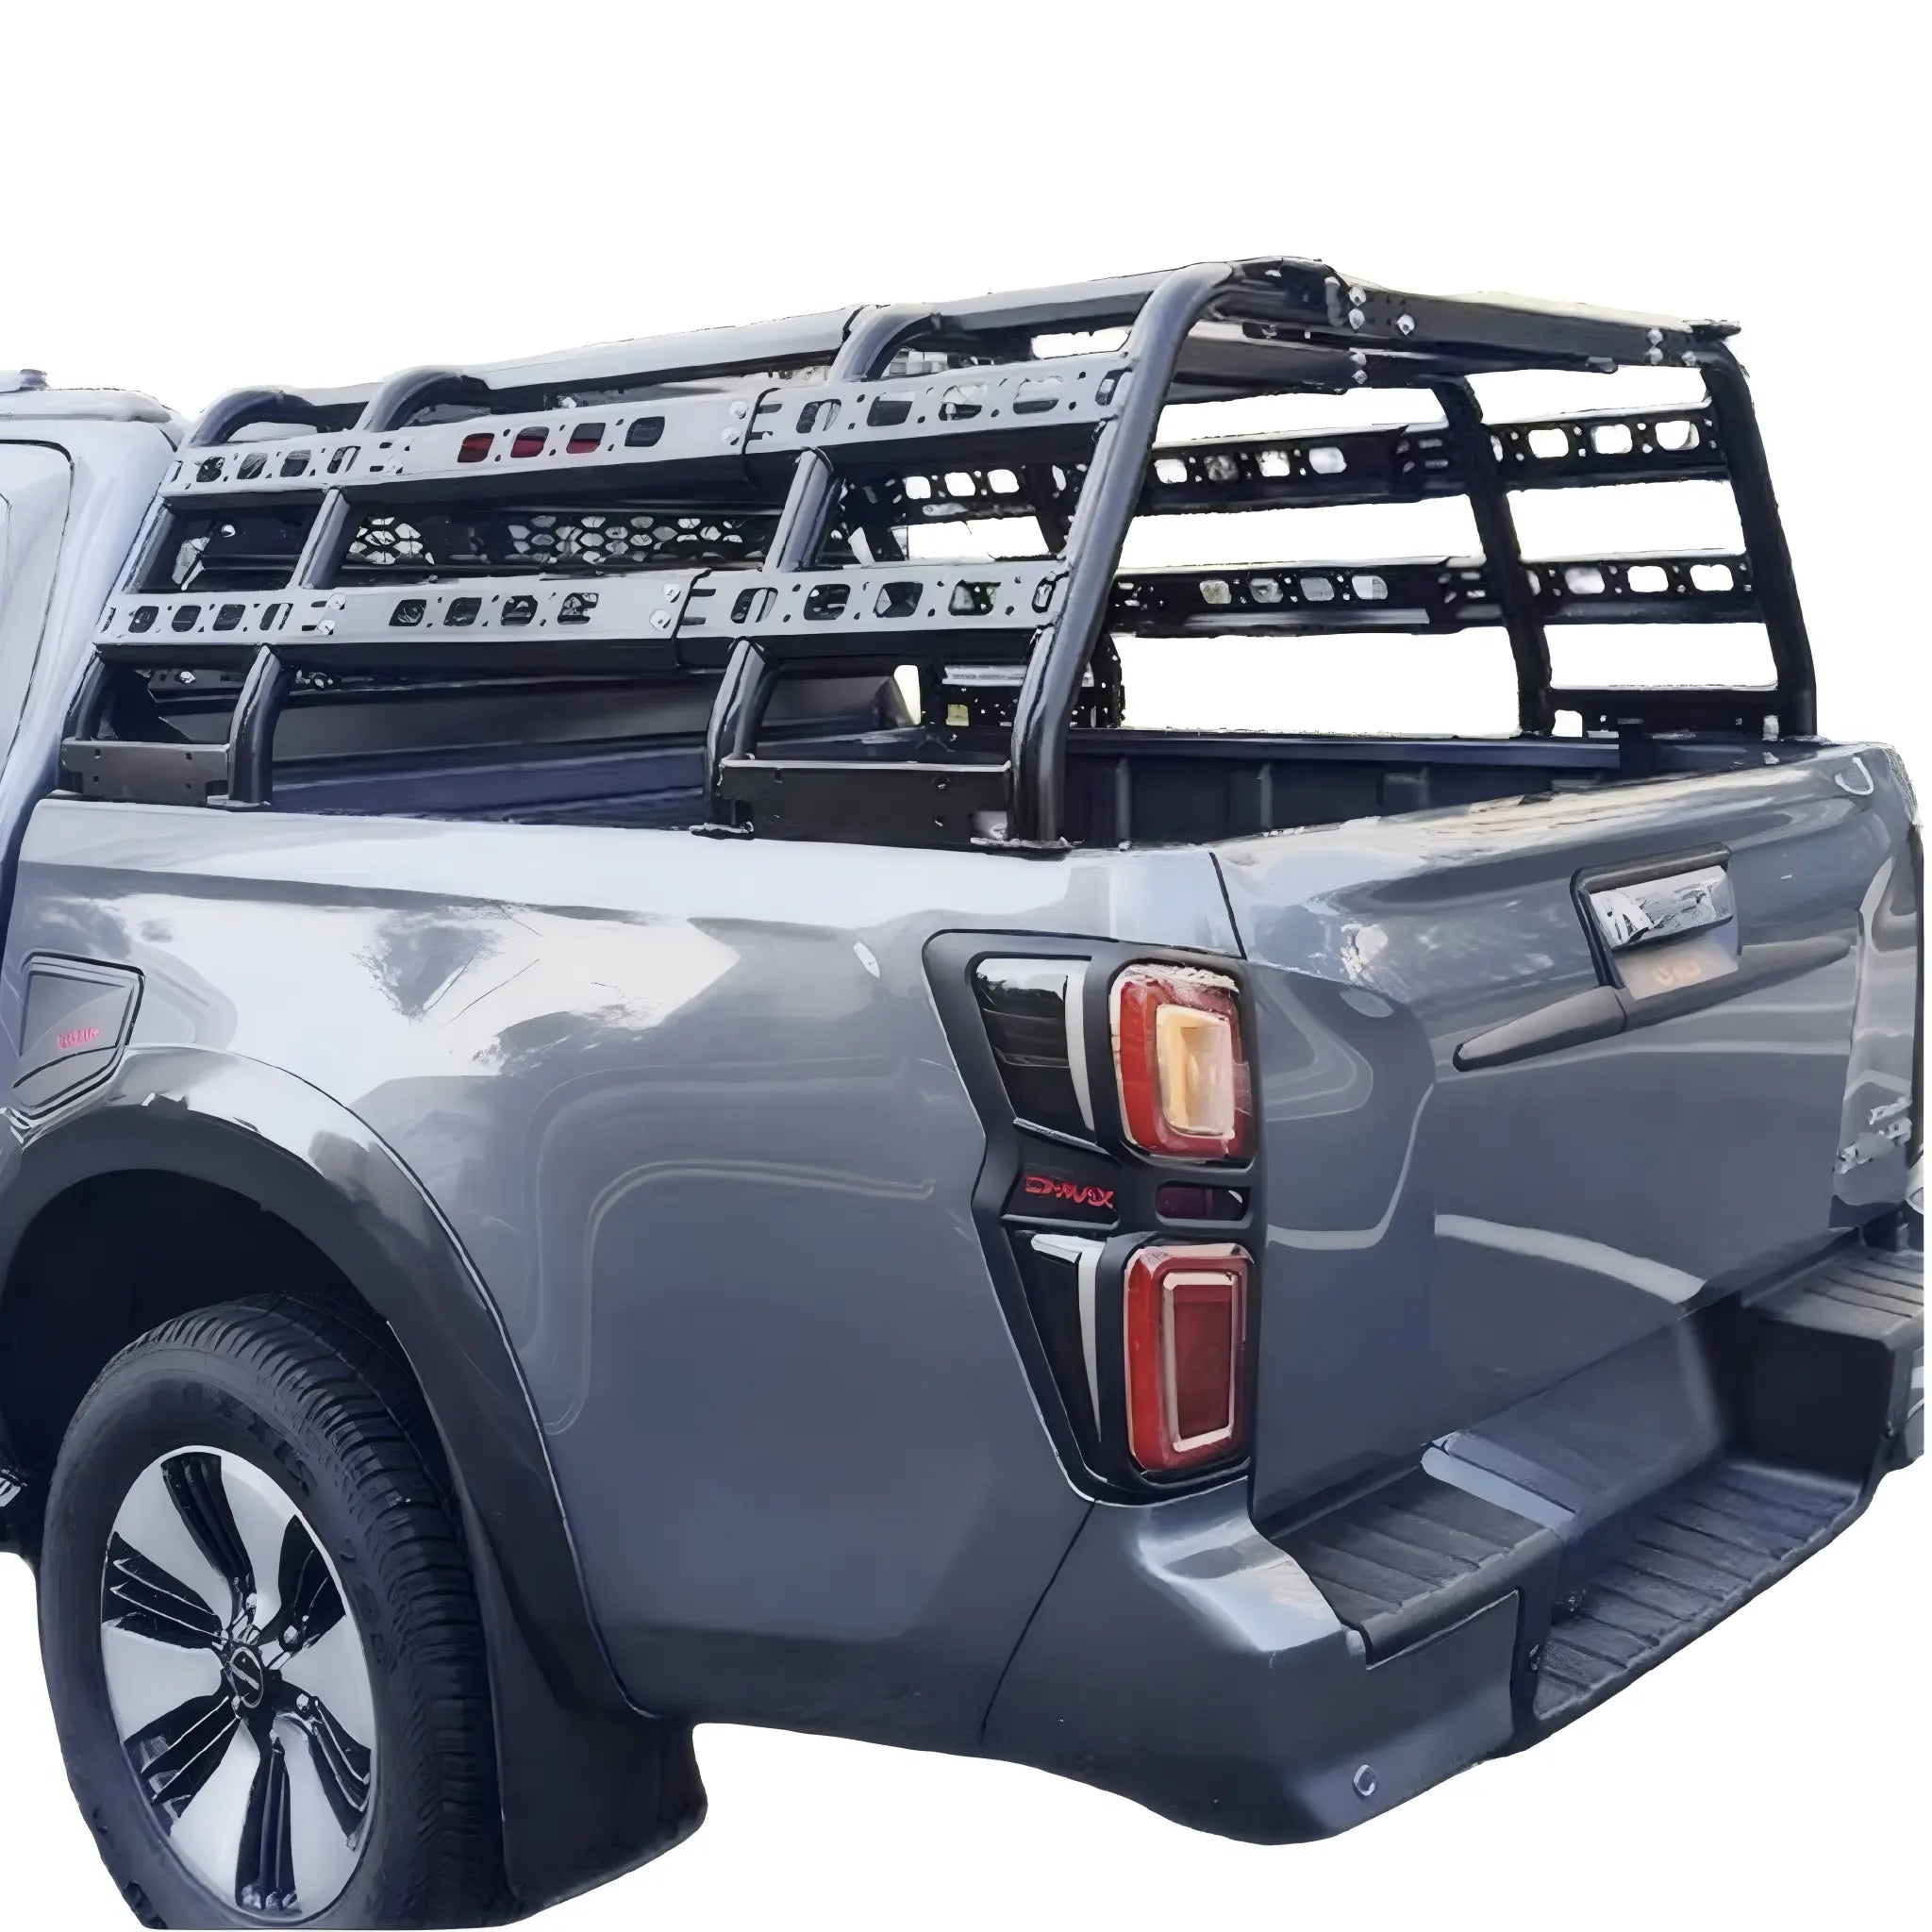
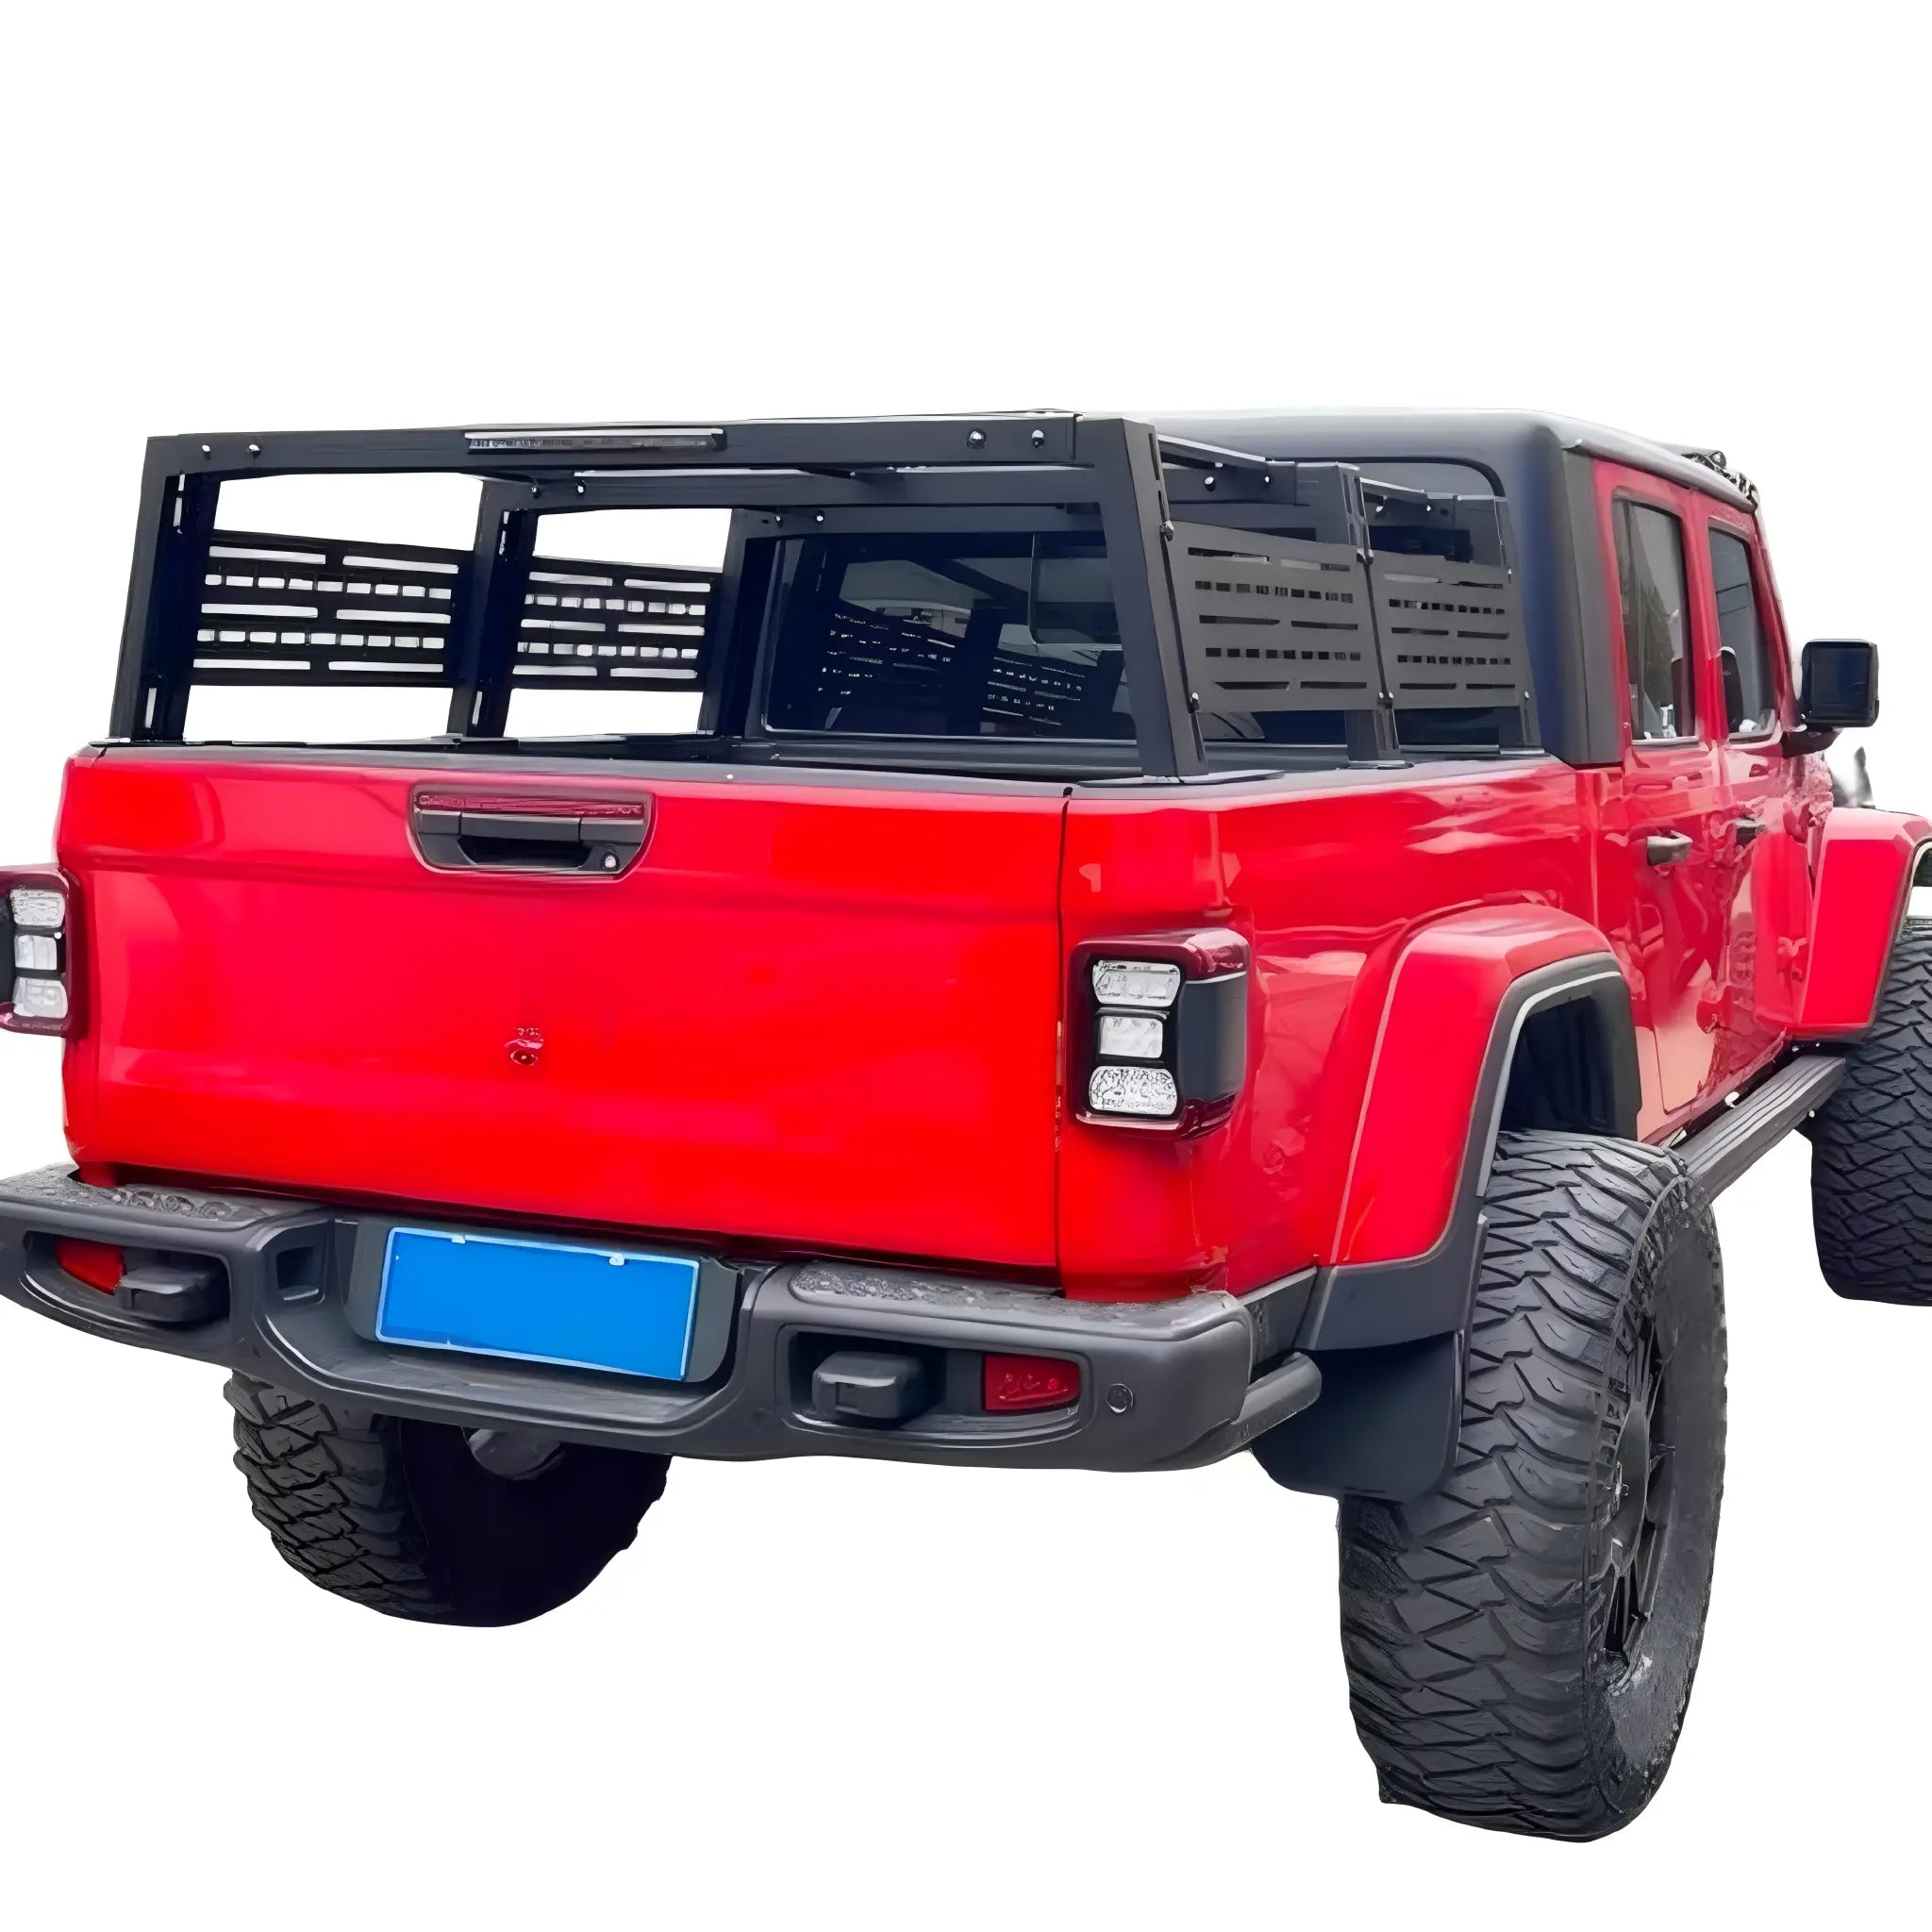
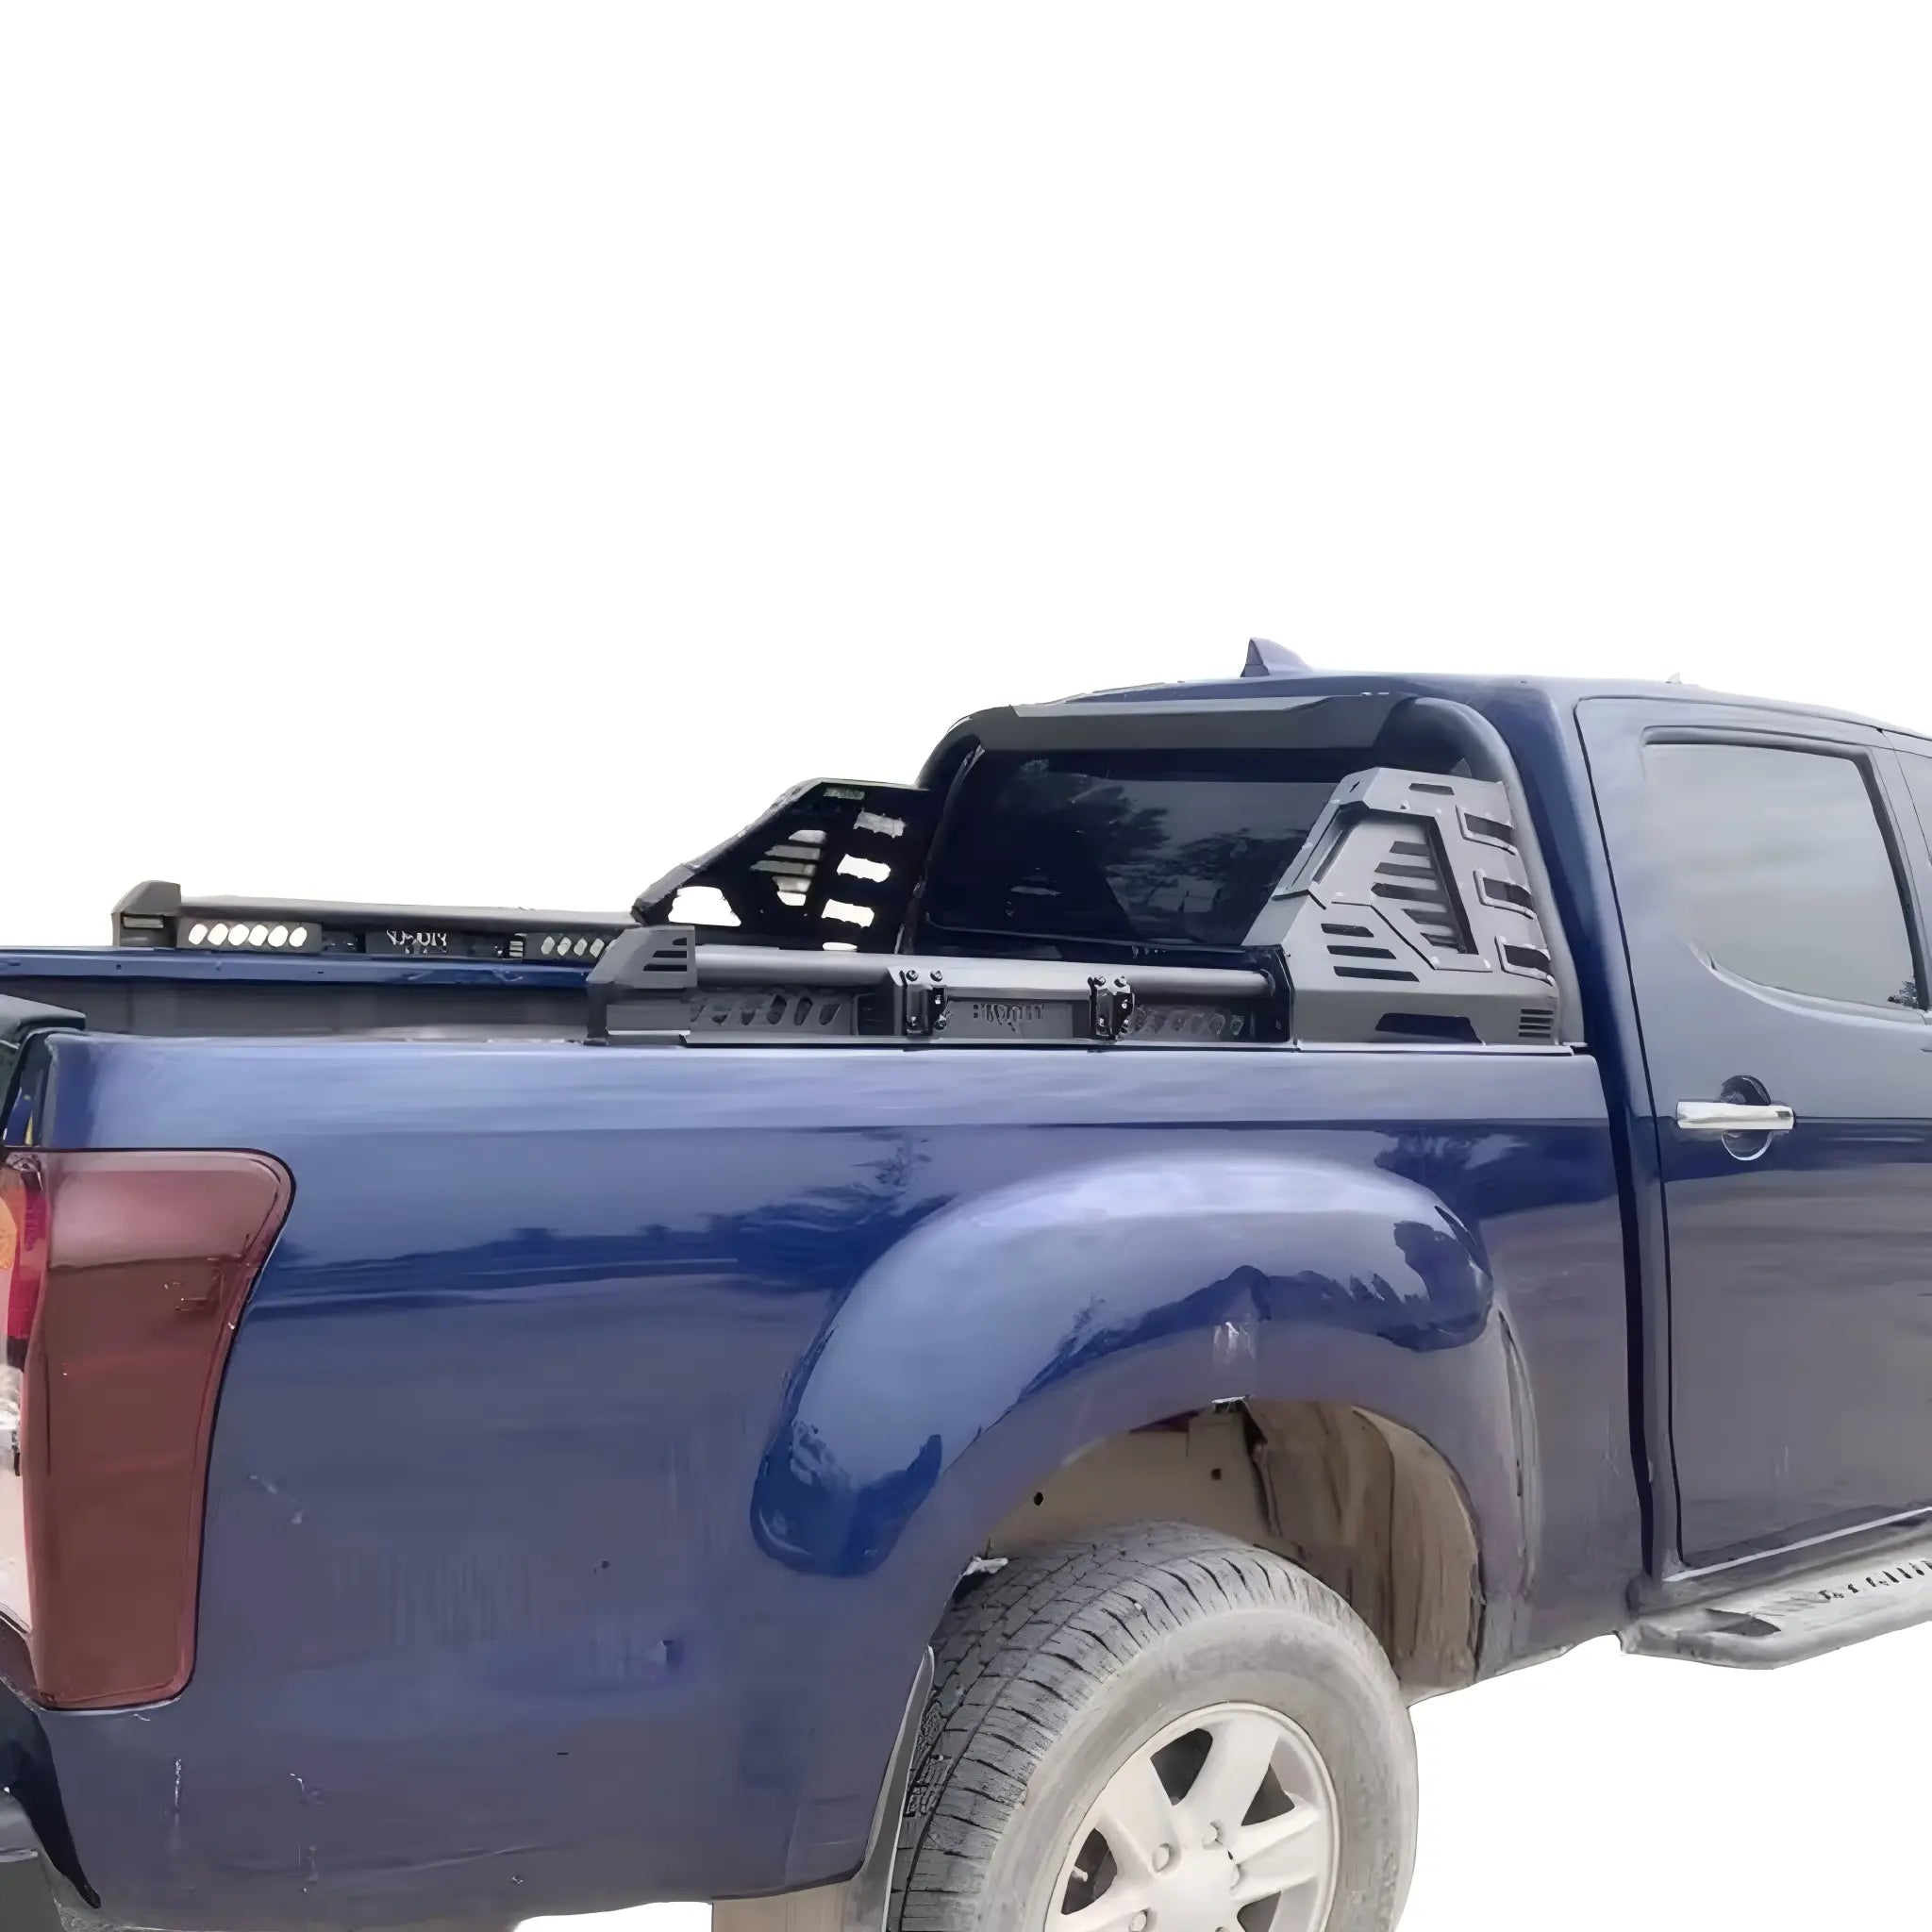
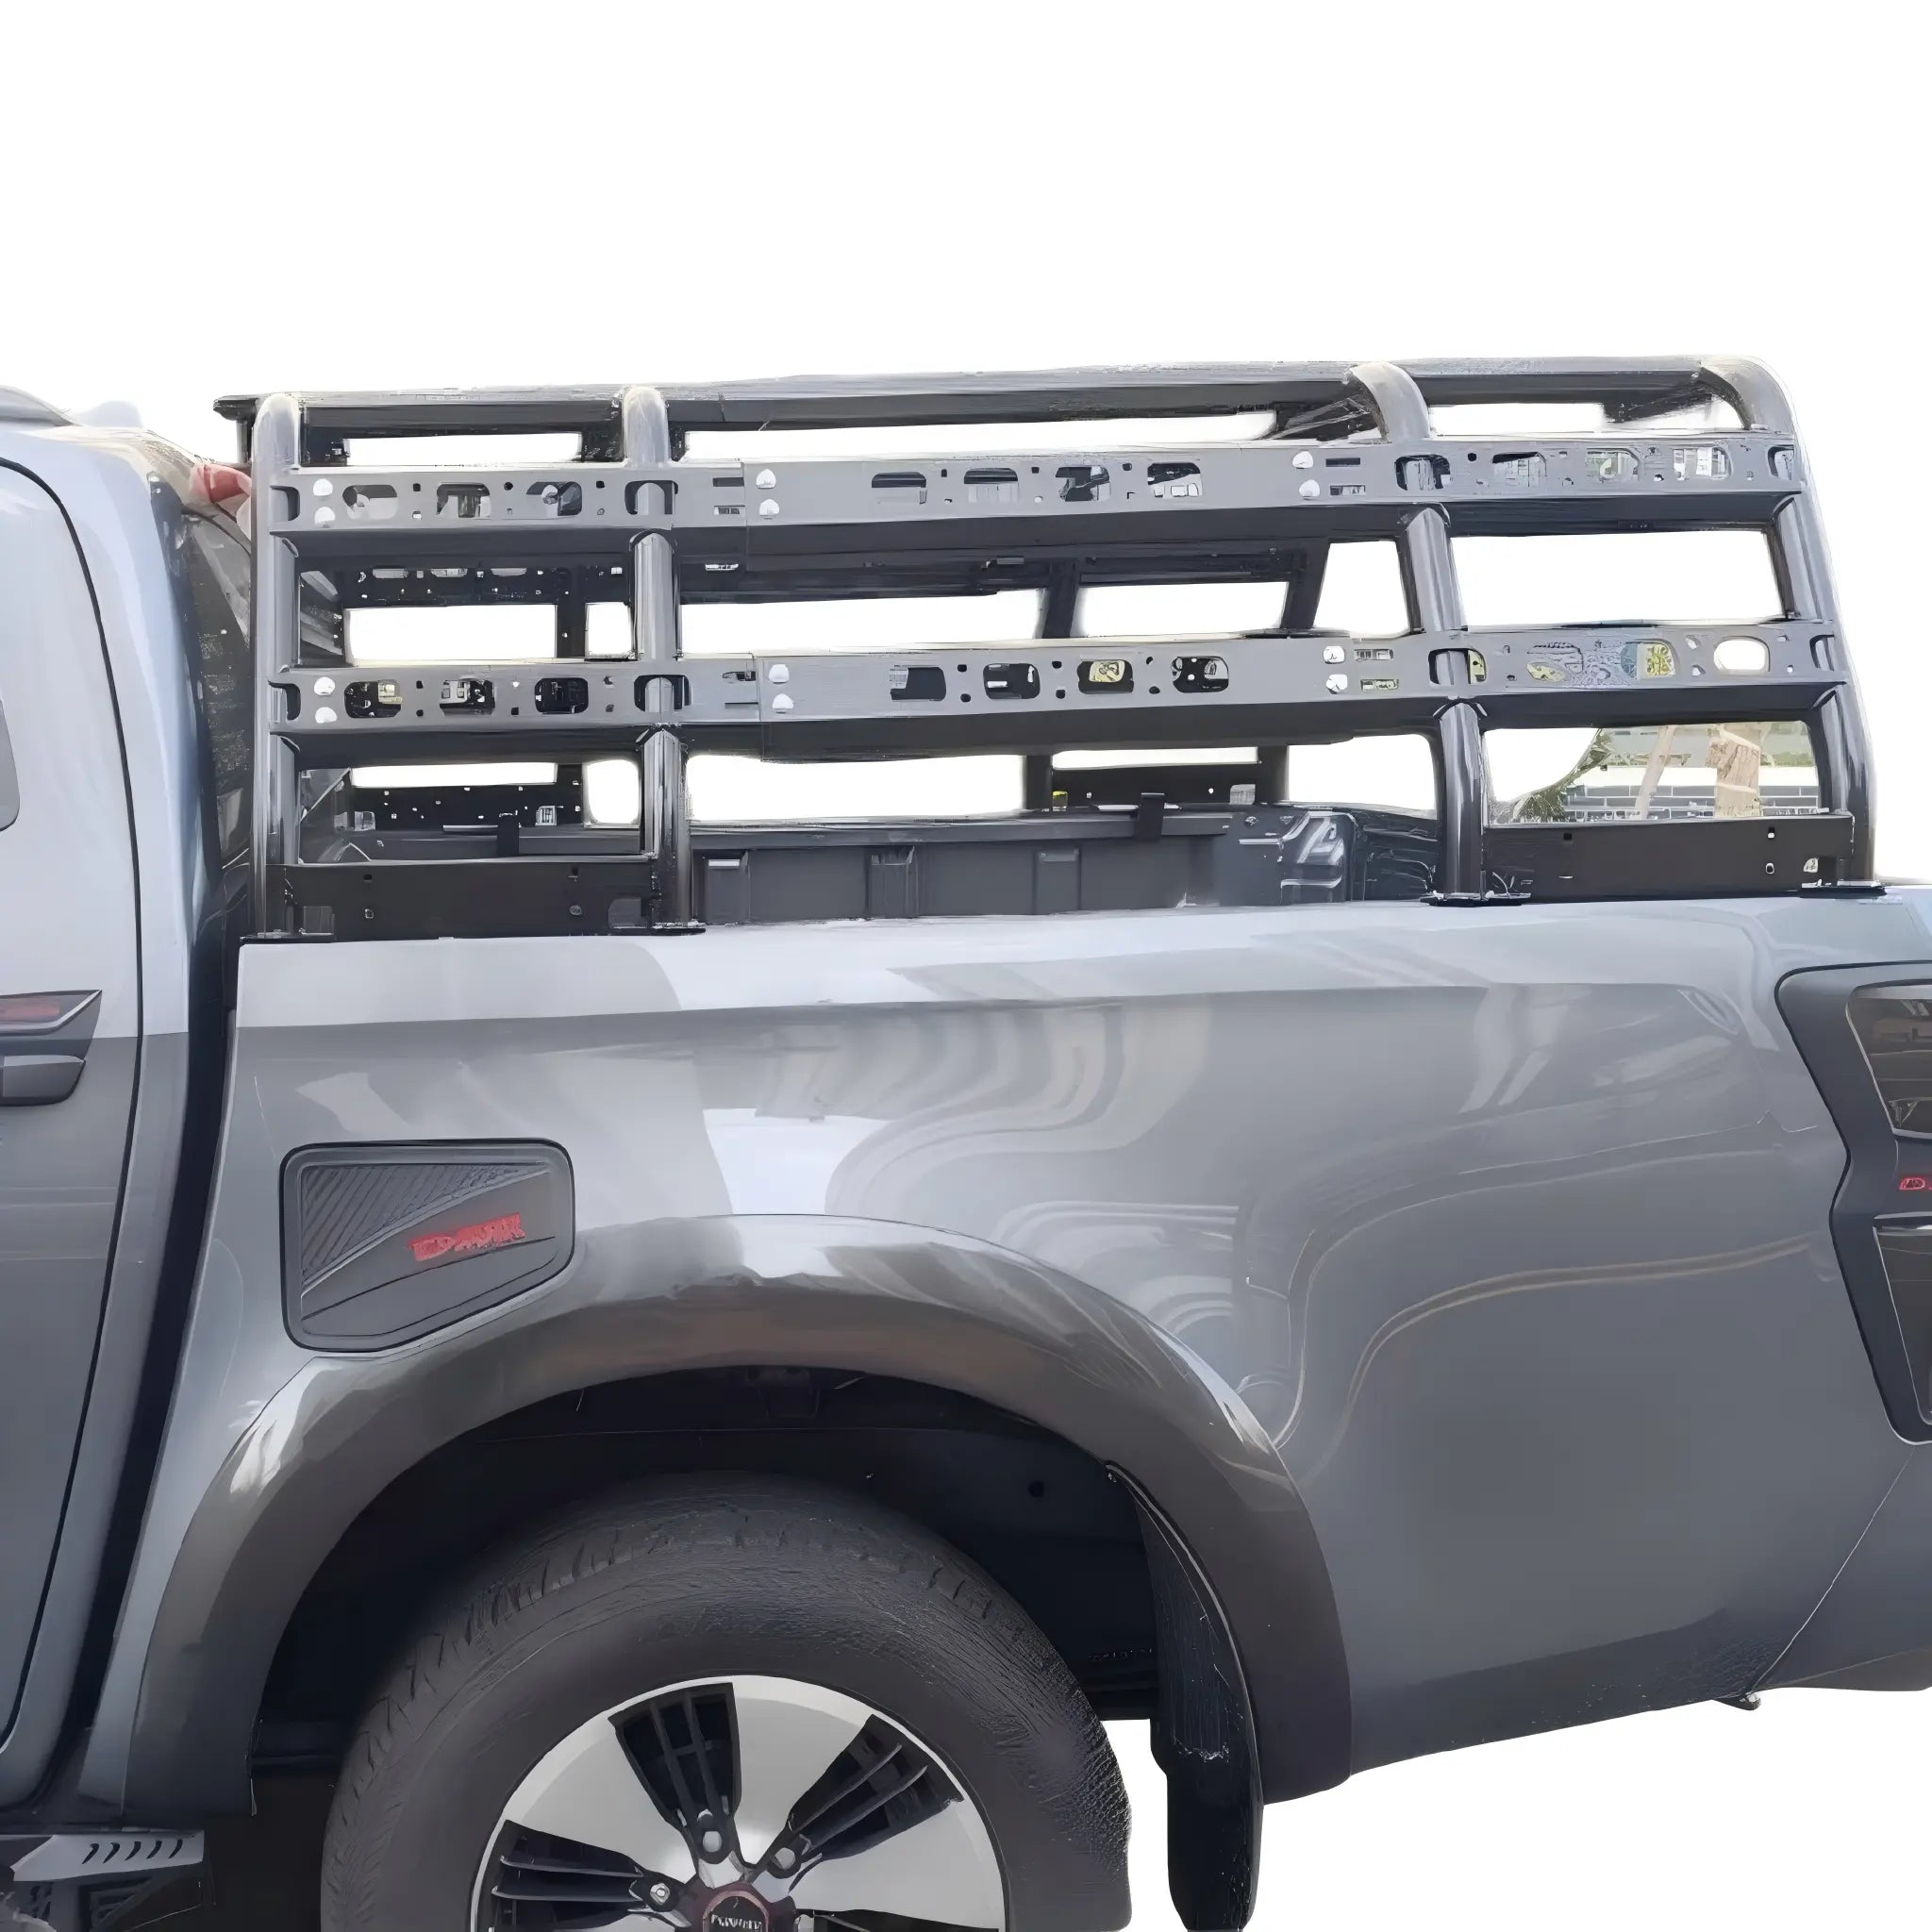
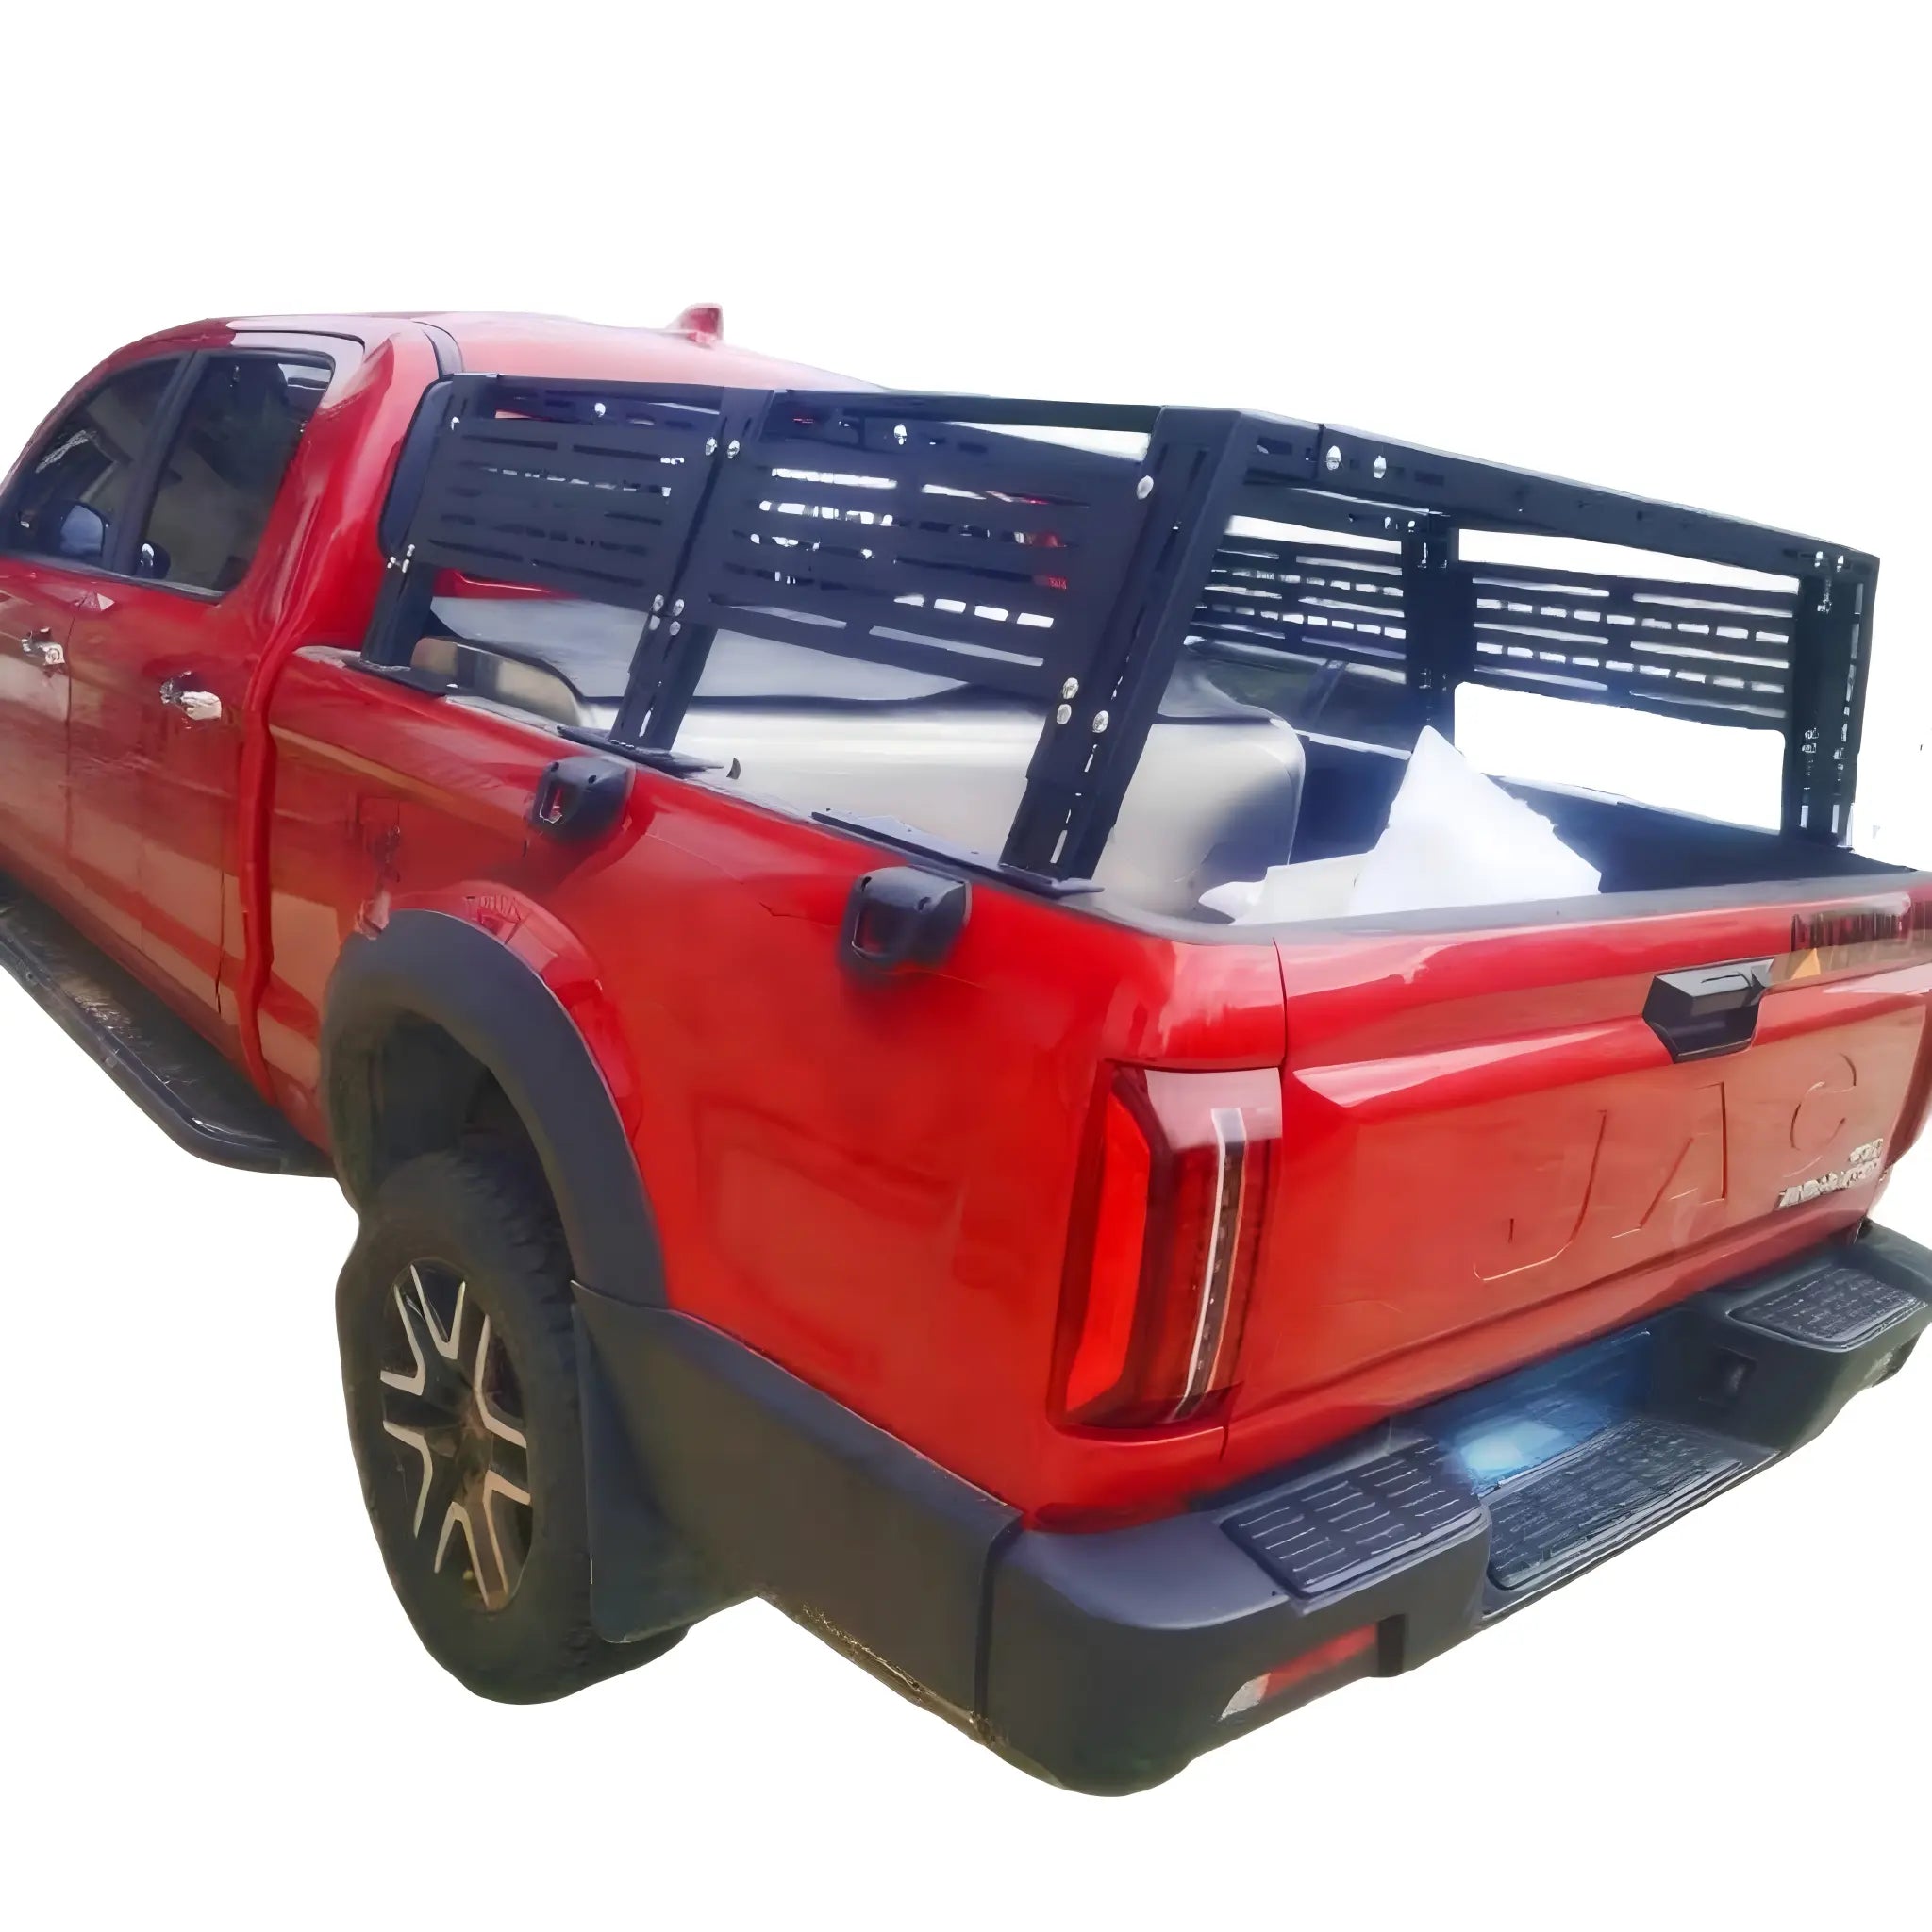
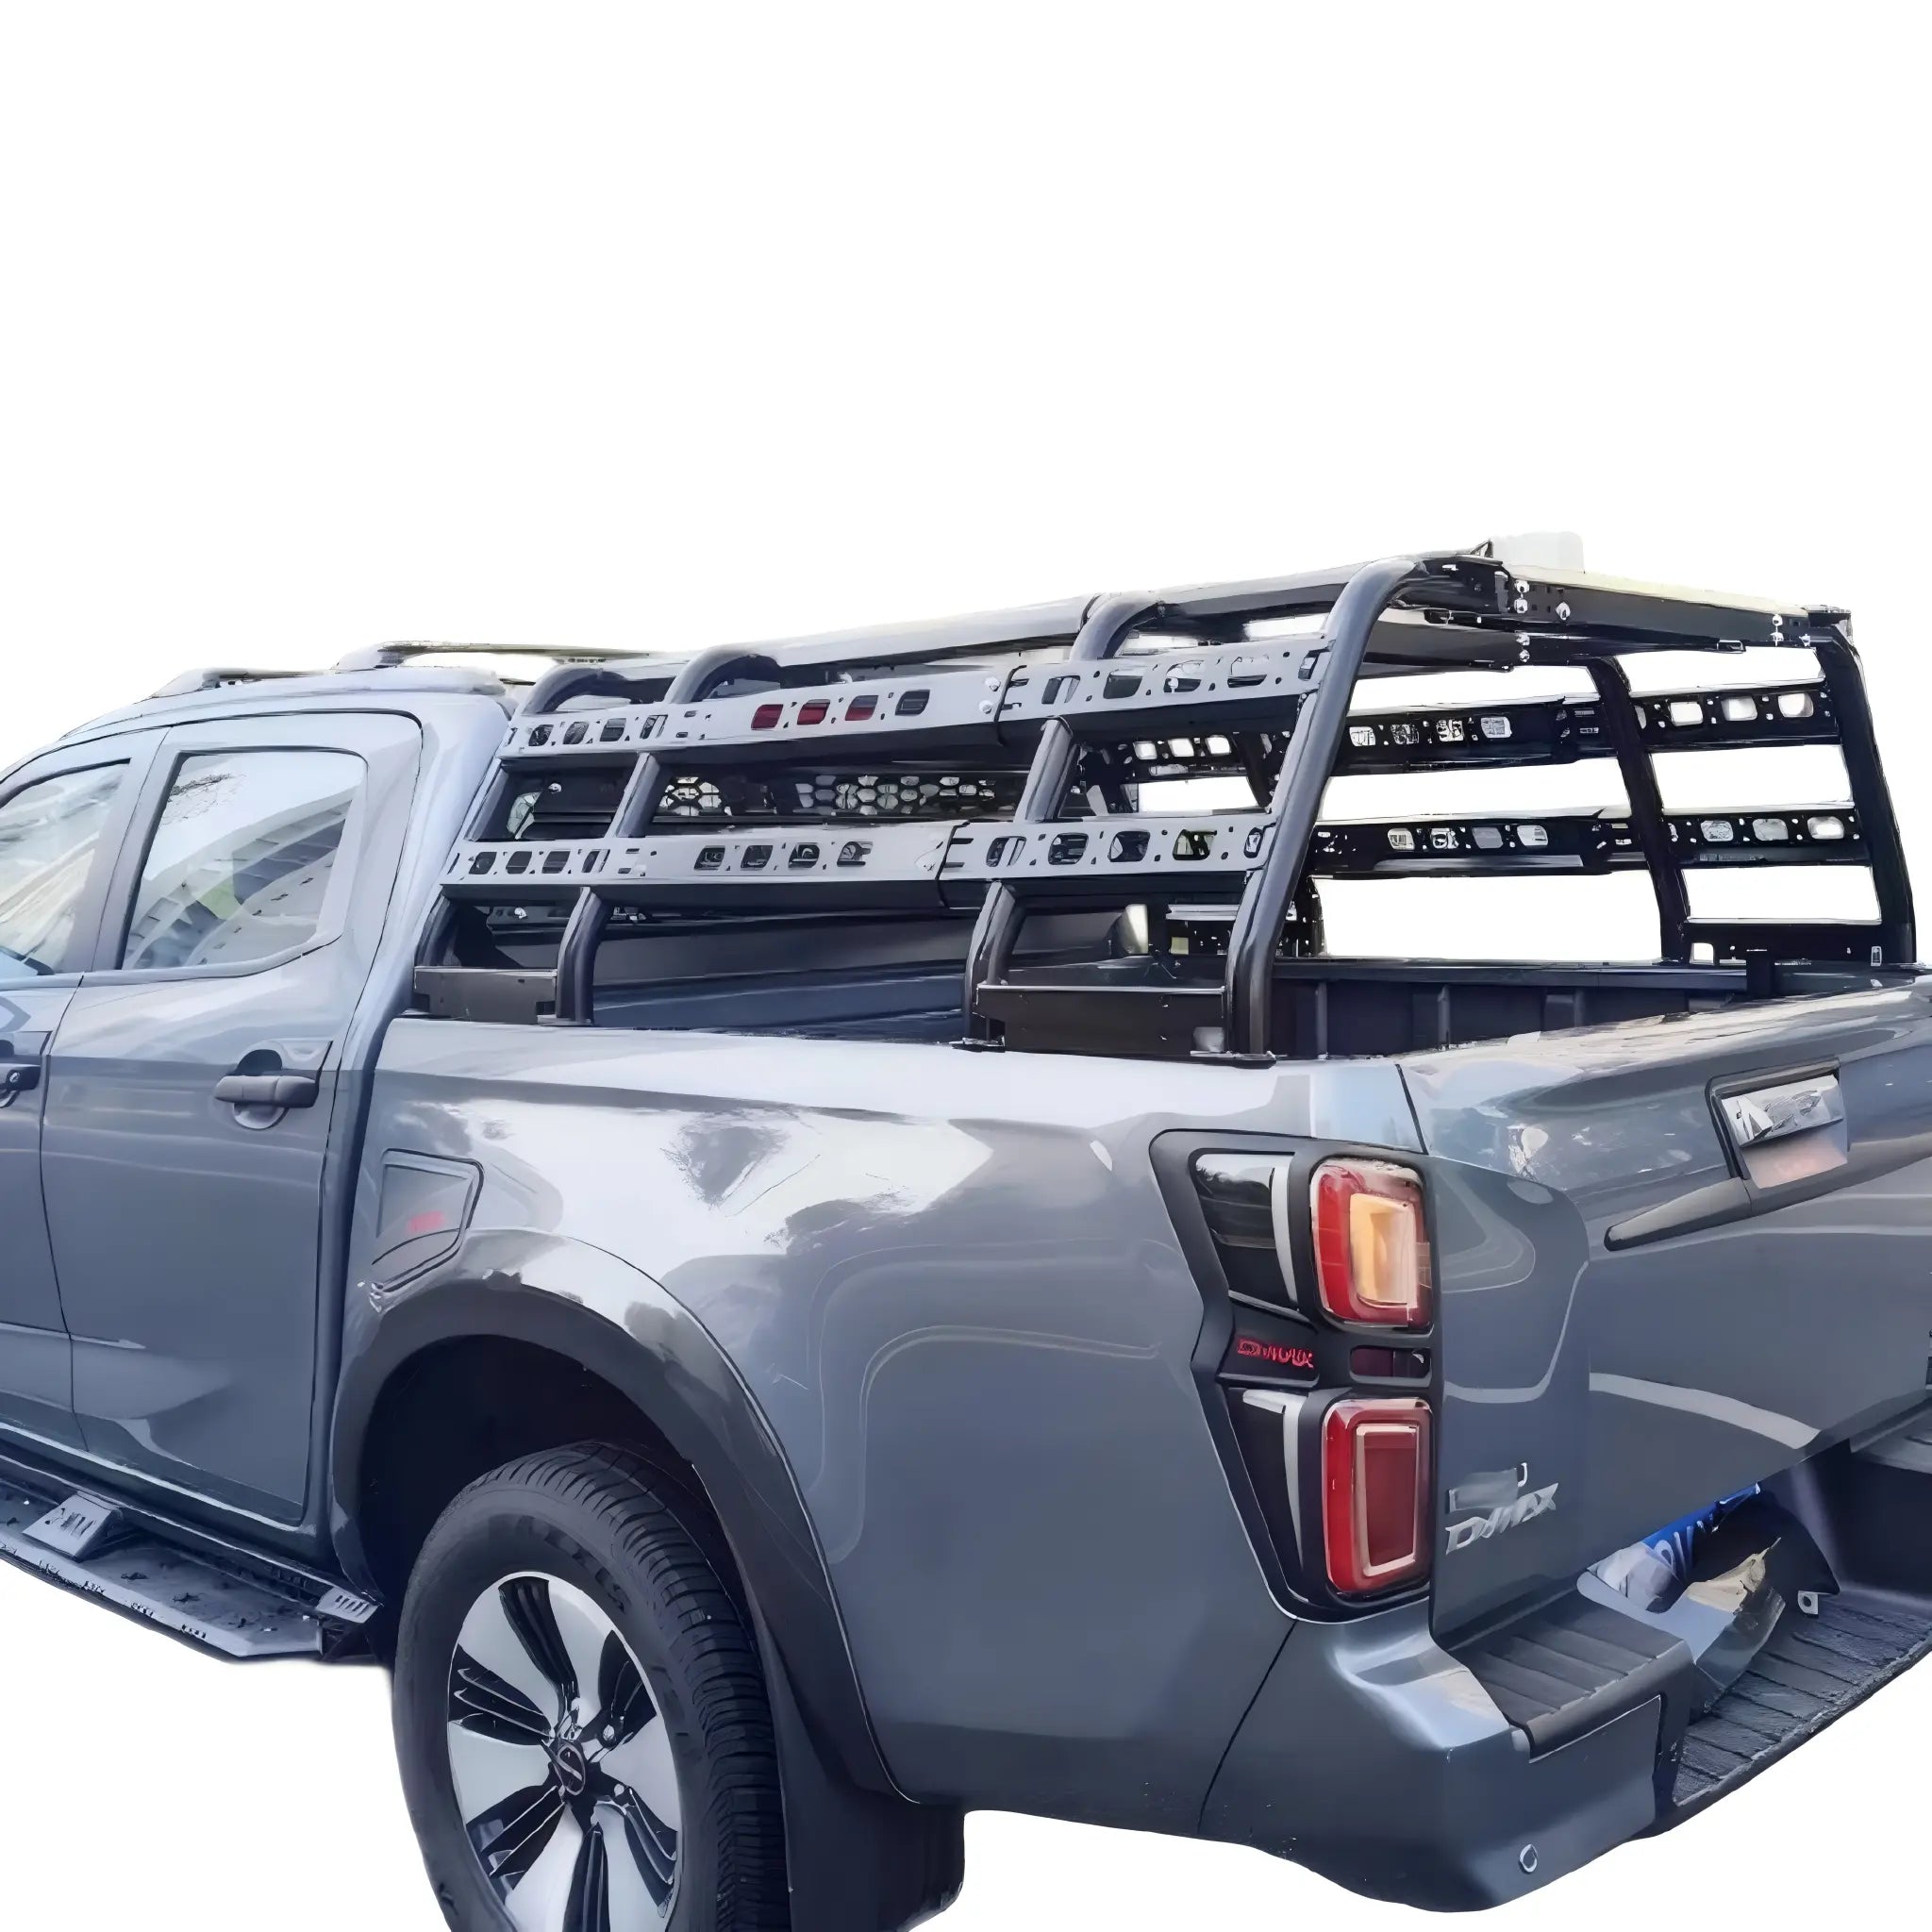
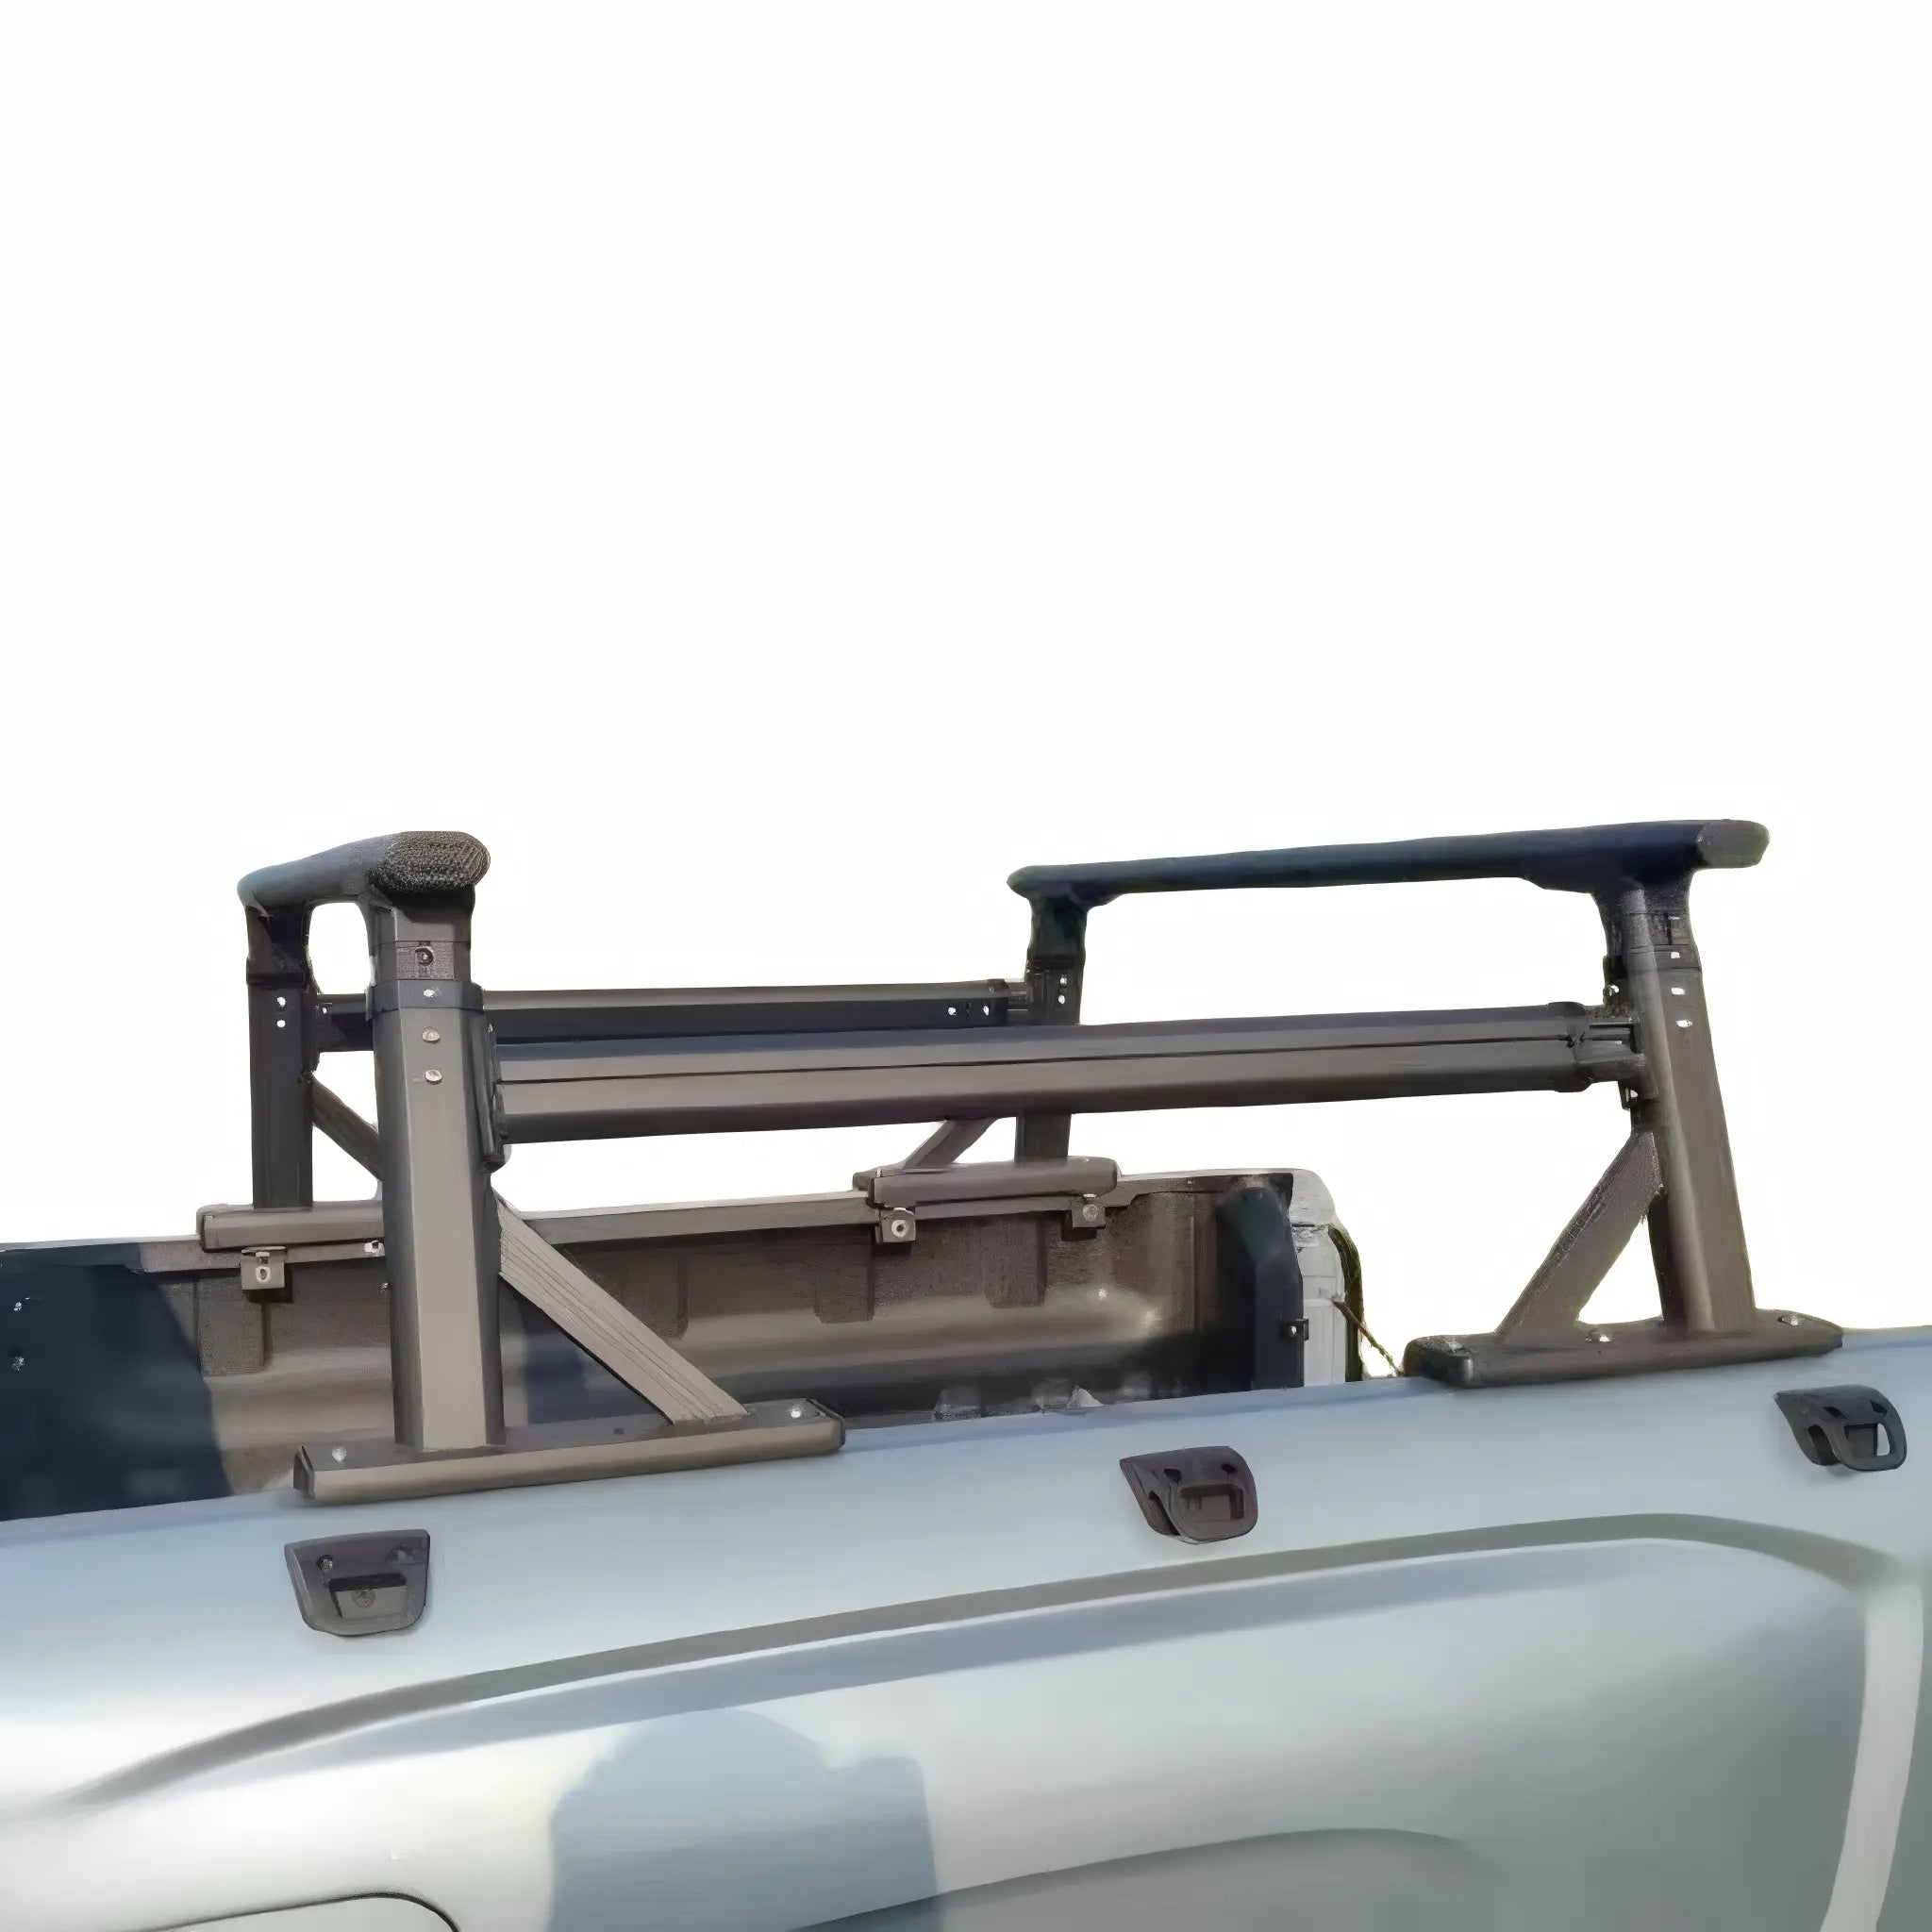
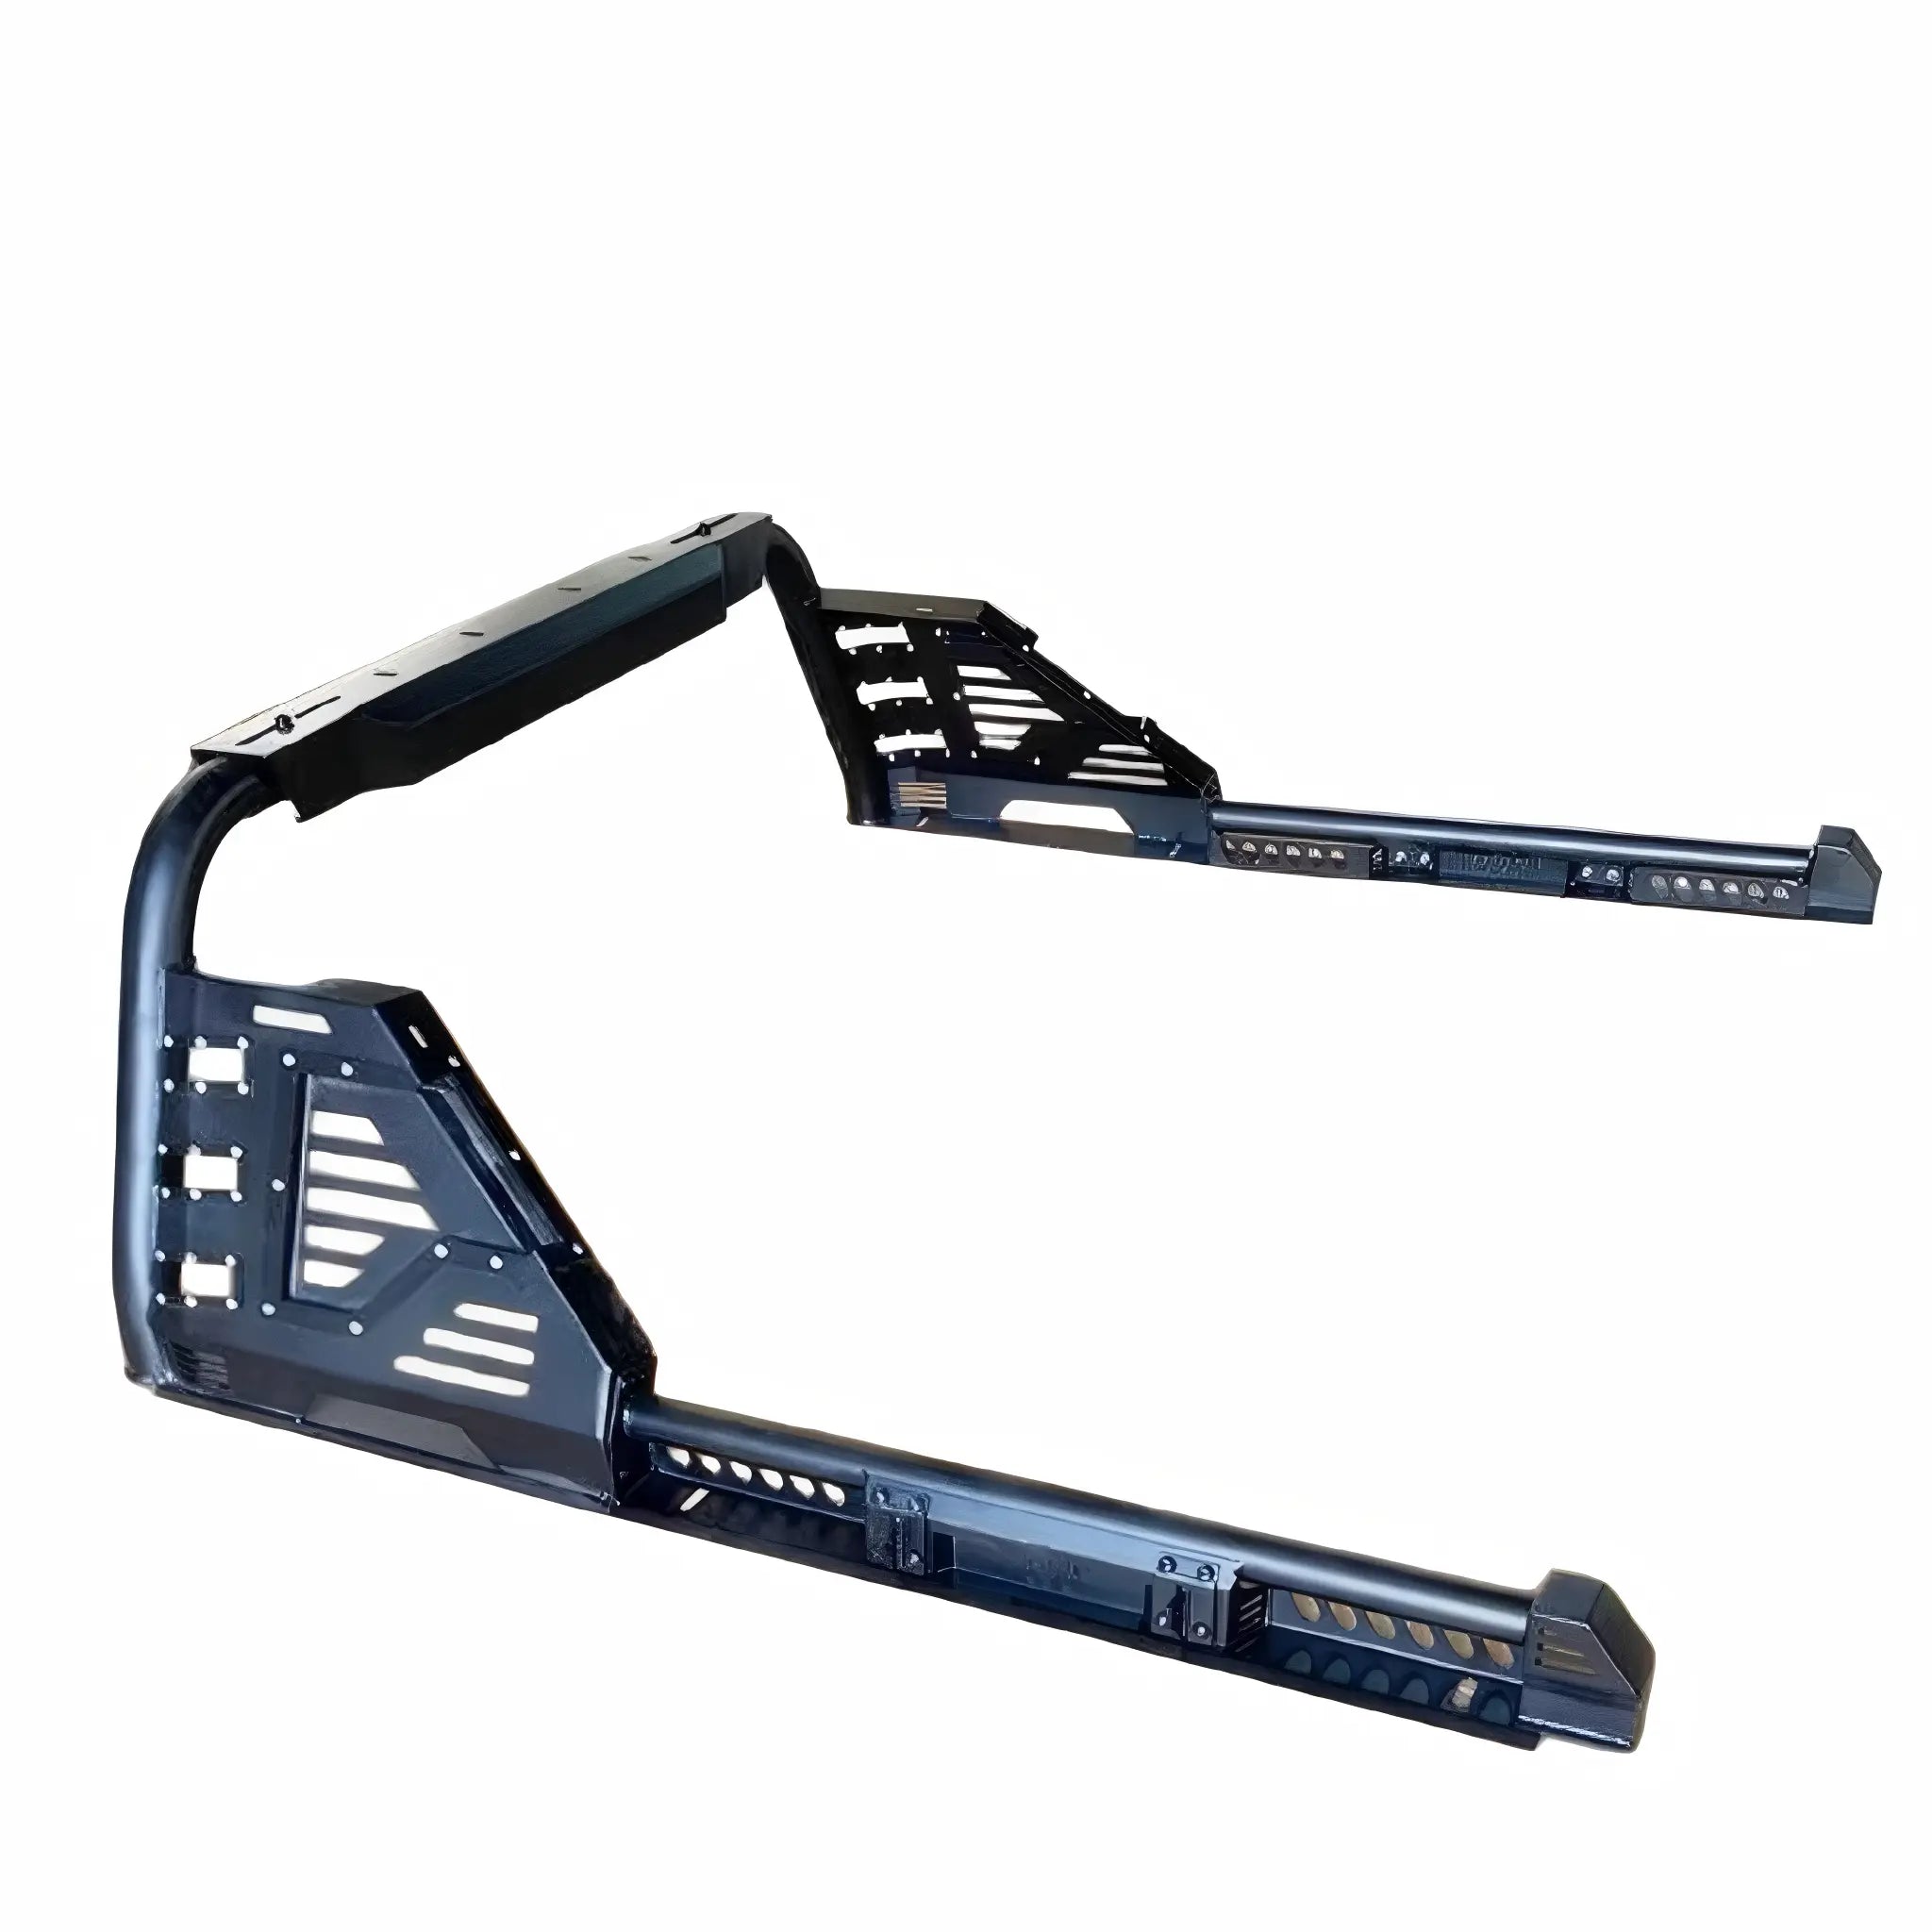
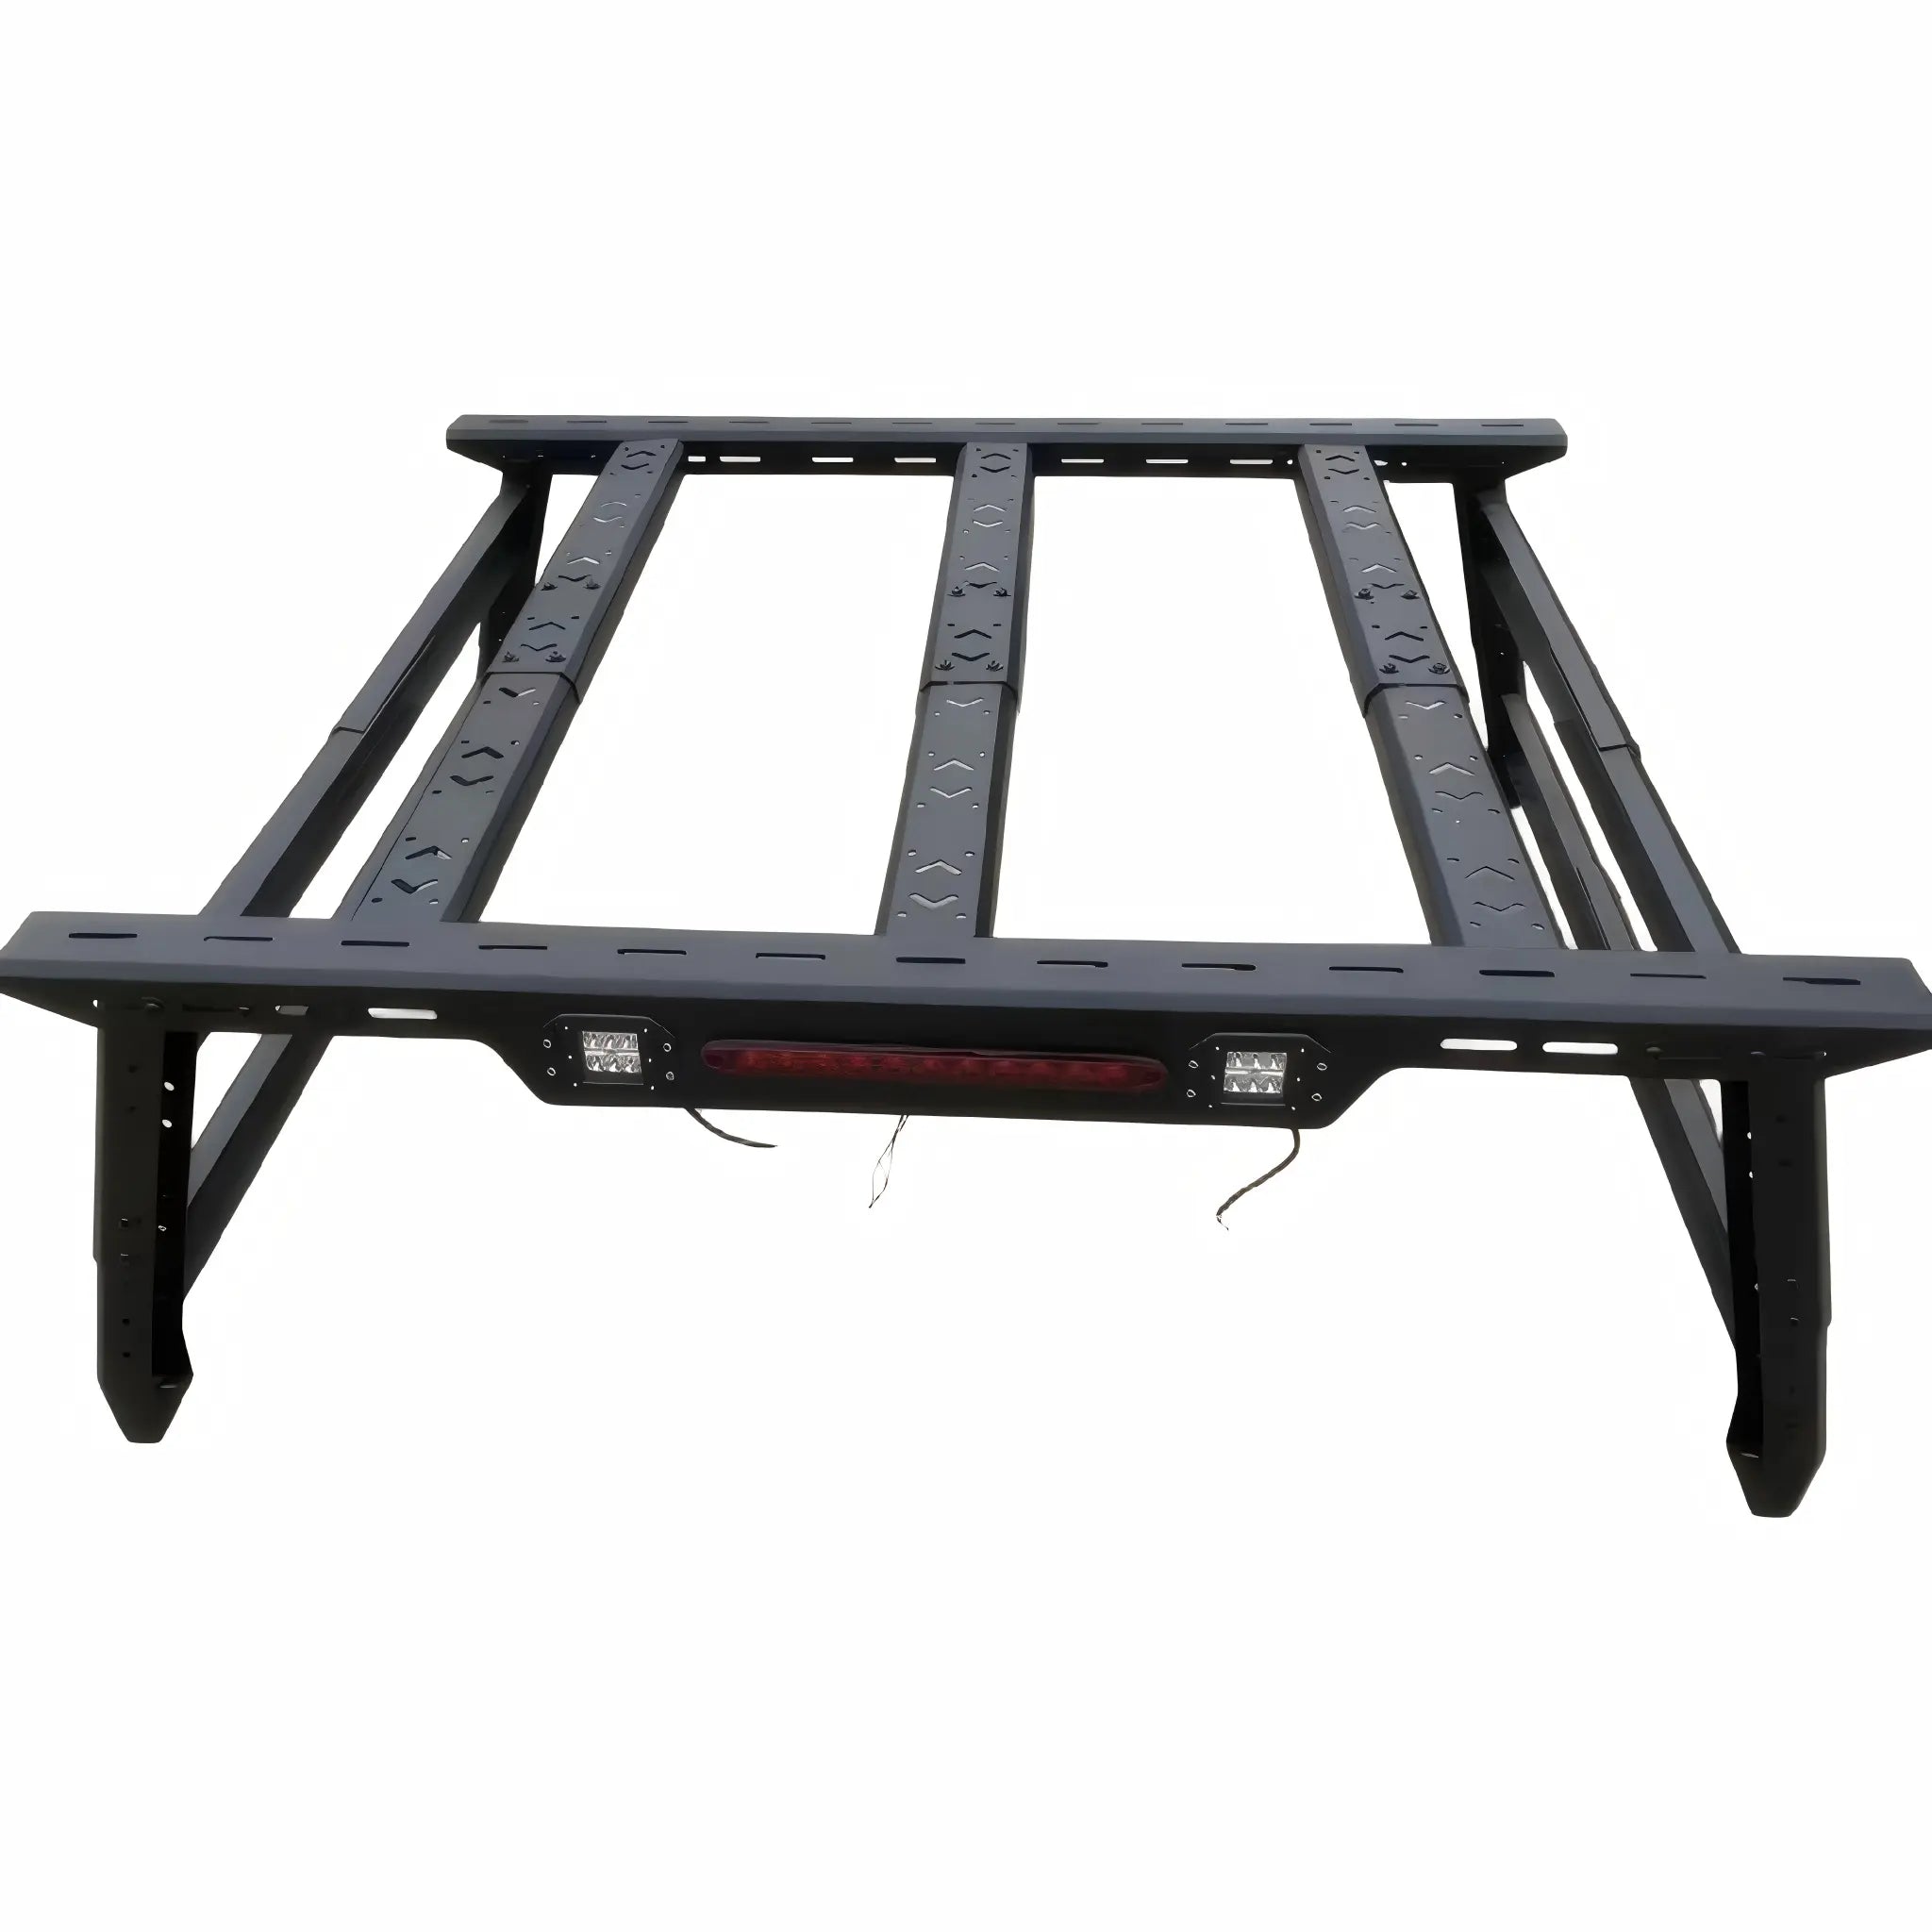
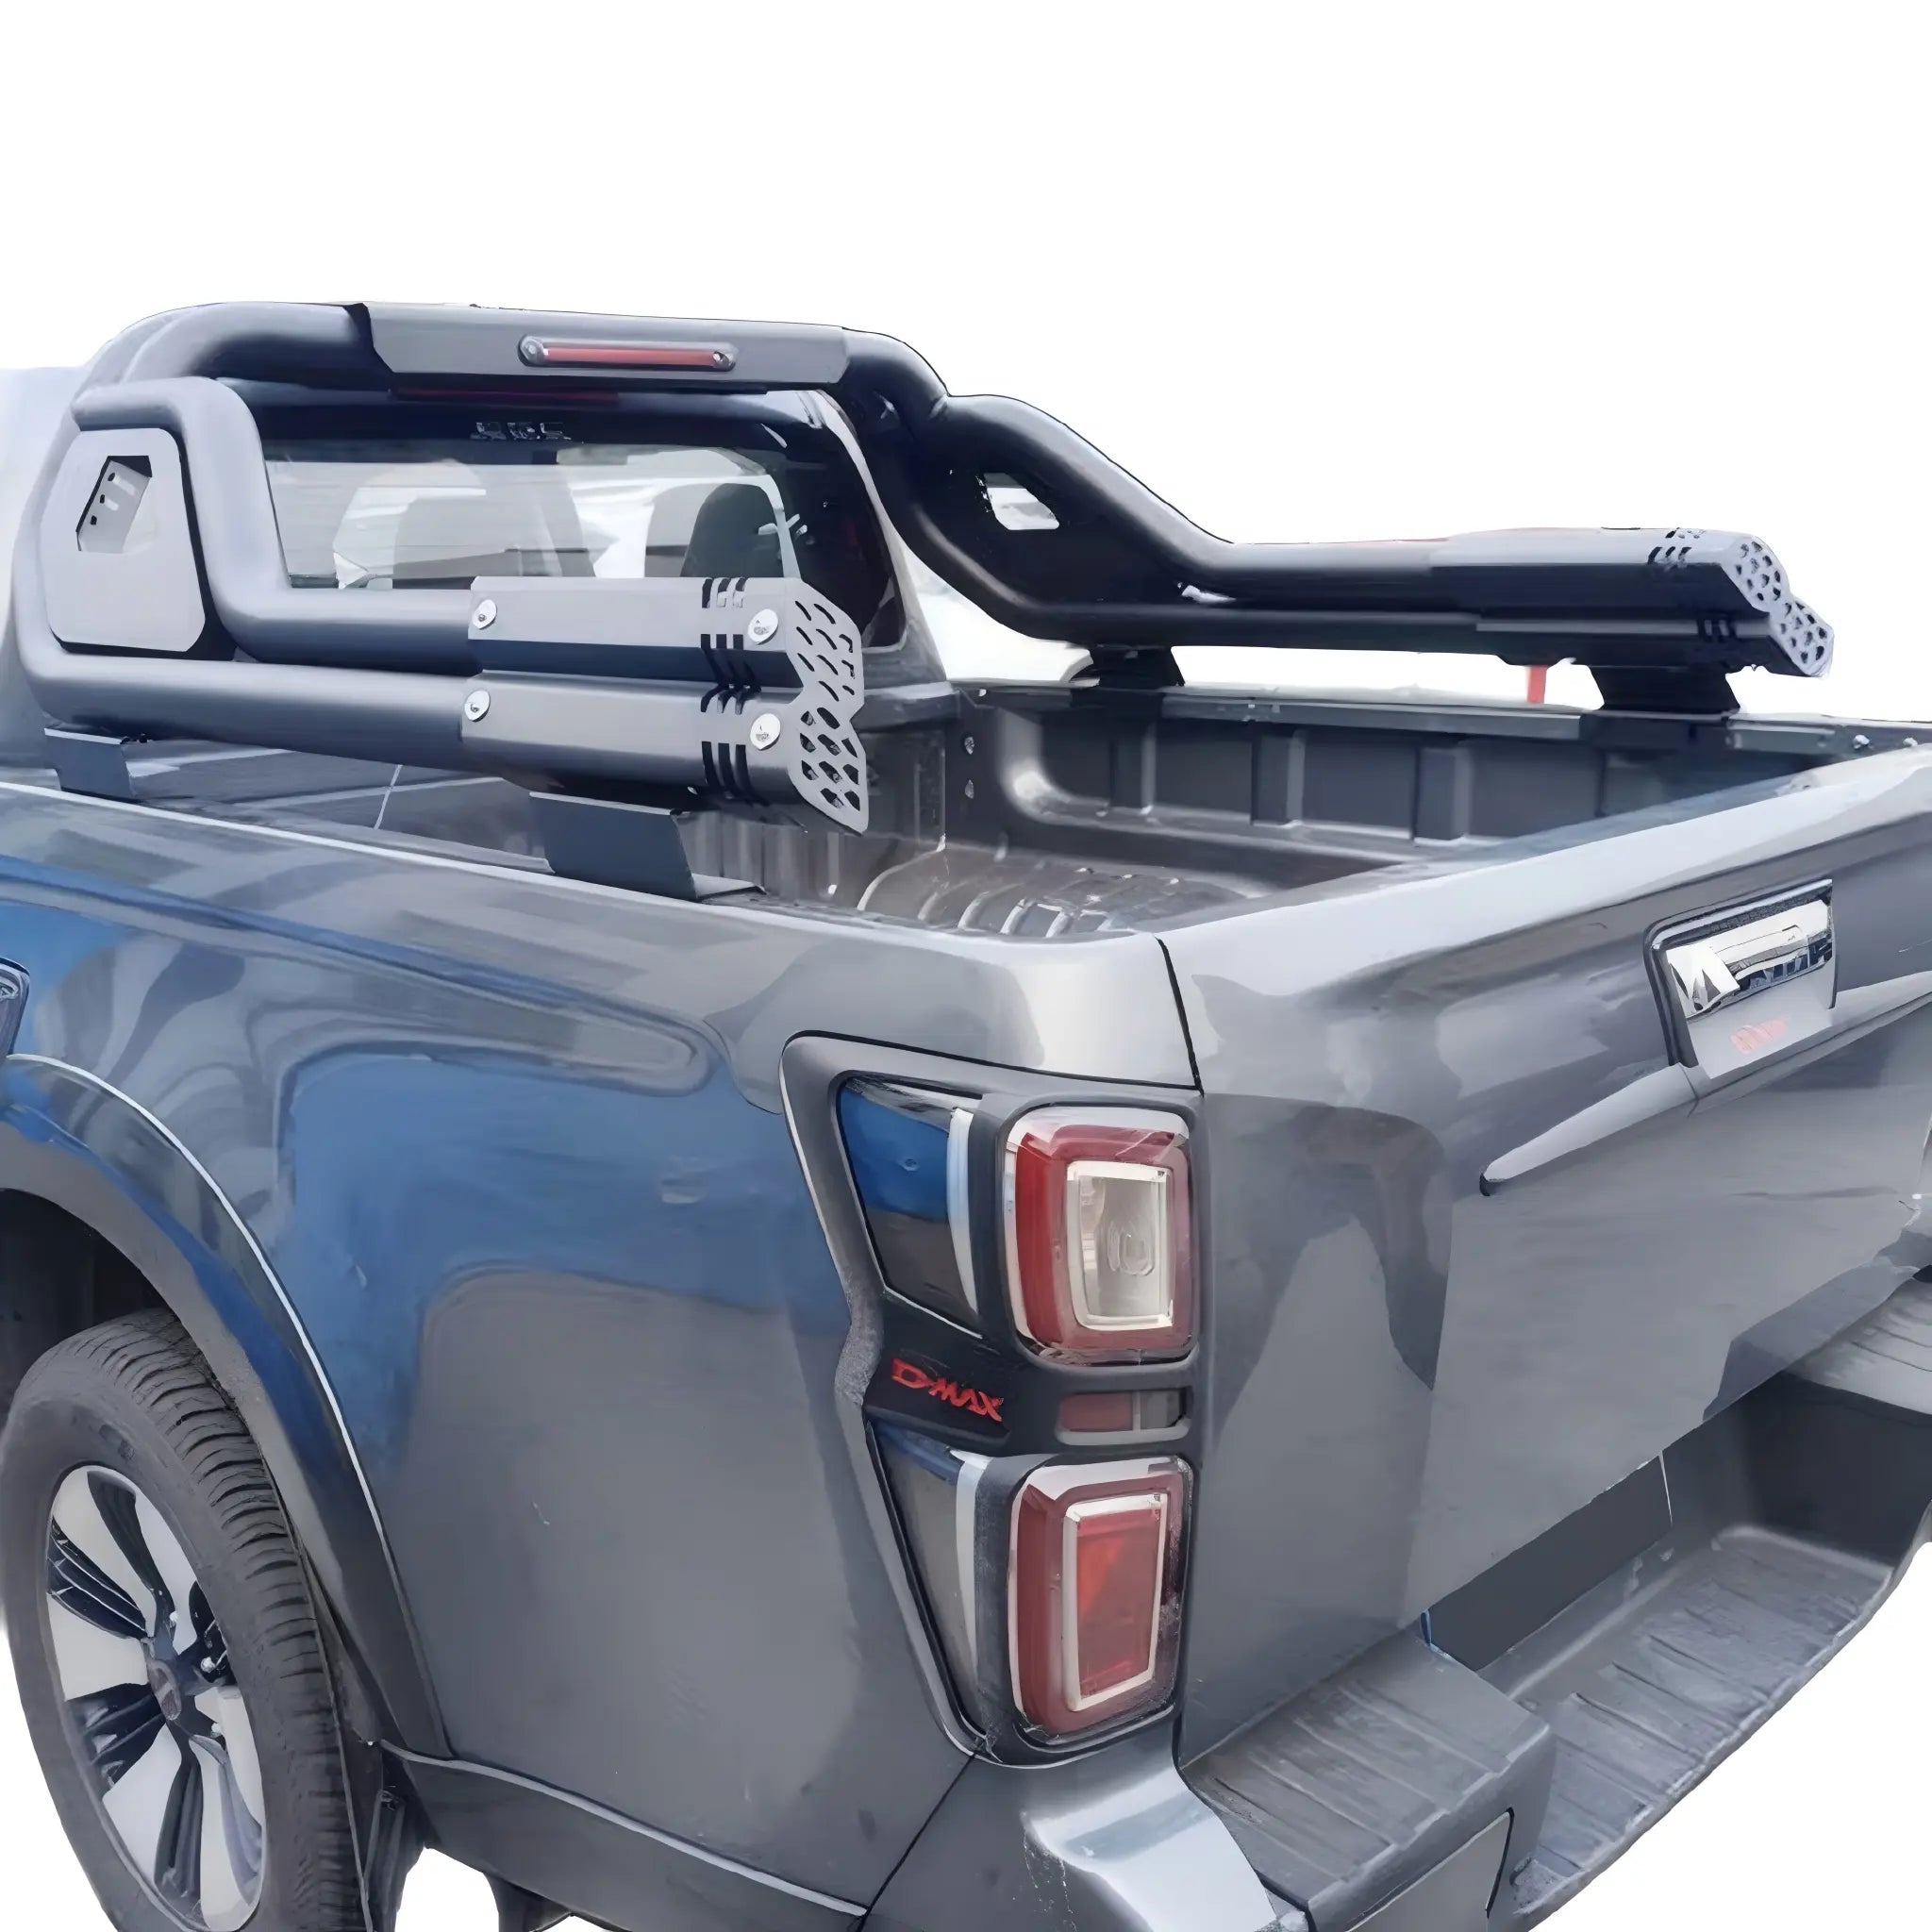
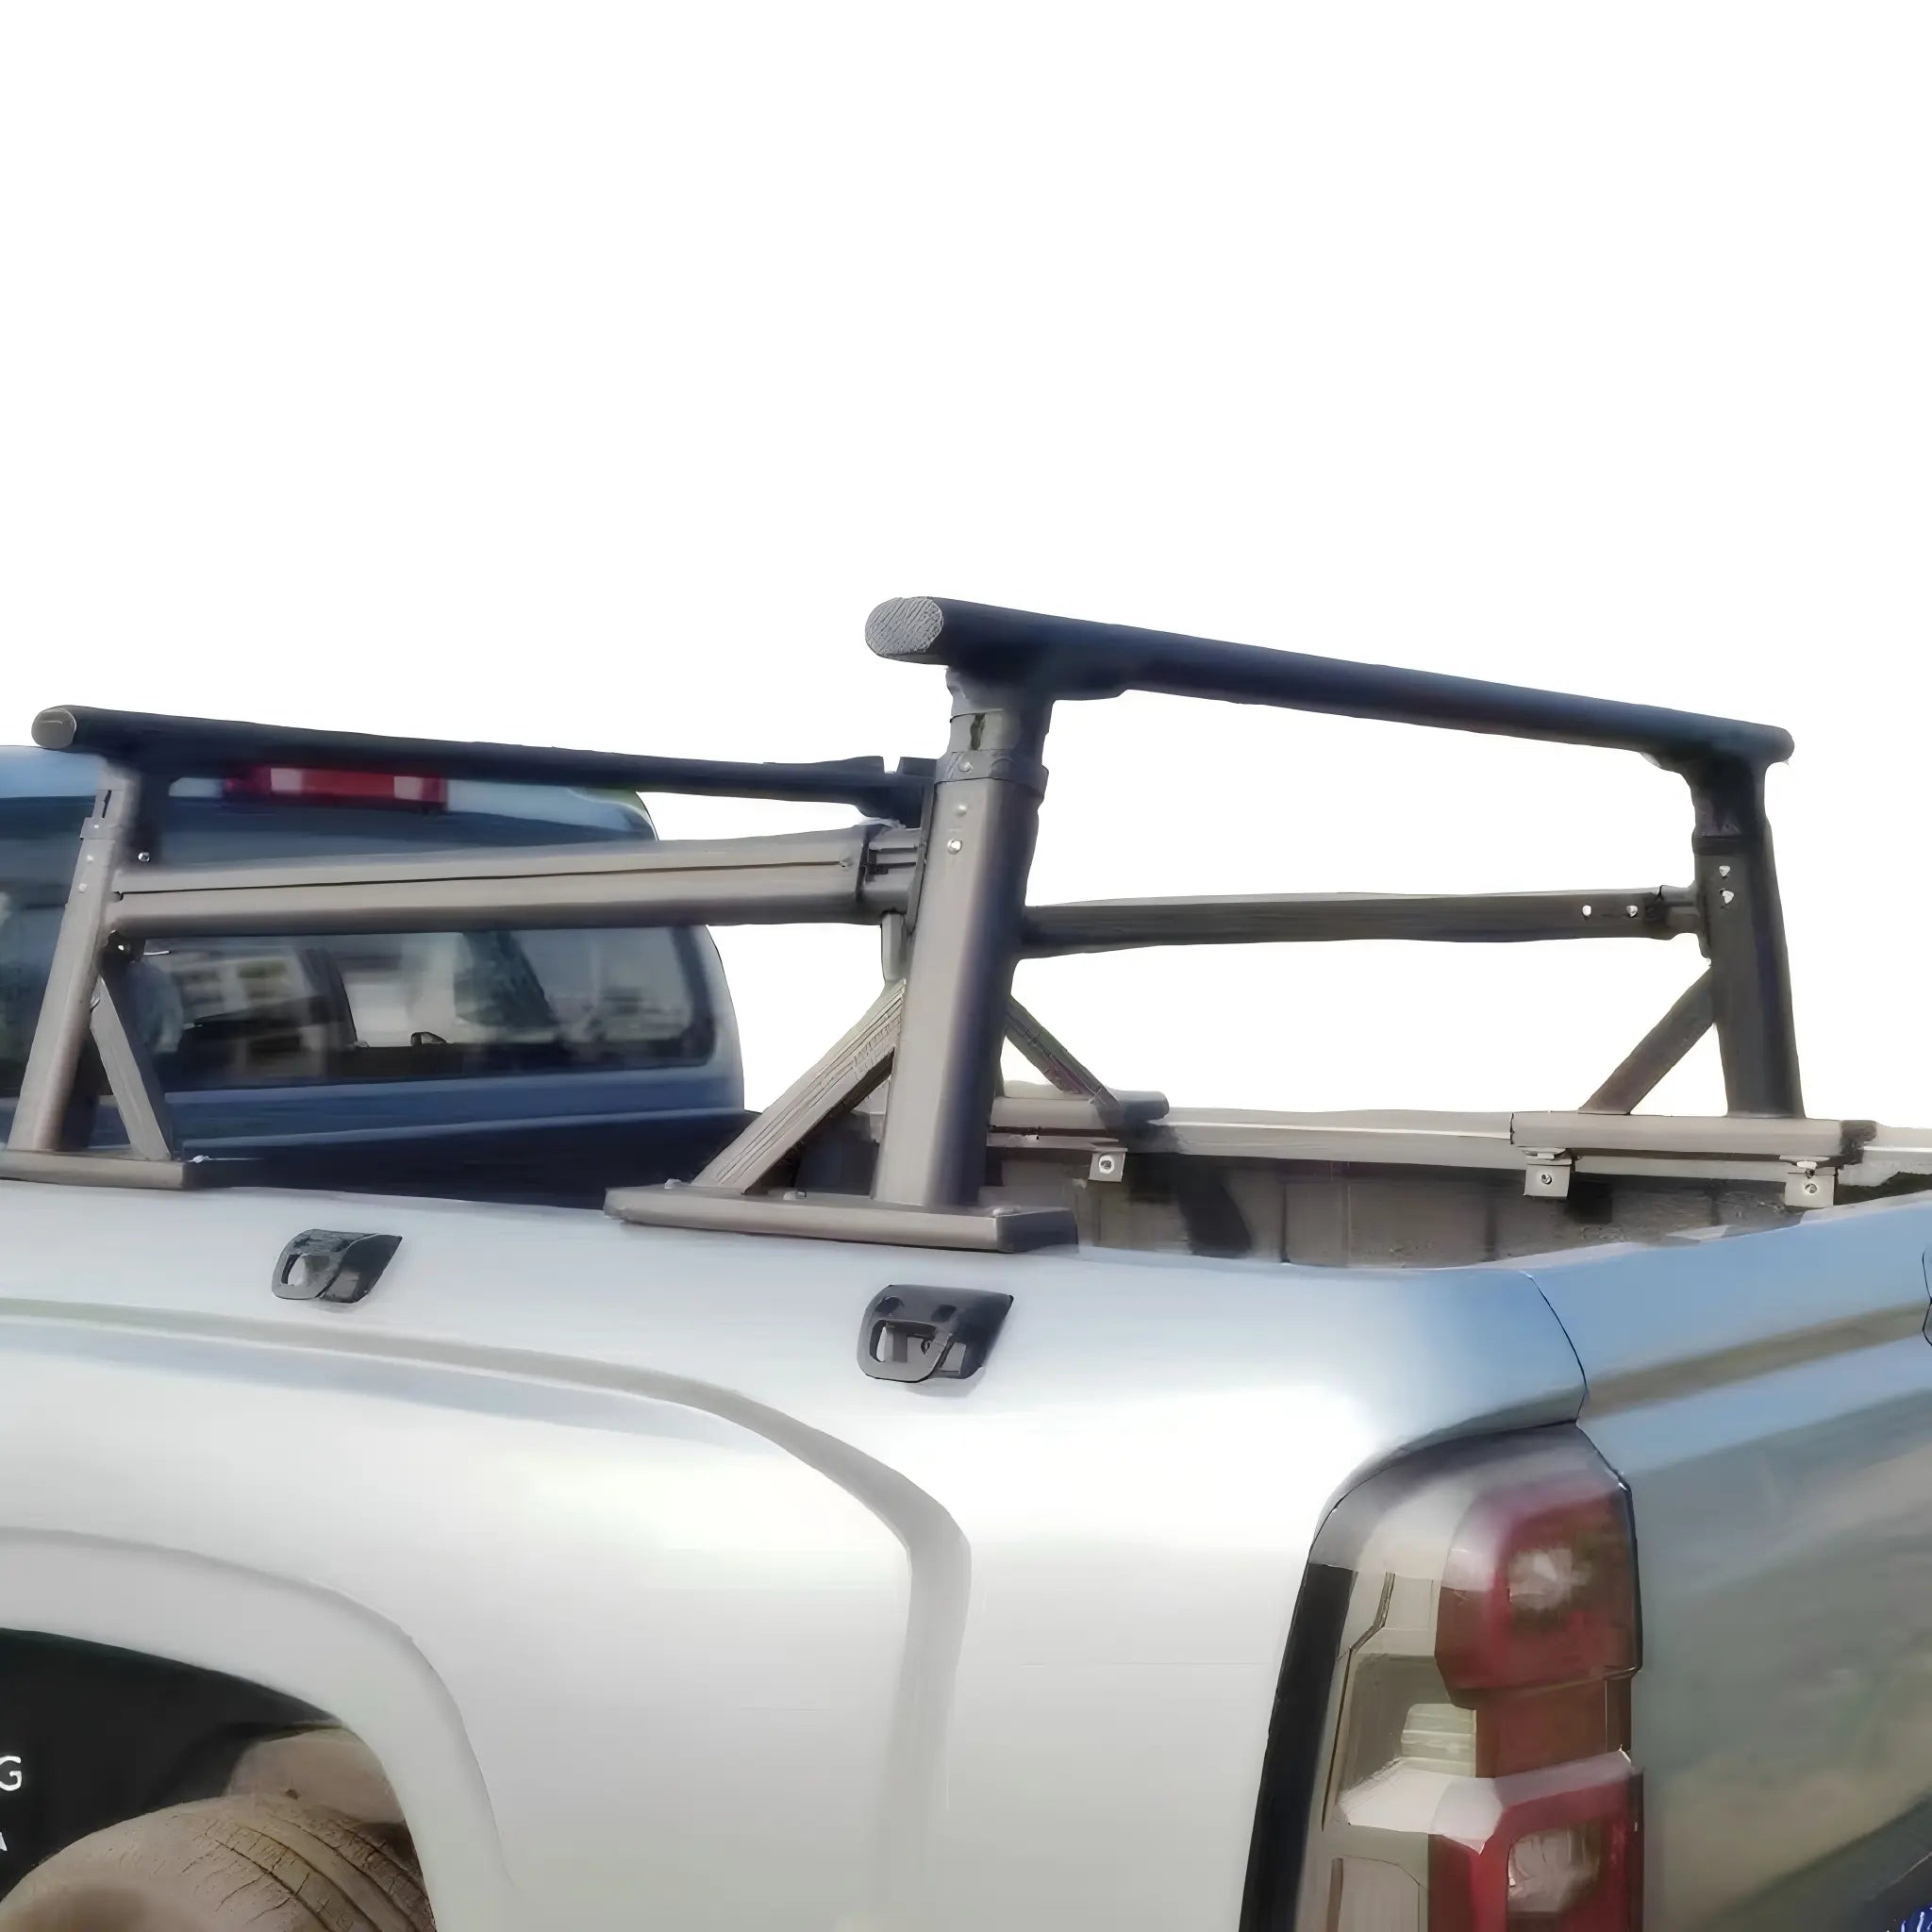
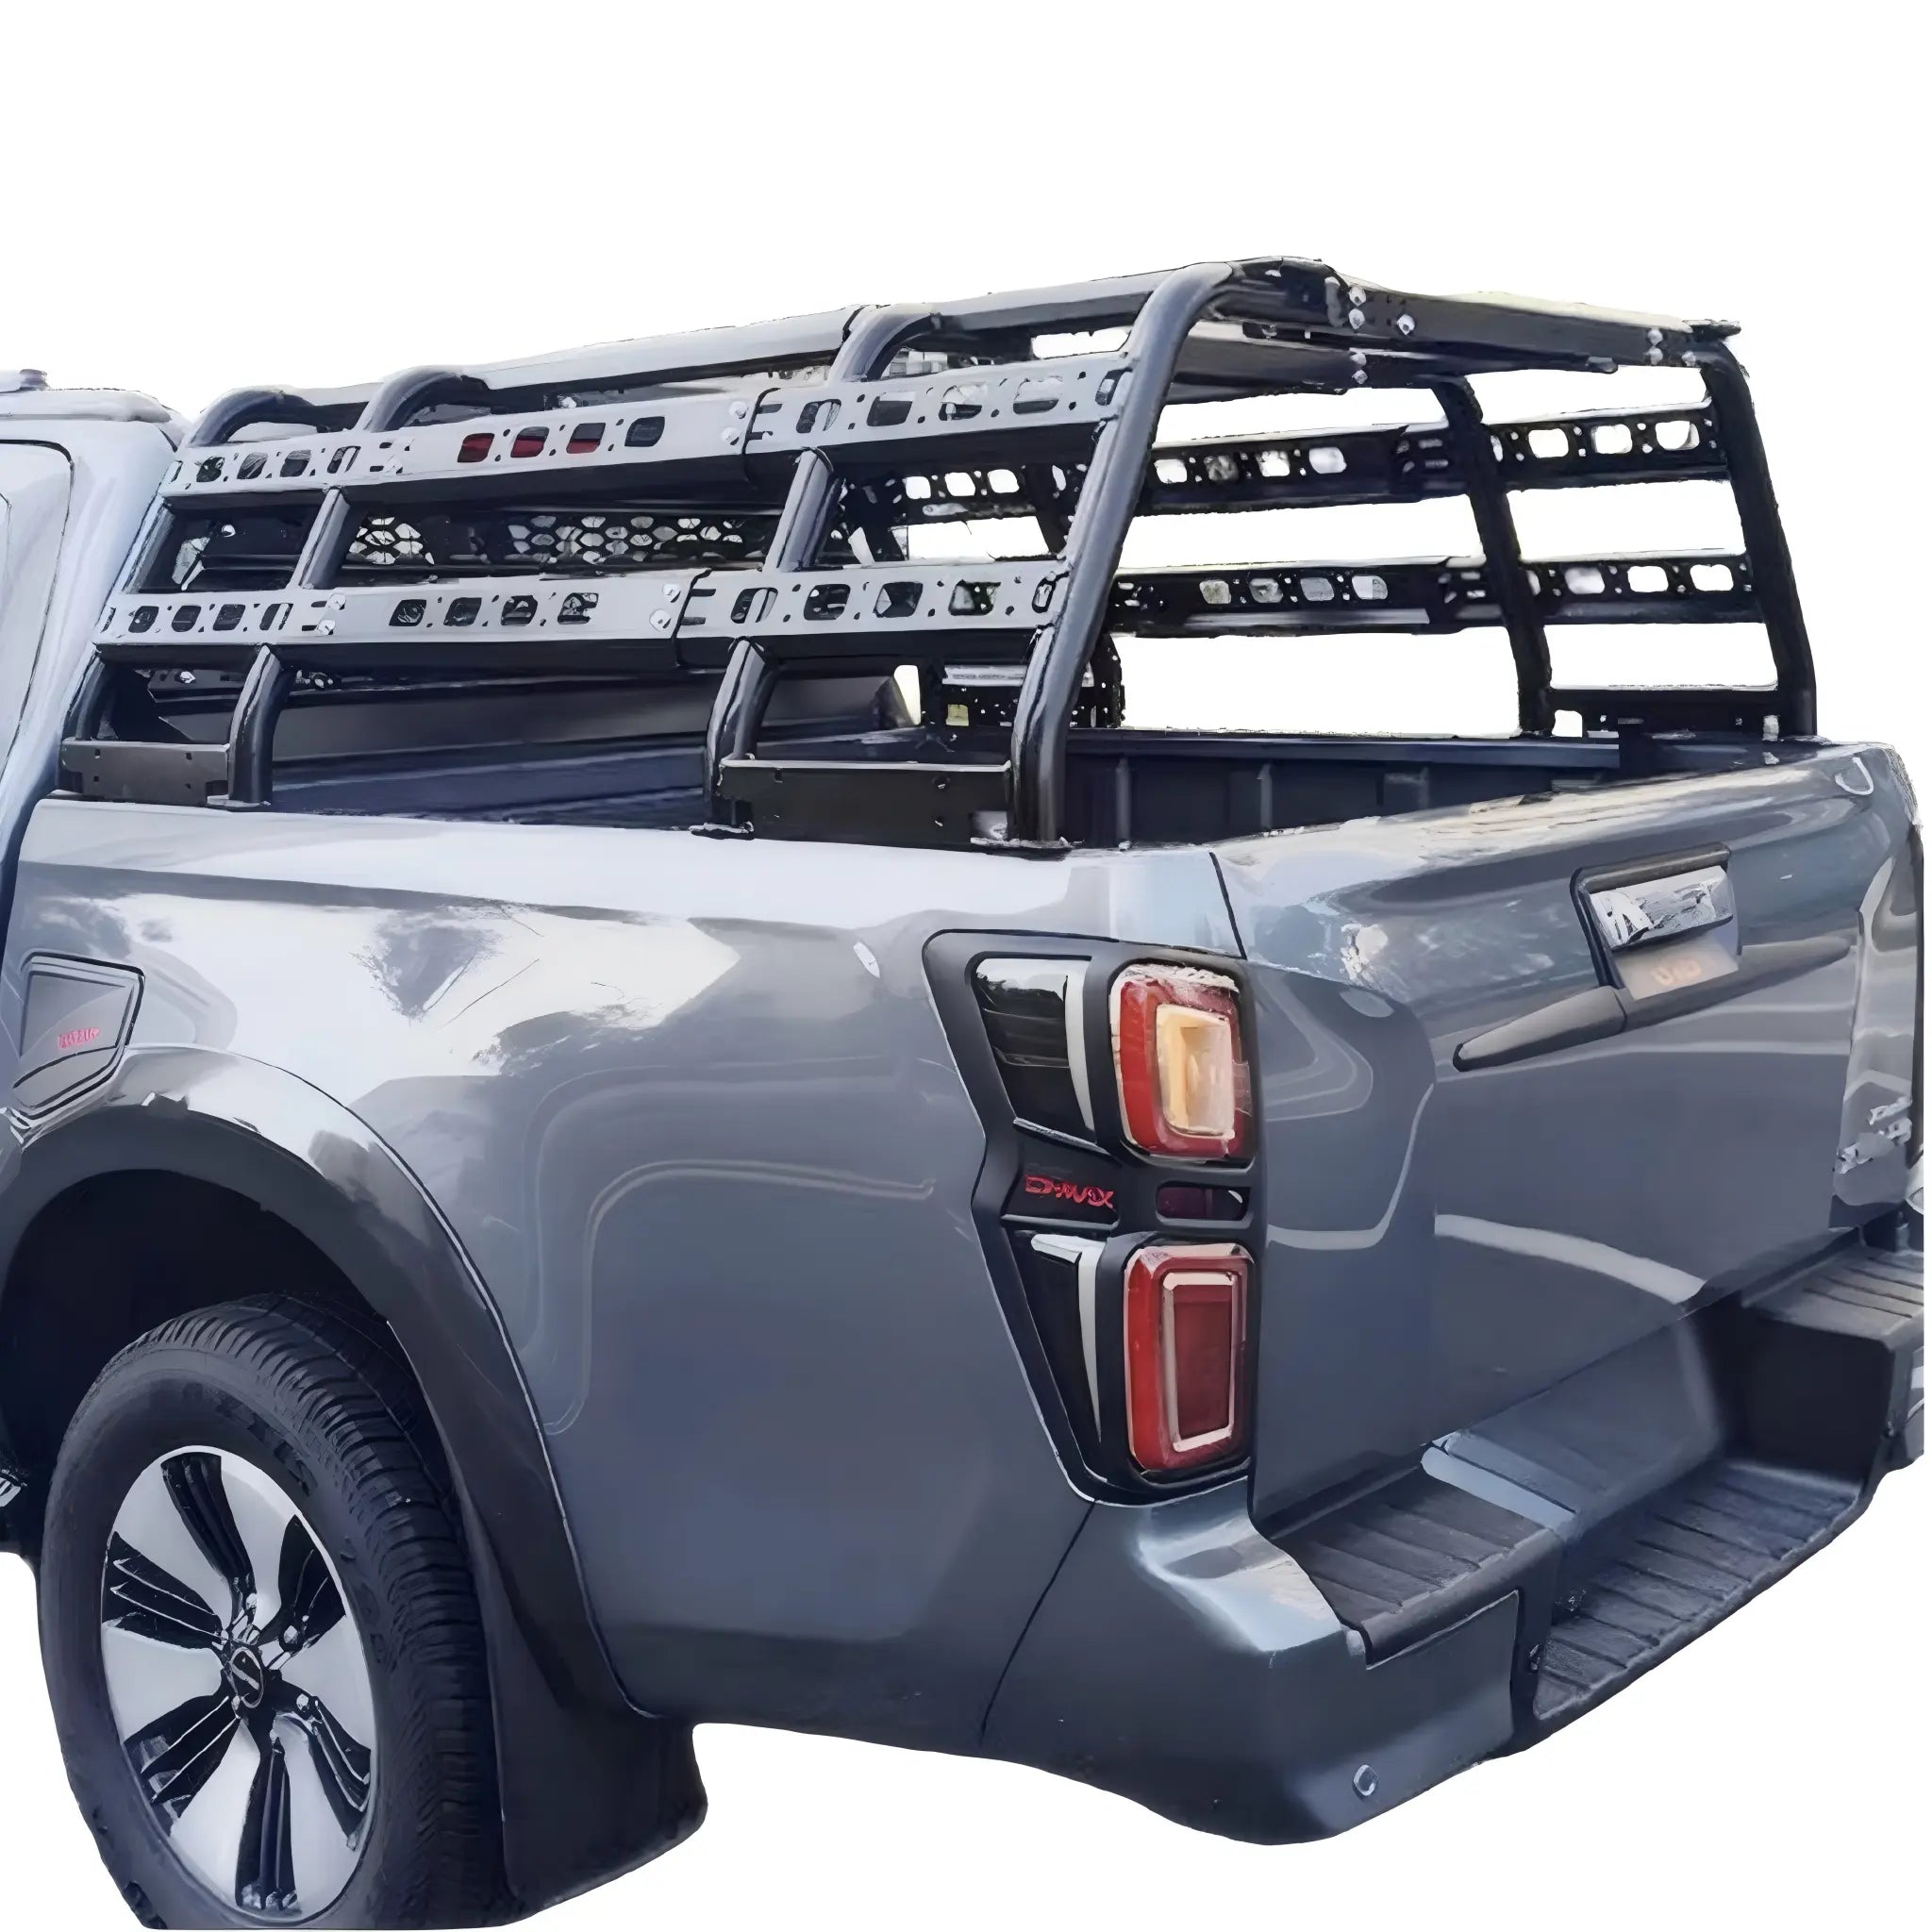
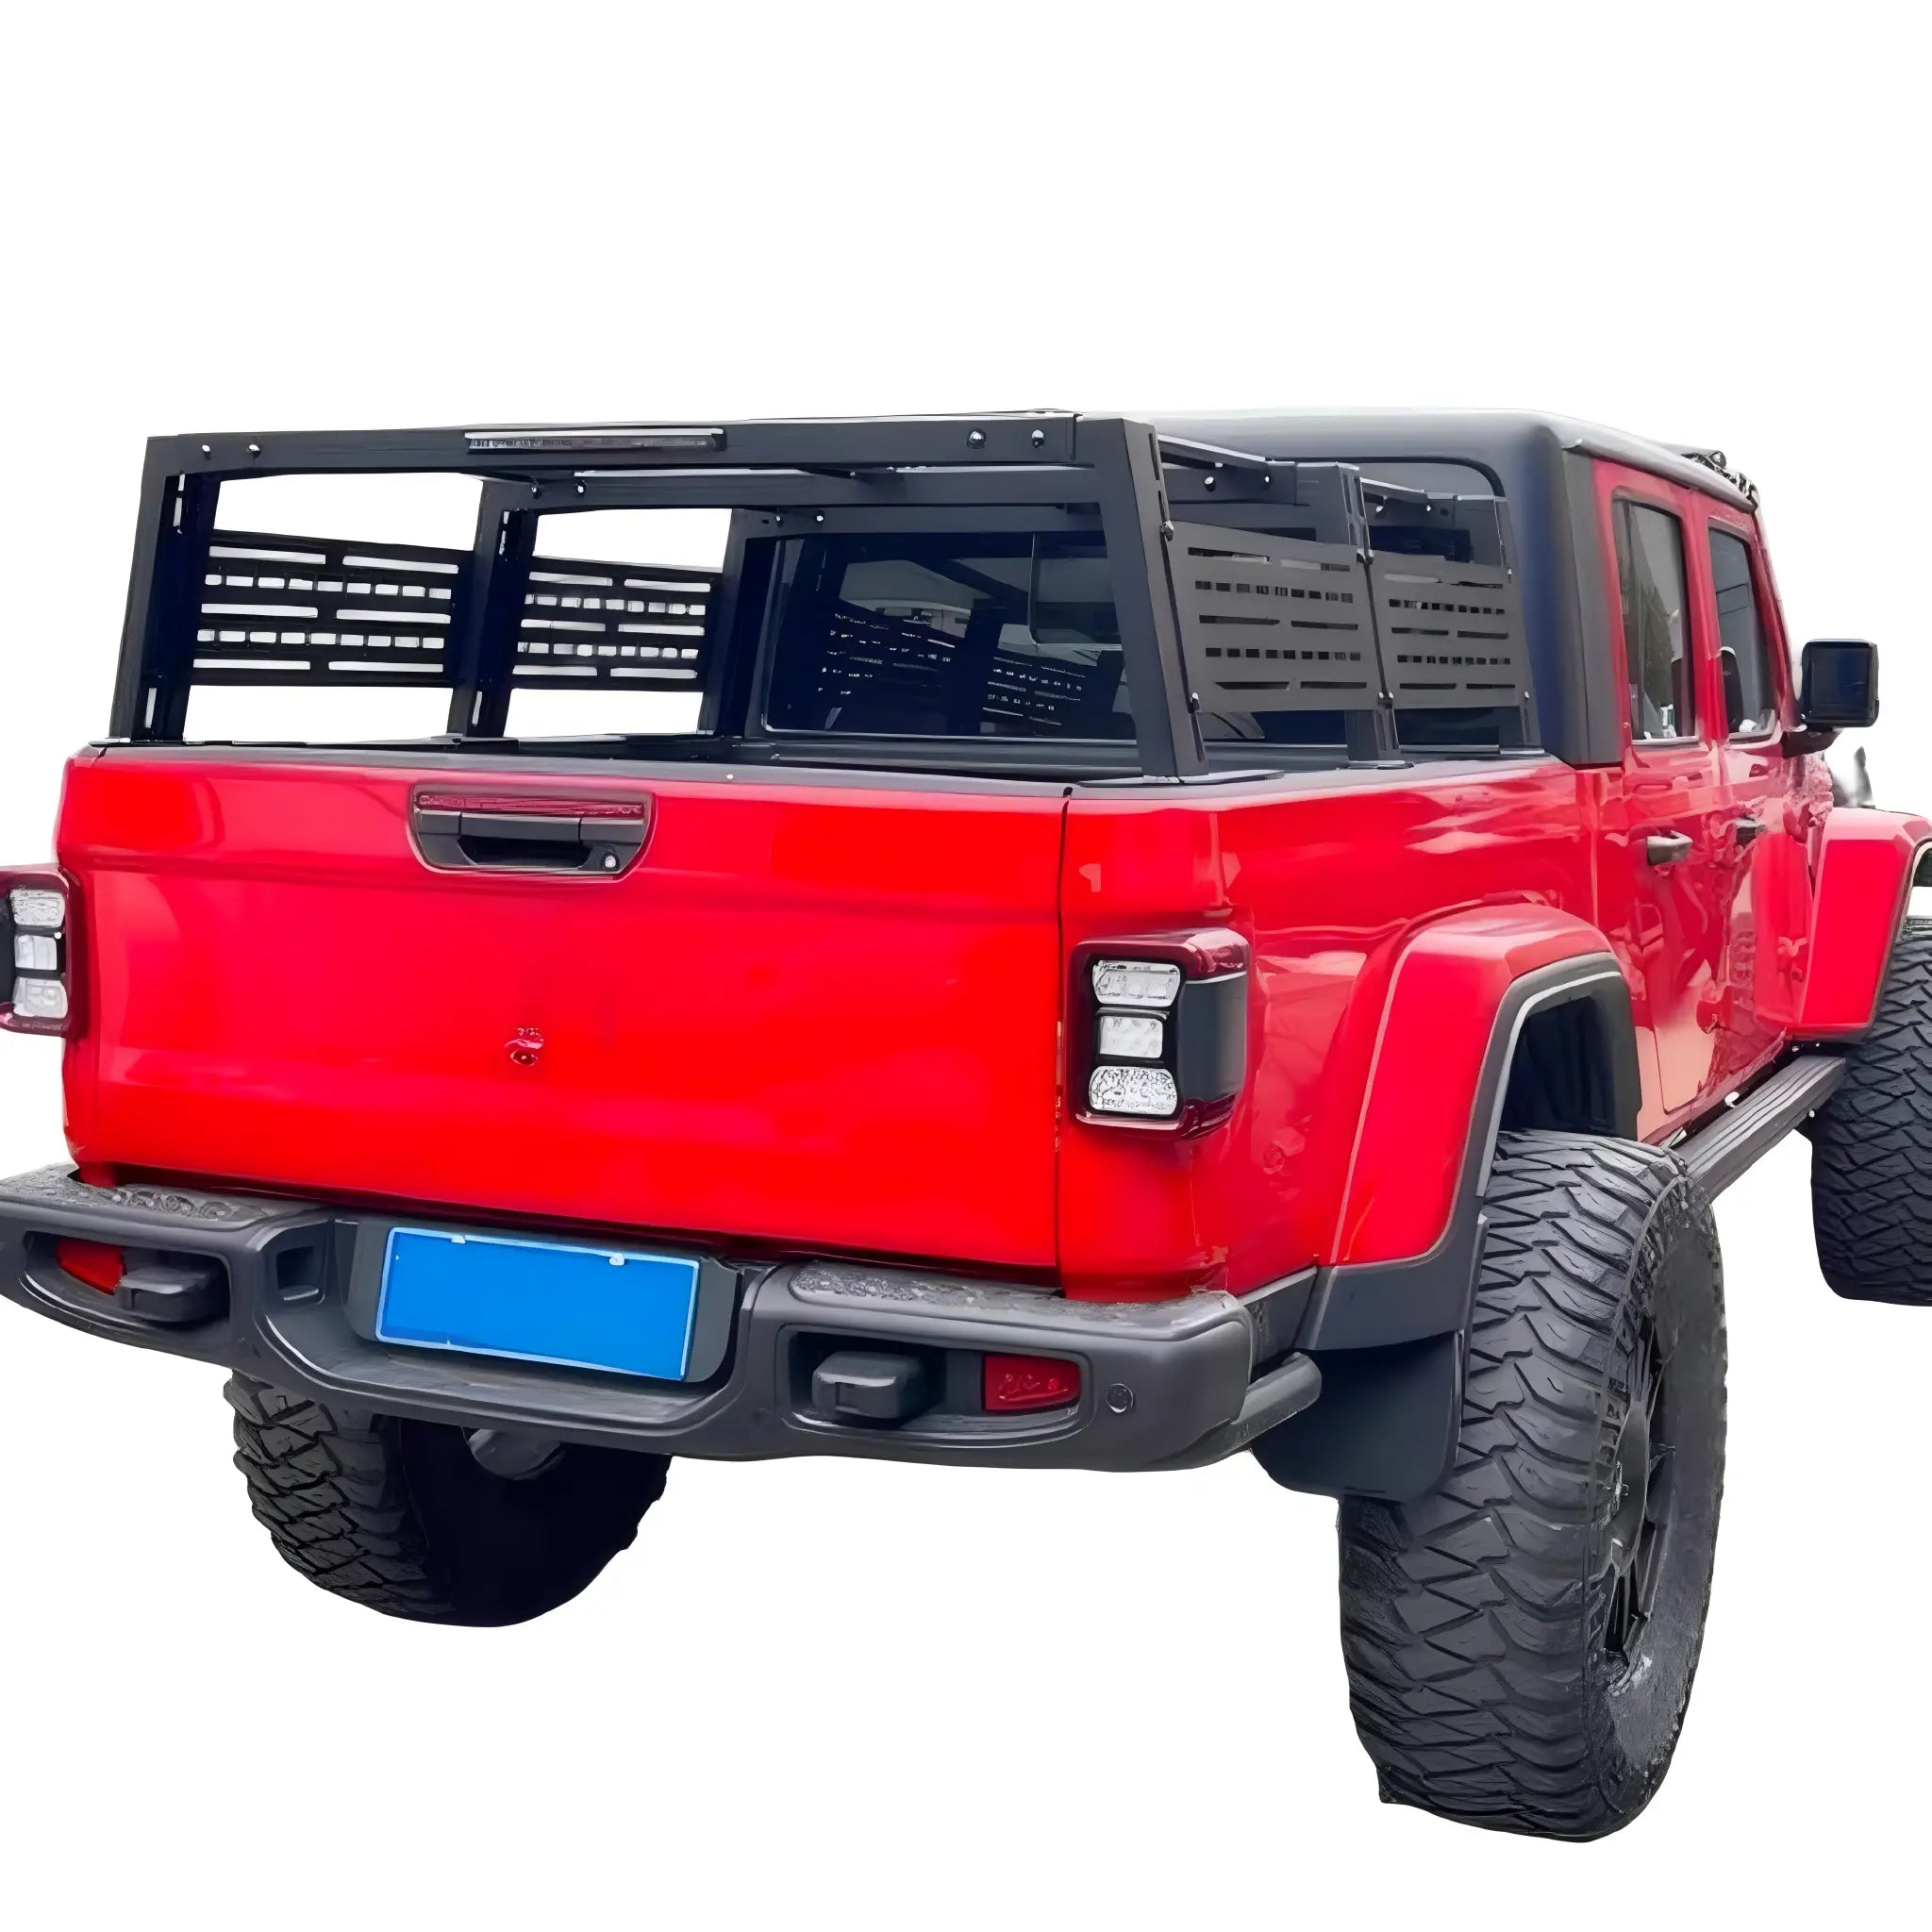
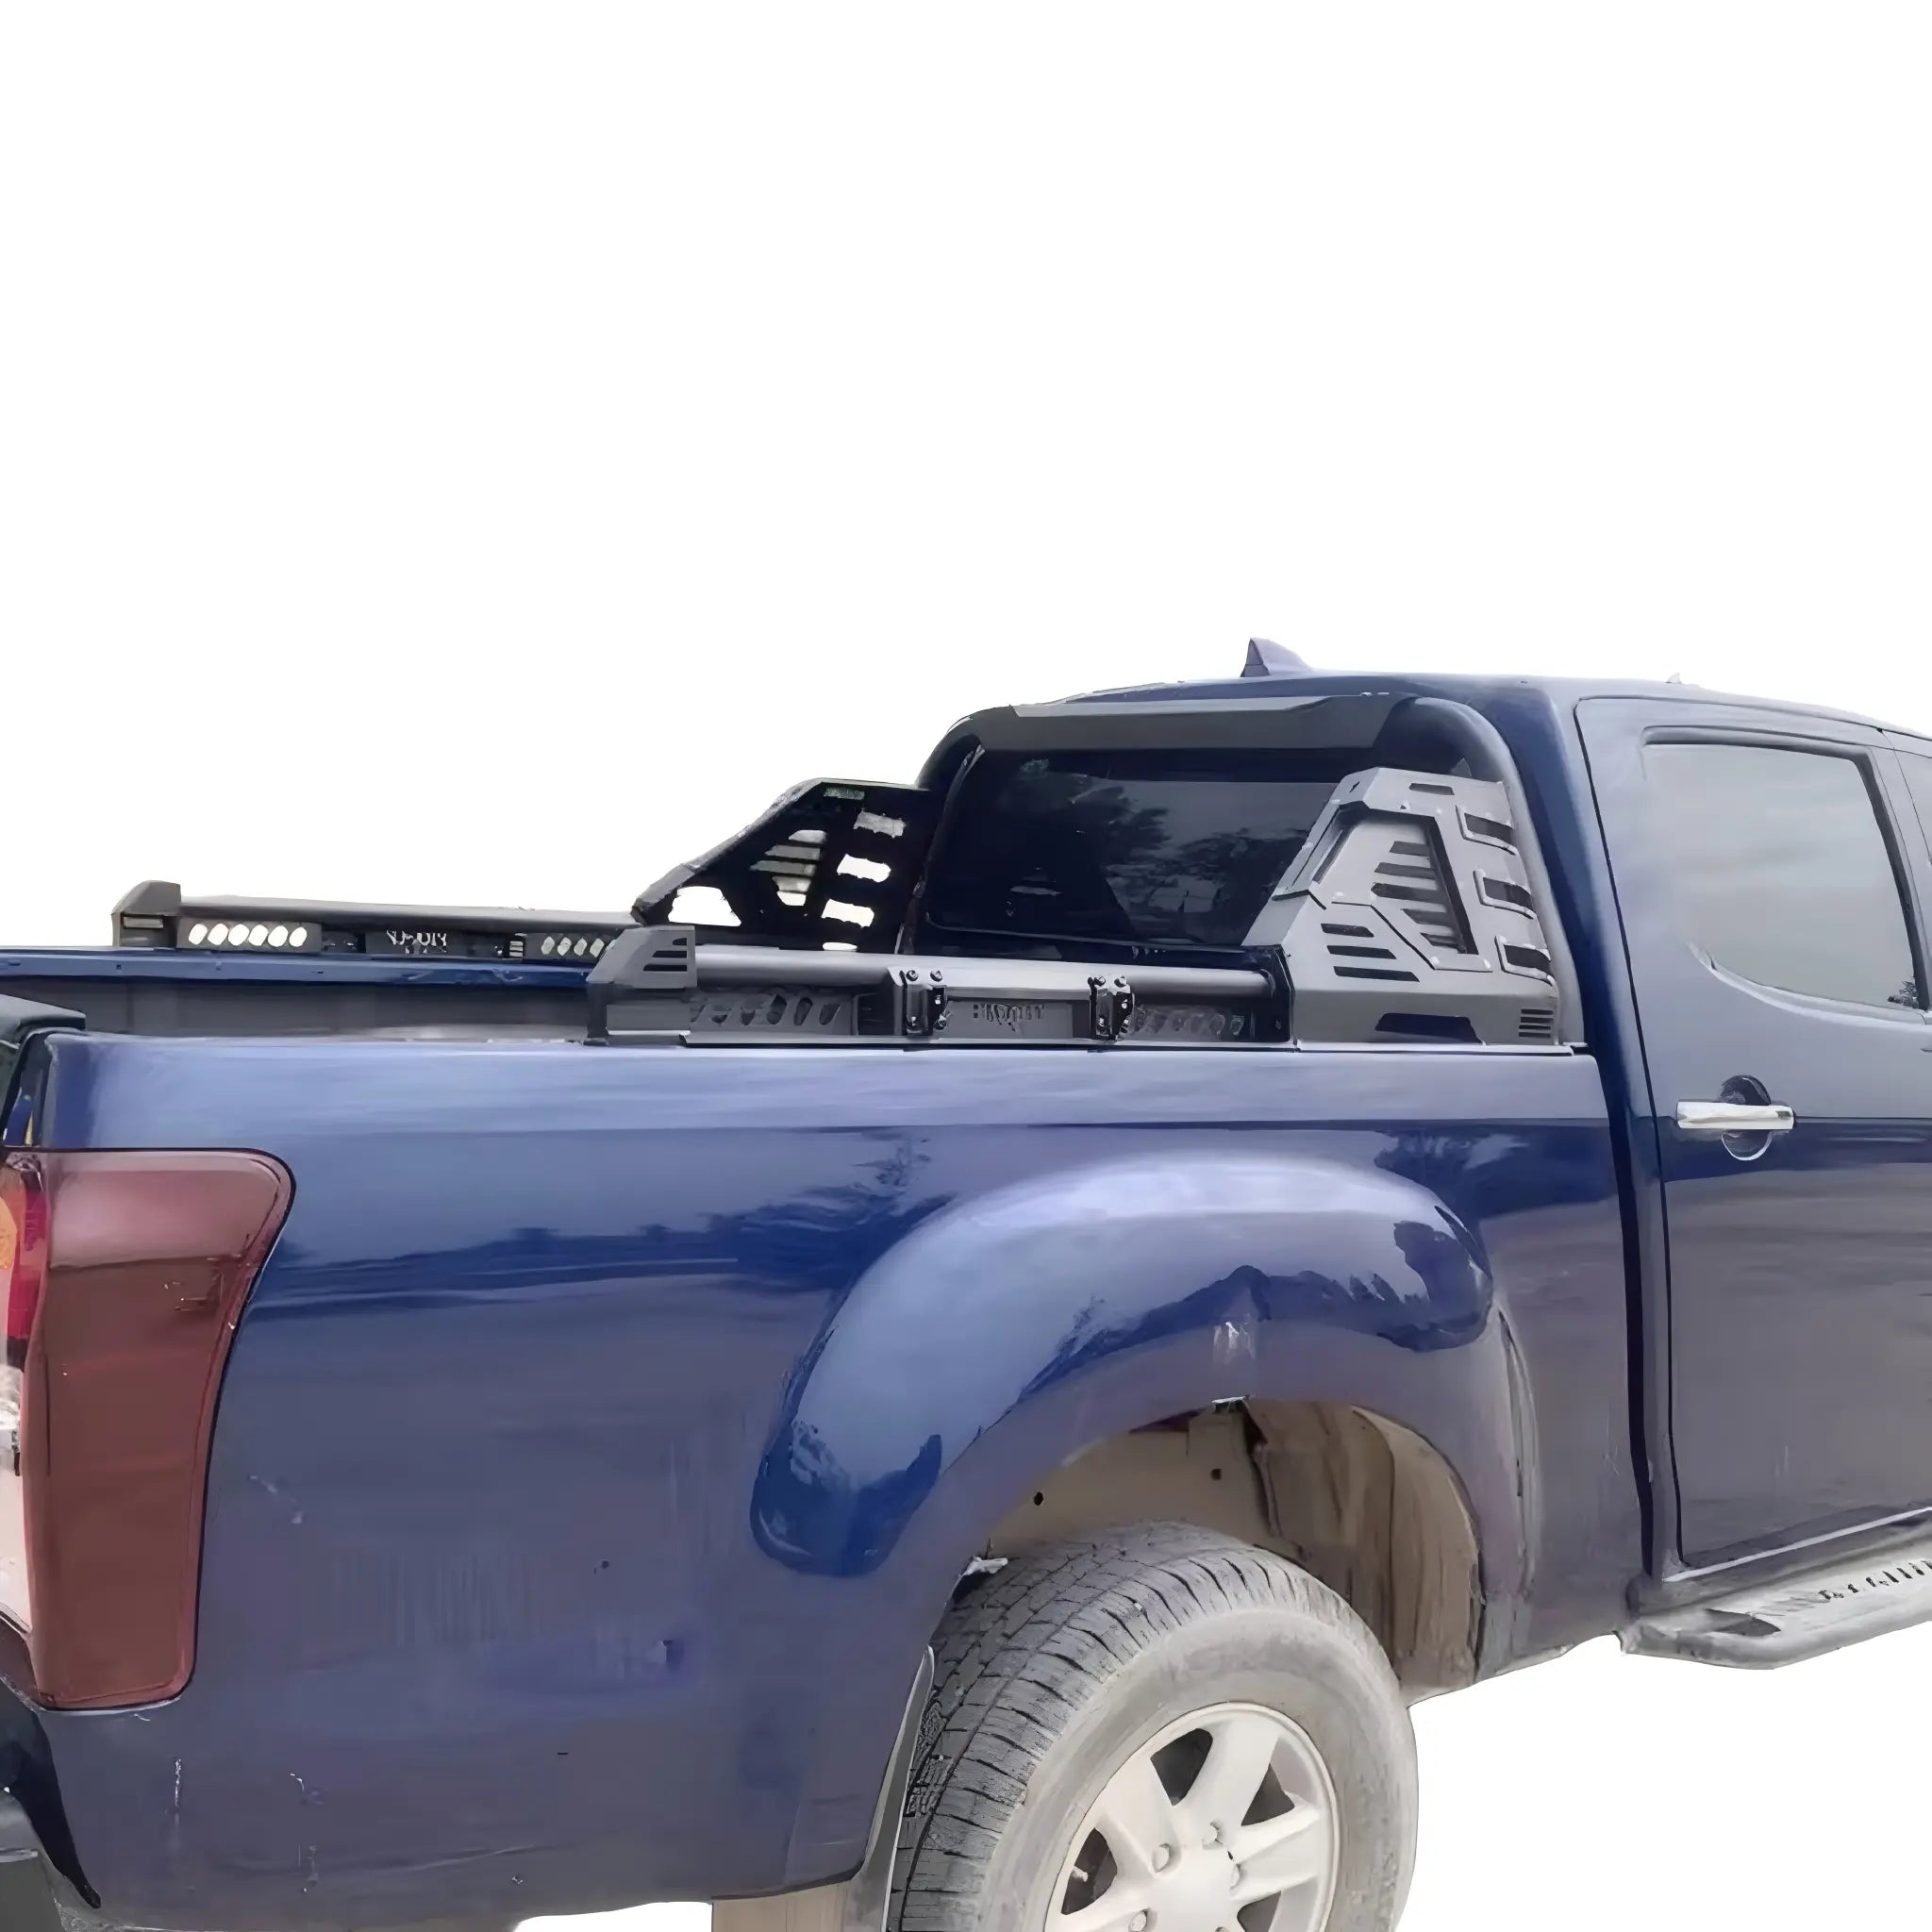
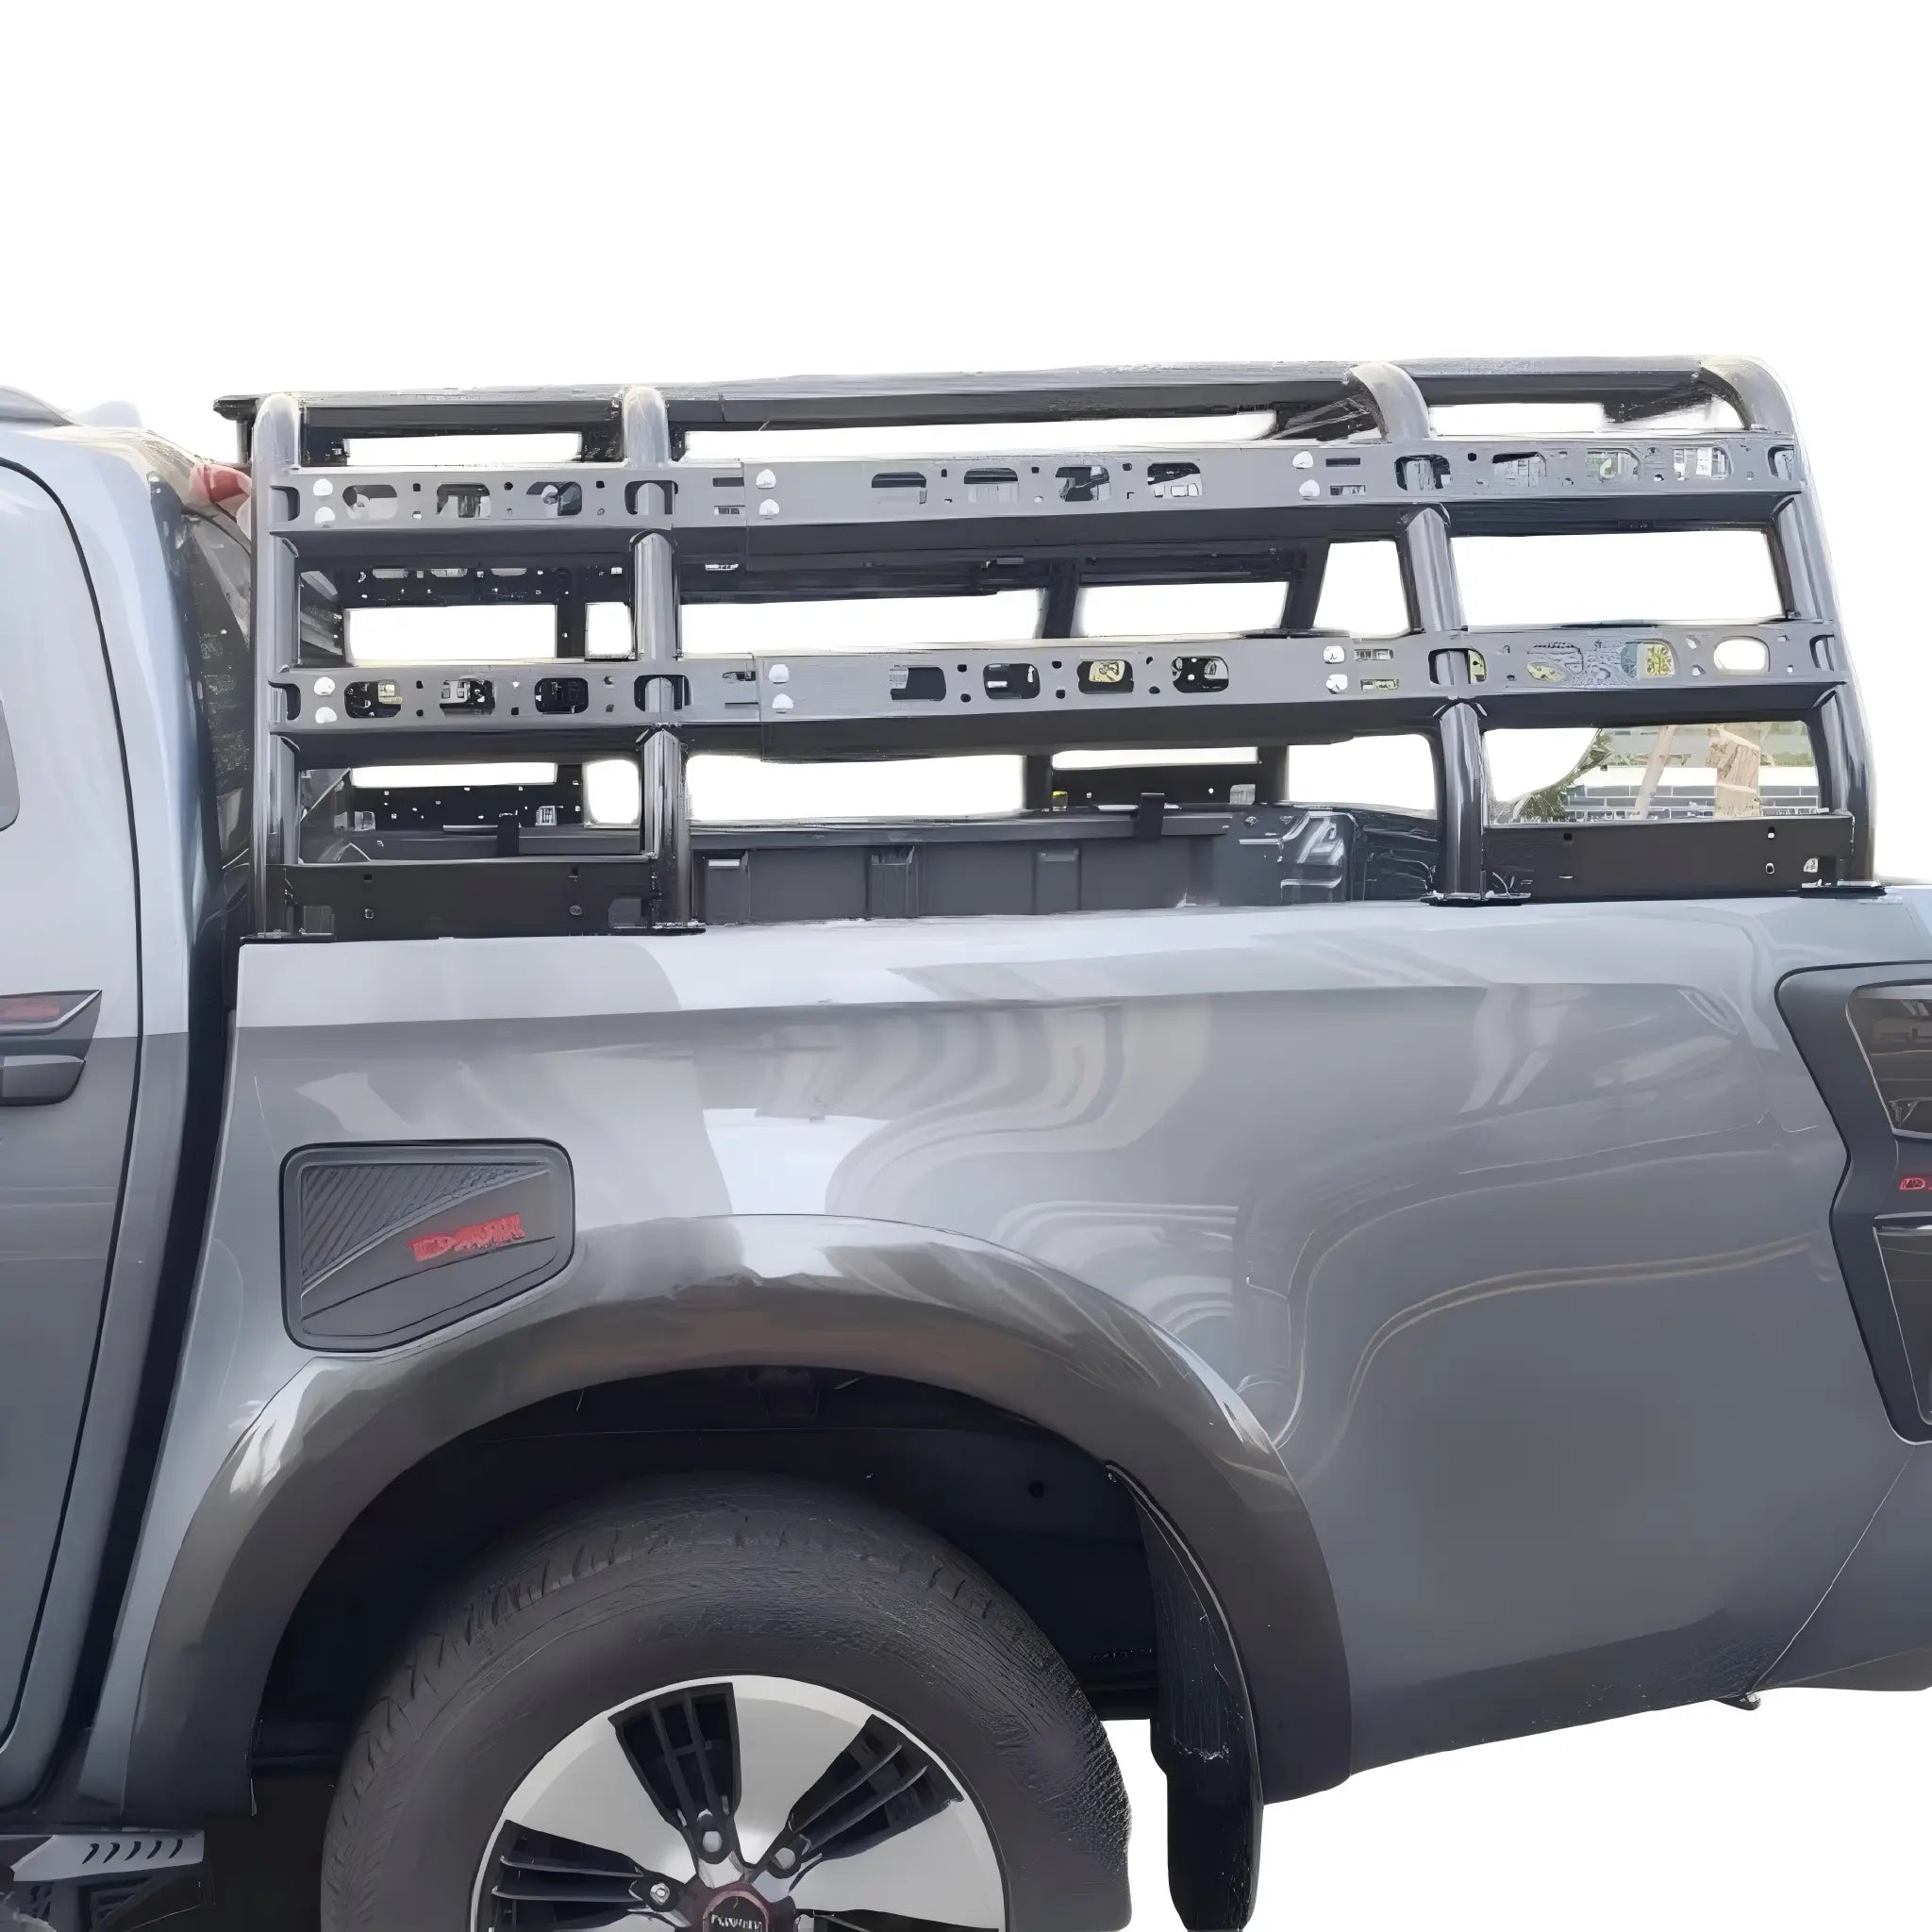
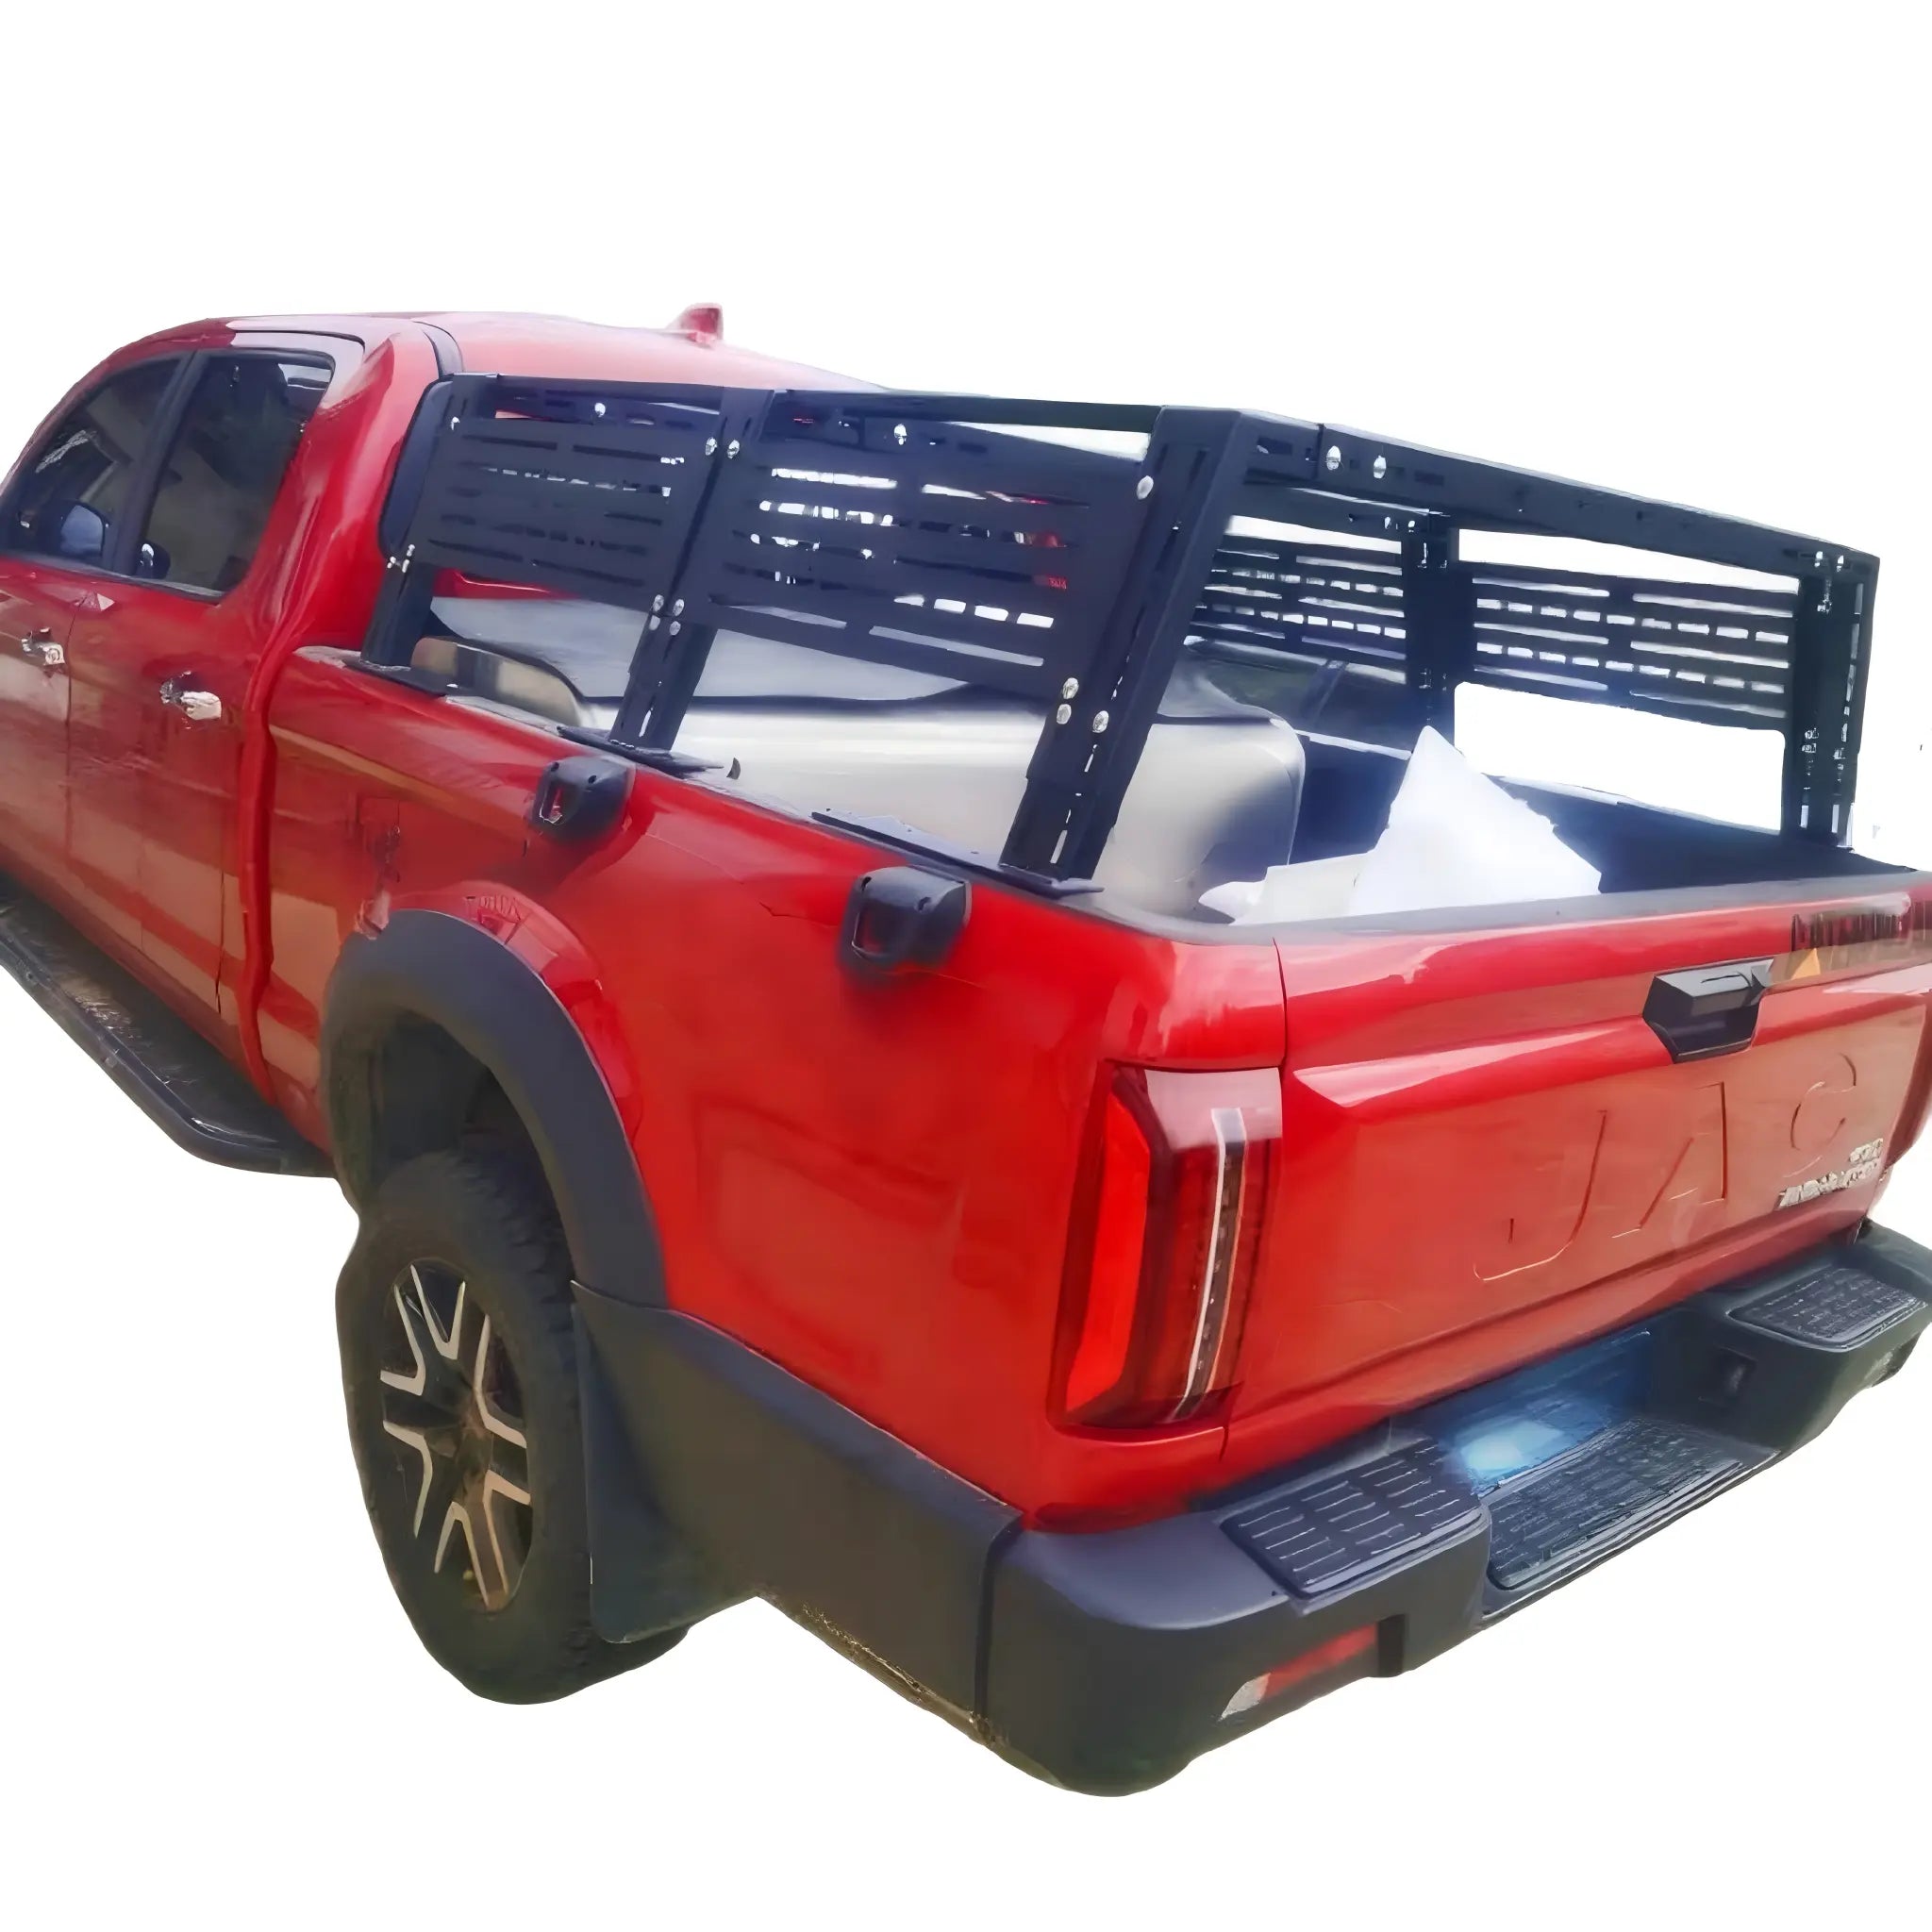
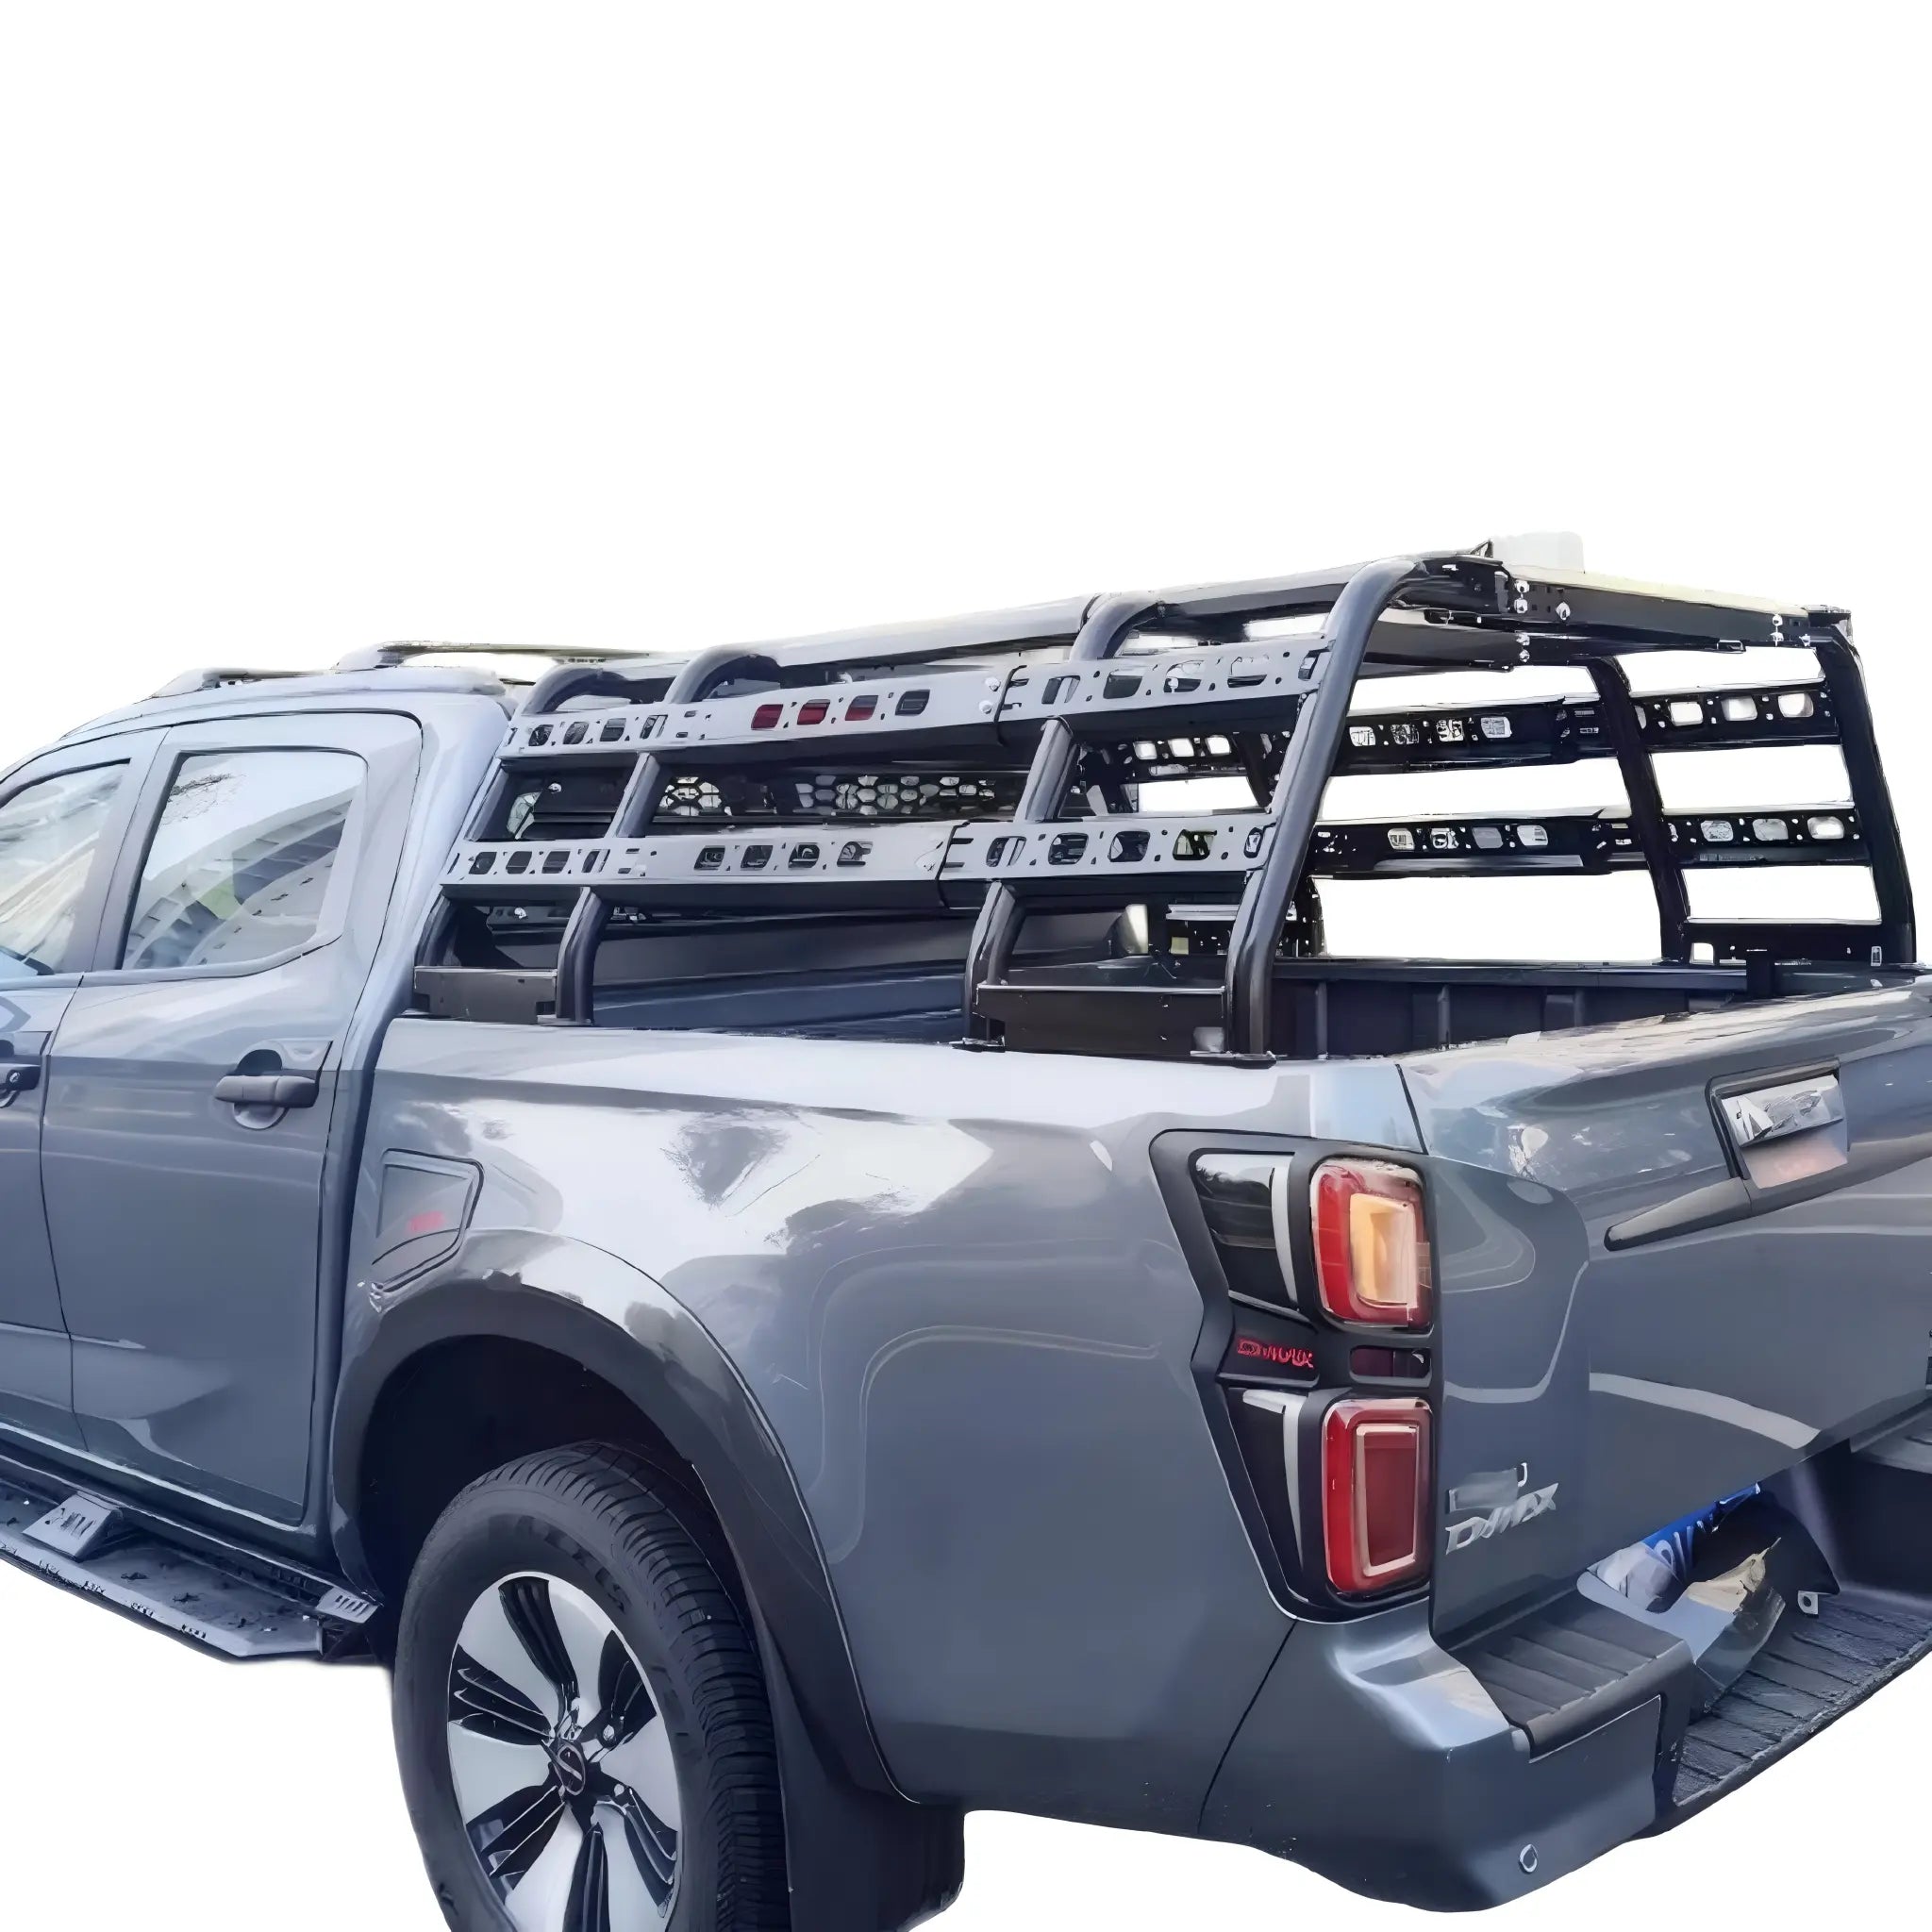
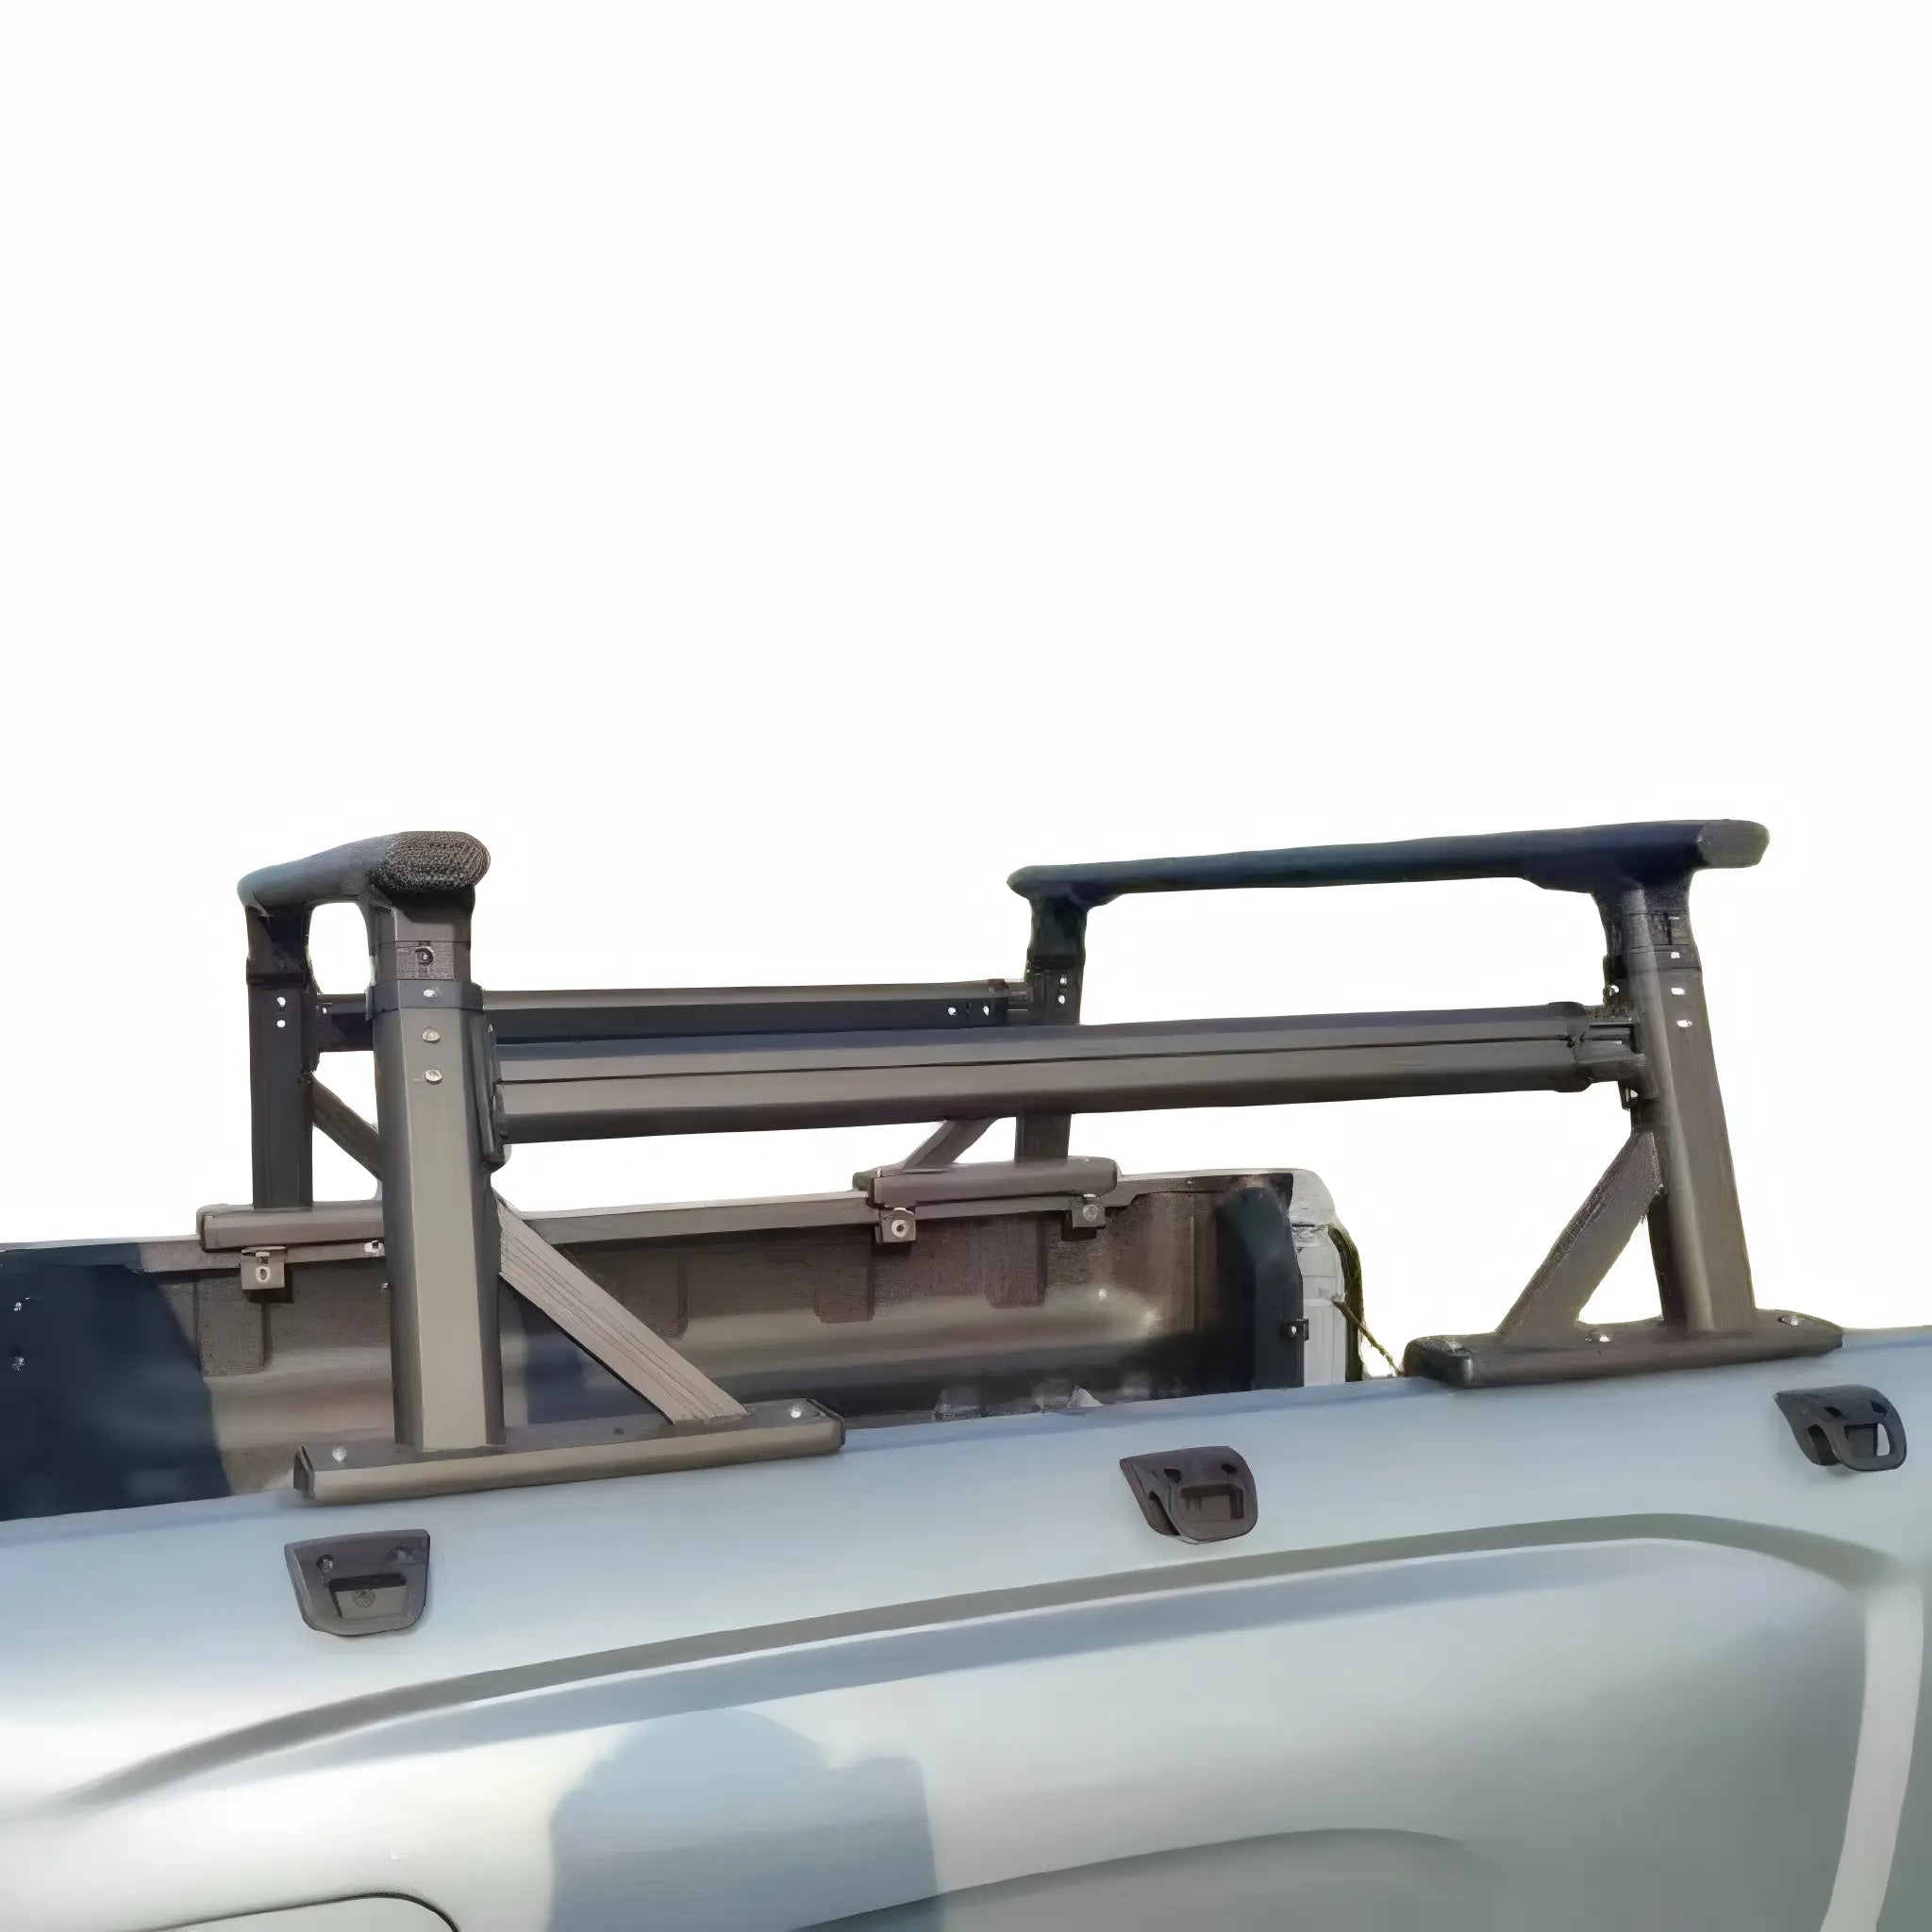
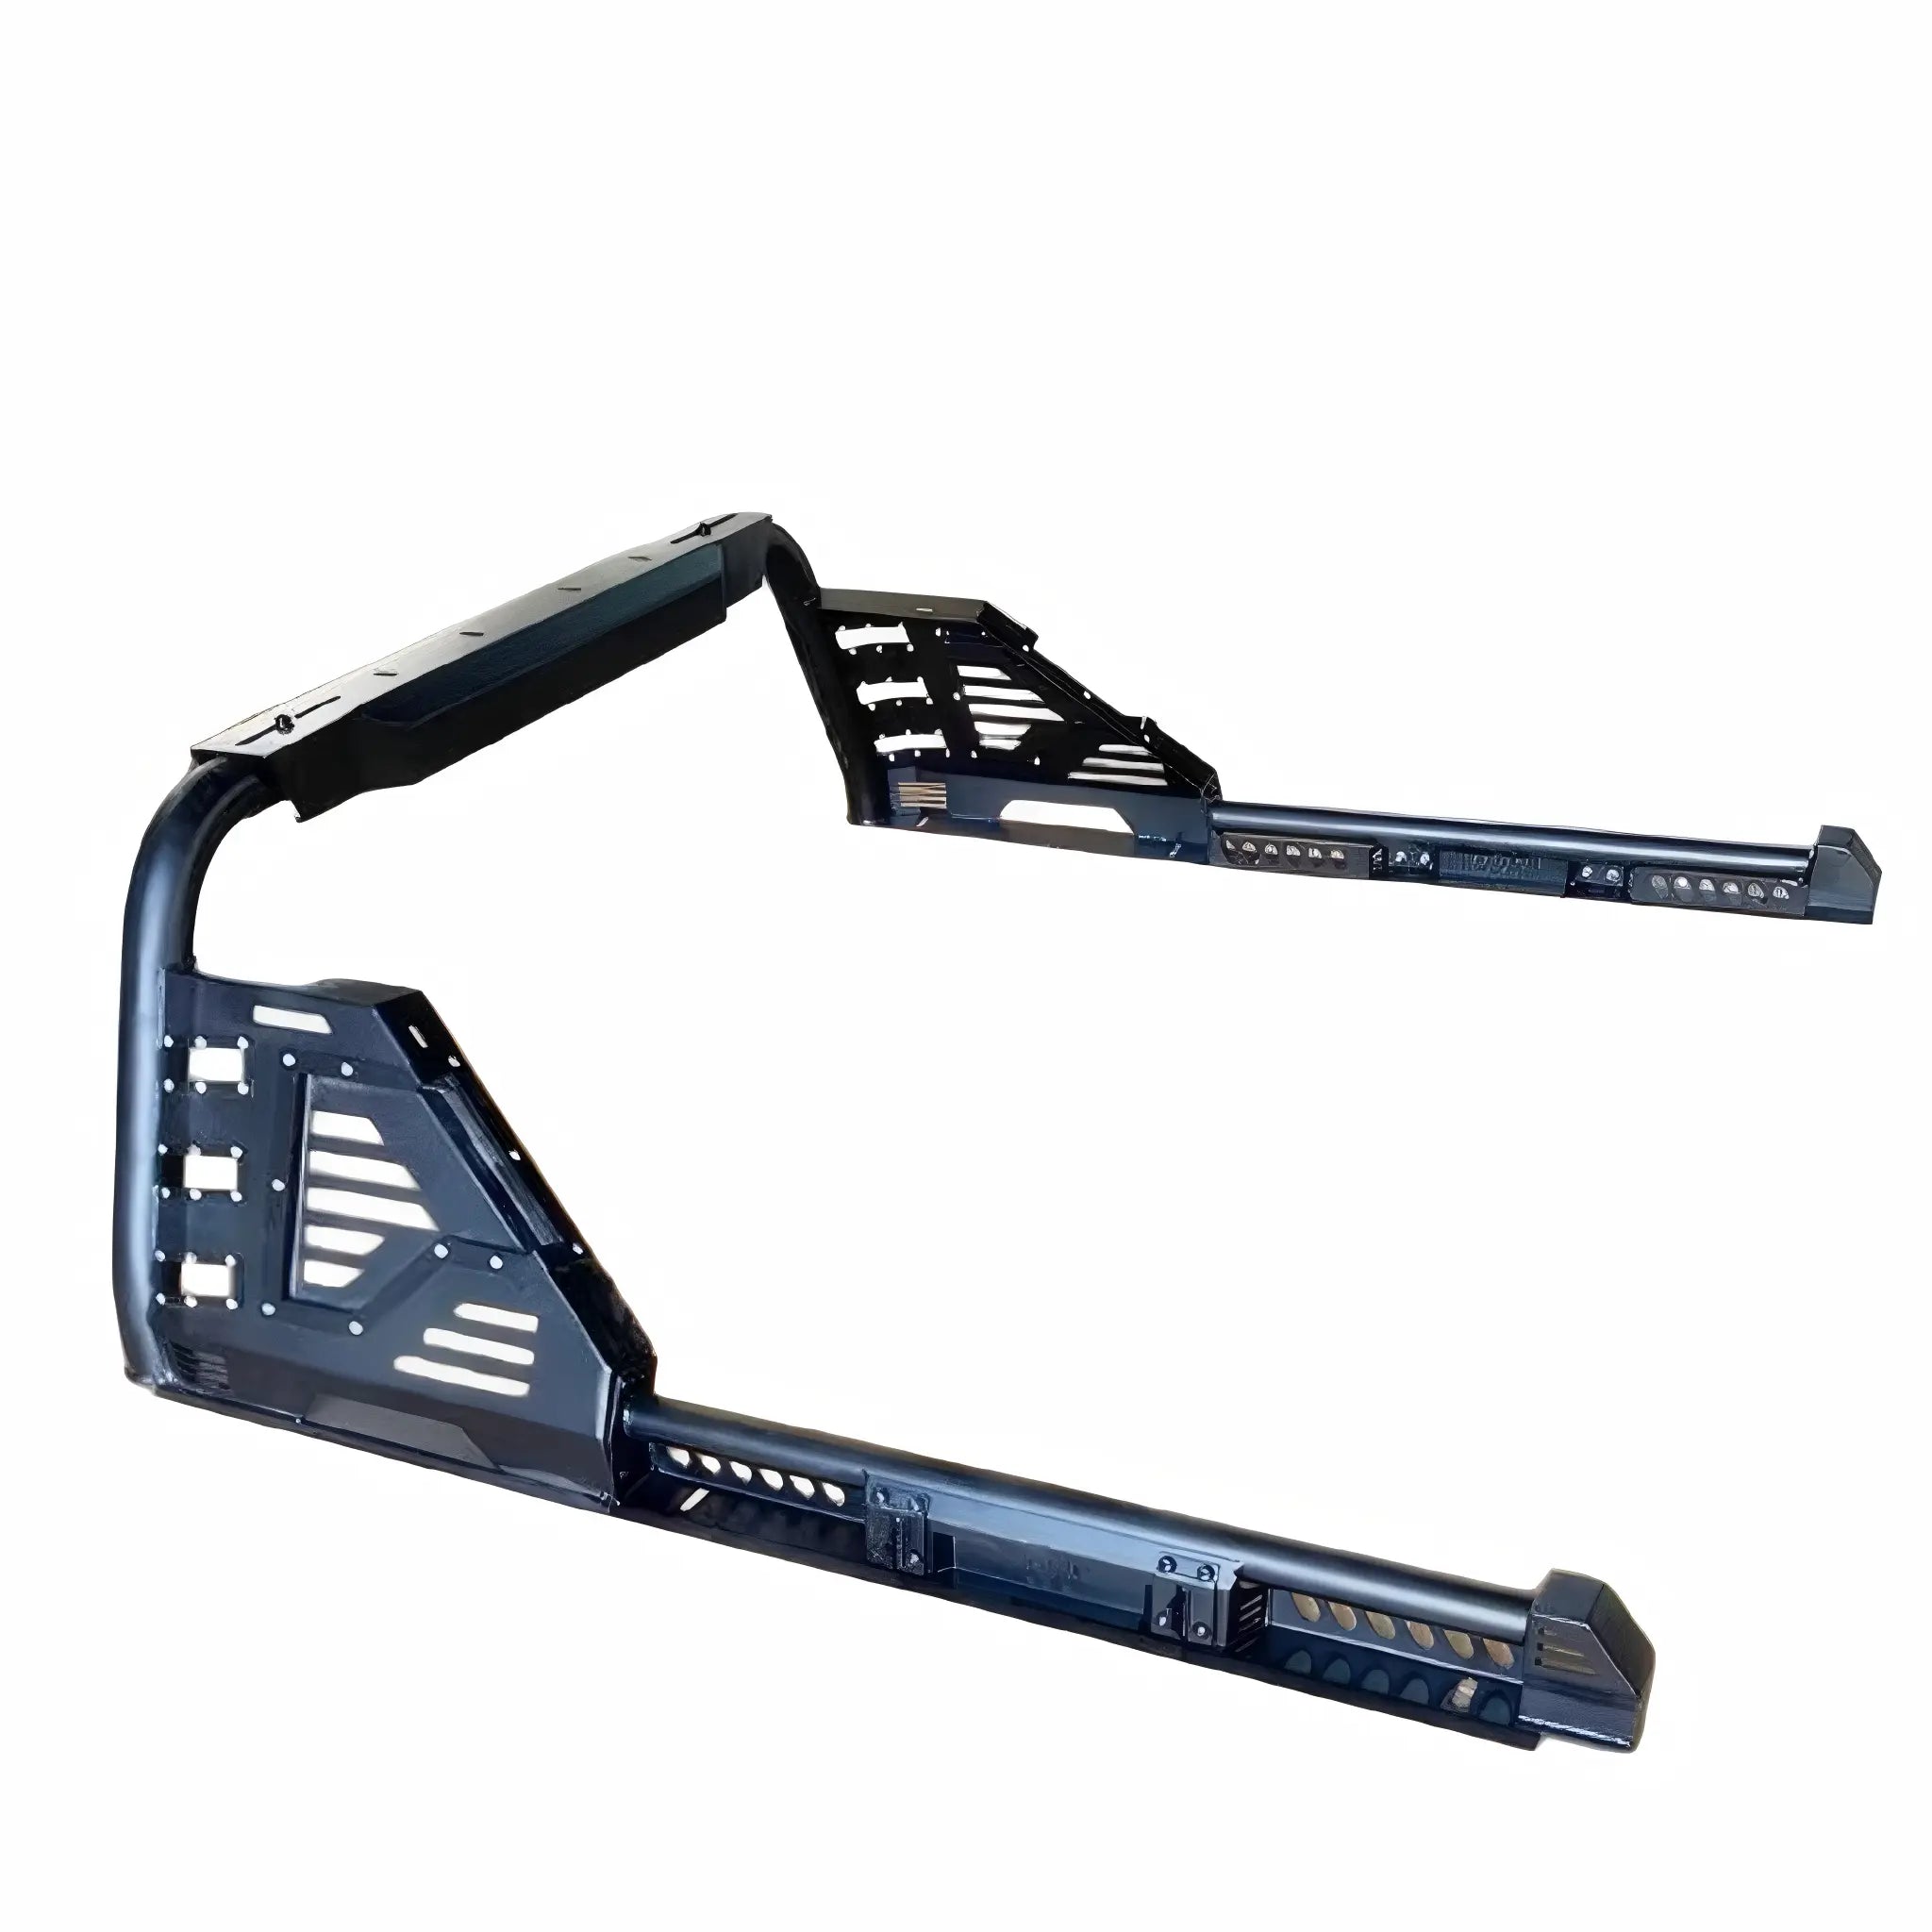
Adjustable Ute Sports Bar & Chase Rack — BYD Shark 6, Triton & RAM 1500 | Bolt-On Steel, Roller Cover Compatible

$1,318.80 USD
Shipping fees will be calculated at checkout.
Car Model
Quantity

Features & Benefits

  • Fits Australia's Top Utes: Adjustable width and universal tub-mount system engineered for BYD Shark 6, Ford Ranger, Toyota HiLux, Isuzu D-Max, GWM Cannon, Mitsubishi Triton and RAM 1500 with manufacturer-confirmed fitment for a proper, contoured fit.
  • Roller Cover Compatible: Raised baseline and dedicated adapter brackets clear most manual and electric roller covers without fouling, keeping your gear covered and ute looking sharp.
  • Mount Everything: Pre-drilled, reinforced slotted channels and laser-cut mounting points accept LED light bars, Maxtrax recovery boards, Hi-Lift jacks, rooftop tents and jerry cans—no custom fabrication required.
  • Heavy-Duty Steel Construction: Built tough where it counts with lighter alloy detailing to reduce weight, ideal for PHEV utes like the Shark 6. Rated to carry 300 kg safely.
  • Weather-Resistant Finish: Dual-stage marine-grade E-coat primer and textured black powder topcoat withstand harsh Aussie UV, Outback dust and coastal salt spray without fading or rust.
  • True Bolt-On Installation: Bolts directly to factory tie-down points and stake pockets with zero welding or body drilling, preserving your factory warranty and enabling home installation.

Please note: Due to its large size and weight, this sports bar / chase rack is made to order and typically requires 5–7 business days for production and preparation before dispatch.

What's Included

1x Chase Rack frame assembly, 1x Base mounting brackets, 1x Hardware kit (M8/M10 bolts, washers, nylon lock nuts), 1x Adapter brackets (for roller cover integration), 1x Installation guide

Installation Guide

Total time
60-90 minutes
Drilling required
No - bolt-on
Warranty
Yes - bolt-on
  1. Pre-Assemble Frame Place left and right side panels on a protected surface, then connect center crossbars and upper utility platforms using provided M8/M10 bolts, washers and nylon lock nuts. Leave bolts finger-tight to allow width adjustments.
  2. Install Base Brackets For bare tubs, place heavy-duty mounting brackets onto truck bed rails aligned with factory utility tracks. For roller shutters, slide specialized T-bolt adapters into the side tracks at designated mounting positions.
  3. Position Rack Assembly With an assistant's help, carefully lift the pre-assembled frame and place it onto the installed brackets or shutter tracks. Use cardboard over the cab to prevent accidental contact.
  4. Align and Adjust Width Measure the distance between rack and cab to ensure parallel, centered positioning. Slide adjustable side joints inward or outward to match your vehicle's exact tub profile.
  5. Secure All Hardware Tighten bolts connecting the frame to base brackets first, then fully torque all frame connection bolts to specification (25-30 ft-lbs for M8, 45-50 ft-lbs for M10) using a torque wrench.
  6. Test and Finalize Route electrical wiring through internal channels if installing LED bars, verify roller shutter operates smoothly, shake the rack to check for play, and re-torque all hardware after the first 100 km of driving.

Recently viewed