

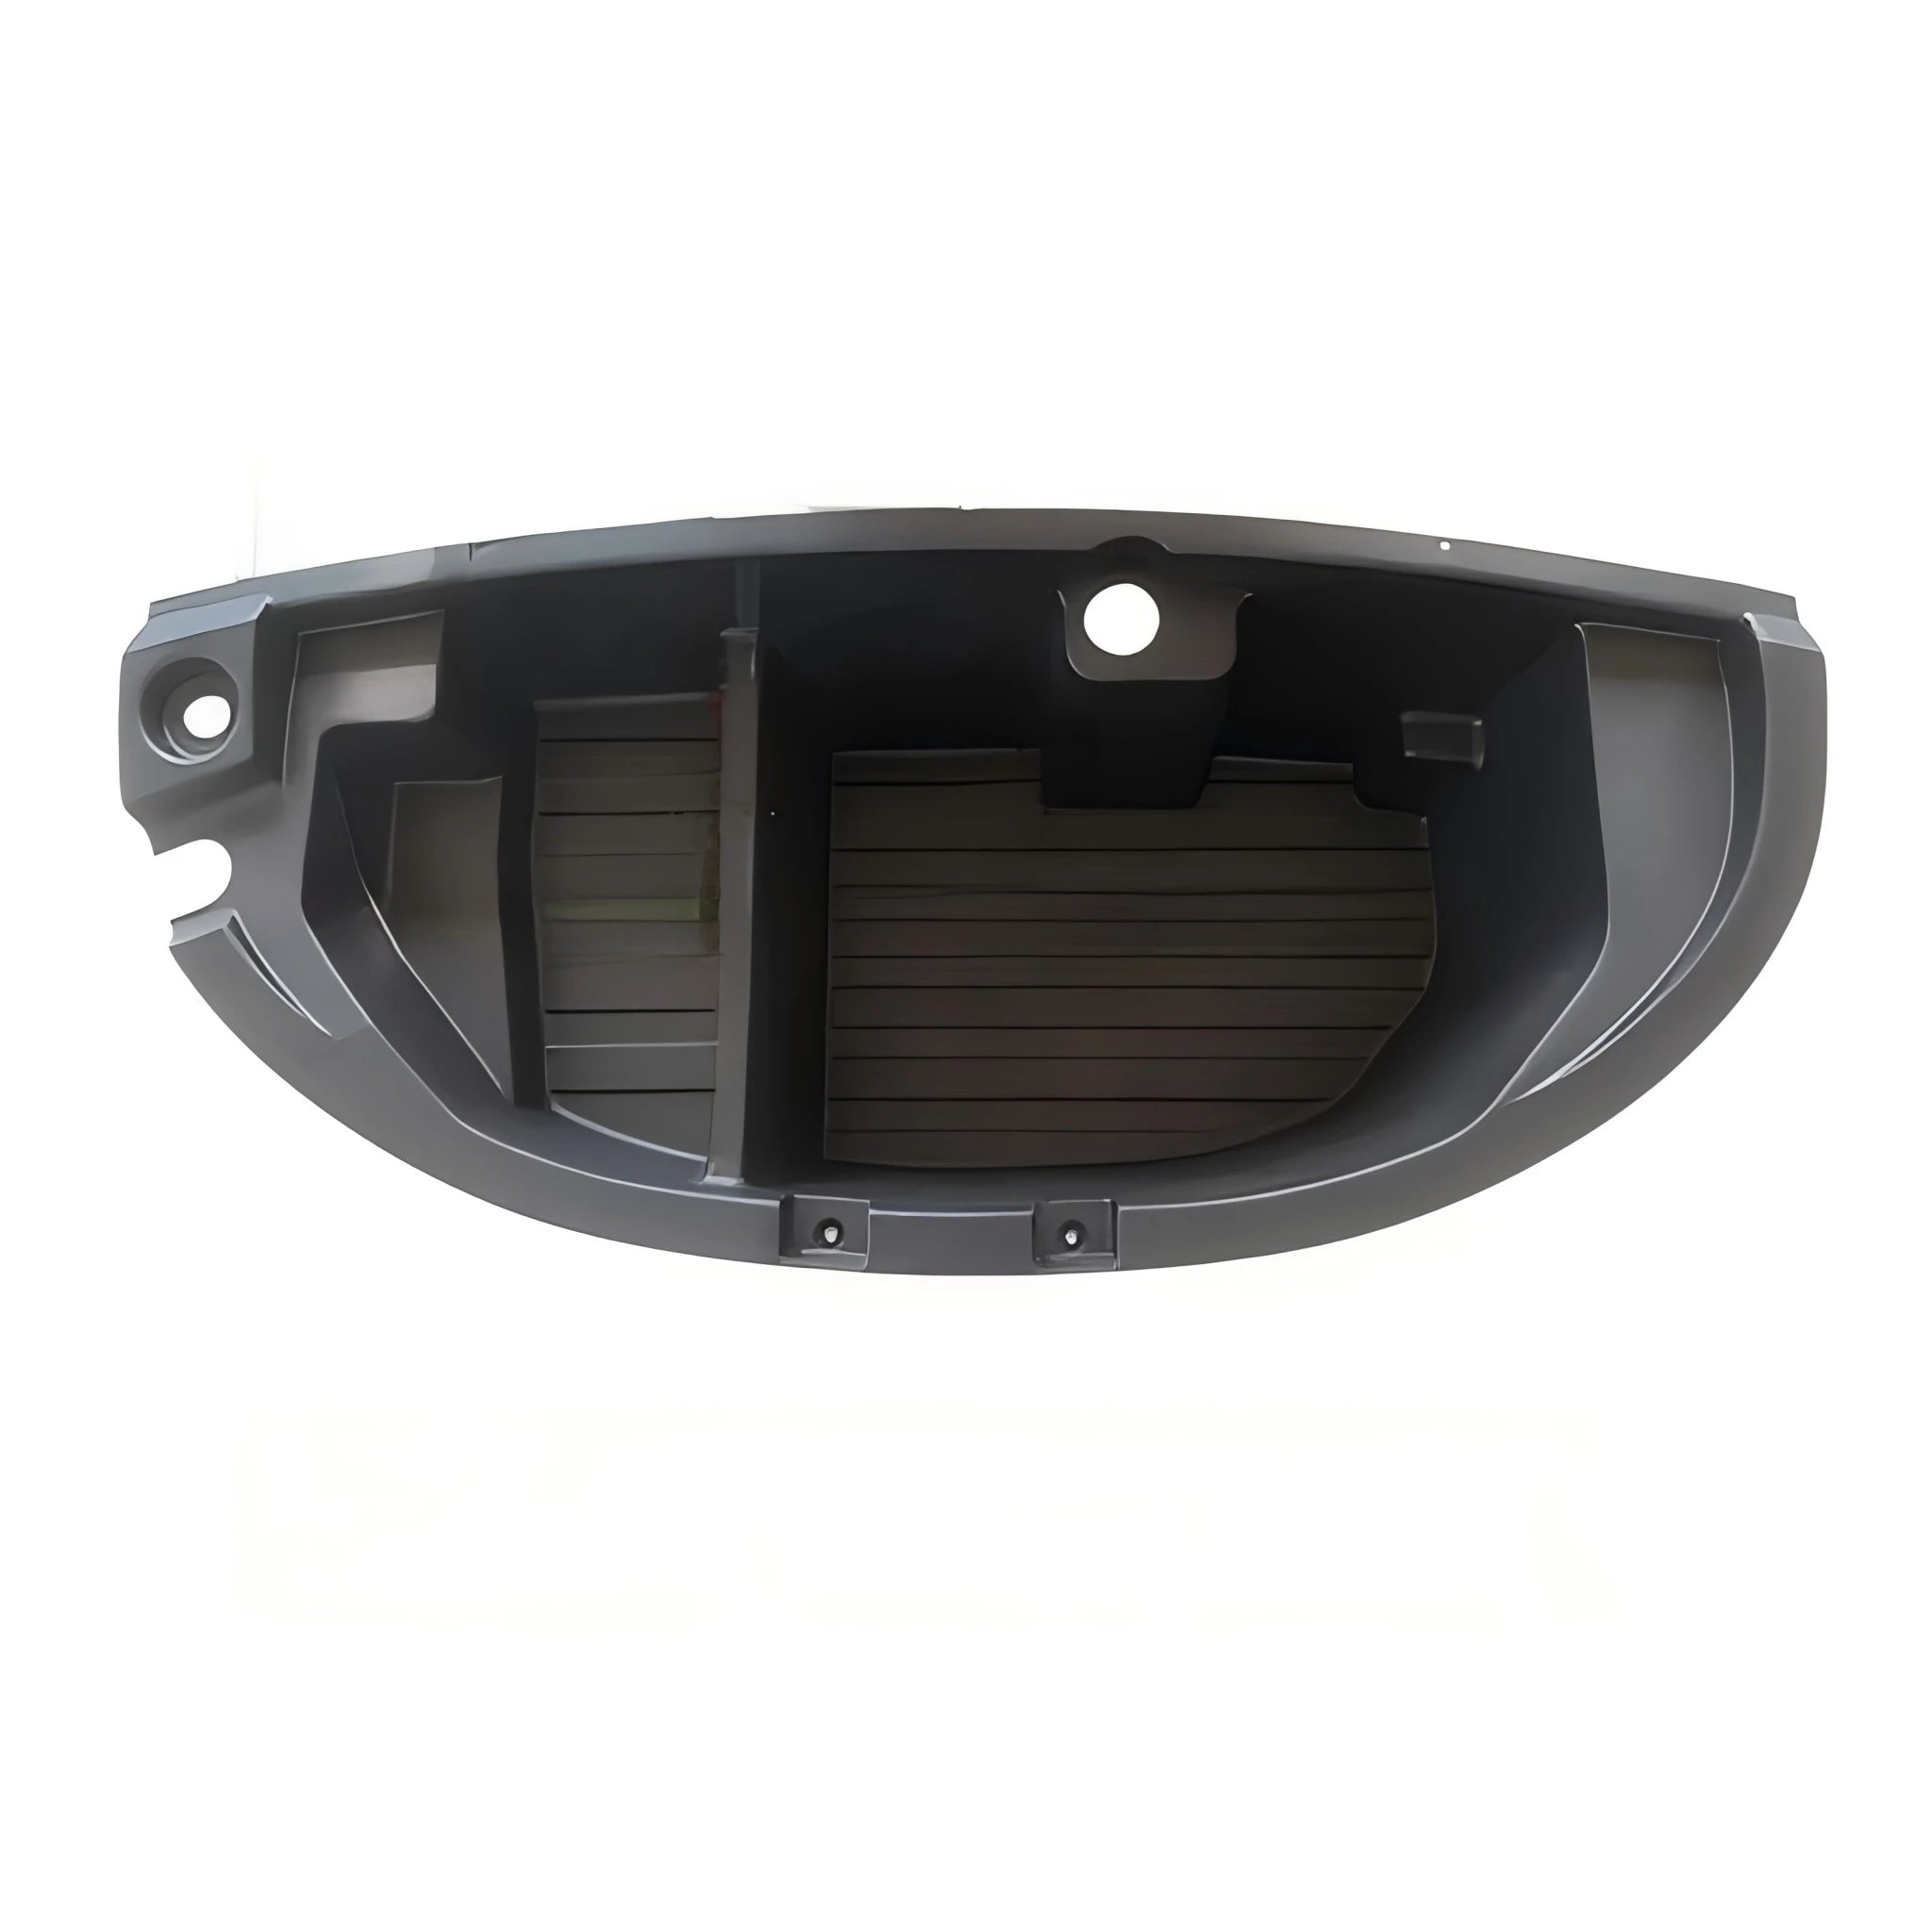
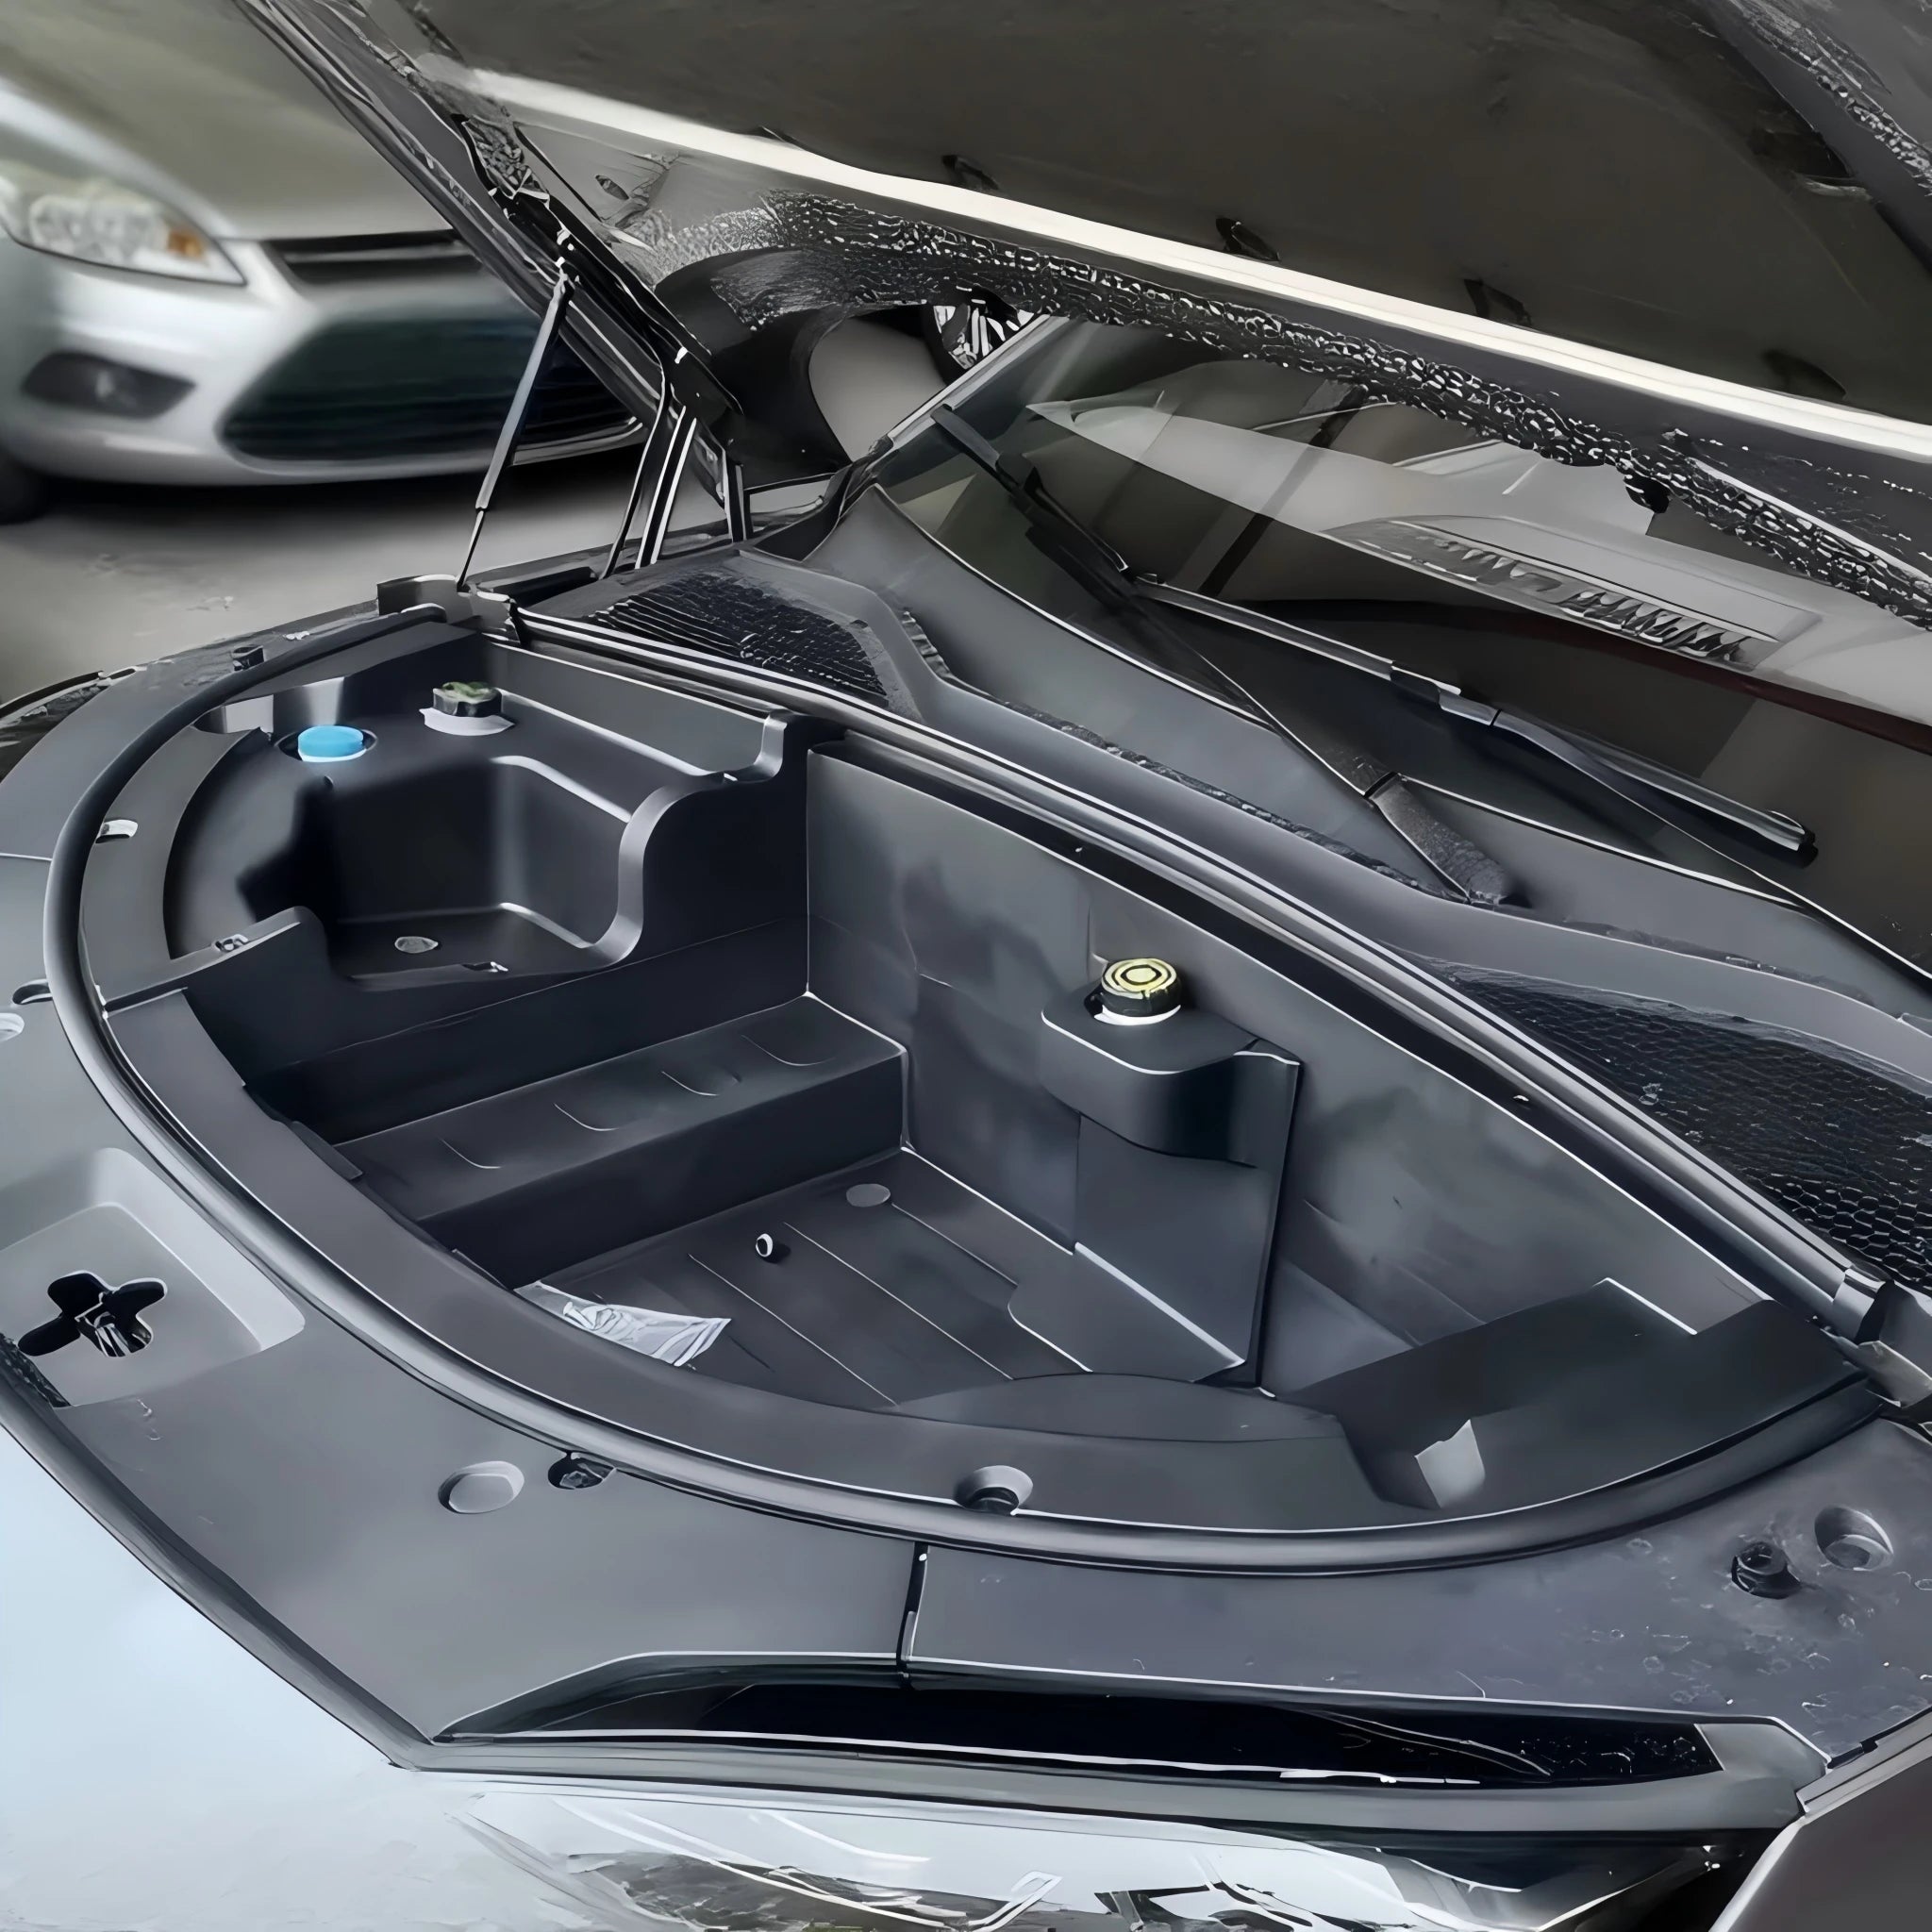
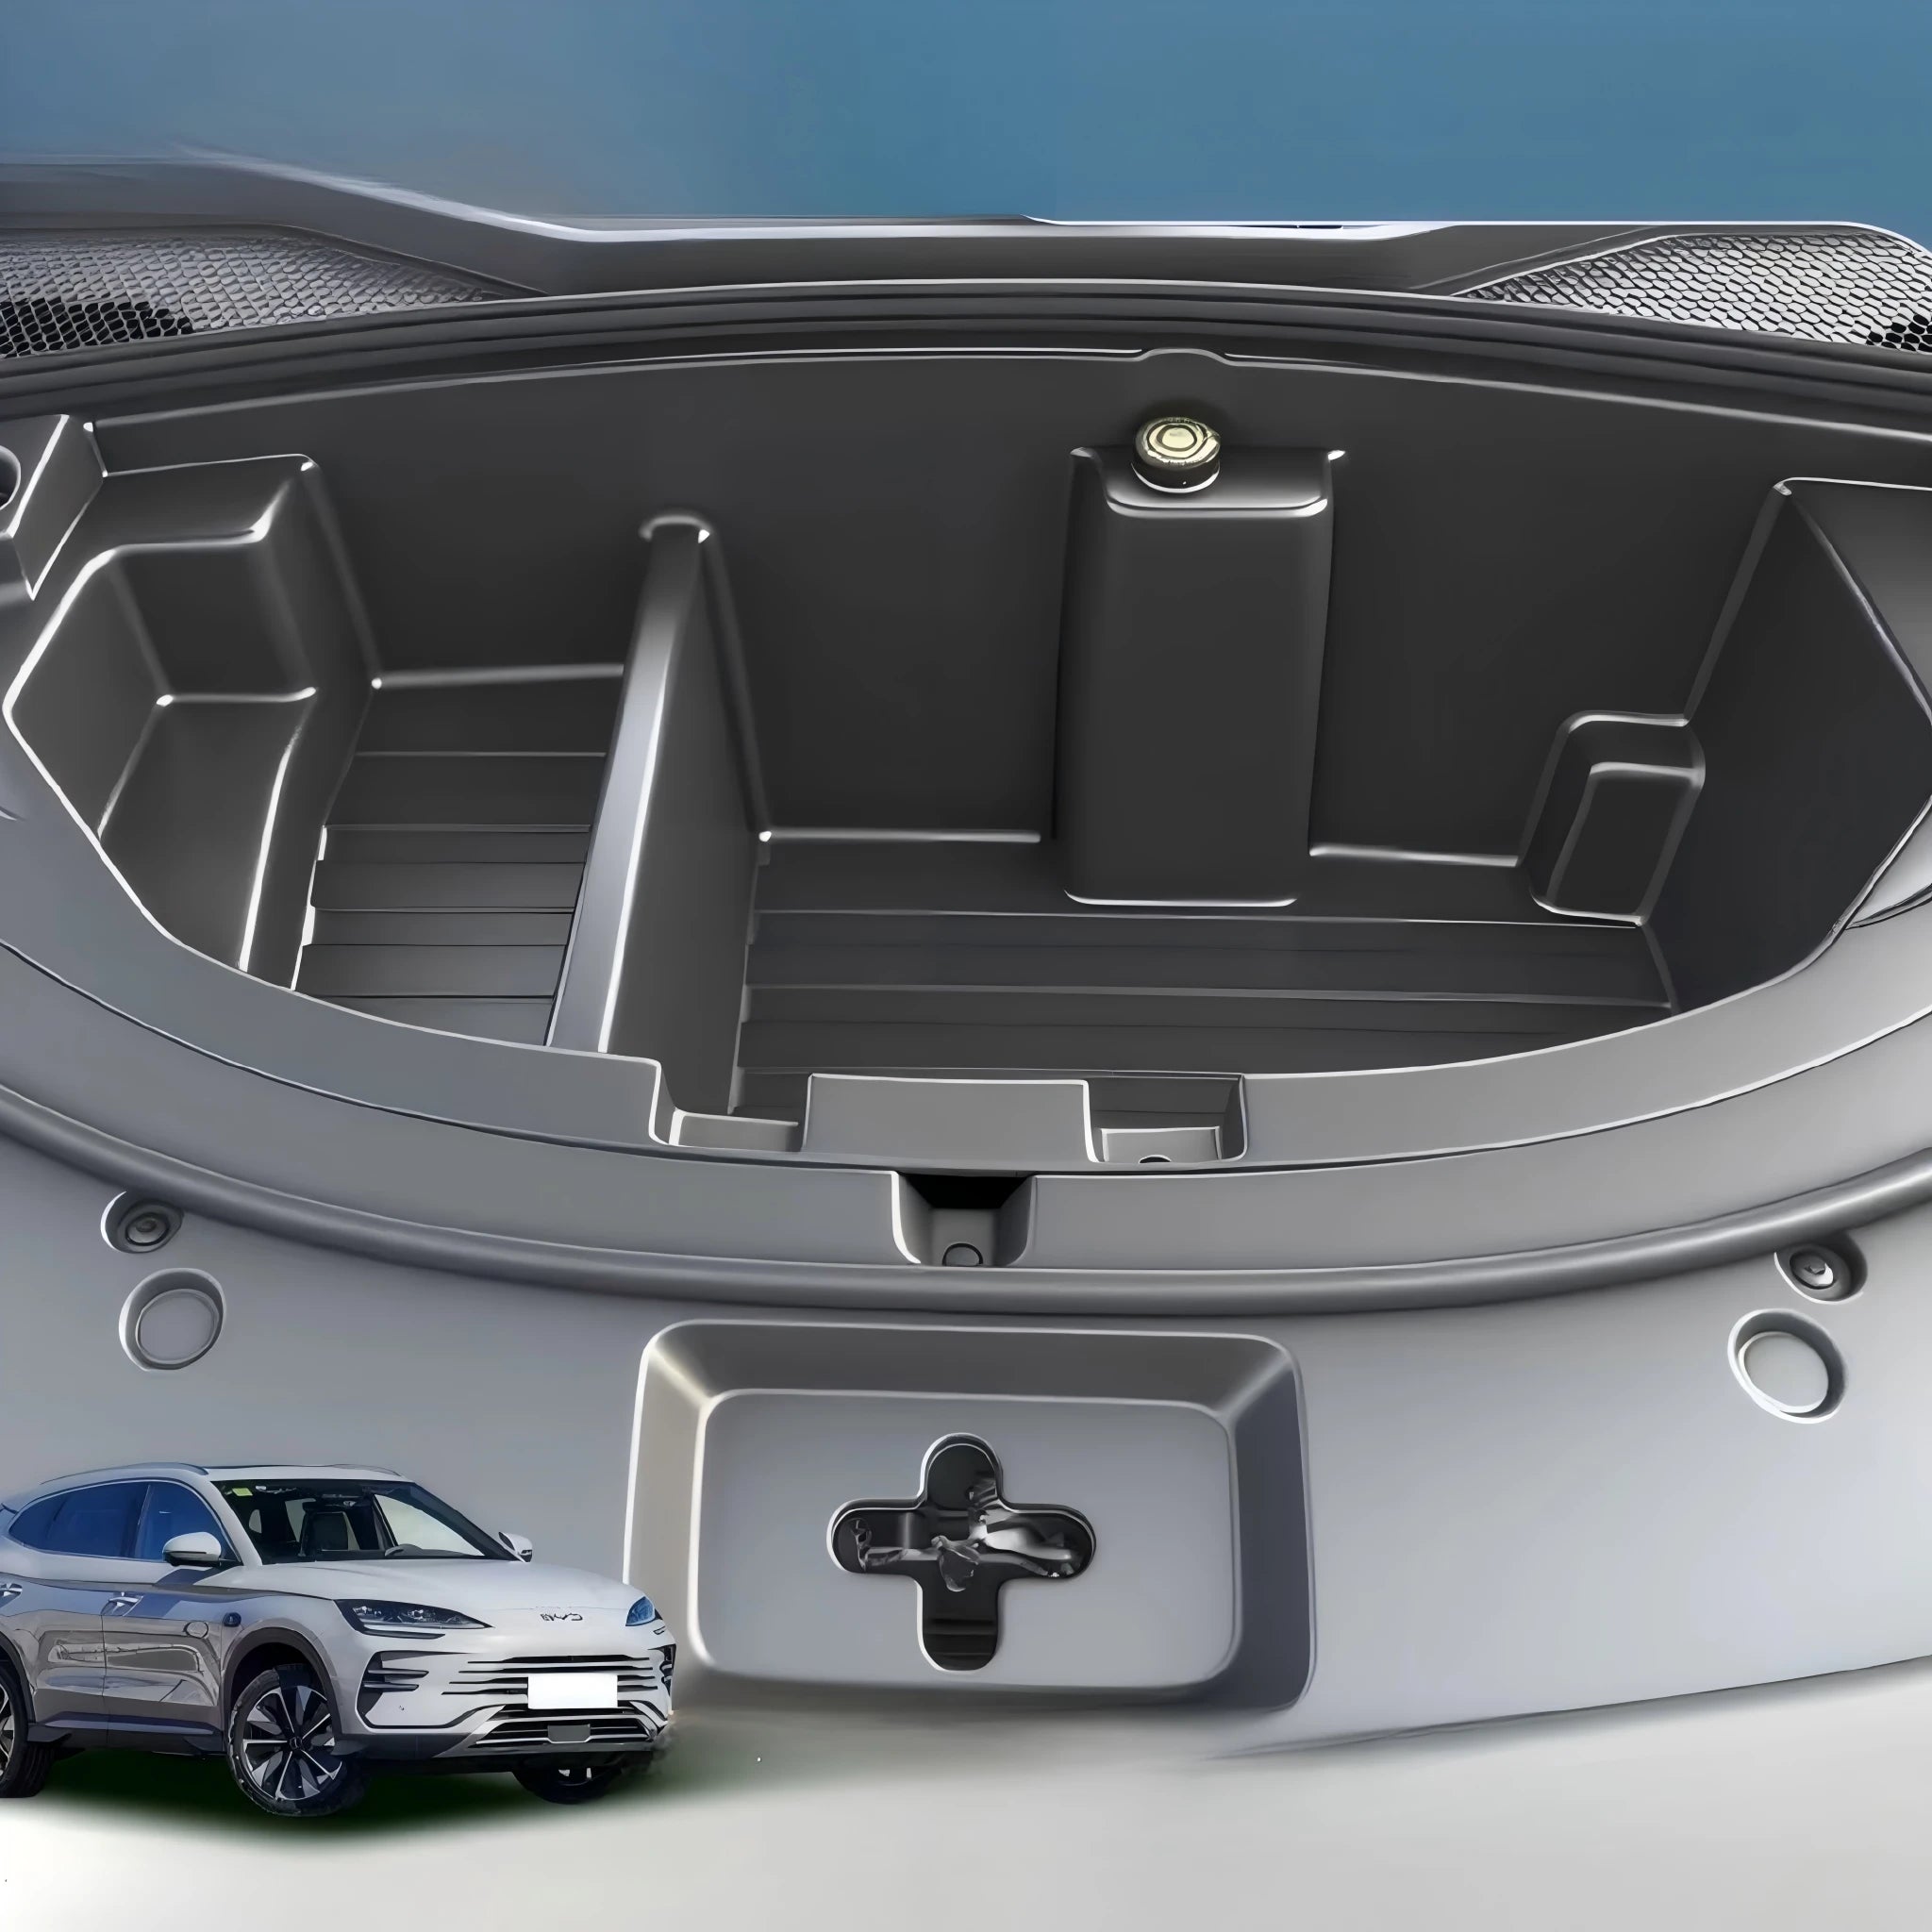
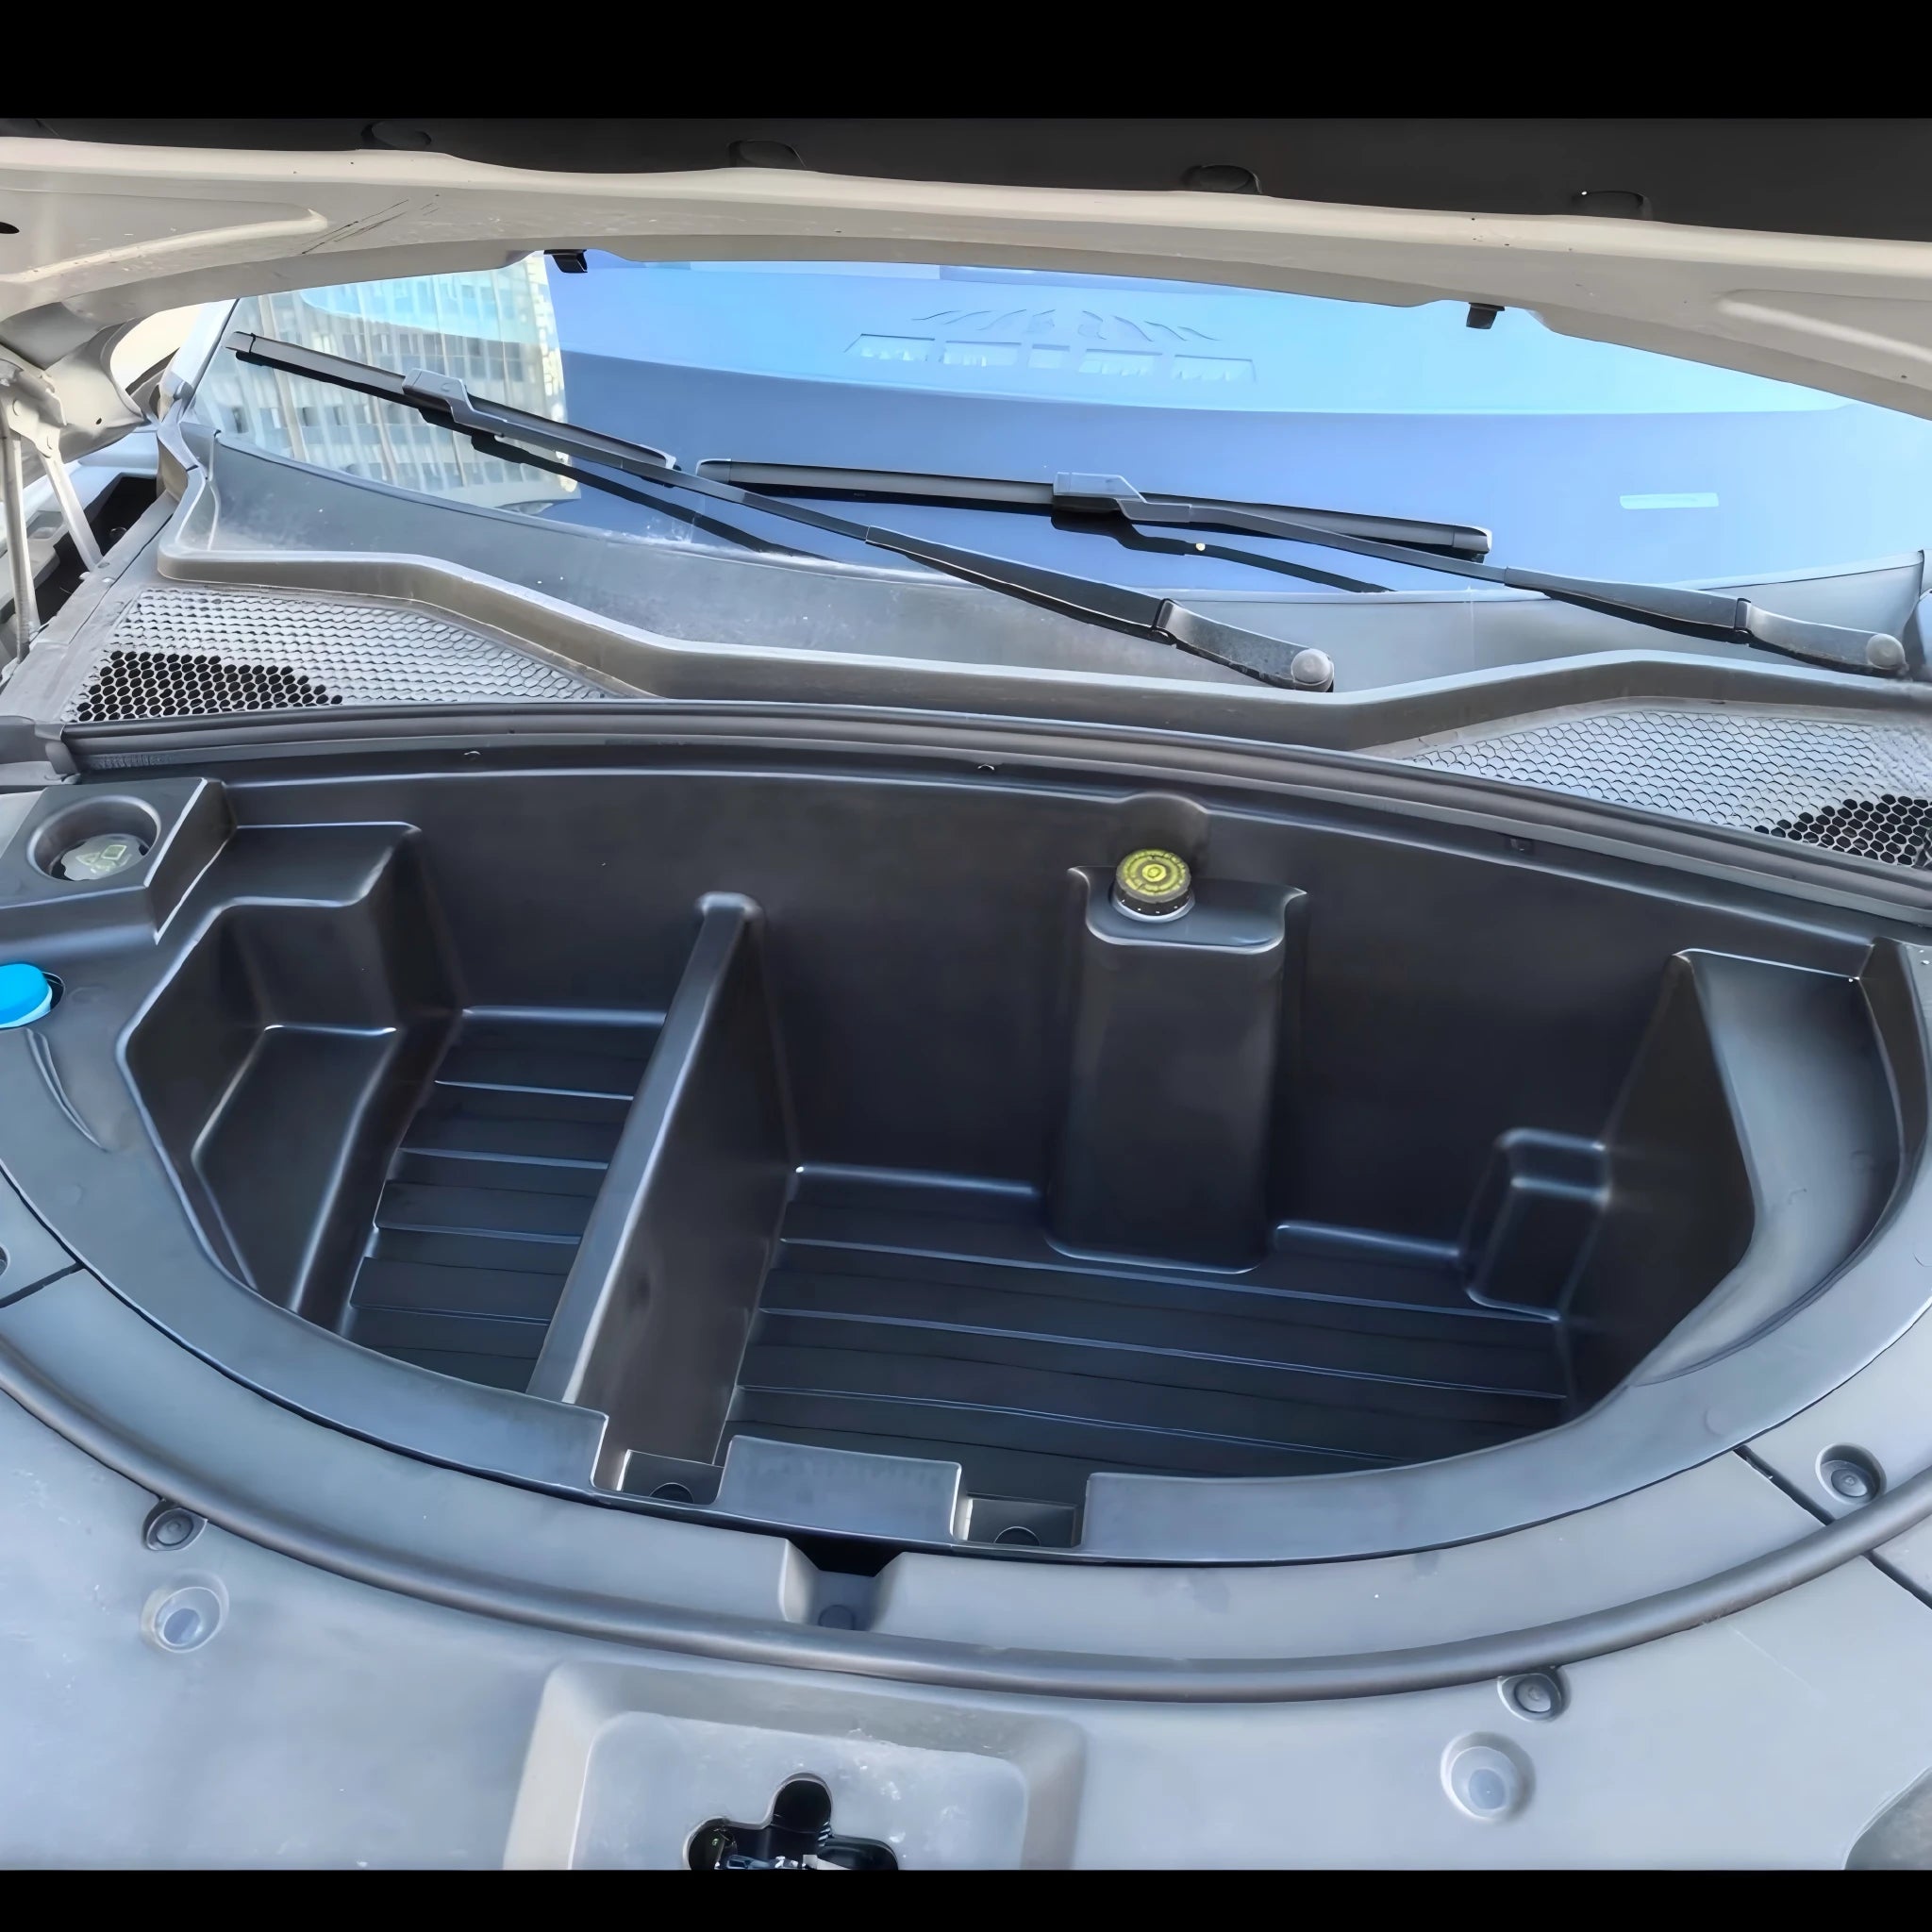
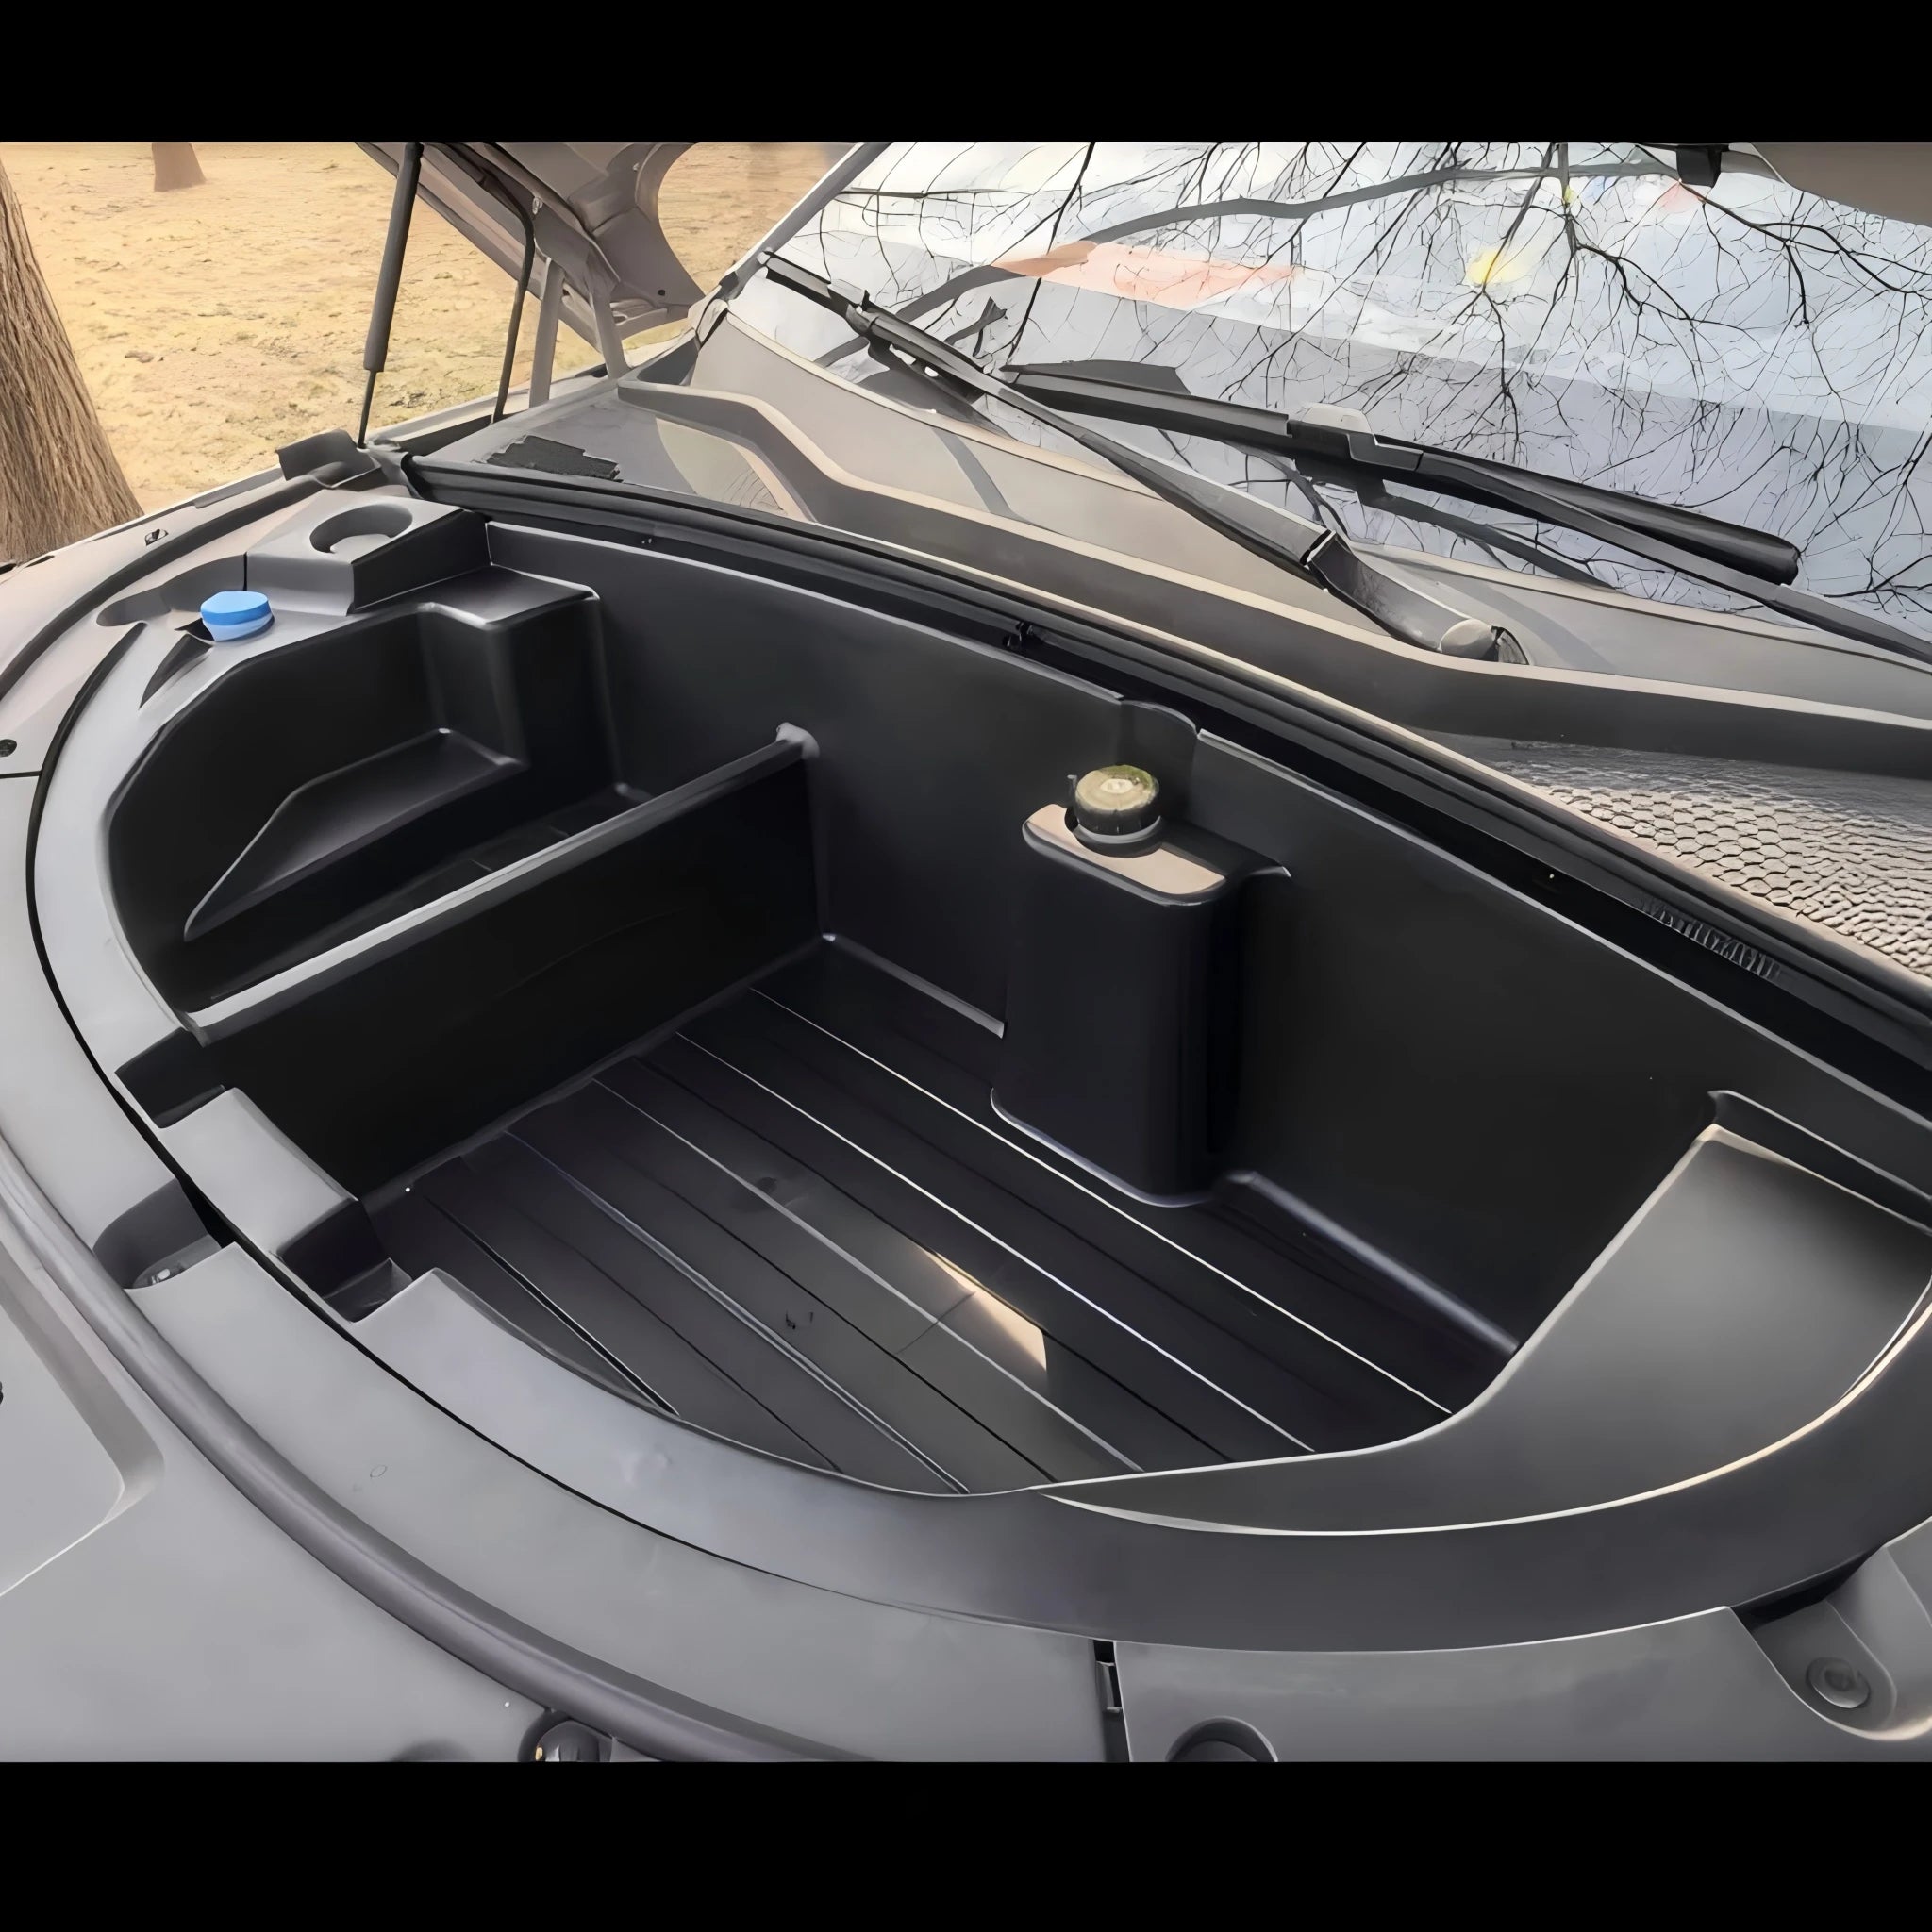
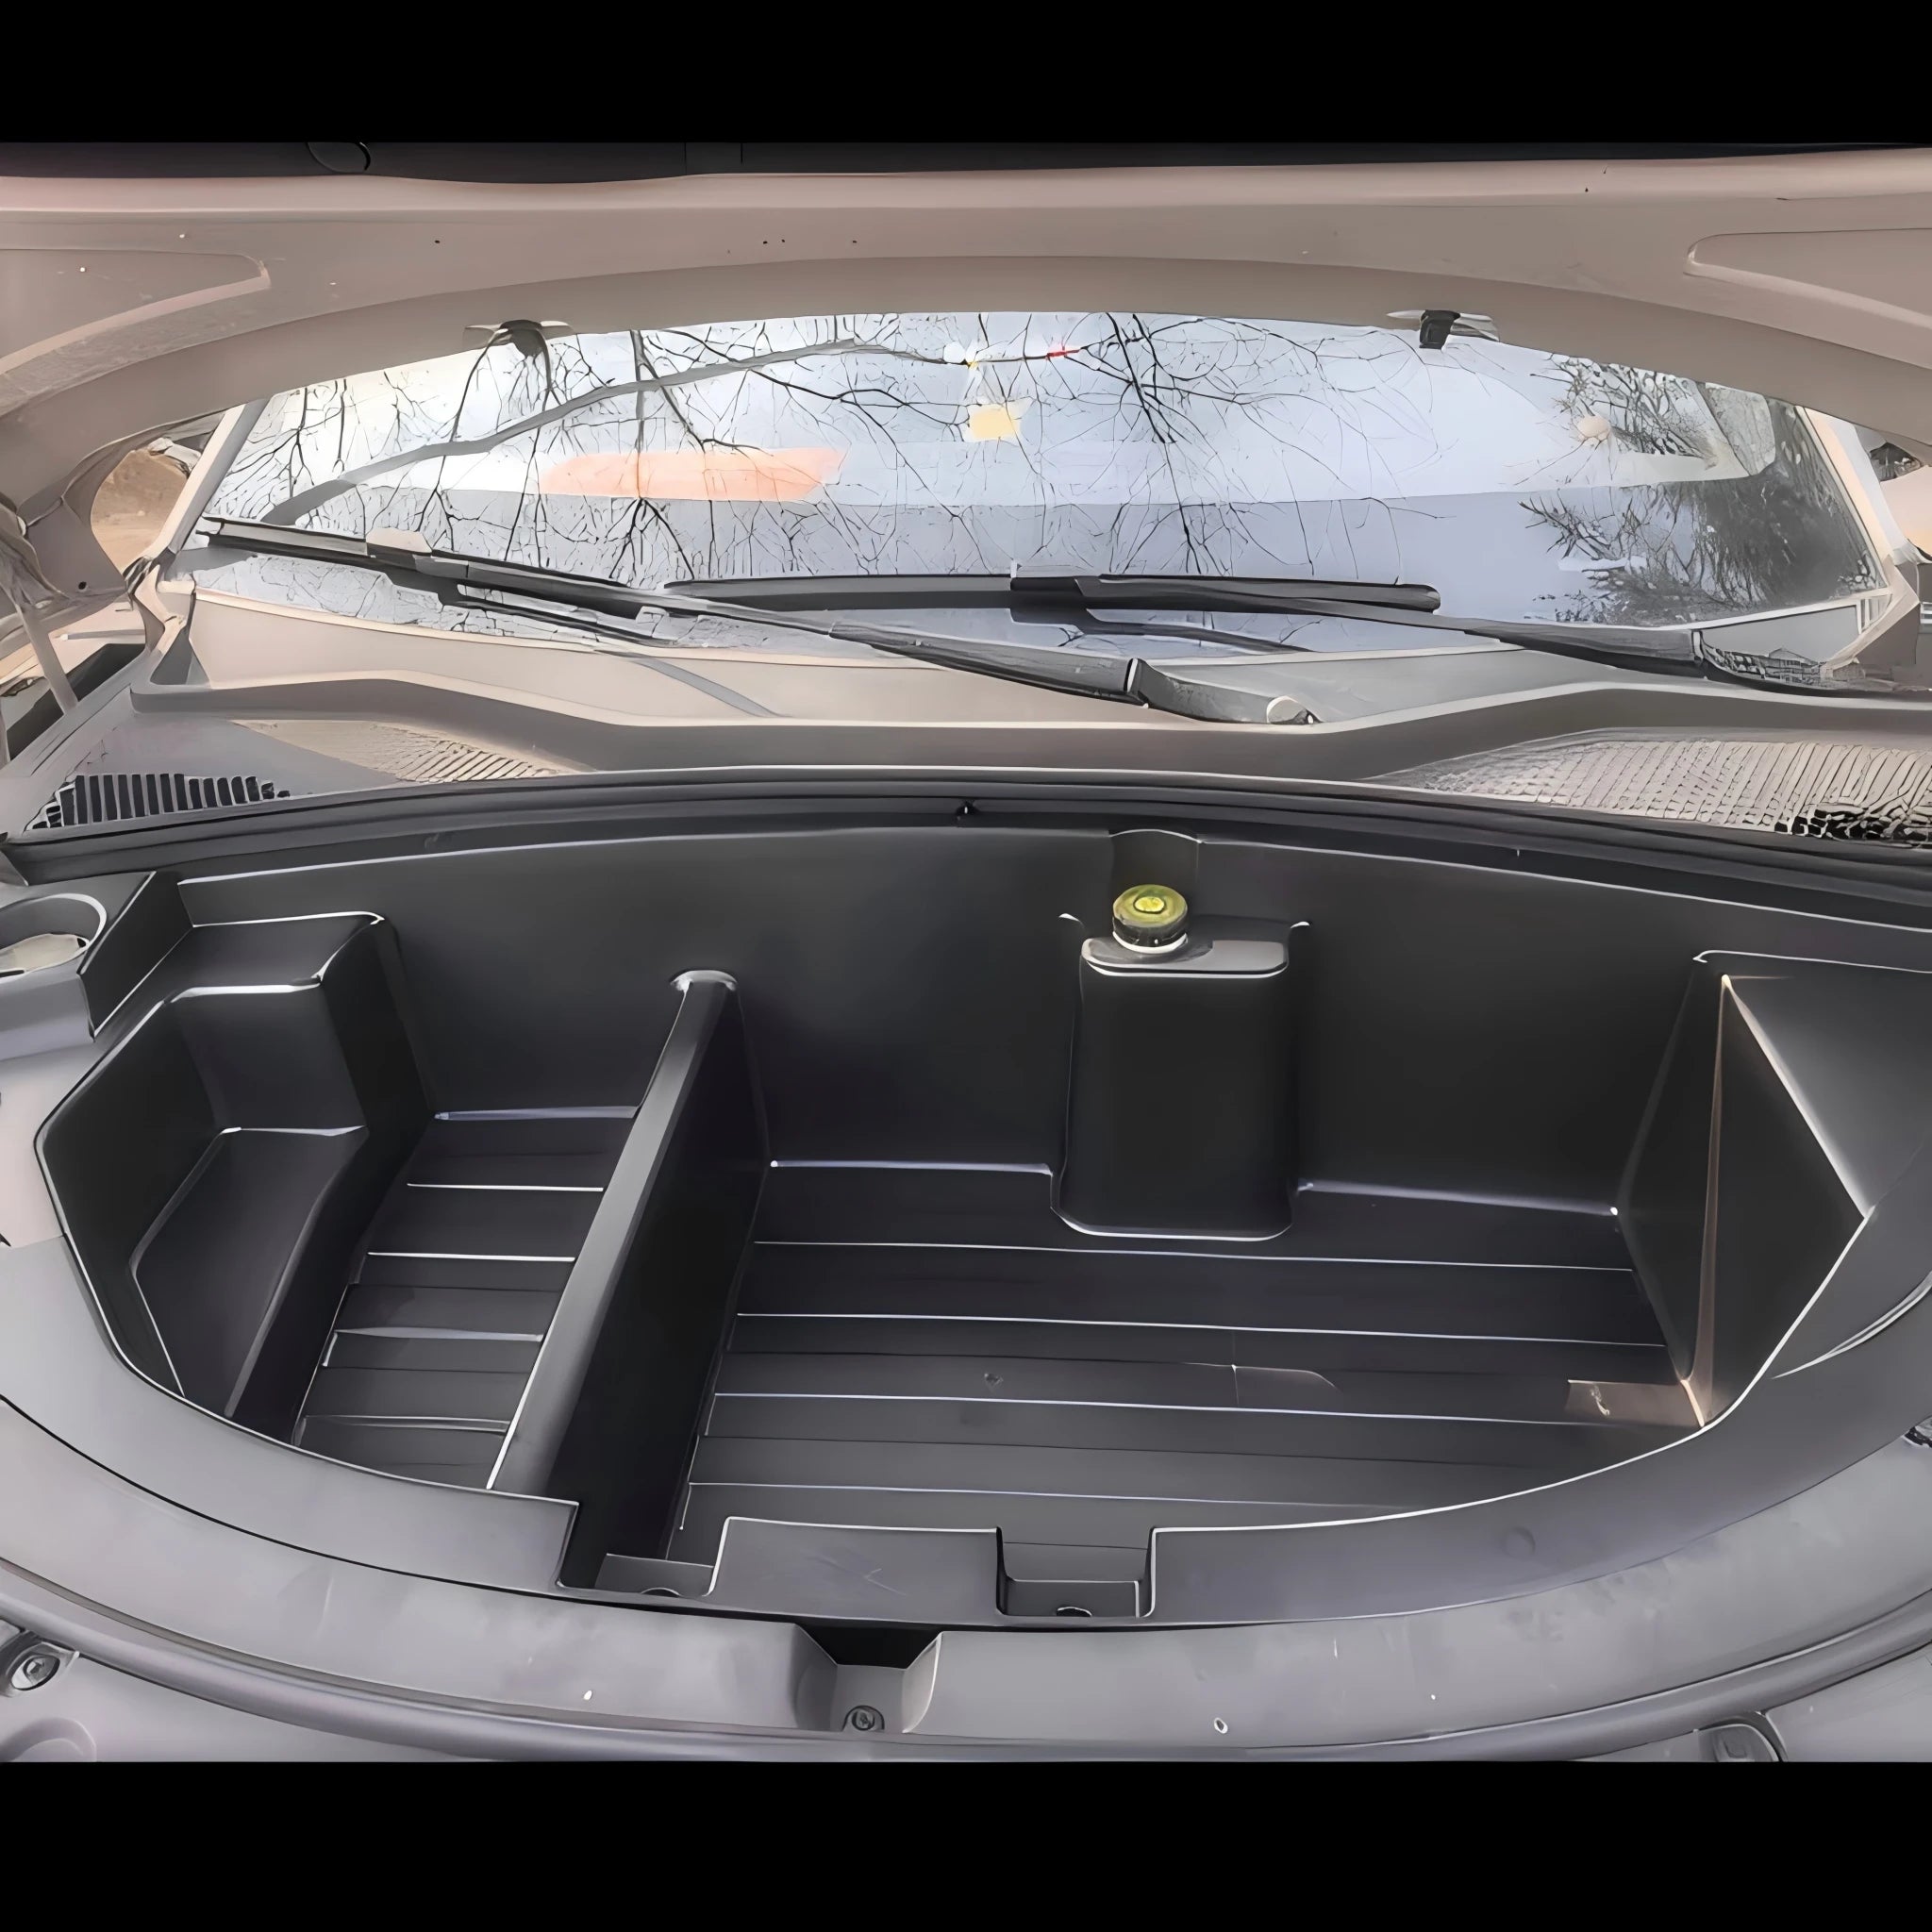
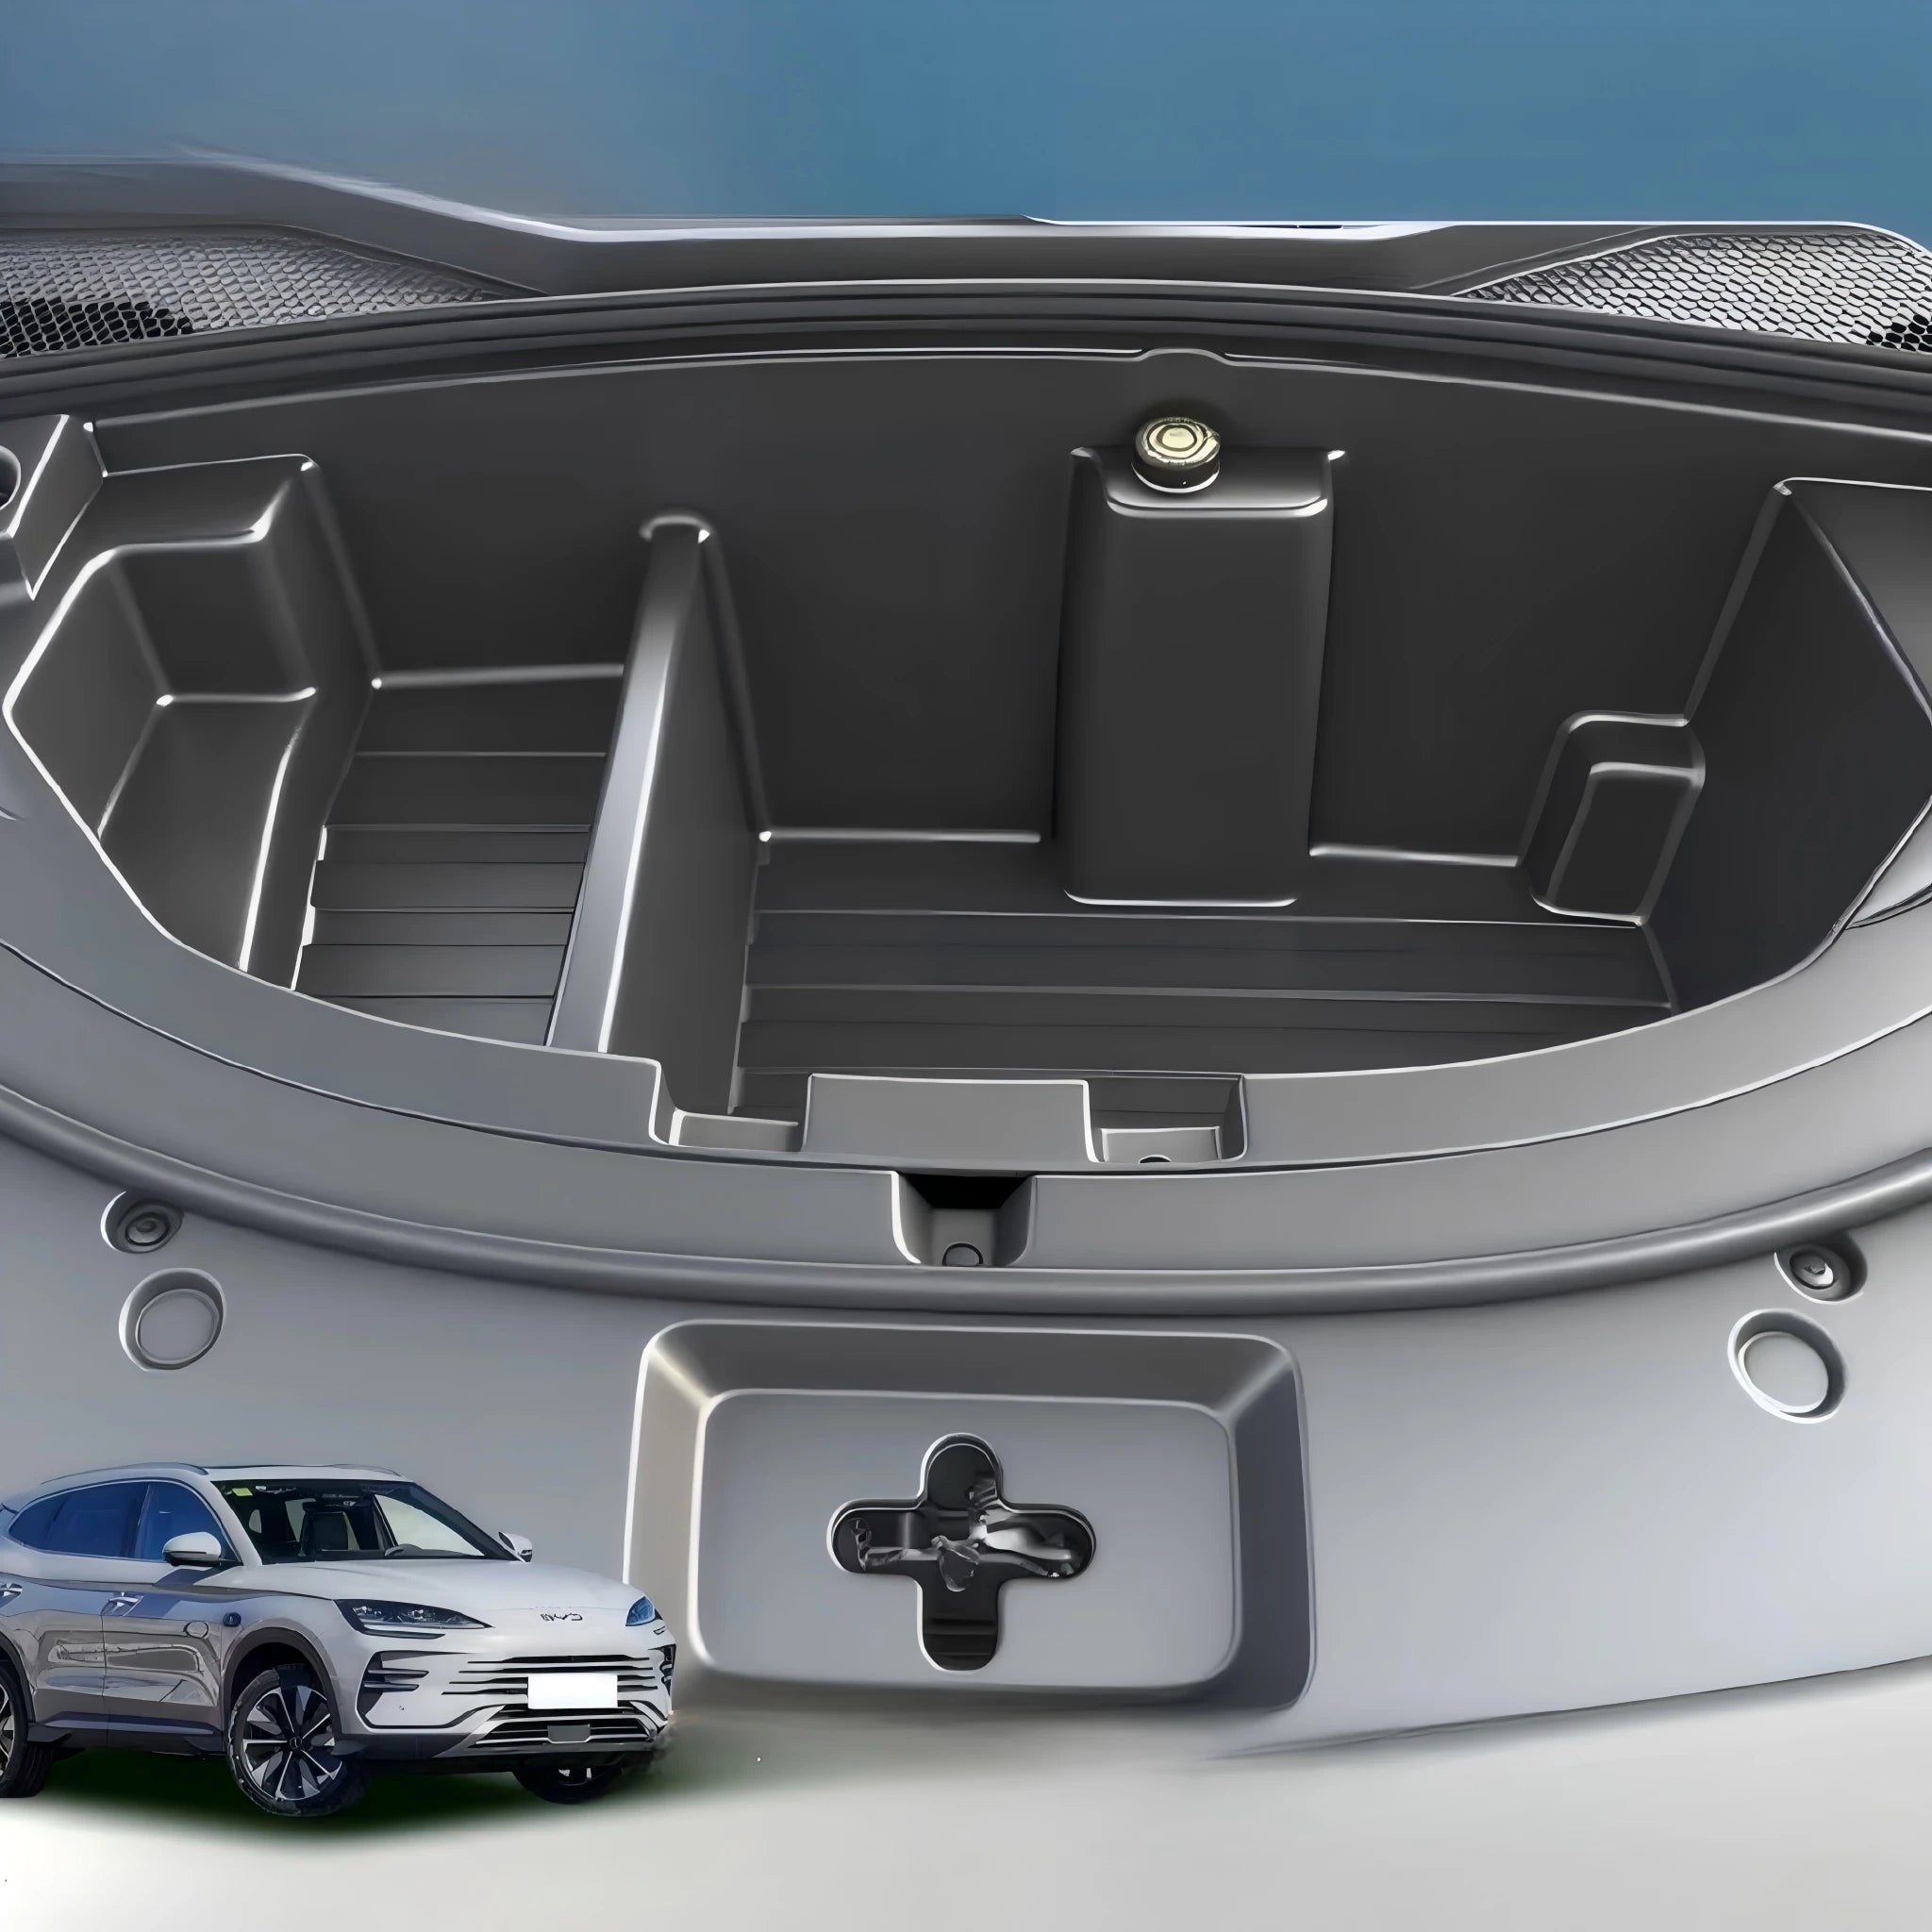
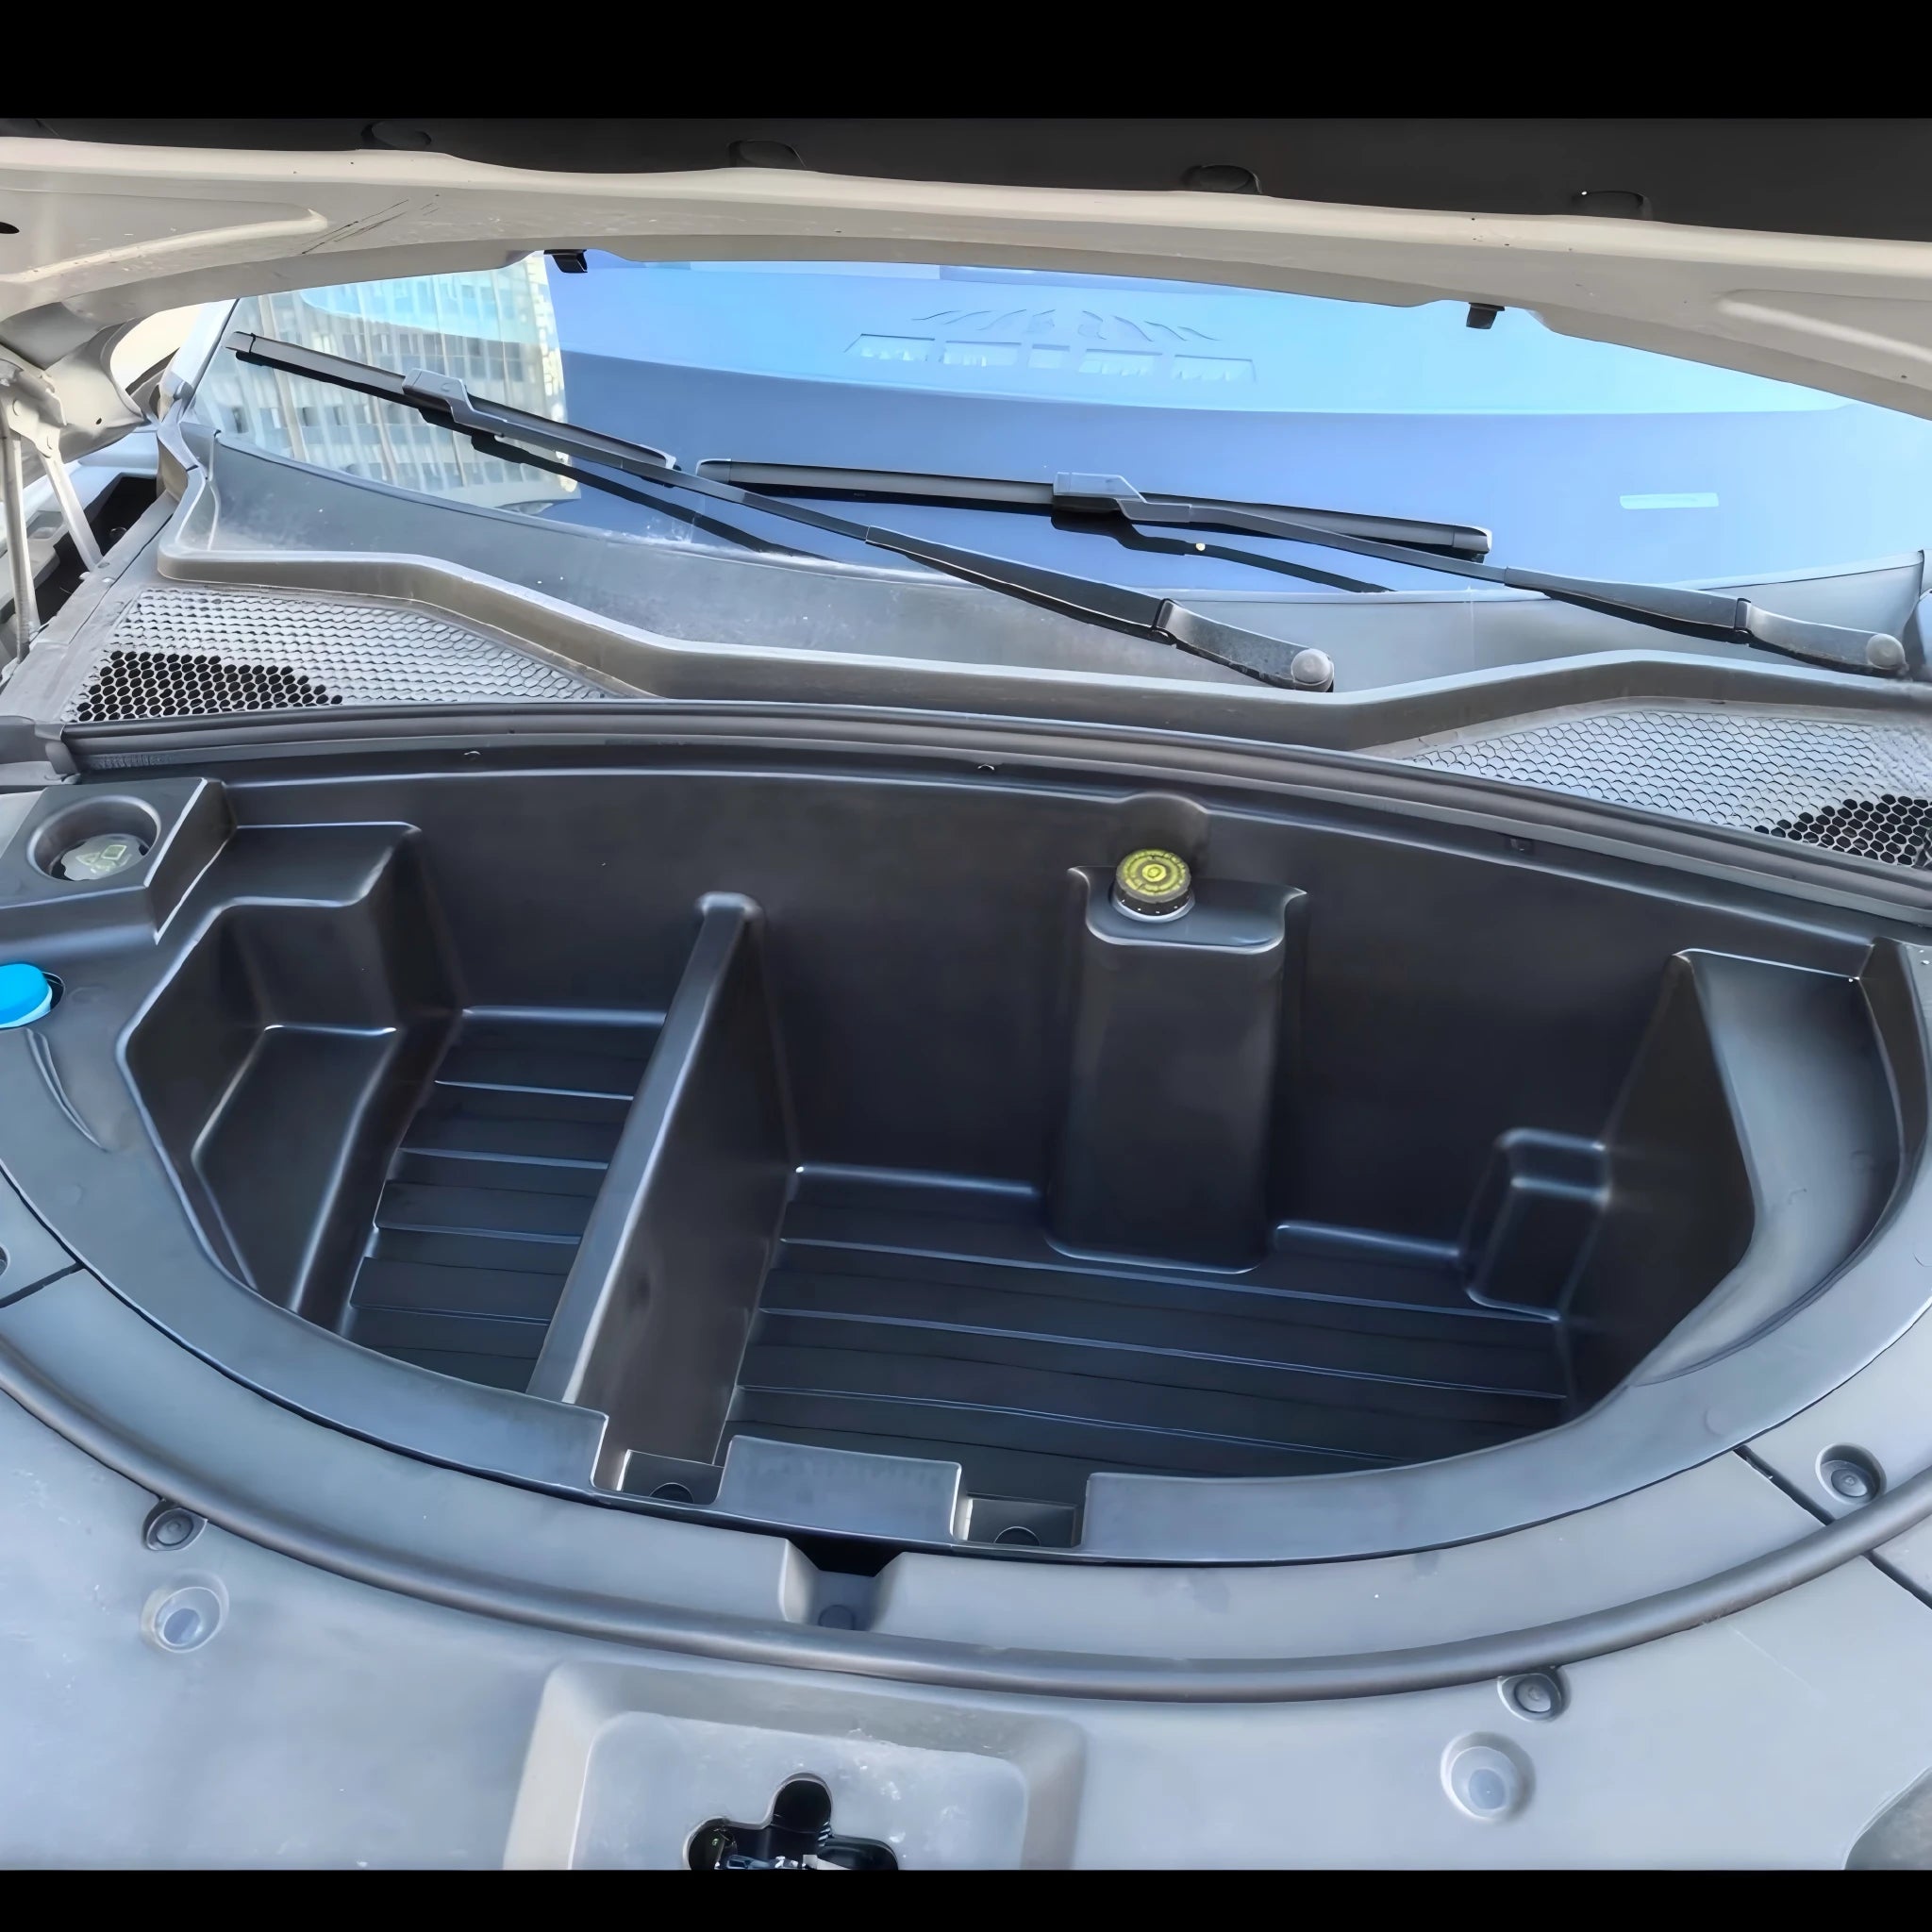
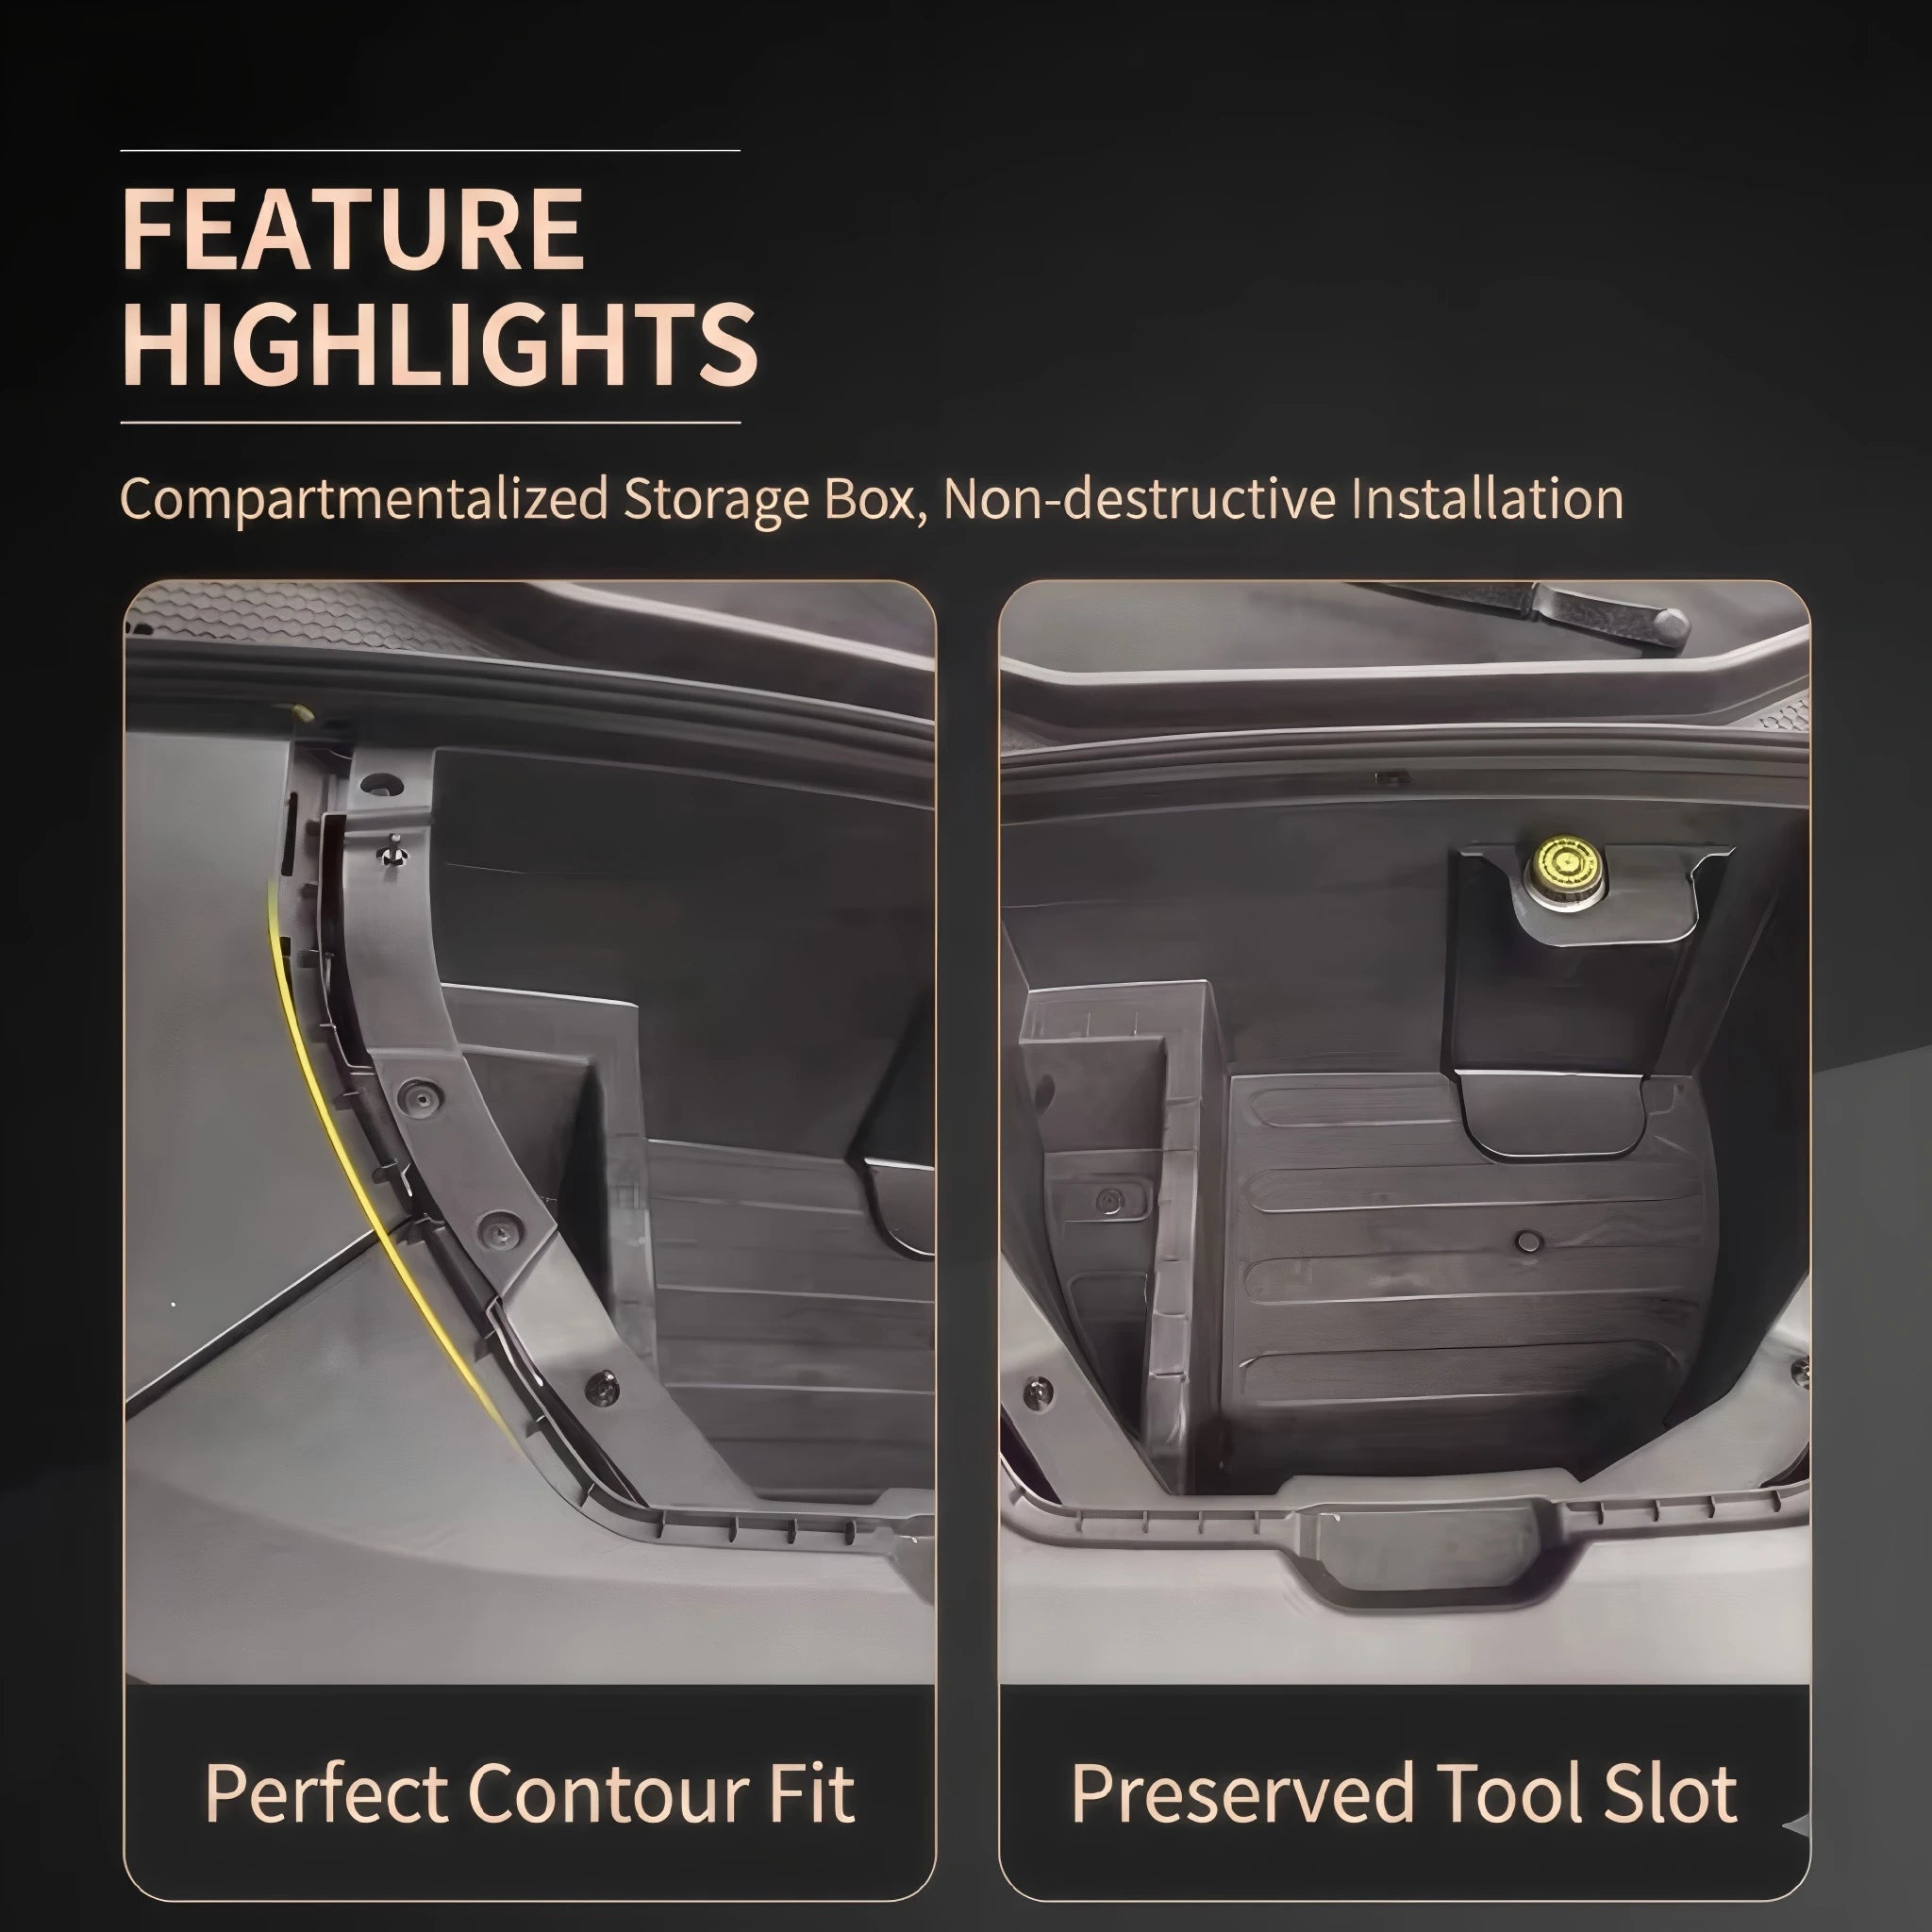
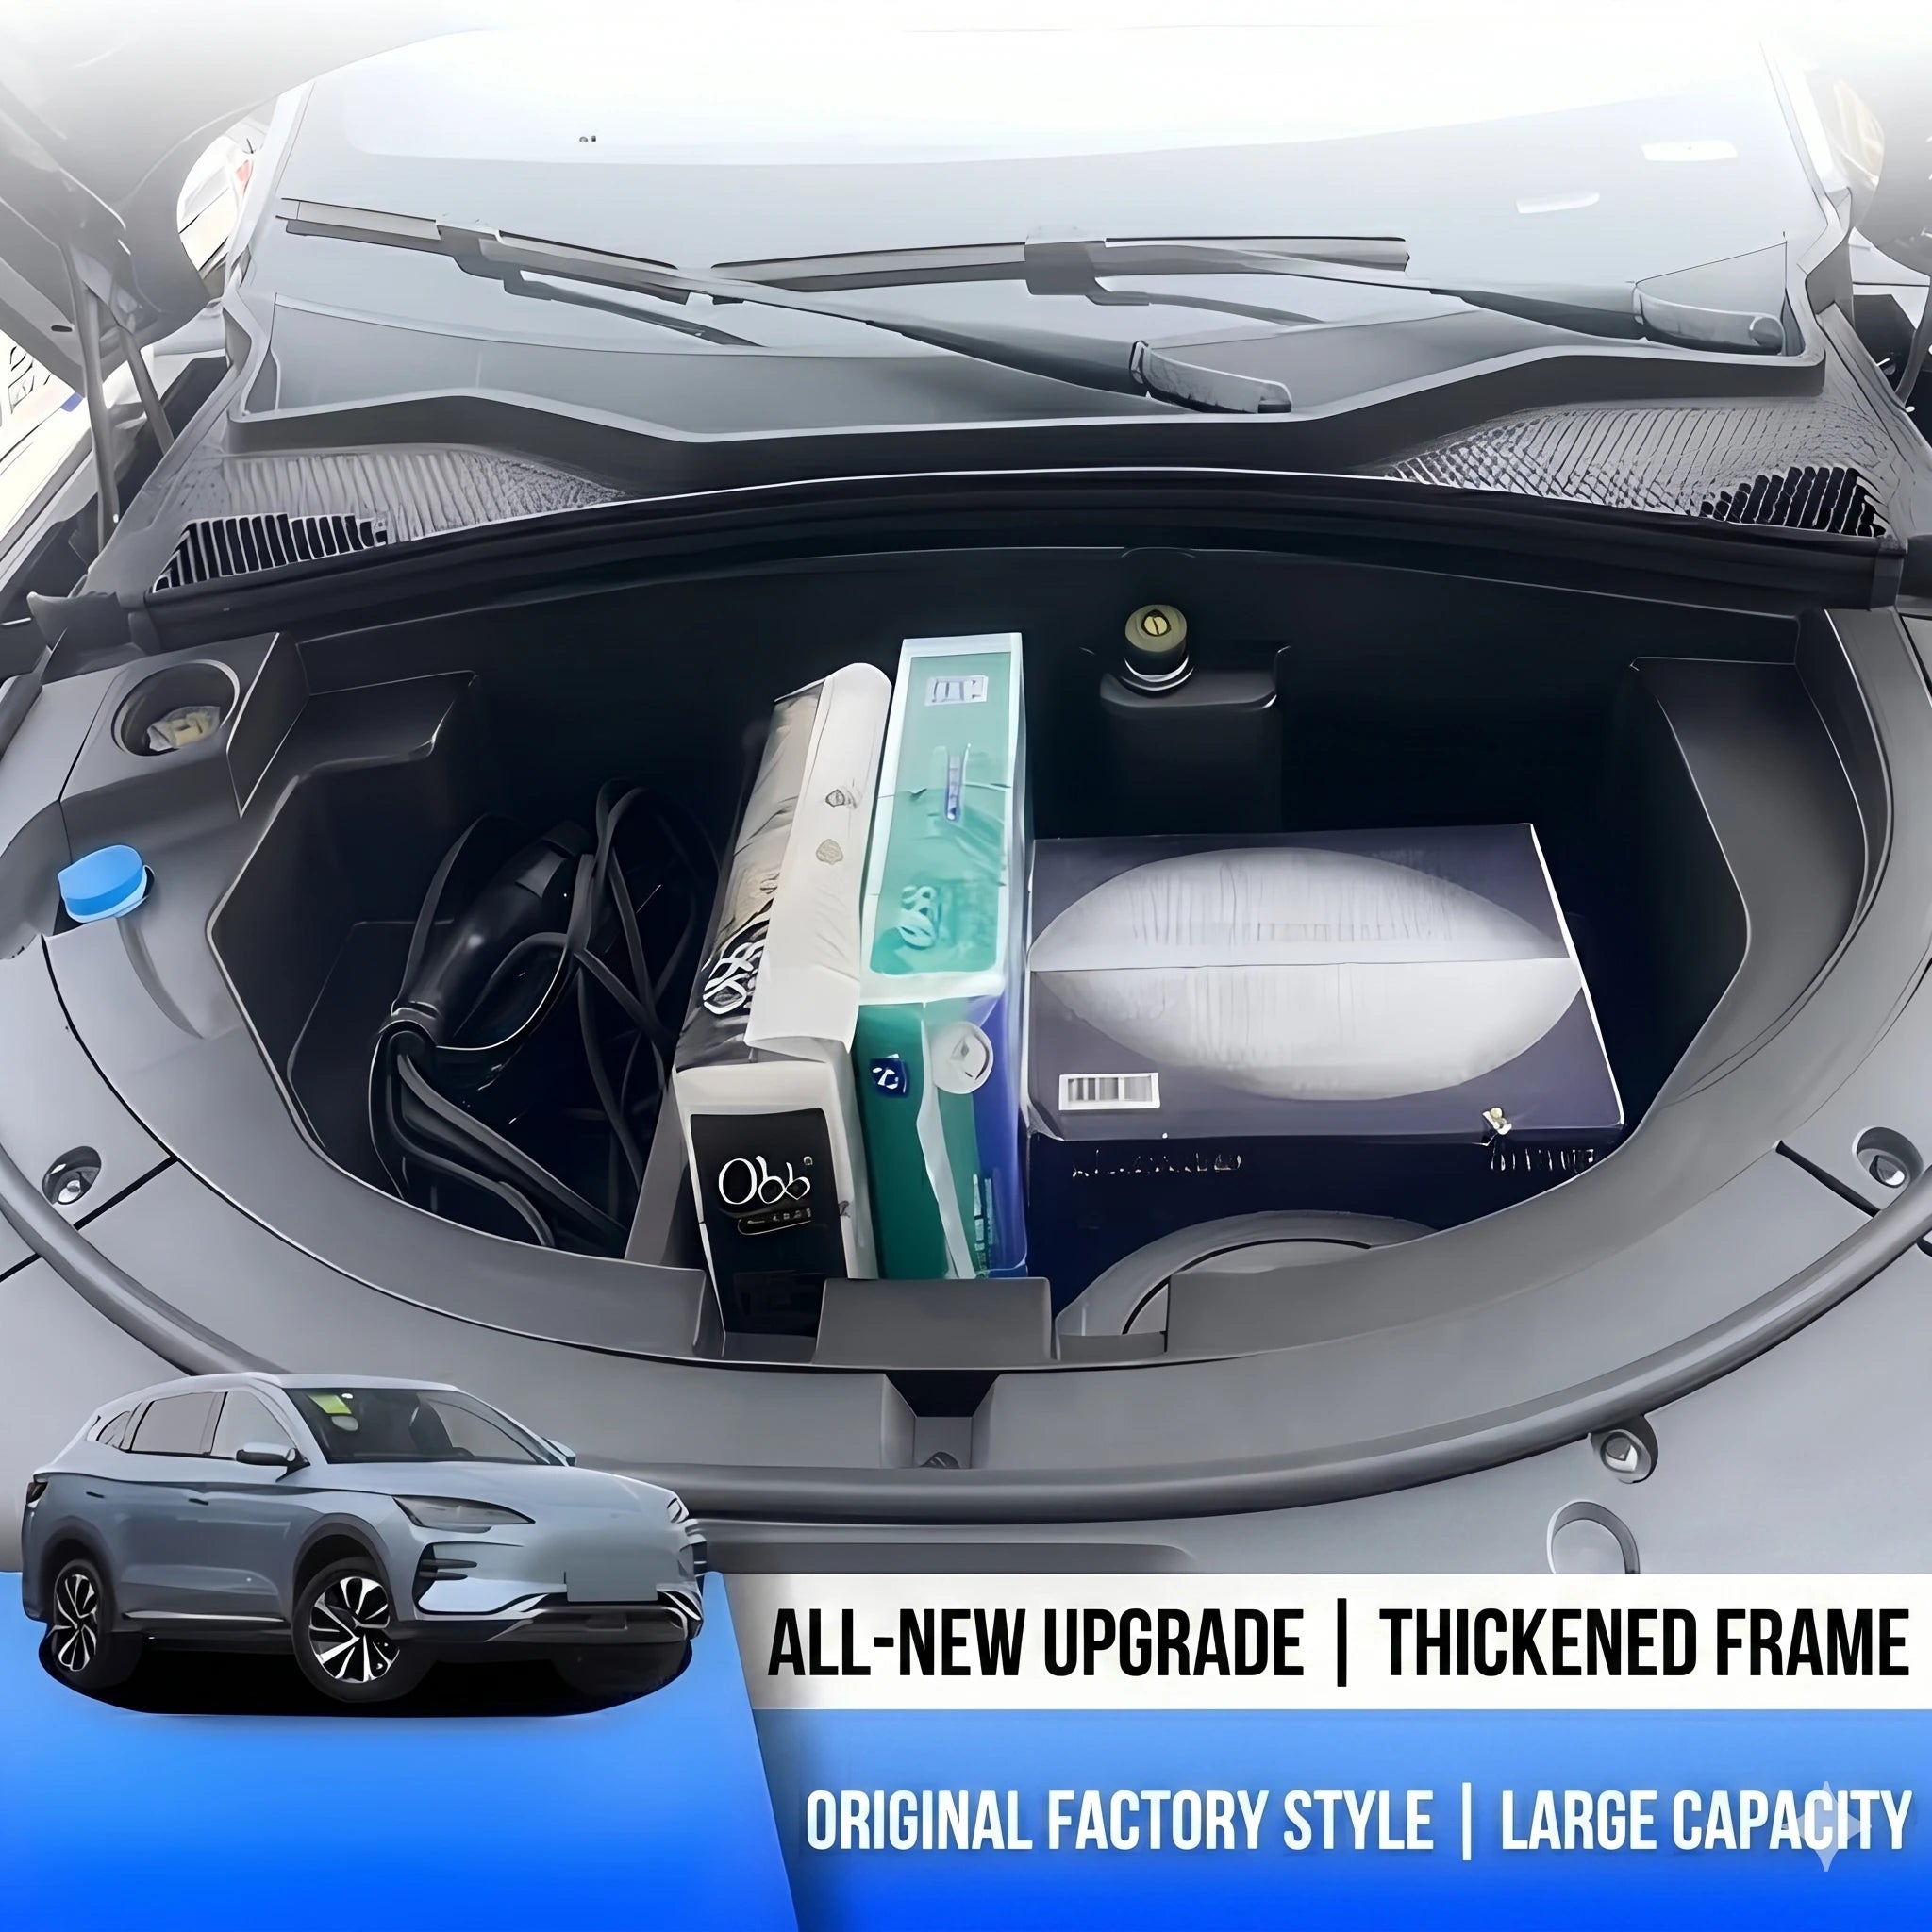
- Perfect Fit for LHD BYD Seal U EV: 100% custom-molded for the Left-Hand Drive BYD Seal U EV (Pure Electric), engineered to seamlessly clear all original factory fluid reservoirs and sensor wirings. Exclusively compatible with Pure EV models, not DM-i Hybrid or RHD versions.
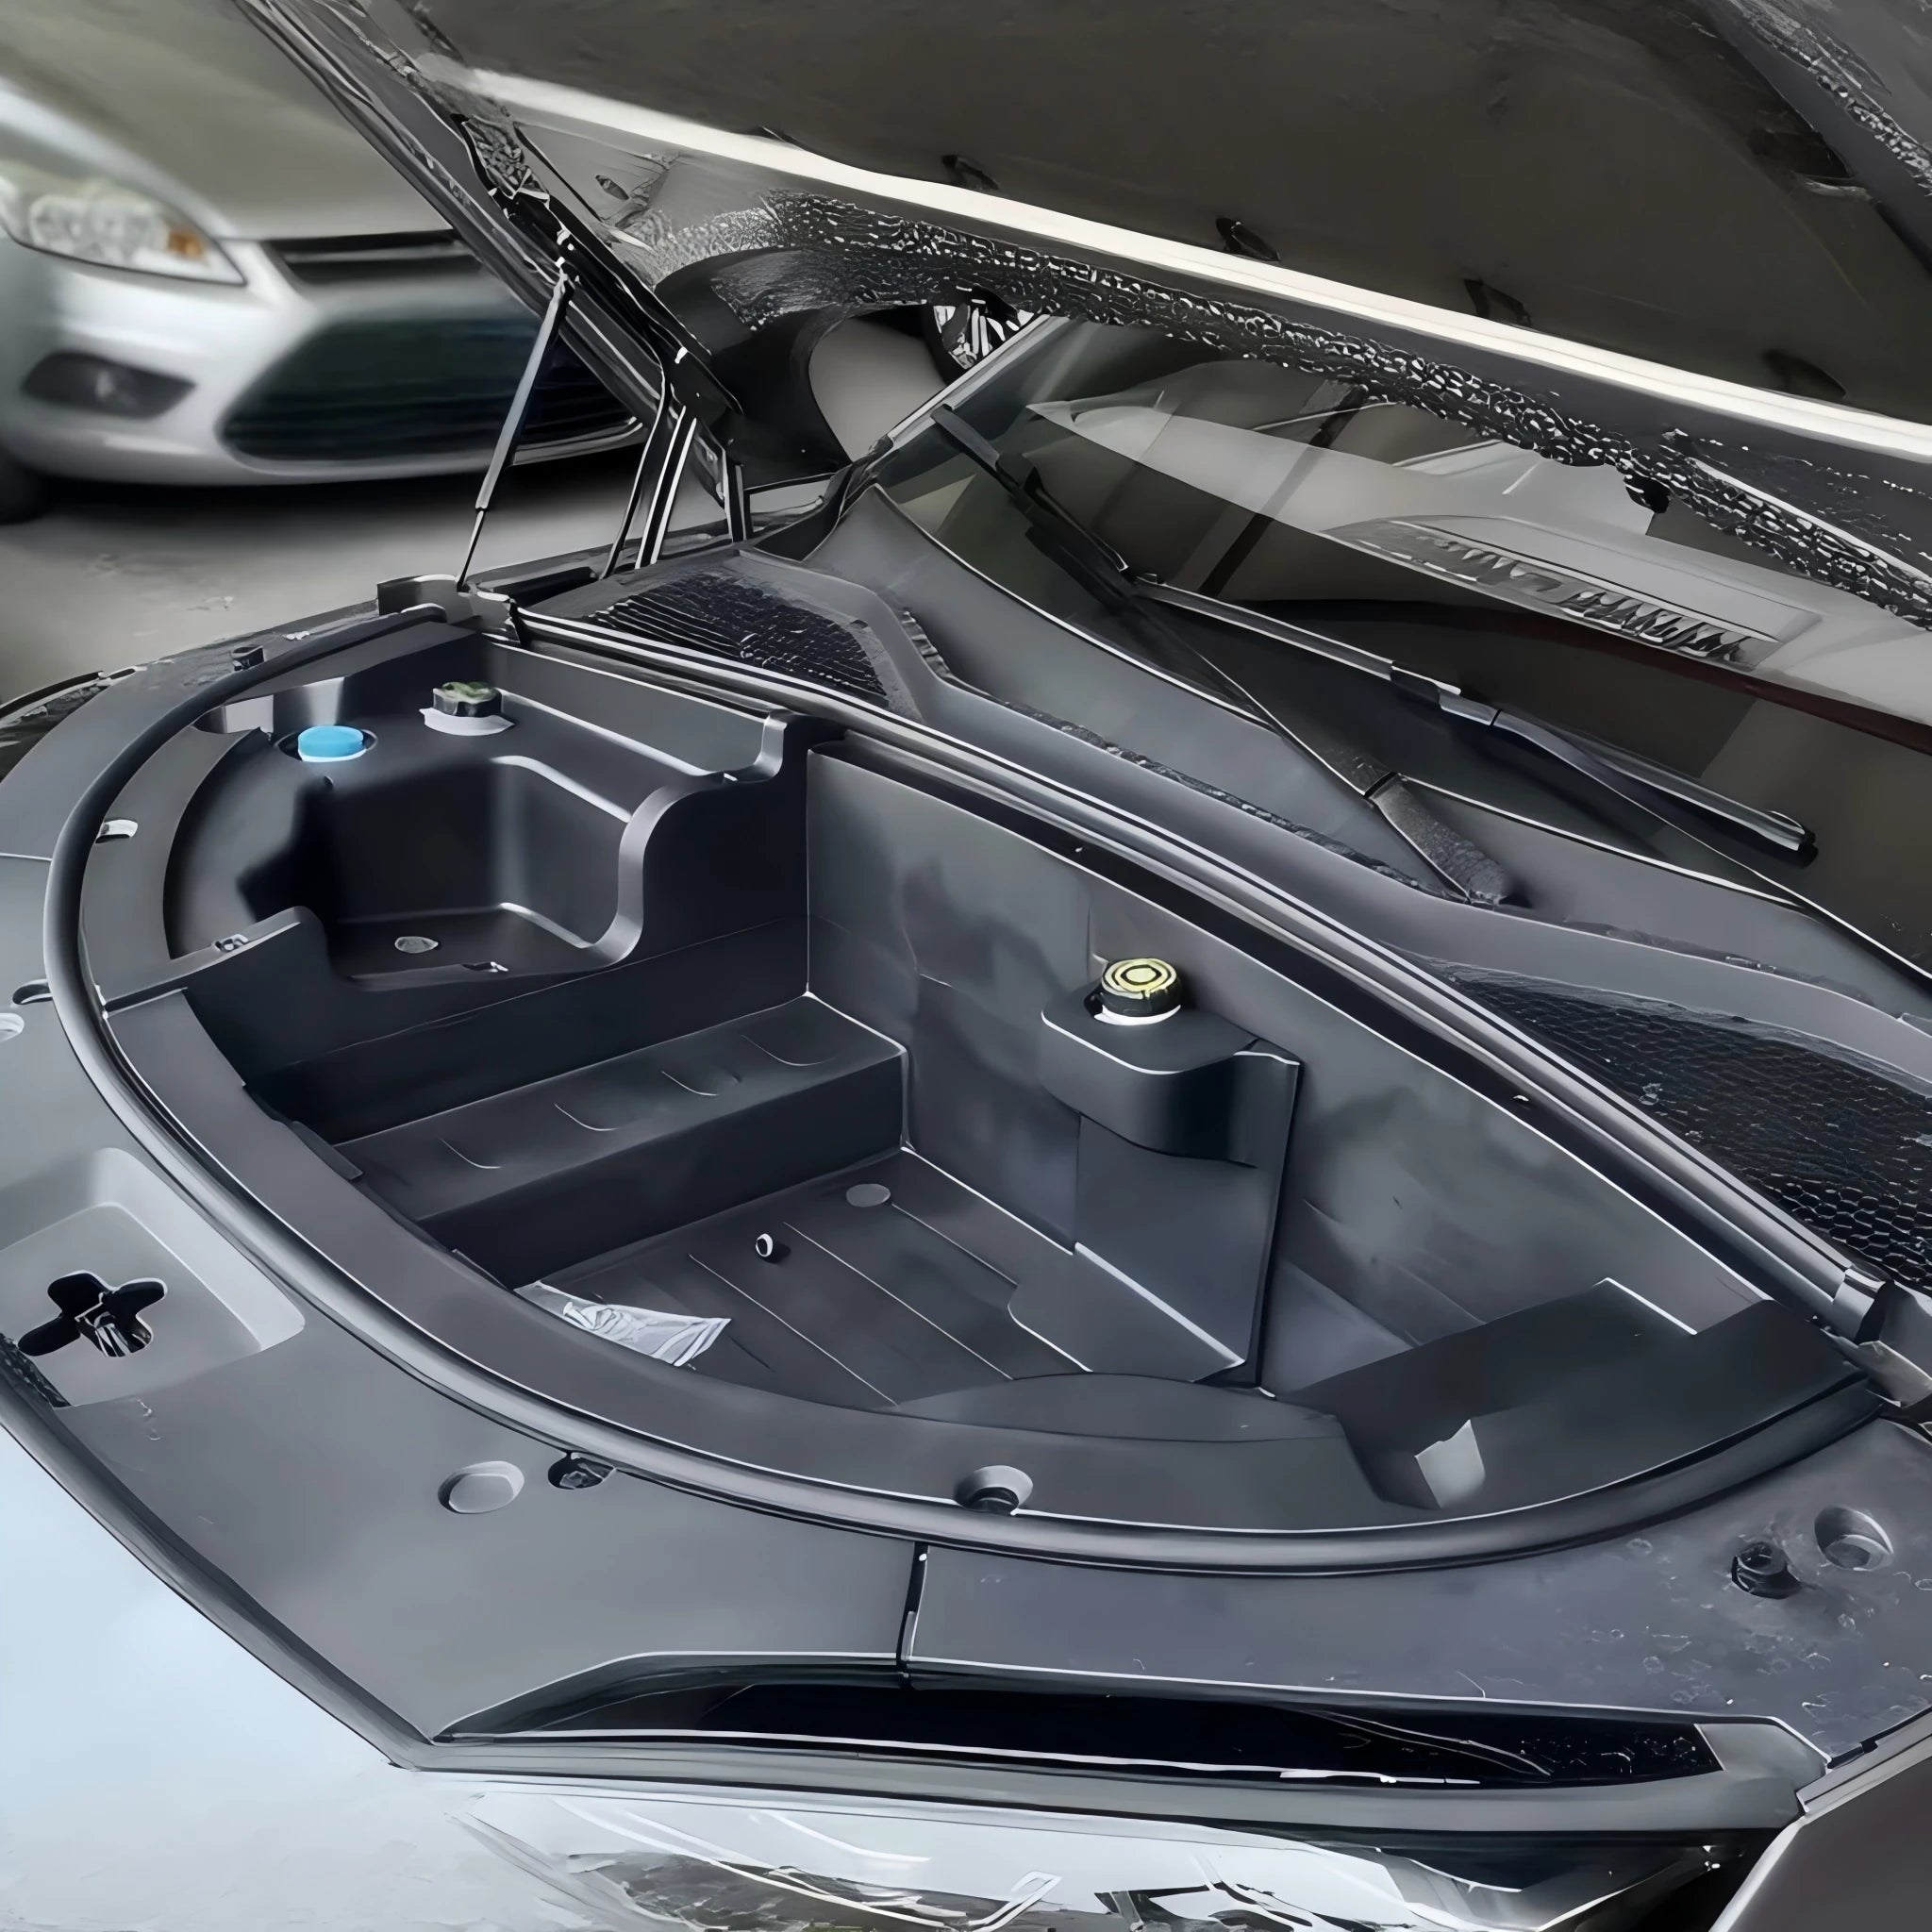
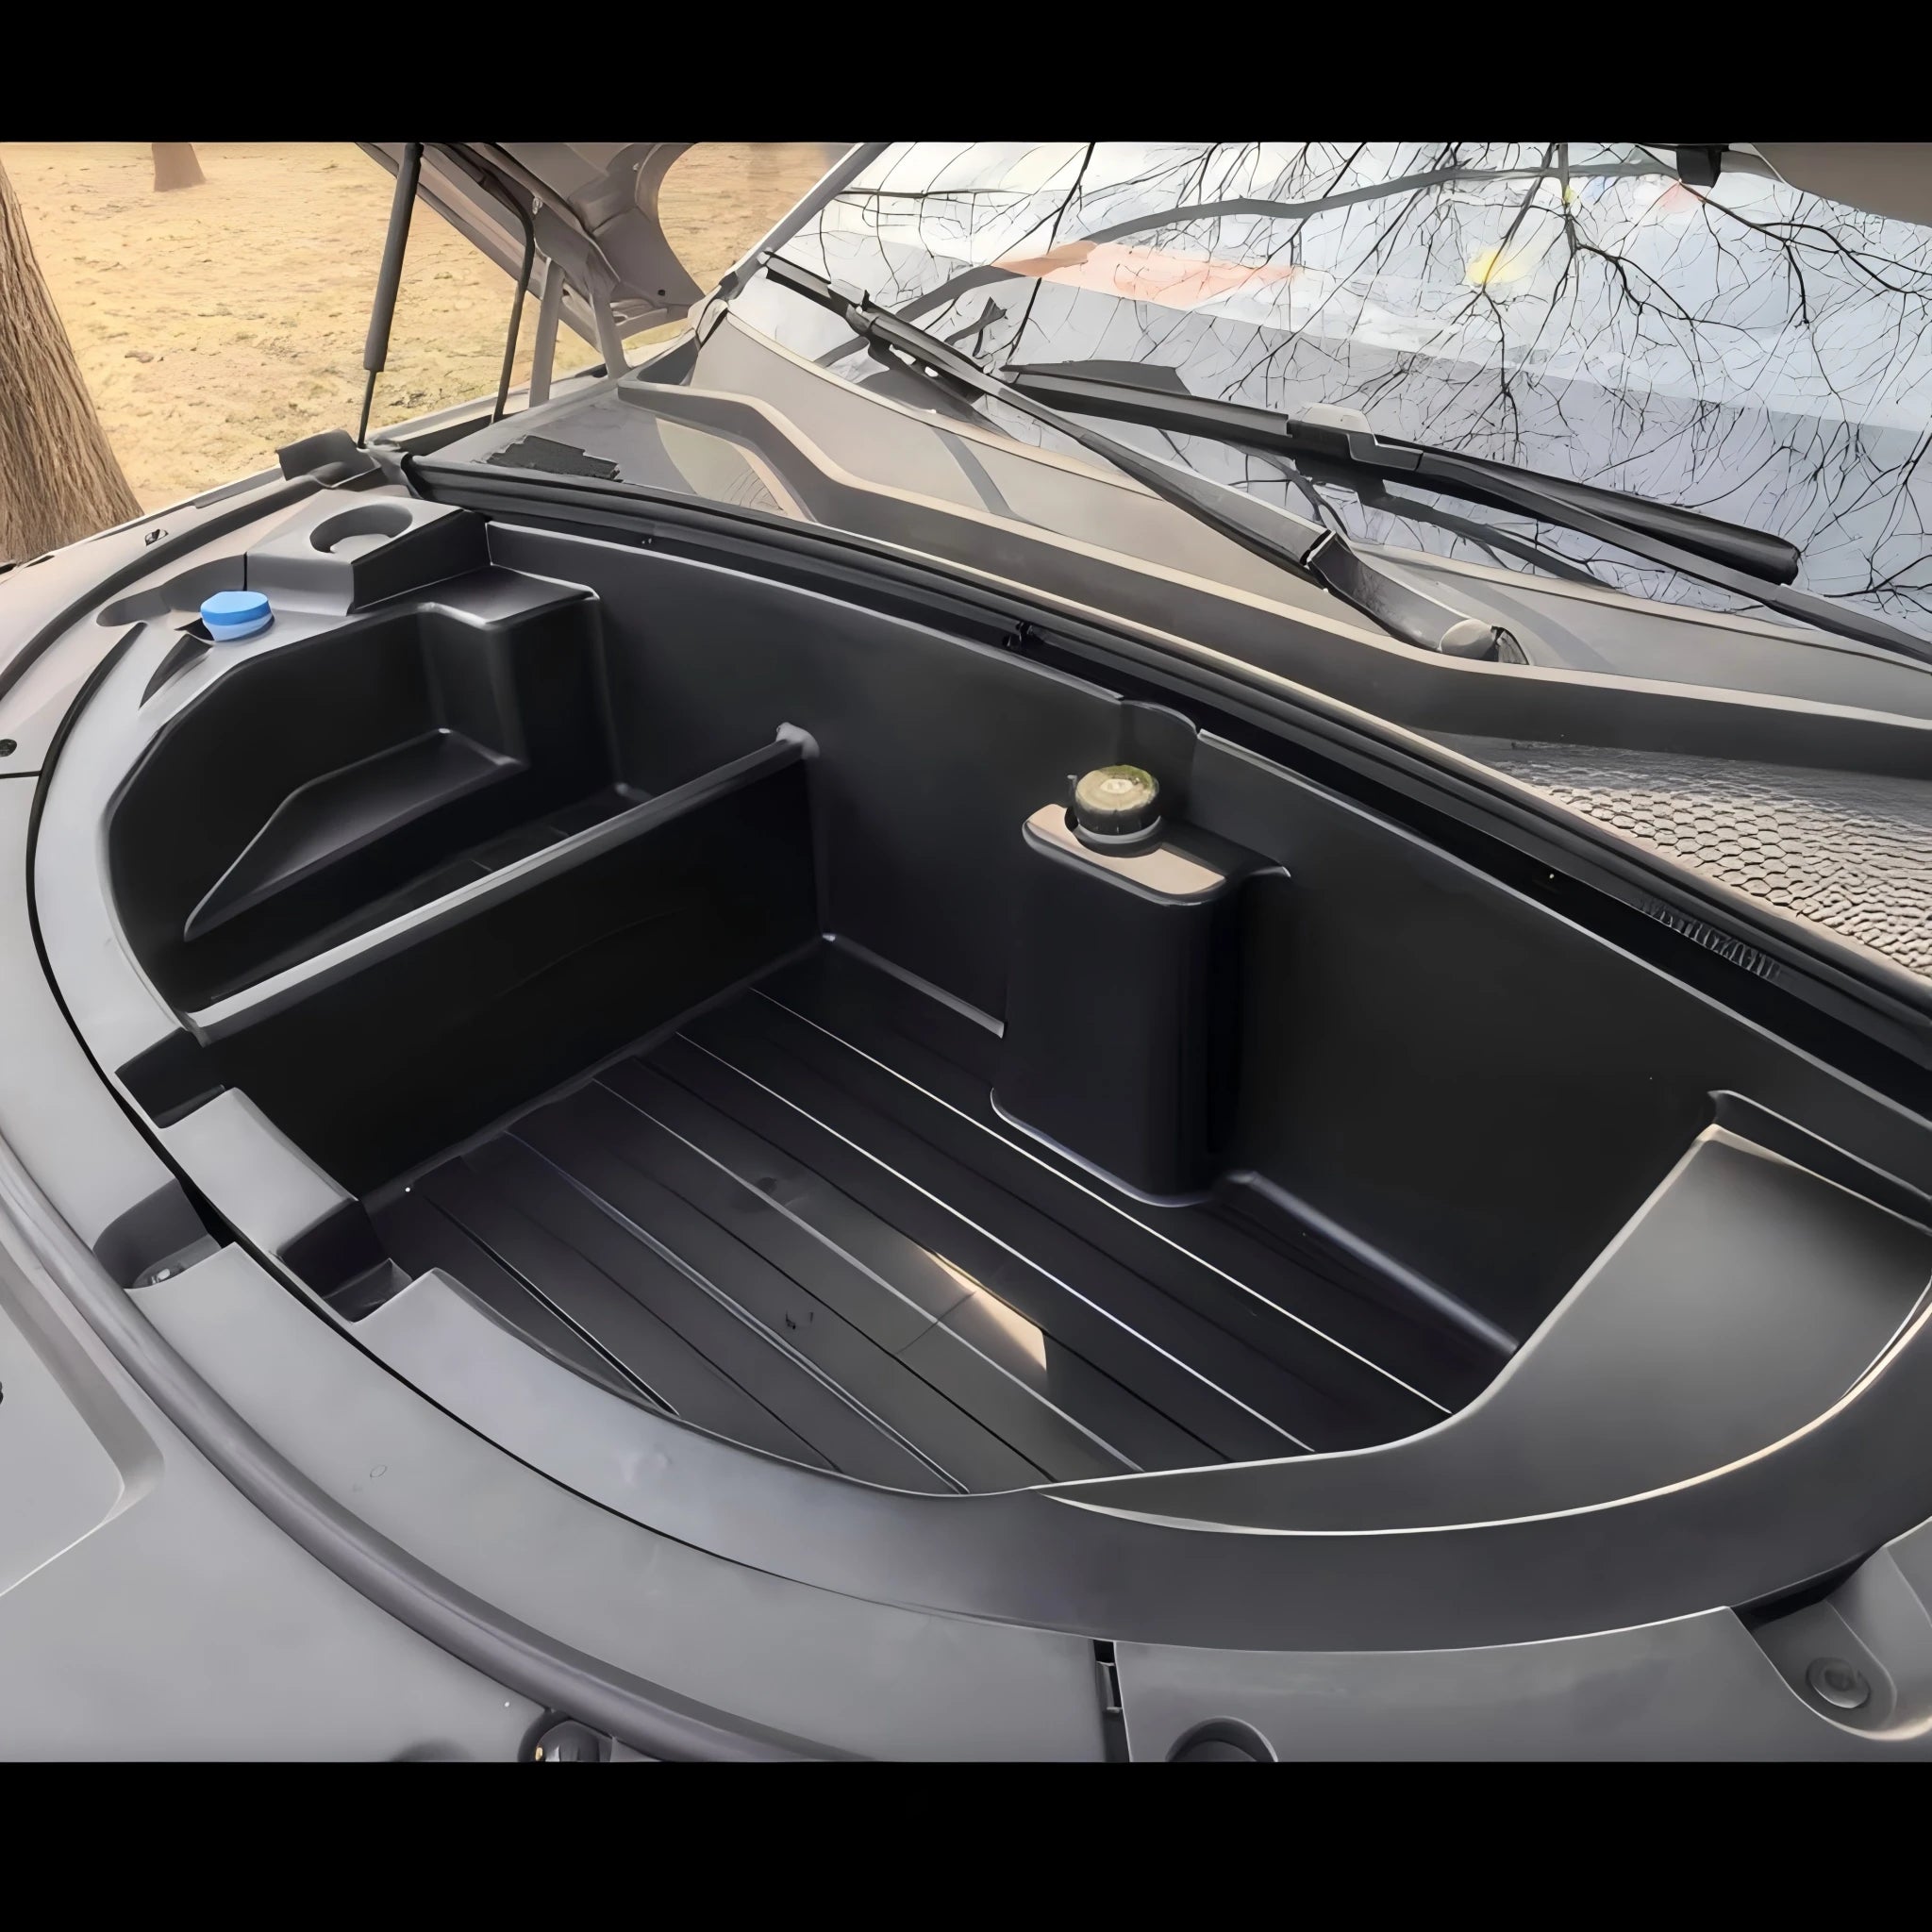
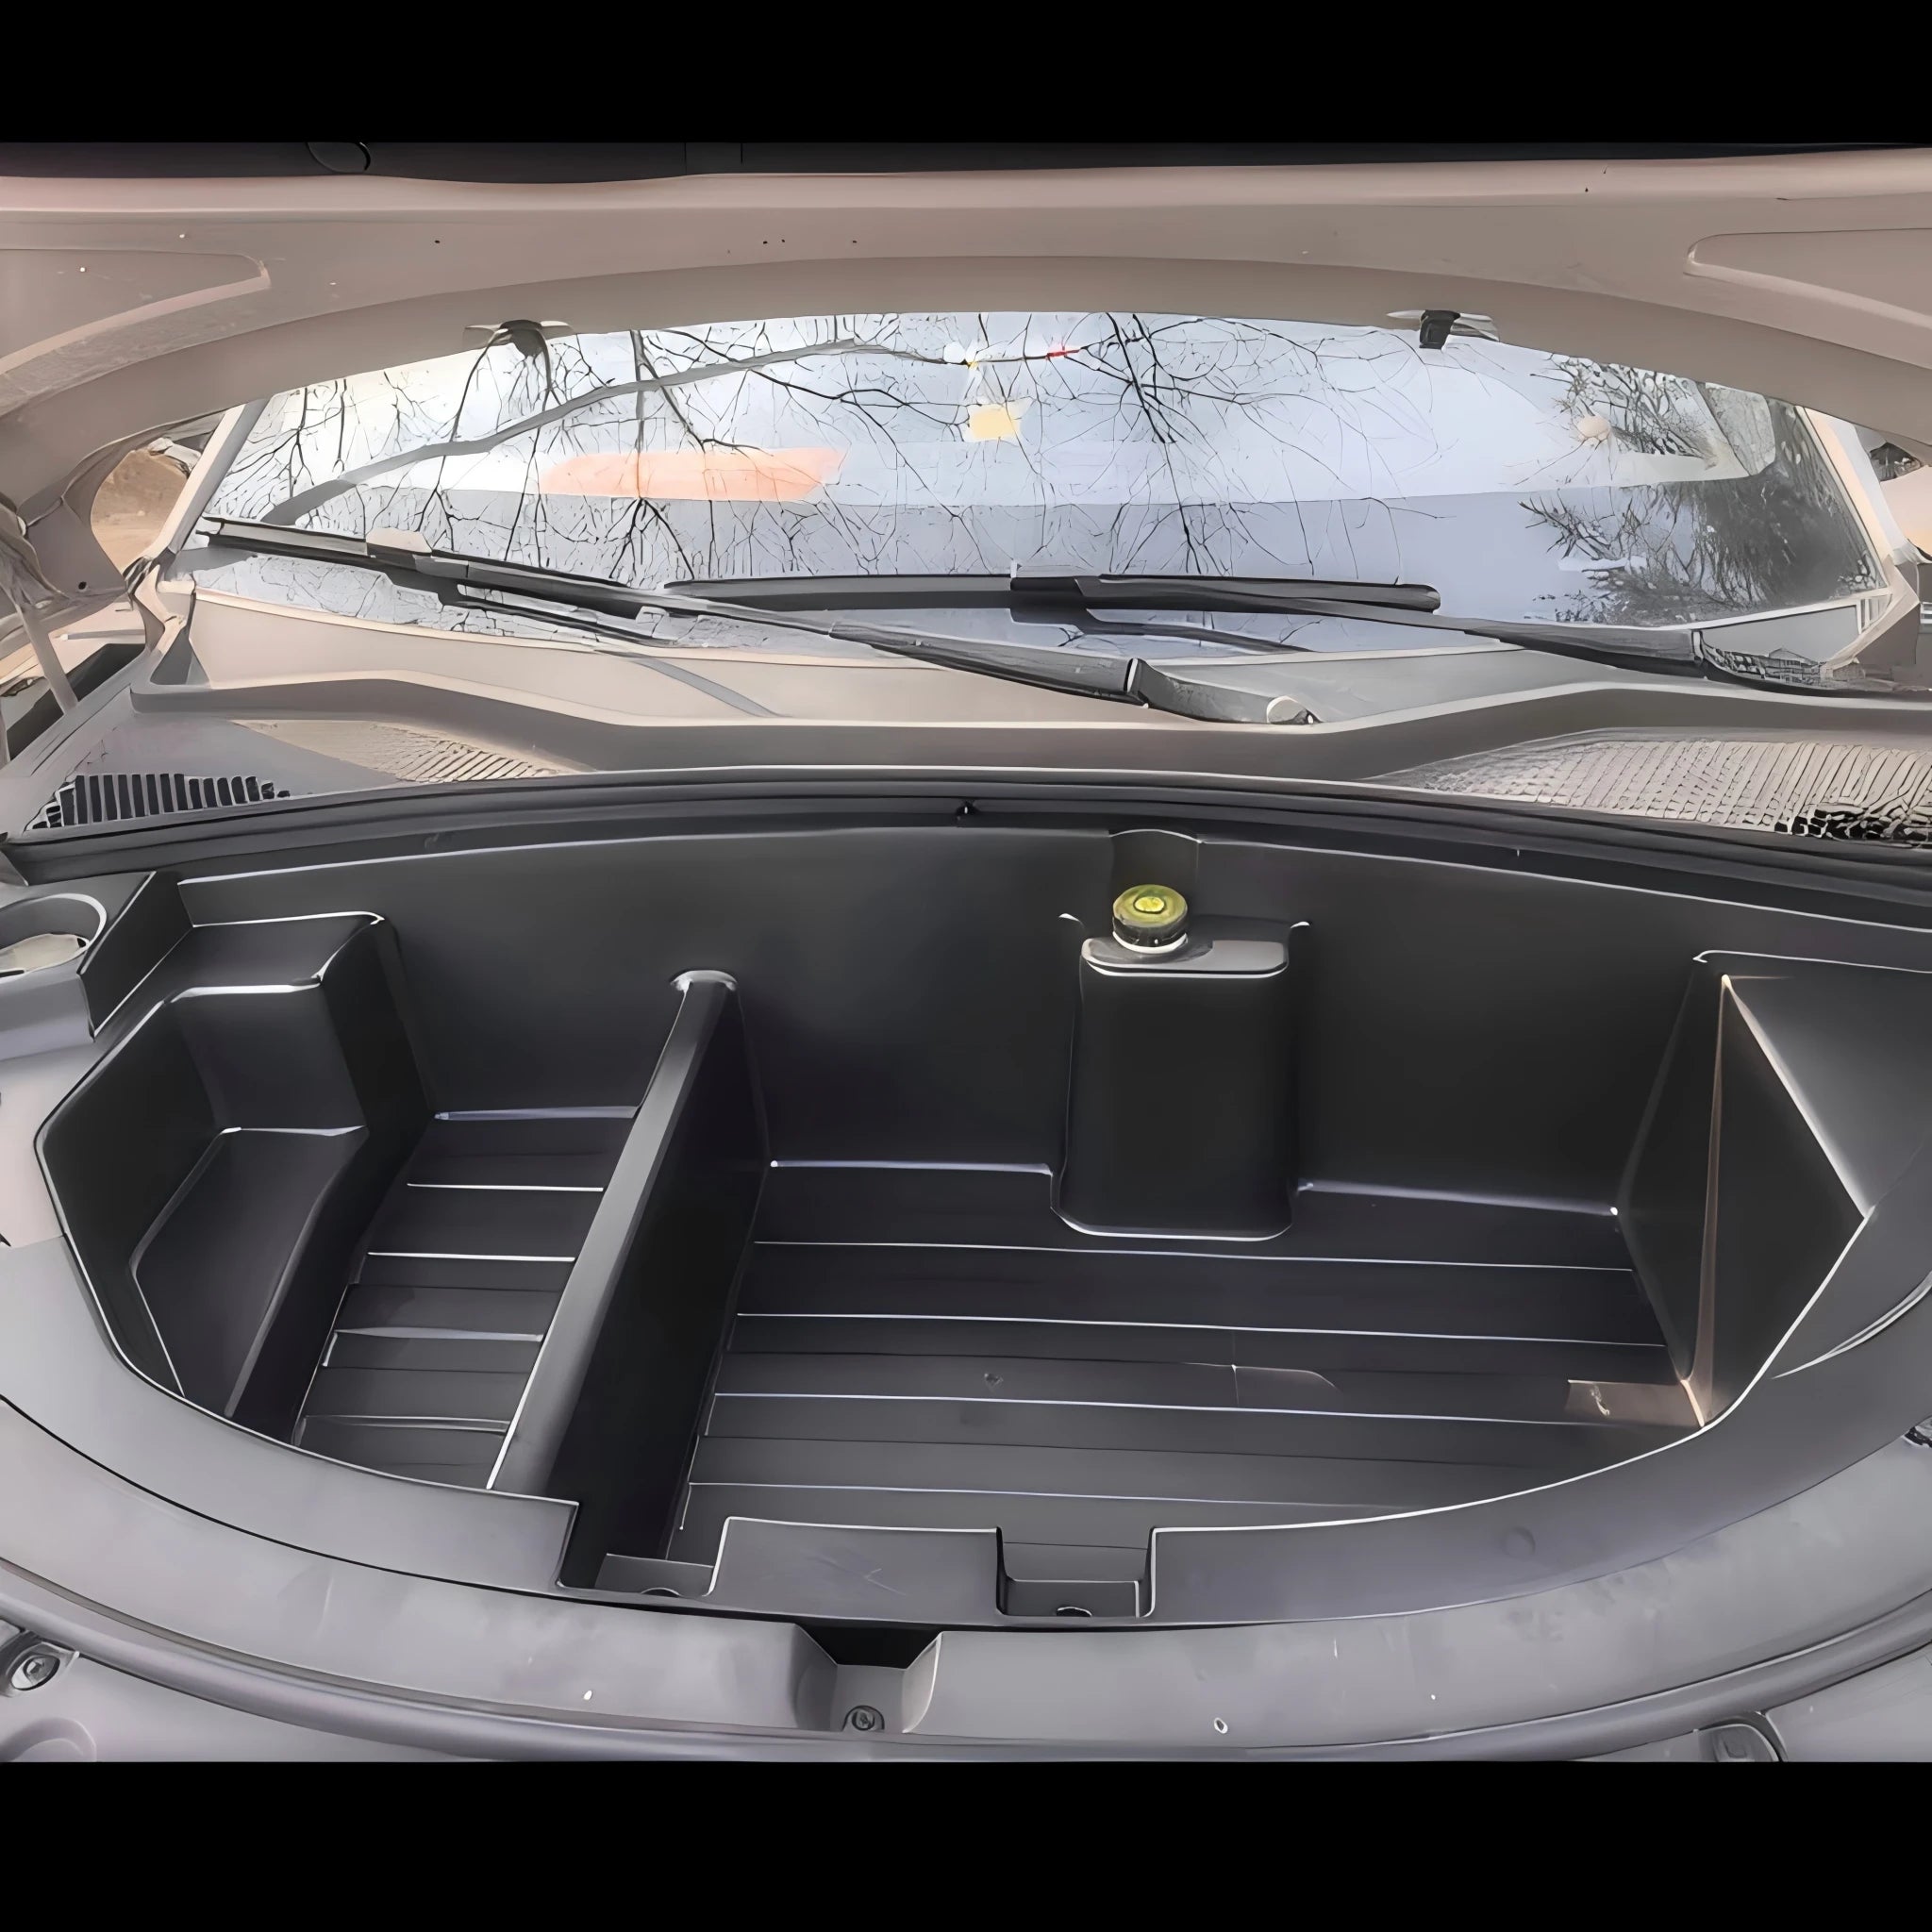
- OEM-Grade Full-Coverage Design: Extended edge-to-edge trim panel completely conceals messy exposed pipes, wires, and dual-motor structural elements, restoring a clean, premium luxury-car aesthetic to your engine bay.
- Waterproof & Anti-Fouling Sealing: Integrated elevated weather-stripping channel on the perimeter lid channels away heavy rain, melting snow, and high-pressure car wash sprays, keeping charging gear and tools bone-dry and dust-free.
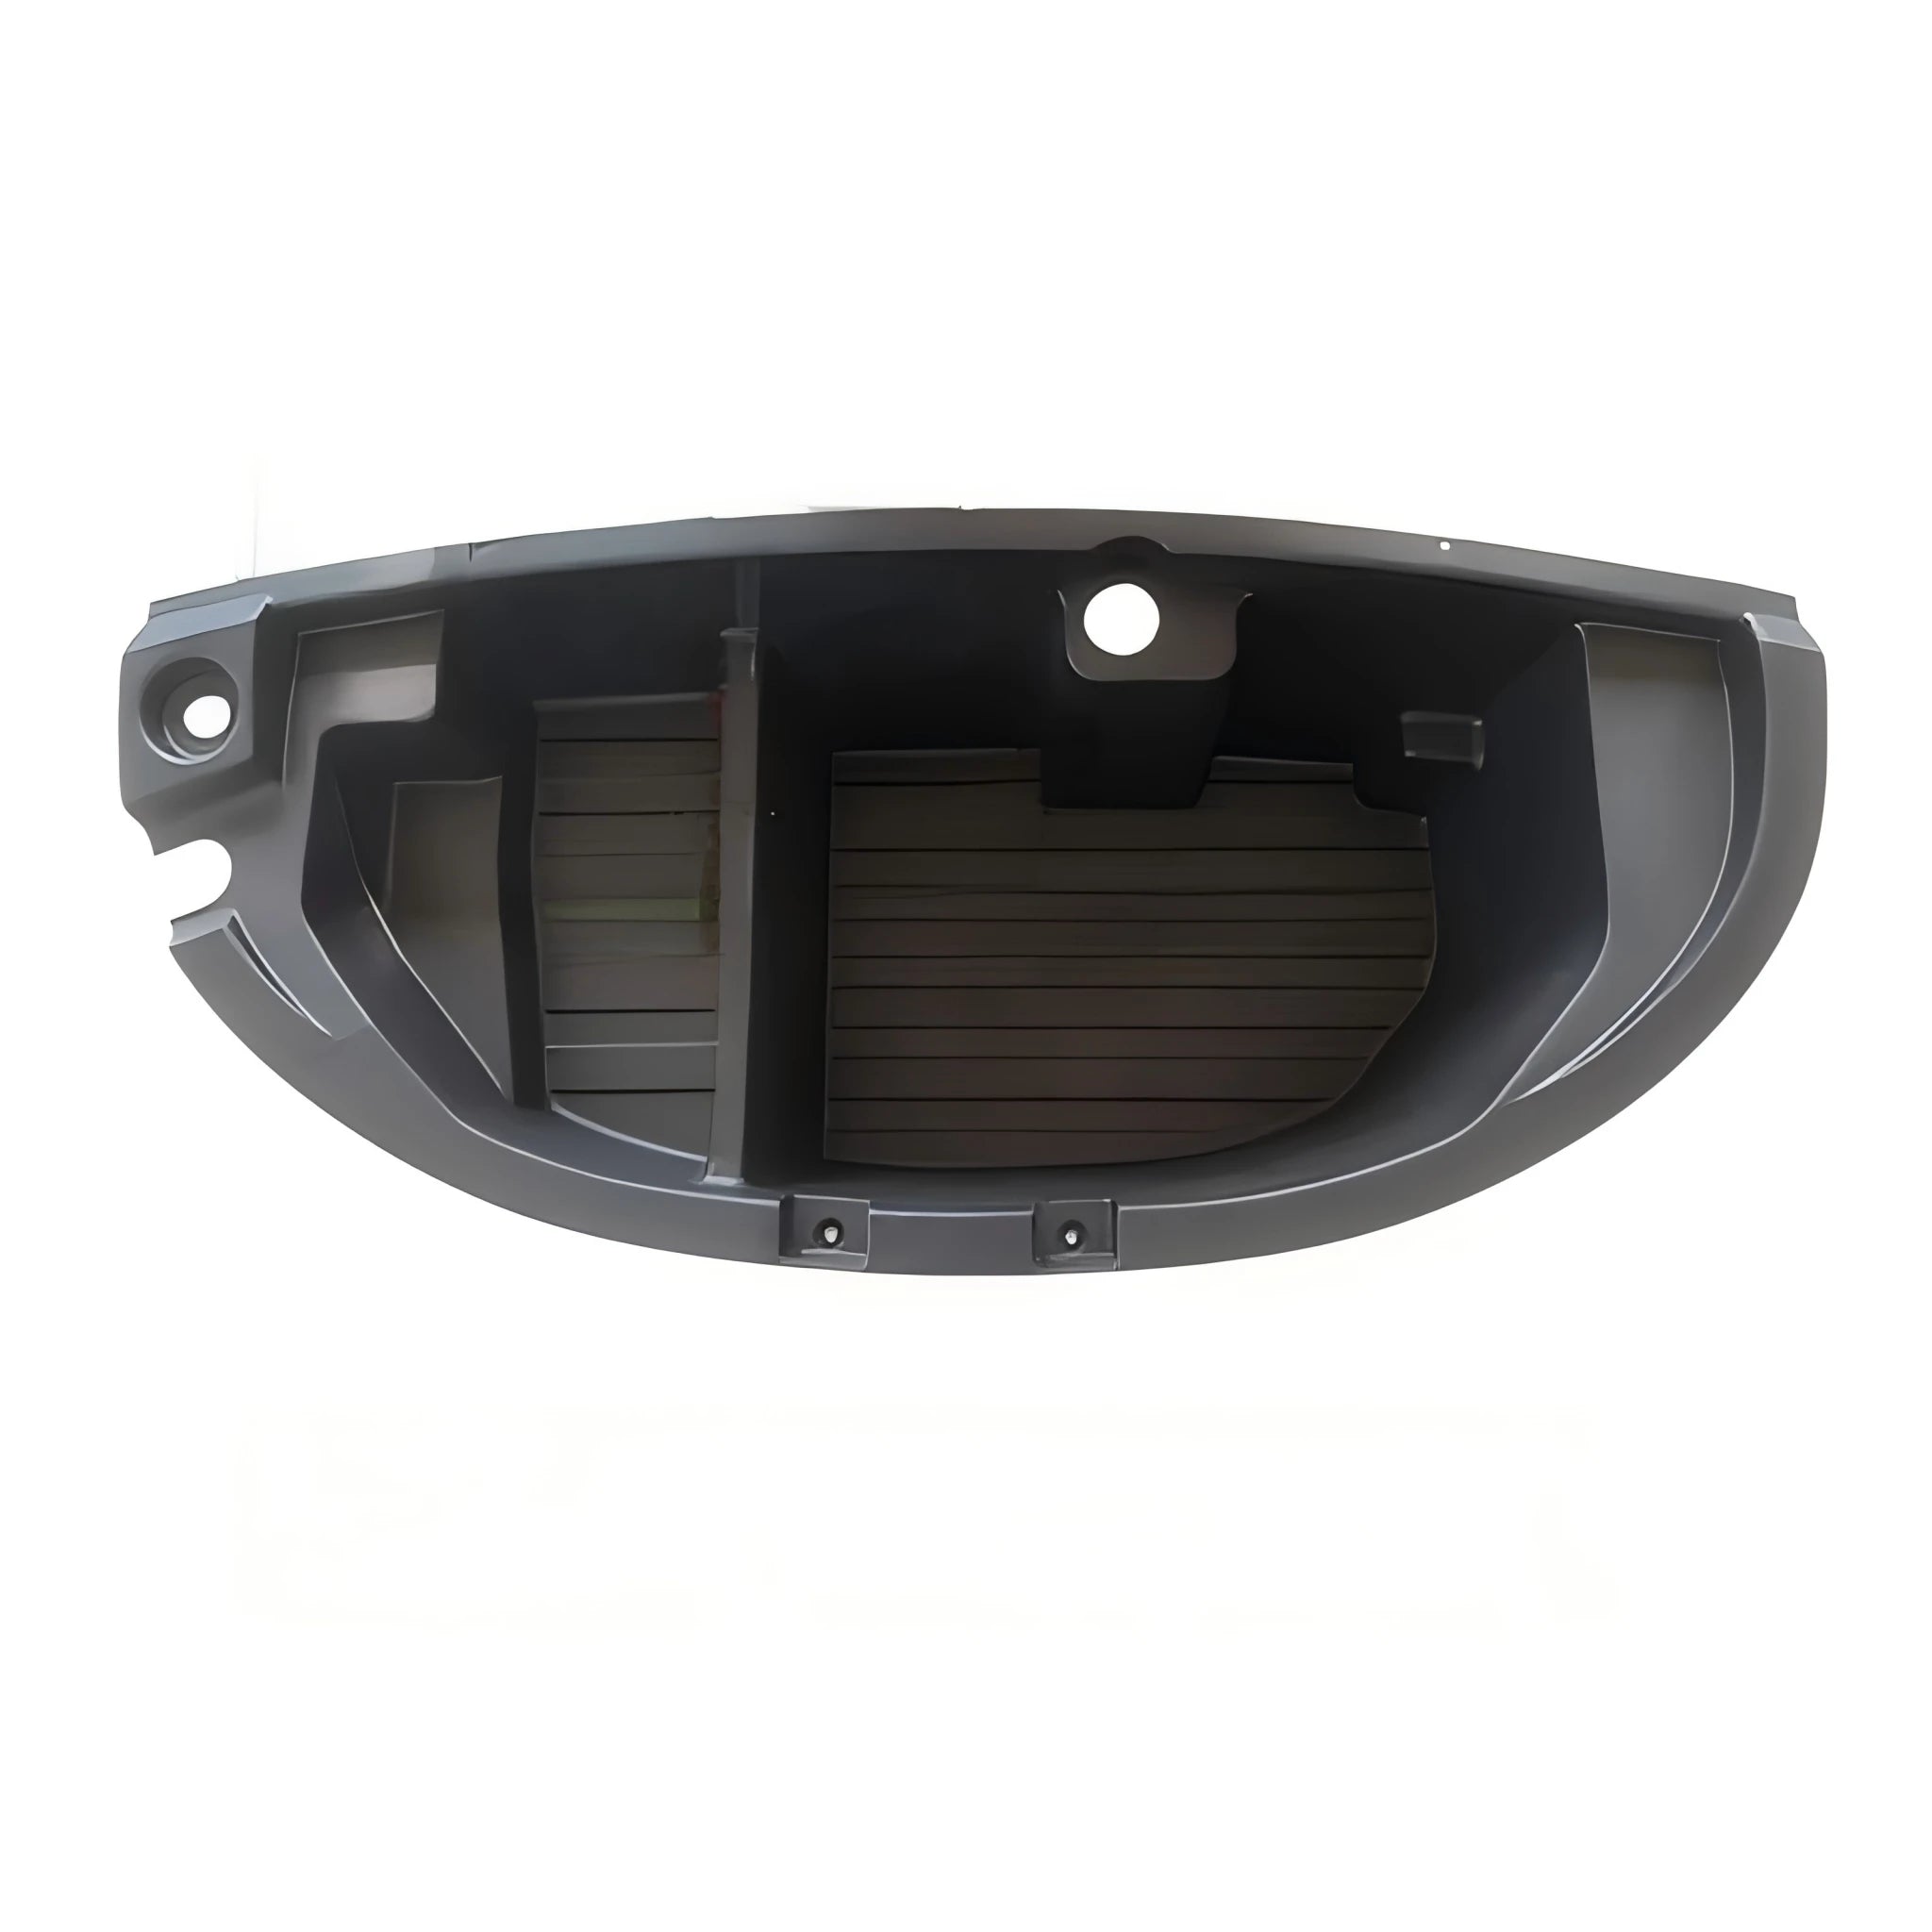
- Smart Multi-Grid Divided Storage: Deep storage compartment equipped with precision-molded internal dividers to categorize charging cables, emergency tire inflators, and outdoor gear into dedicated, scratch-free zones without rattling during sharp turns.
- High-Density Automotive-Grade Construction: Heavy-duty ABS material stands resilient against high ambient heat from the EV powertrain during rapid charging or highway cruising, retaining rigid structure without releasing toxic plastic odors.
1
/
6
LHD BYD Seal U EV Custom-Fit Divided Front Trunk Storage Box
1,690.00 SAR
Shipping fees will be calculated at checkout.
Quantity
Features & Benefits
What's Included
Product Gallery
Installation Guide
Total time
20-30 minutes
Drilling required
No - bolt-on
Warranty
Yes - non-invasive
Shipping insurance
In the event ofalost or damaged package we guarantee a full refund or replacement product
Expedited order support
We support expedited order processing, can contact us.
securety payments
Easy returns and refundsSecure payments
Return Policy
30-day return policyavailable forall purchases.