

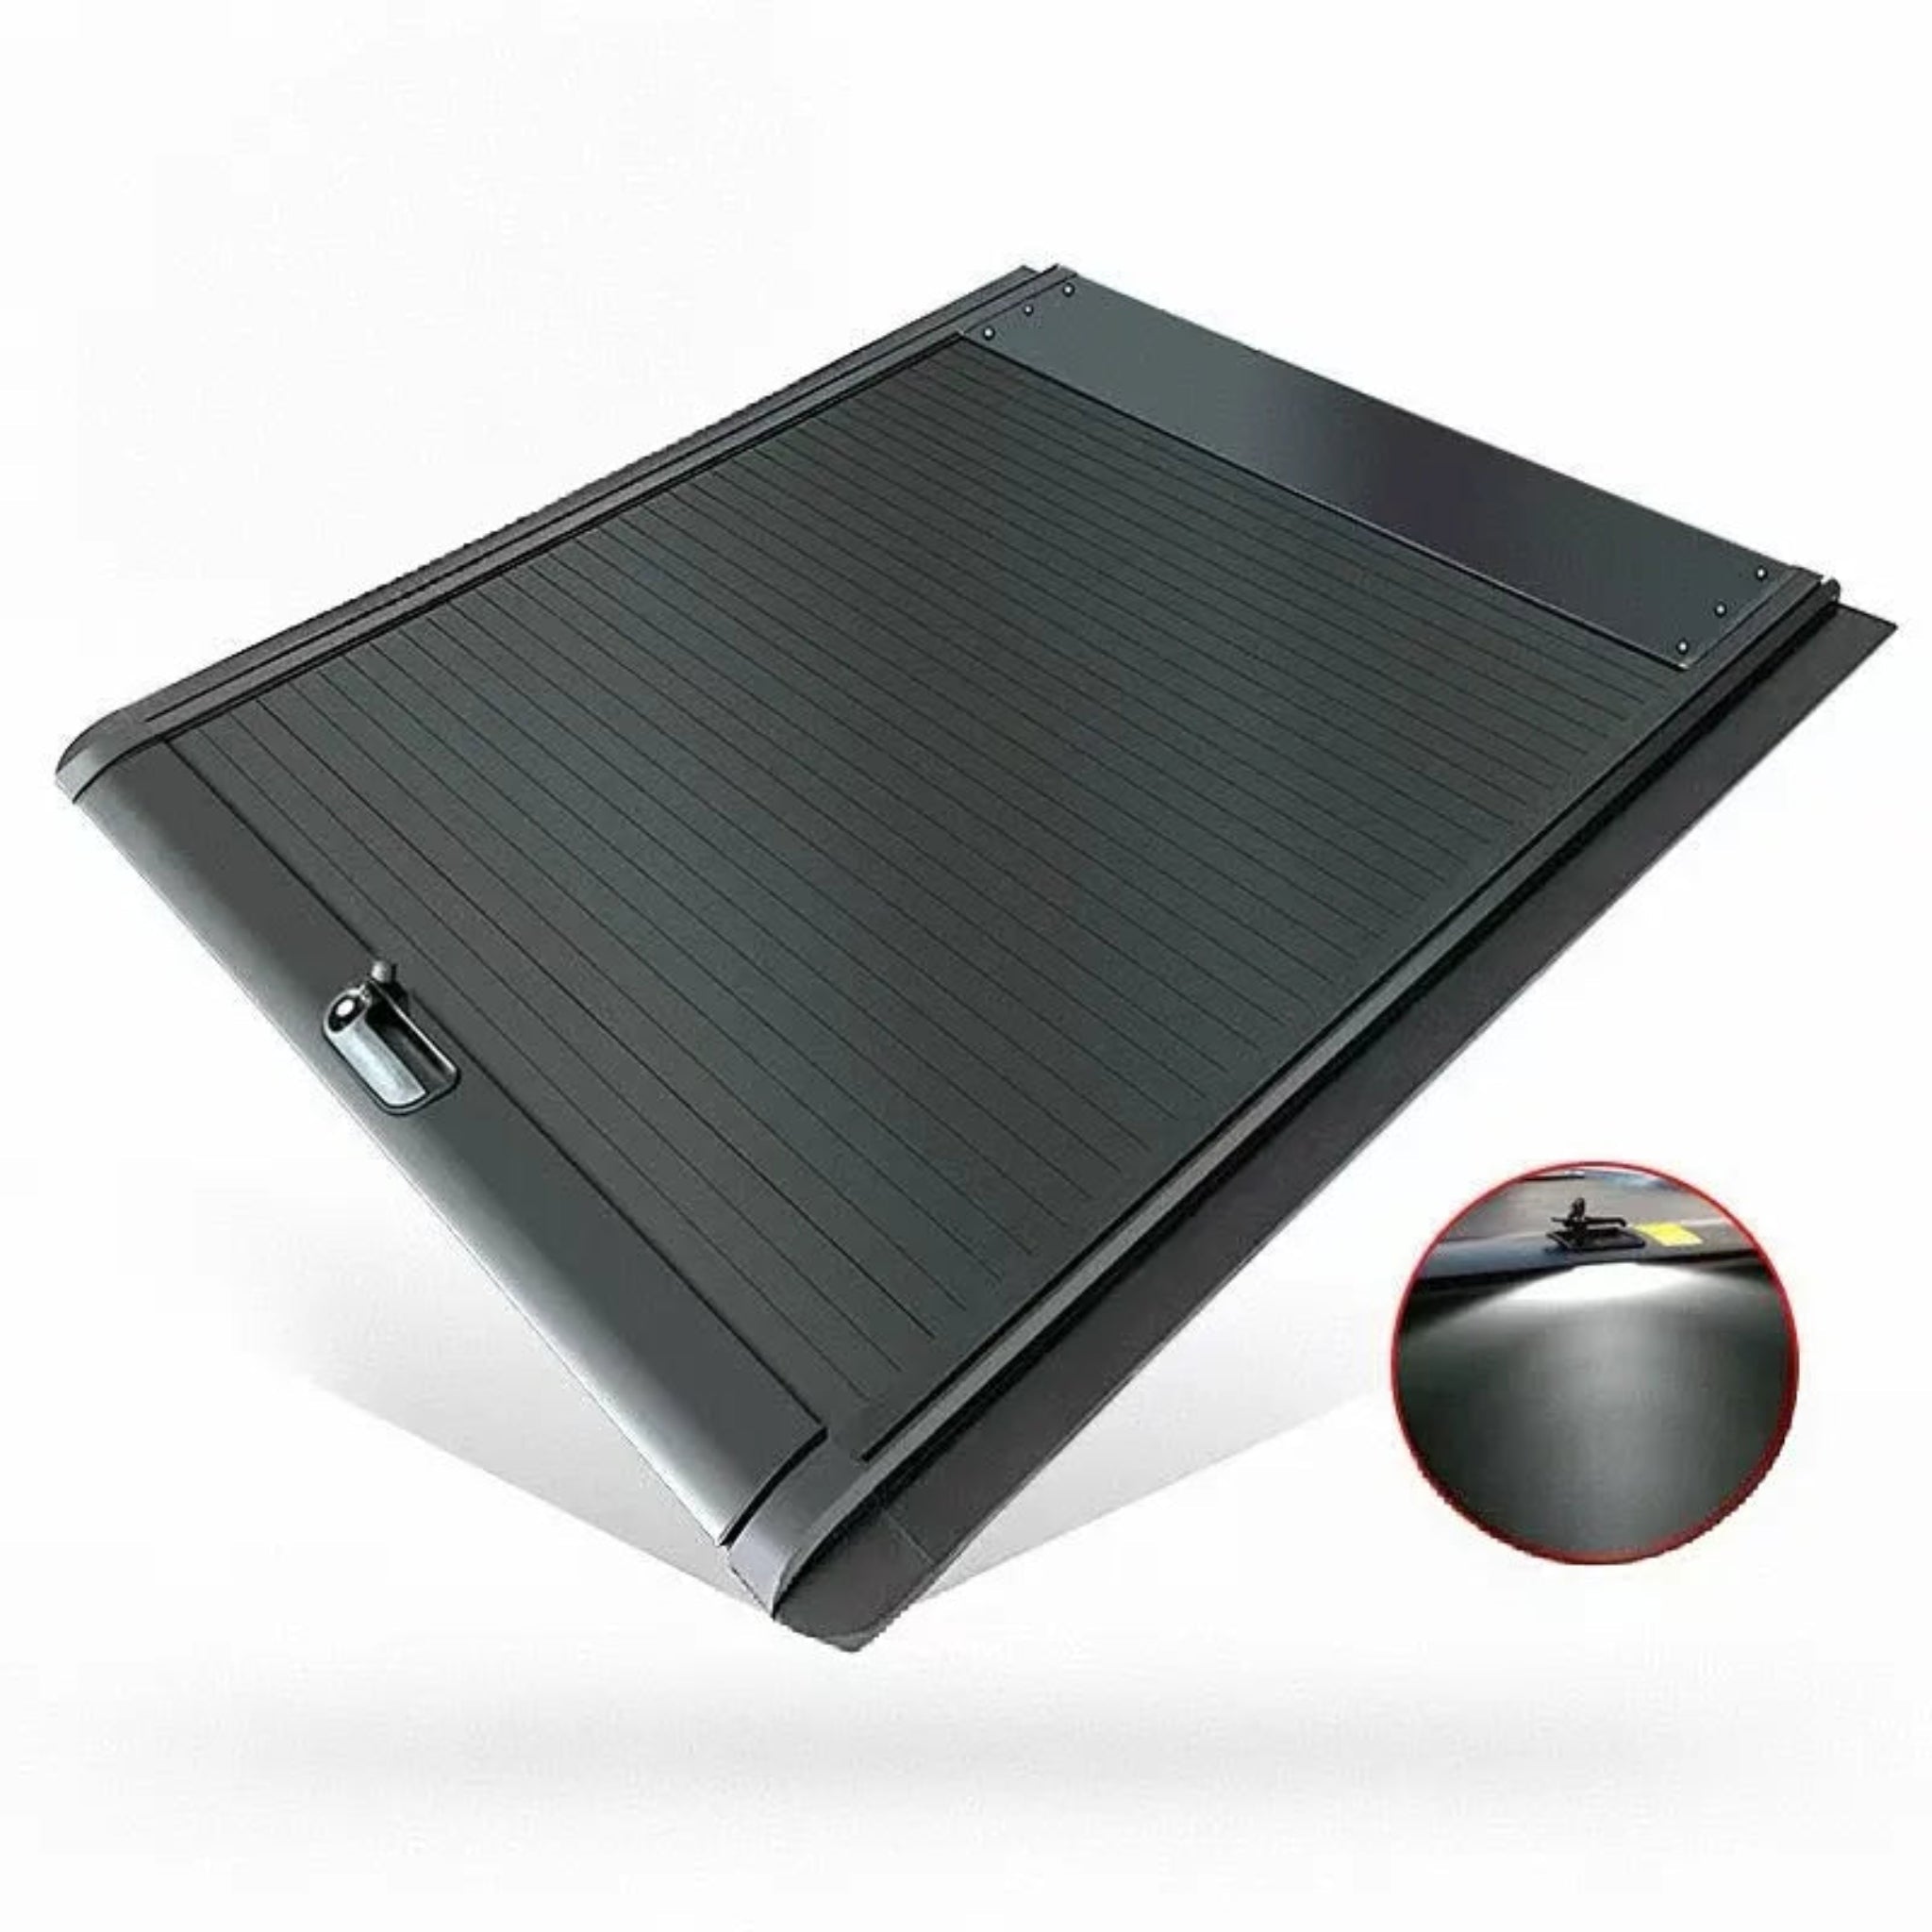
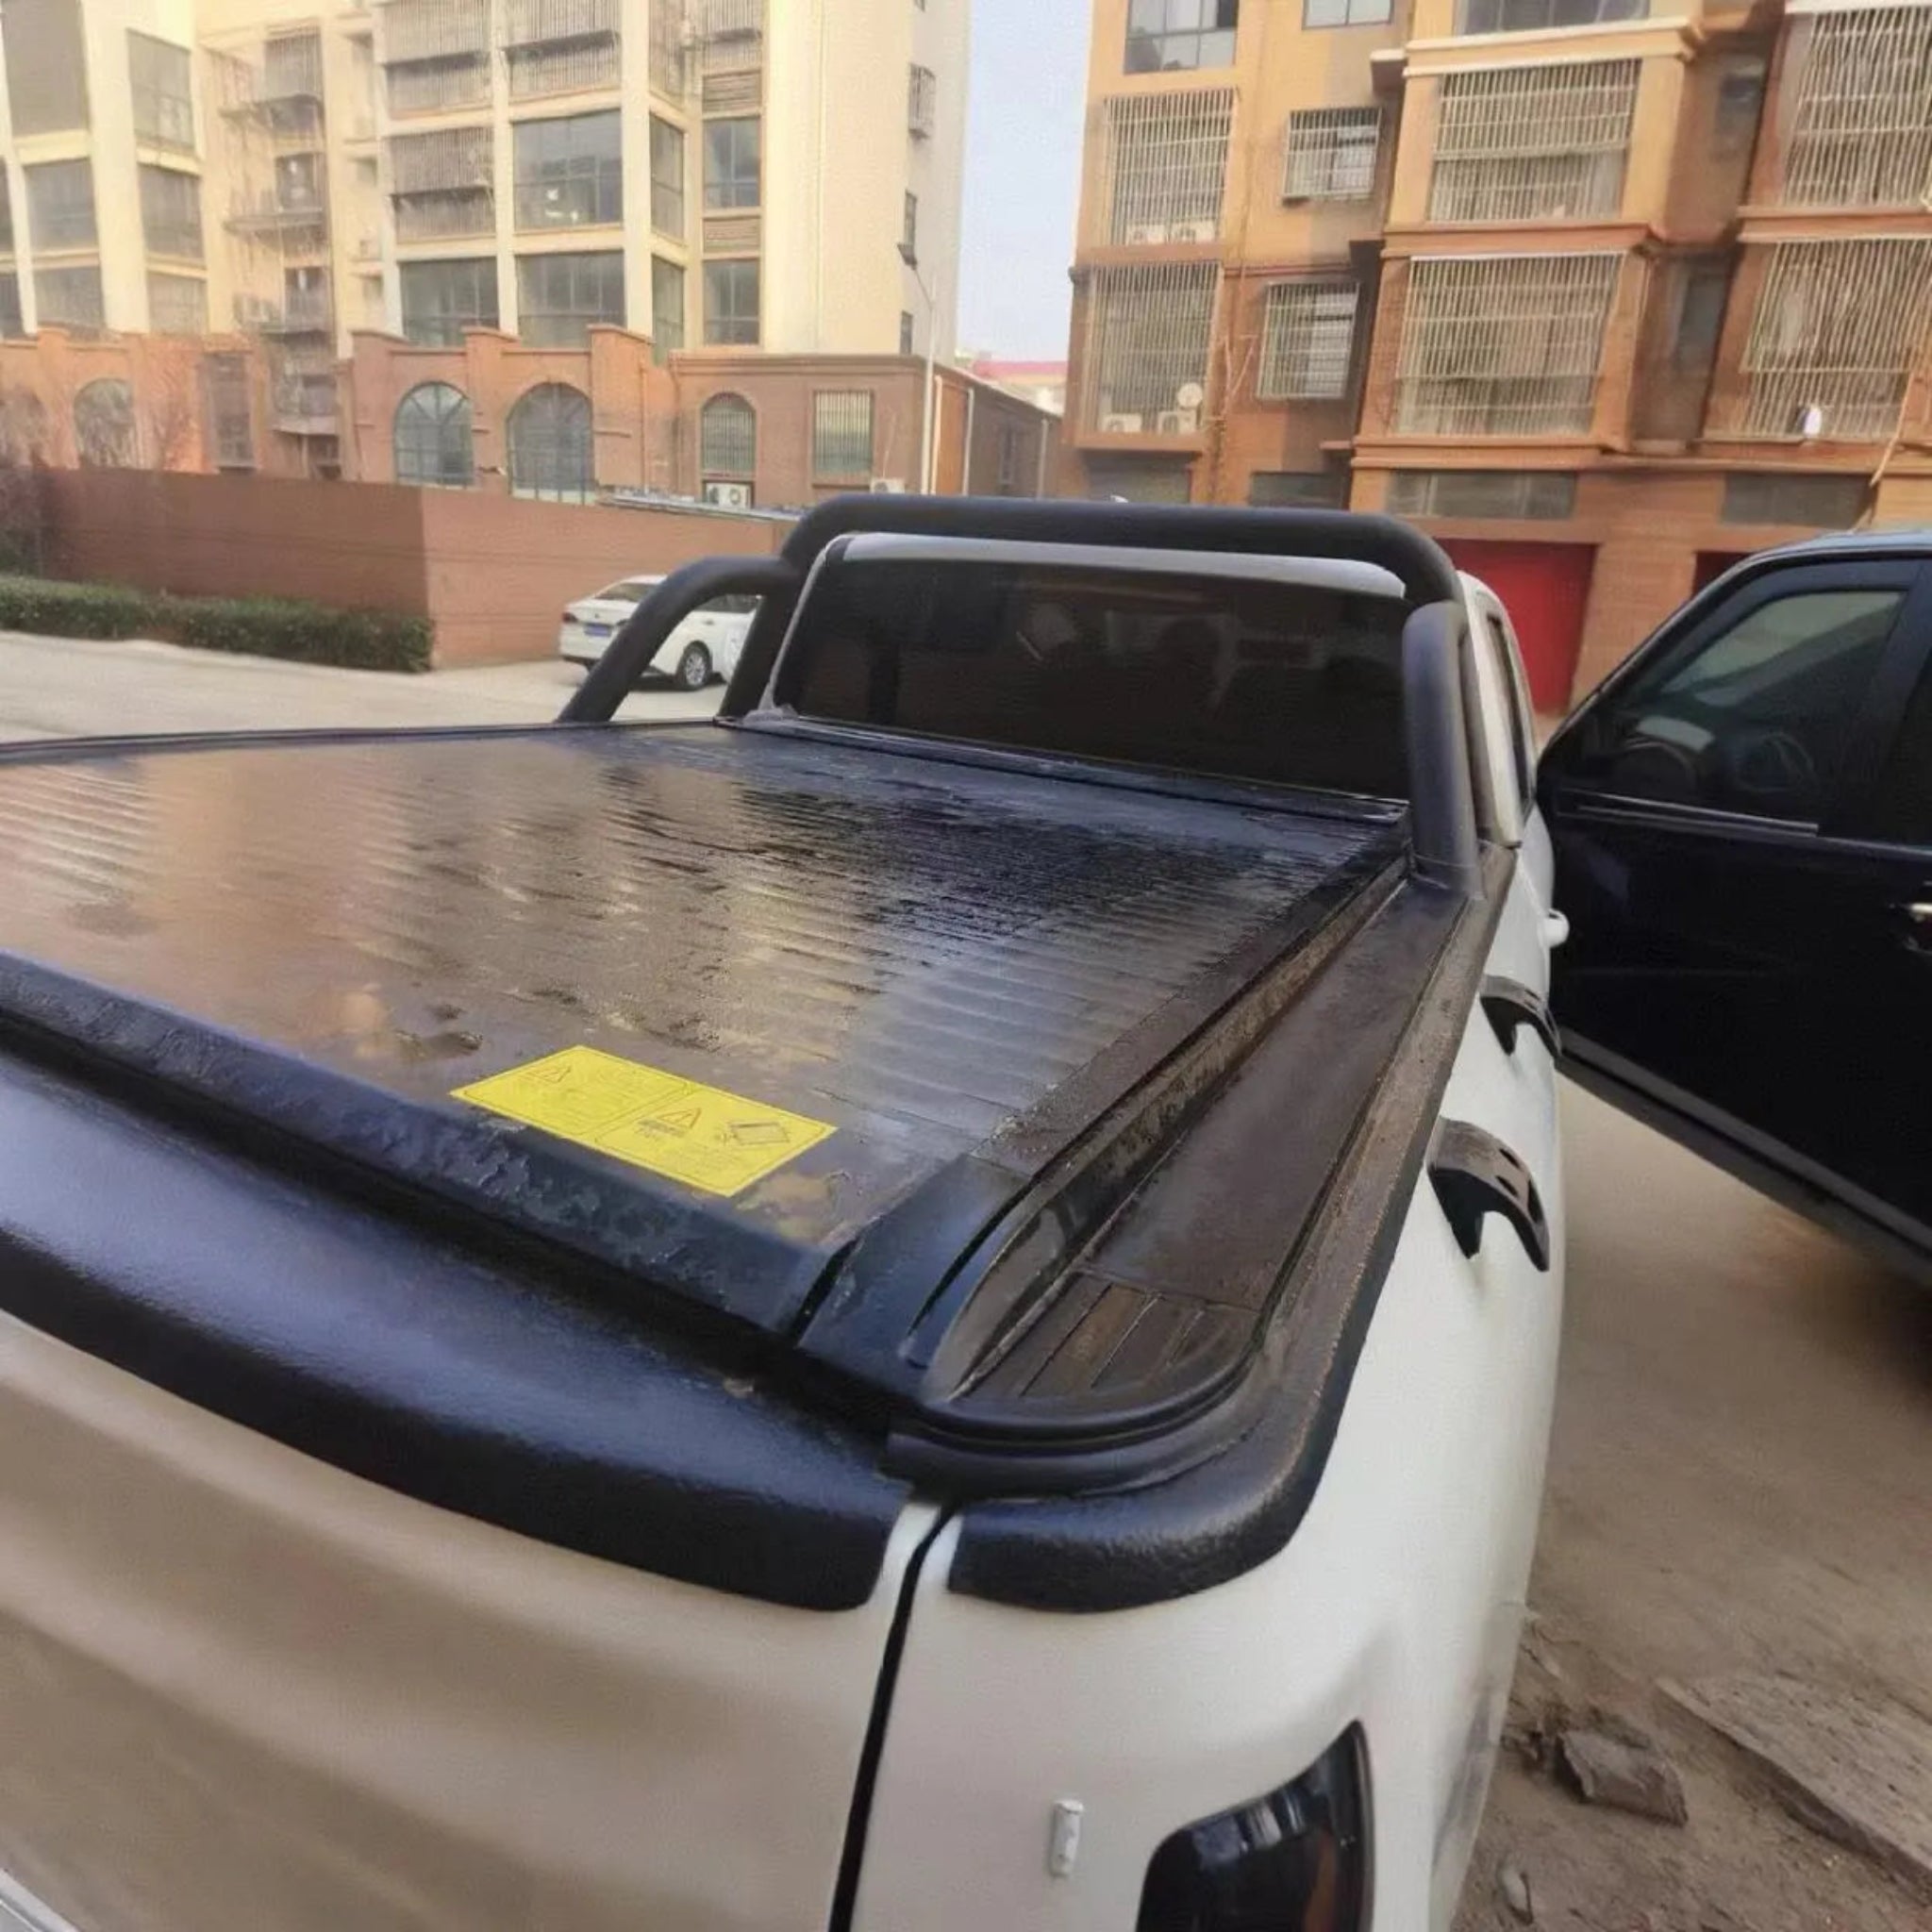
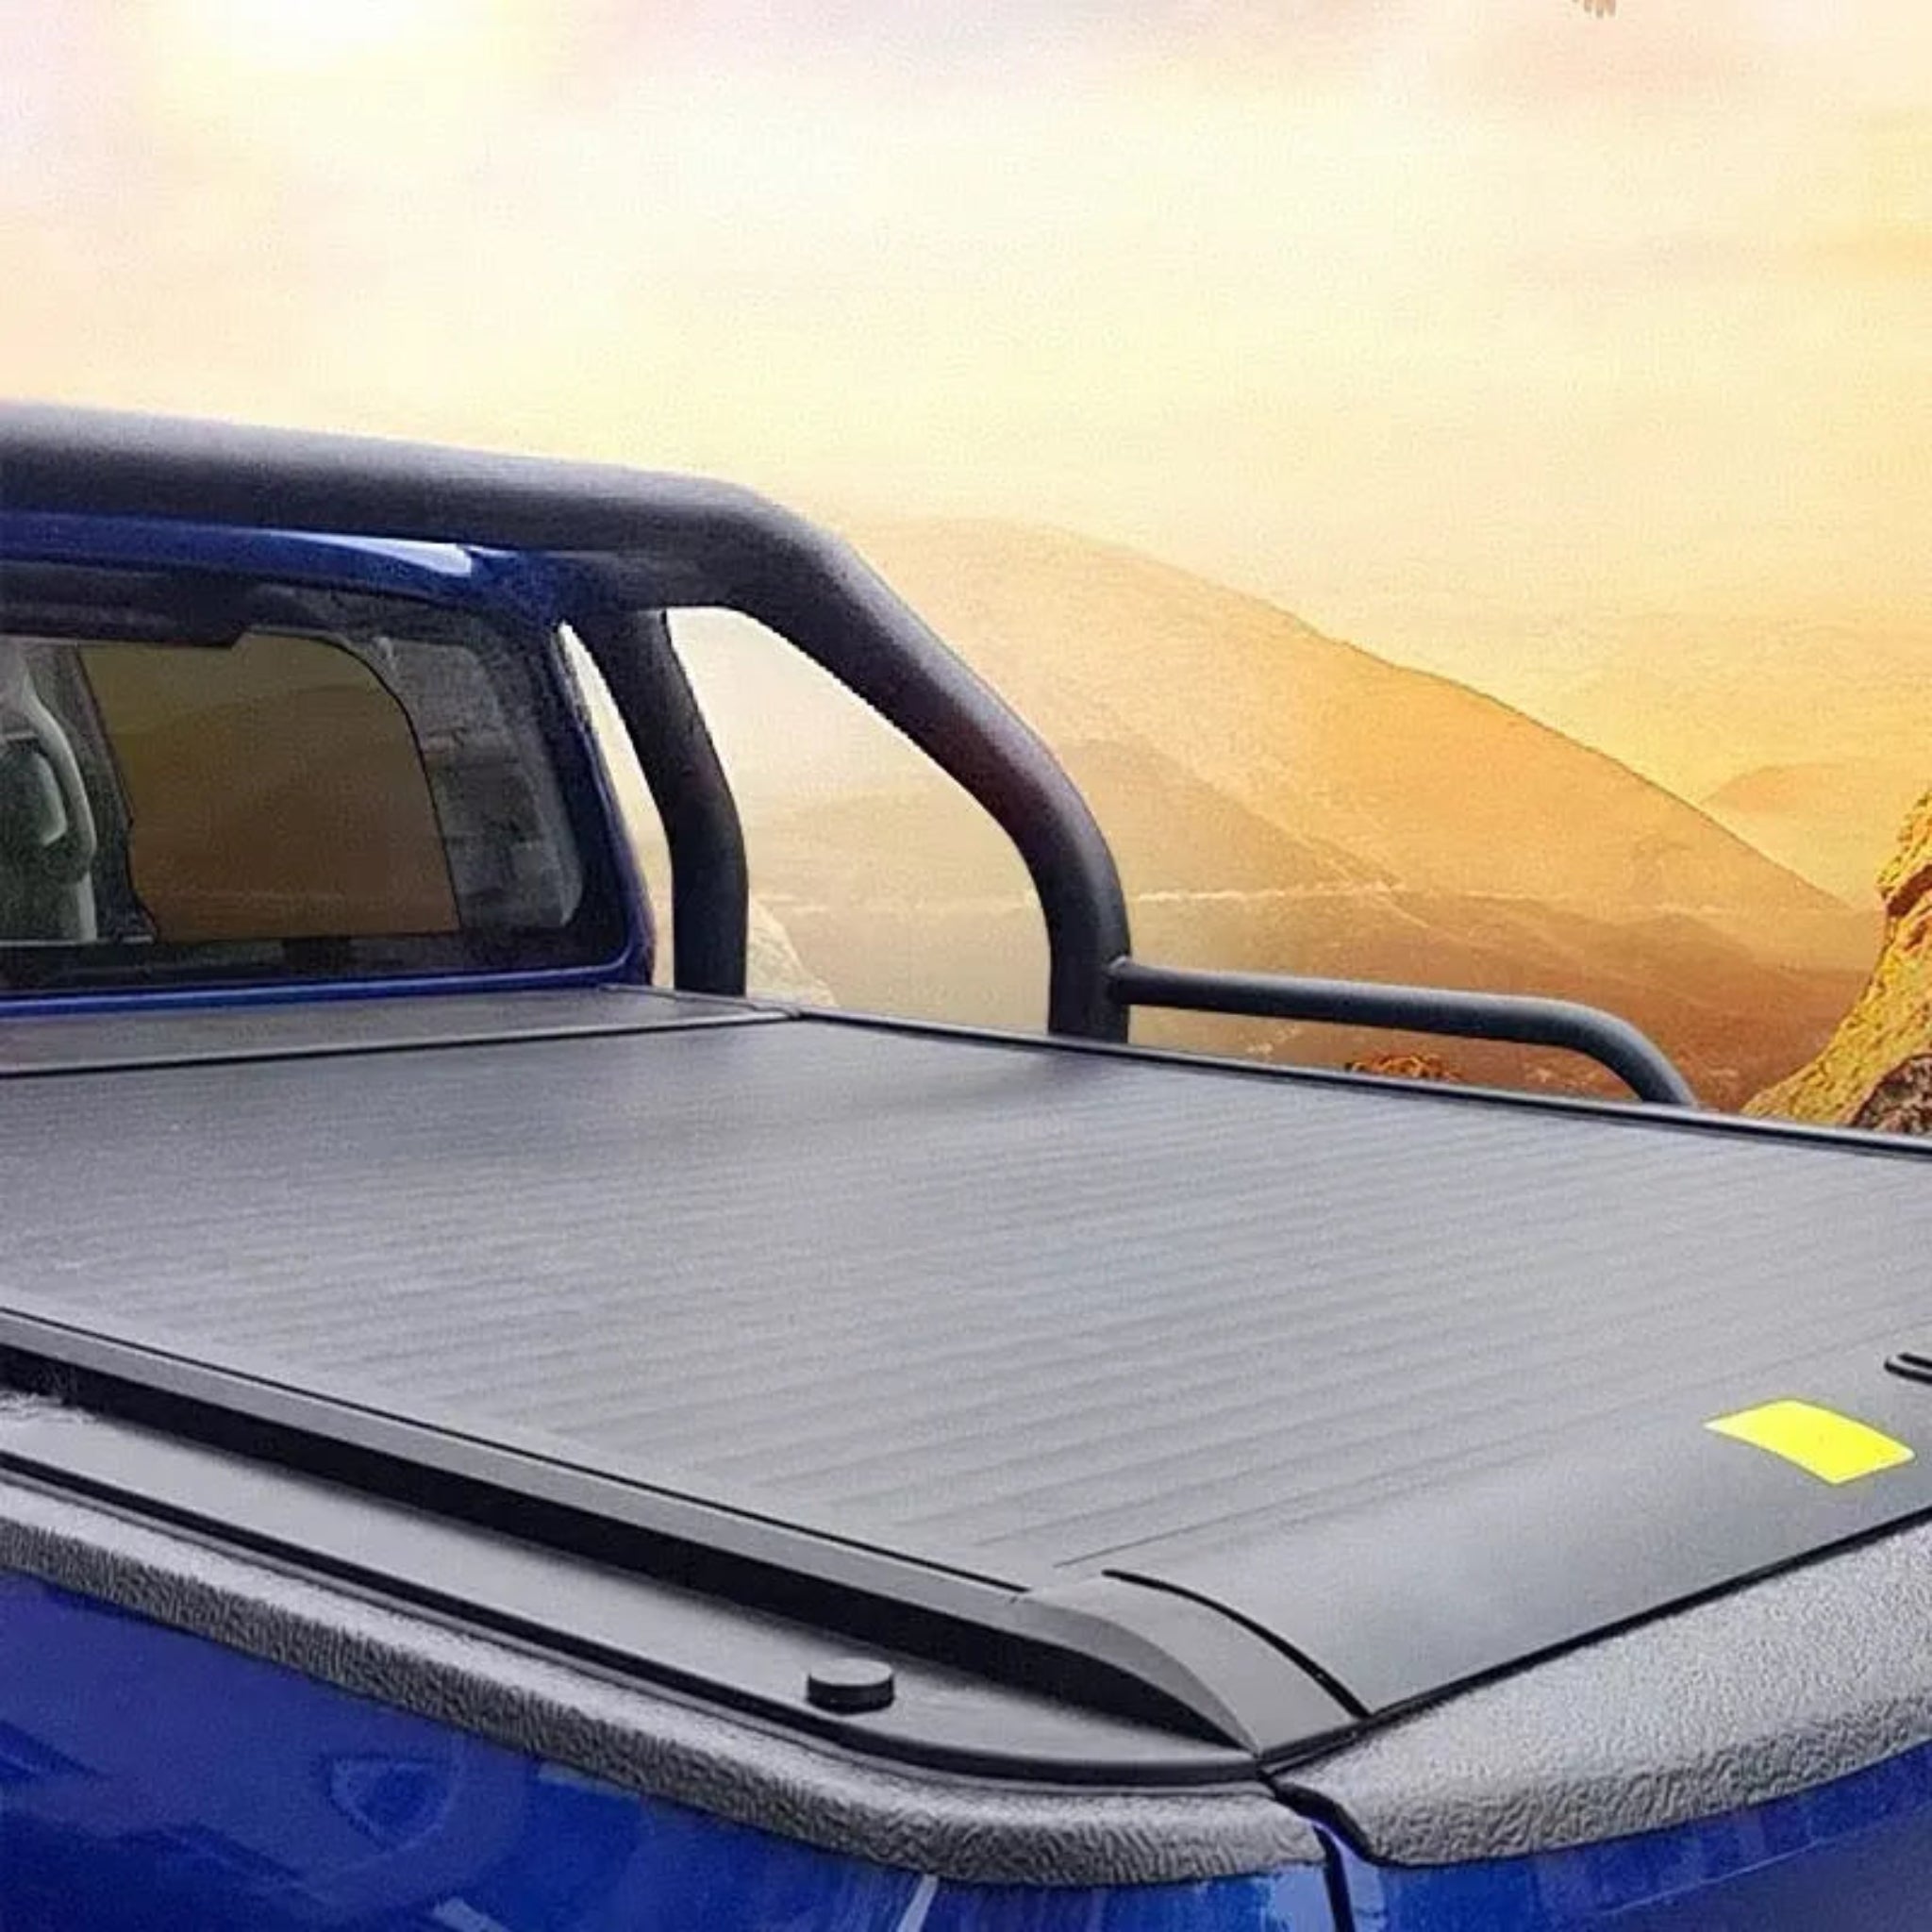
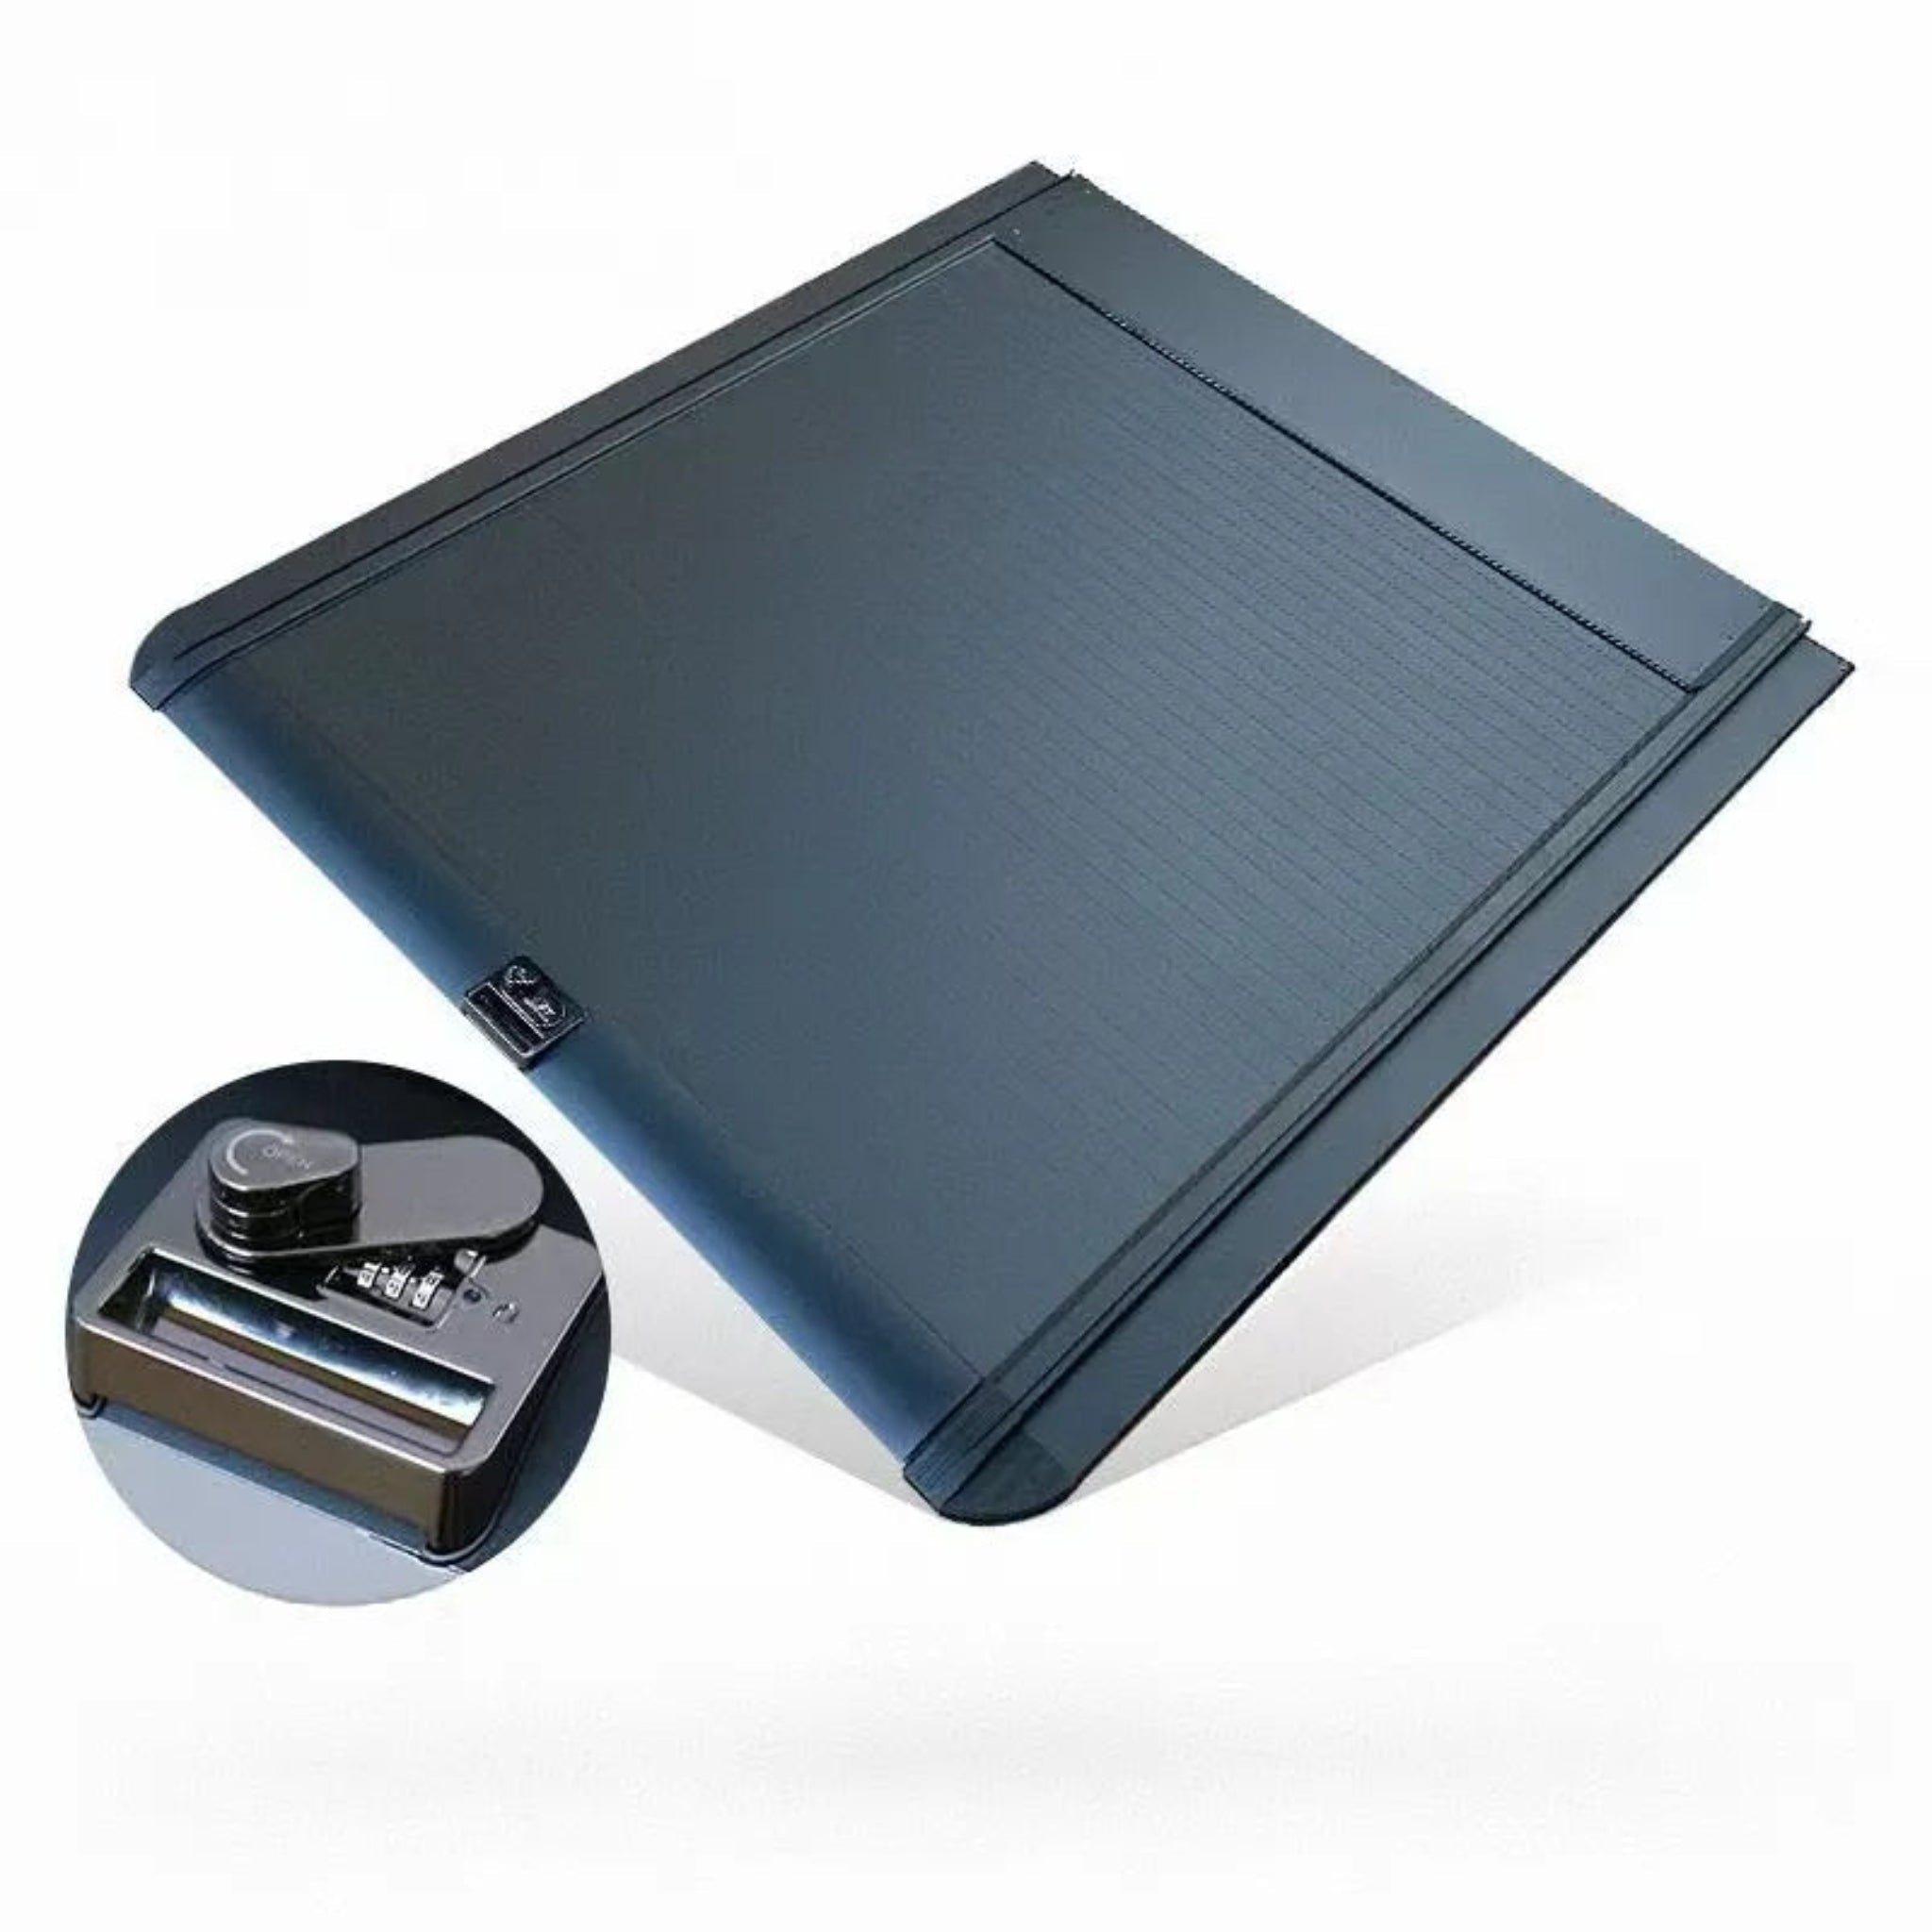
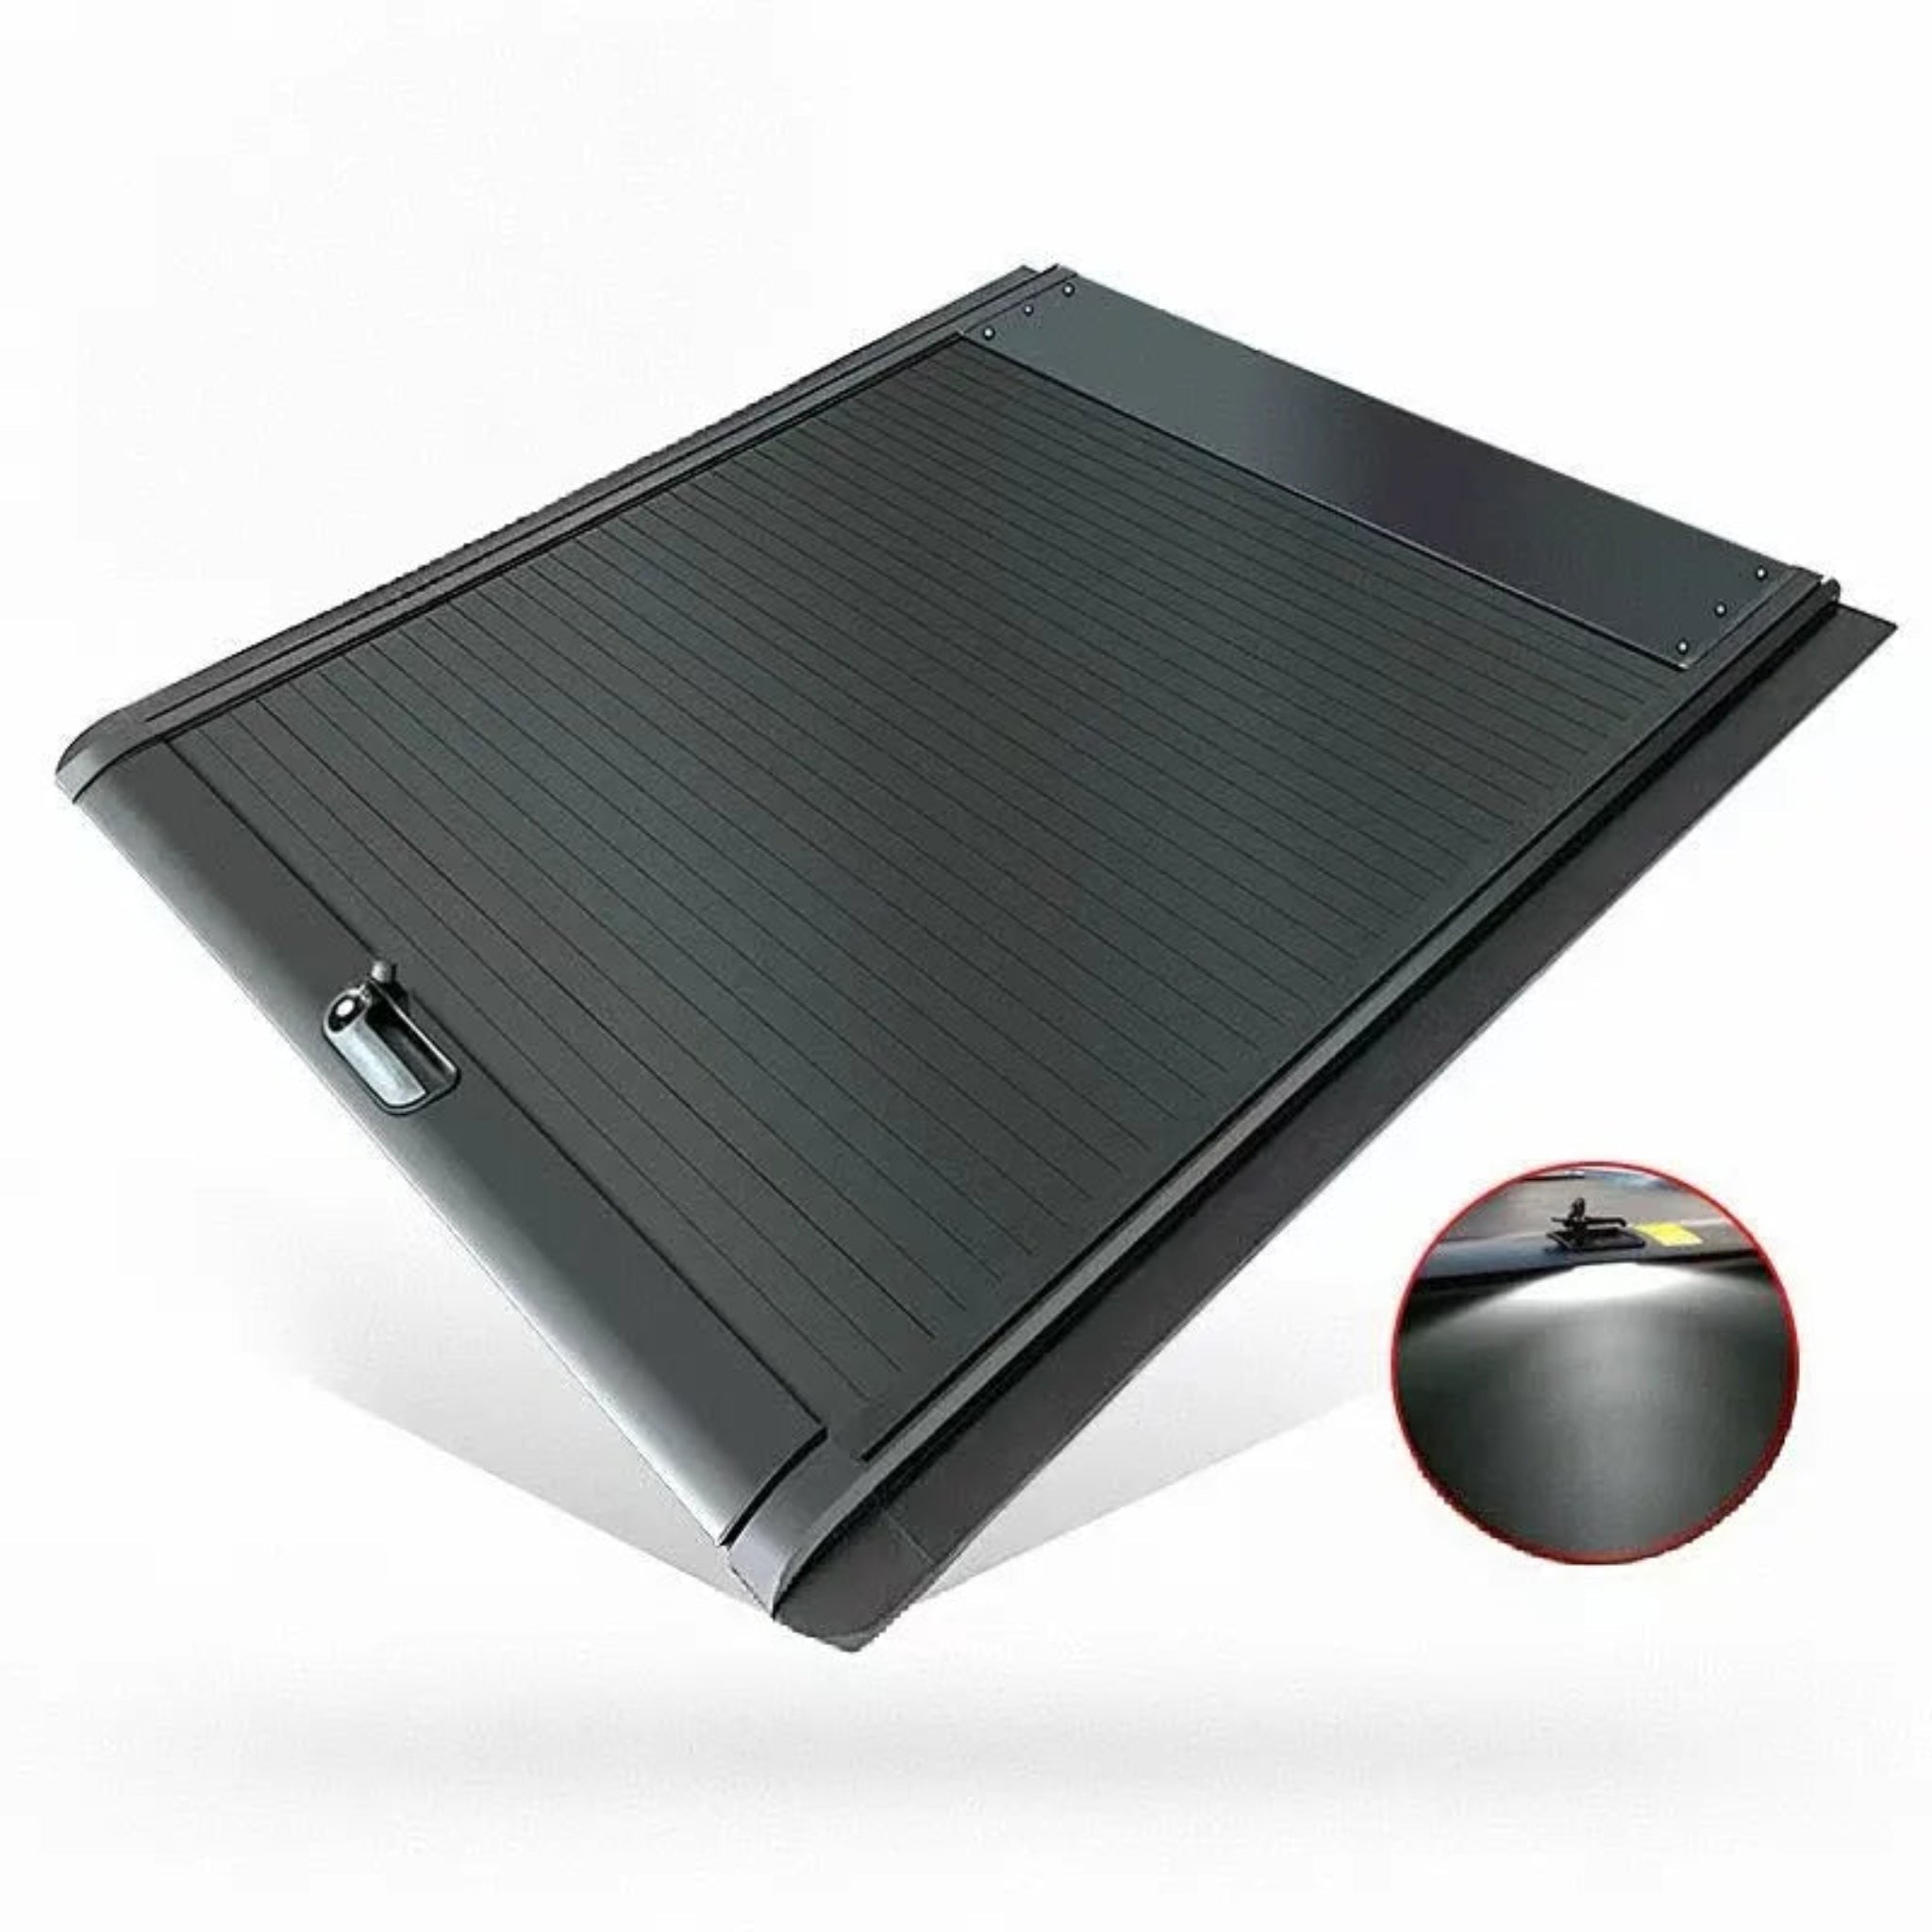
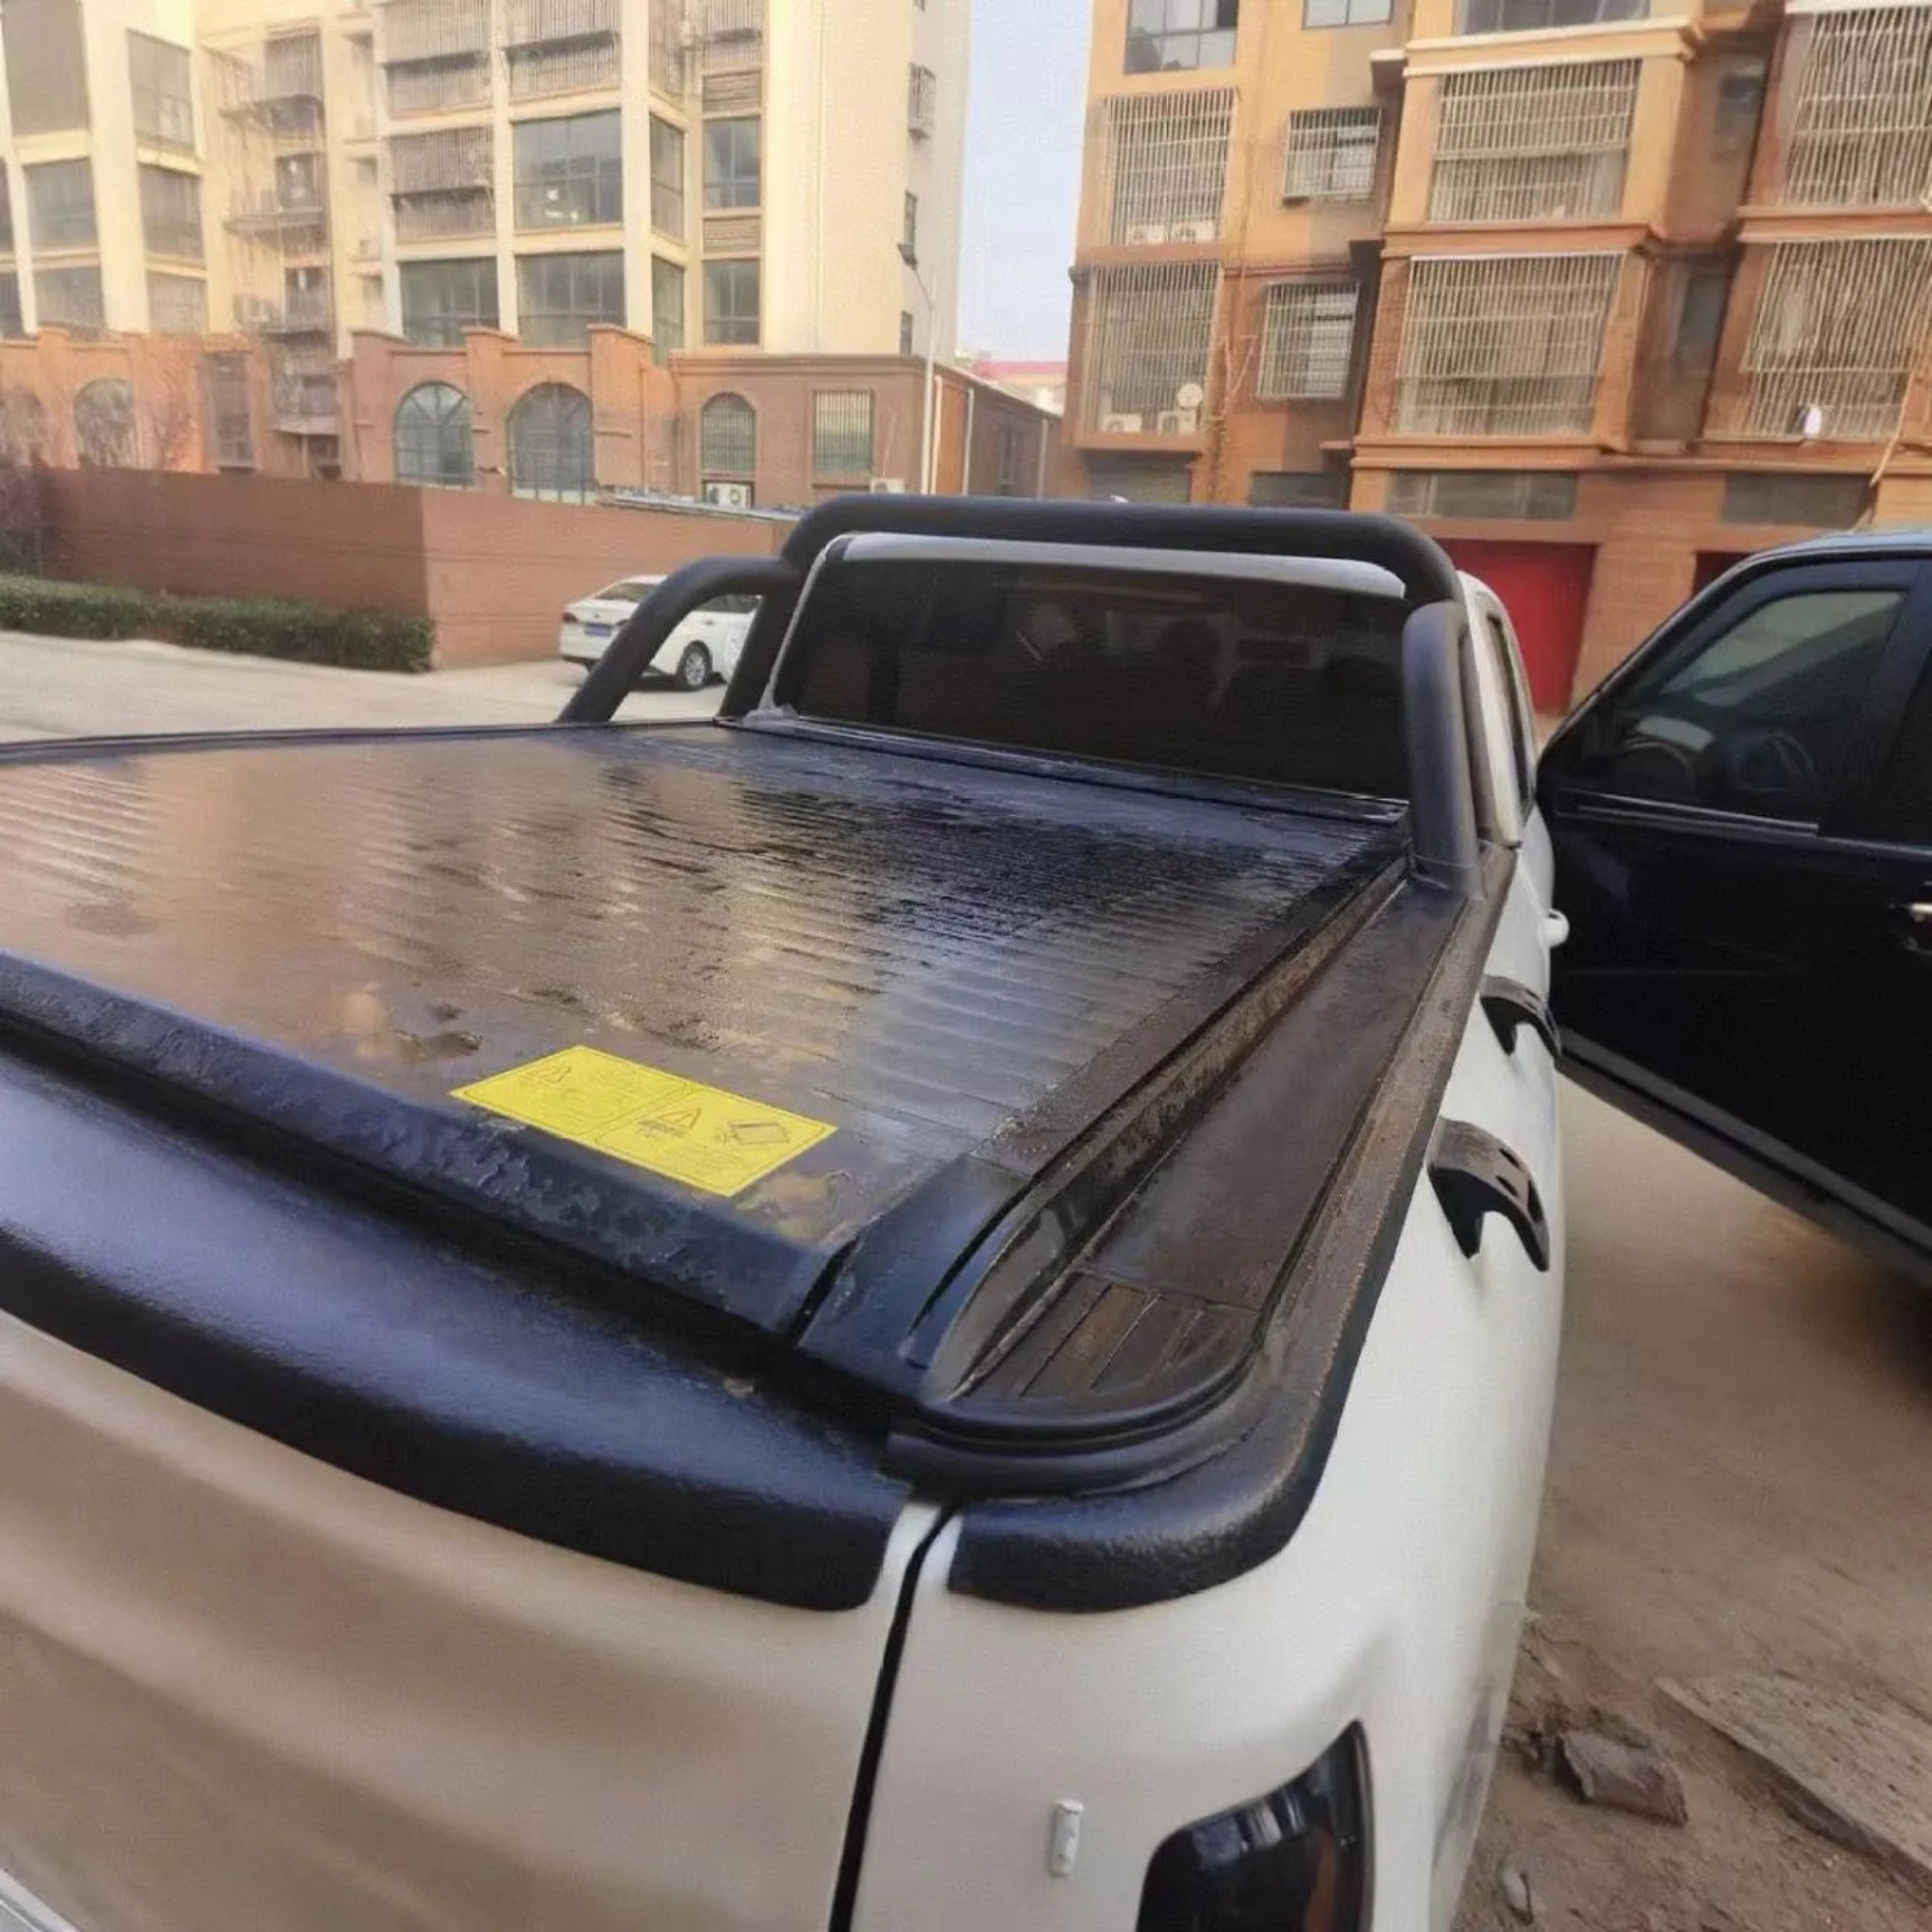
- Ultimate Weather Protection: Crafted from high-strength composite materials to shield your cargo from rain, UV rays, and dust, keeping tools and gear dry and rust-free in any climate.
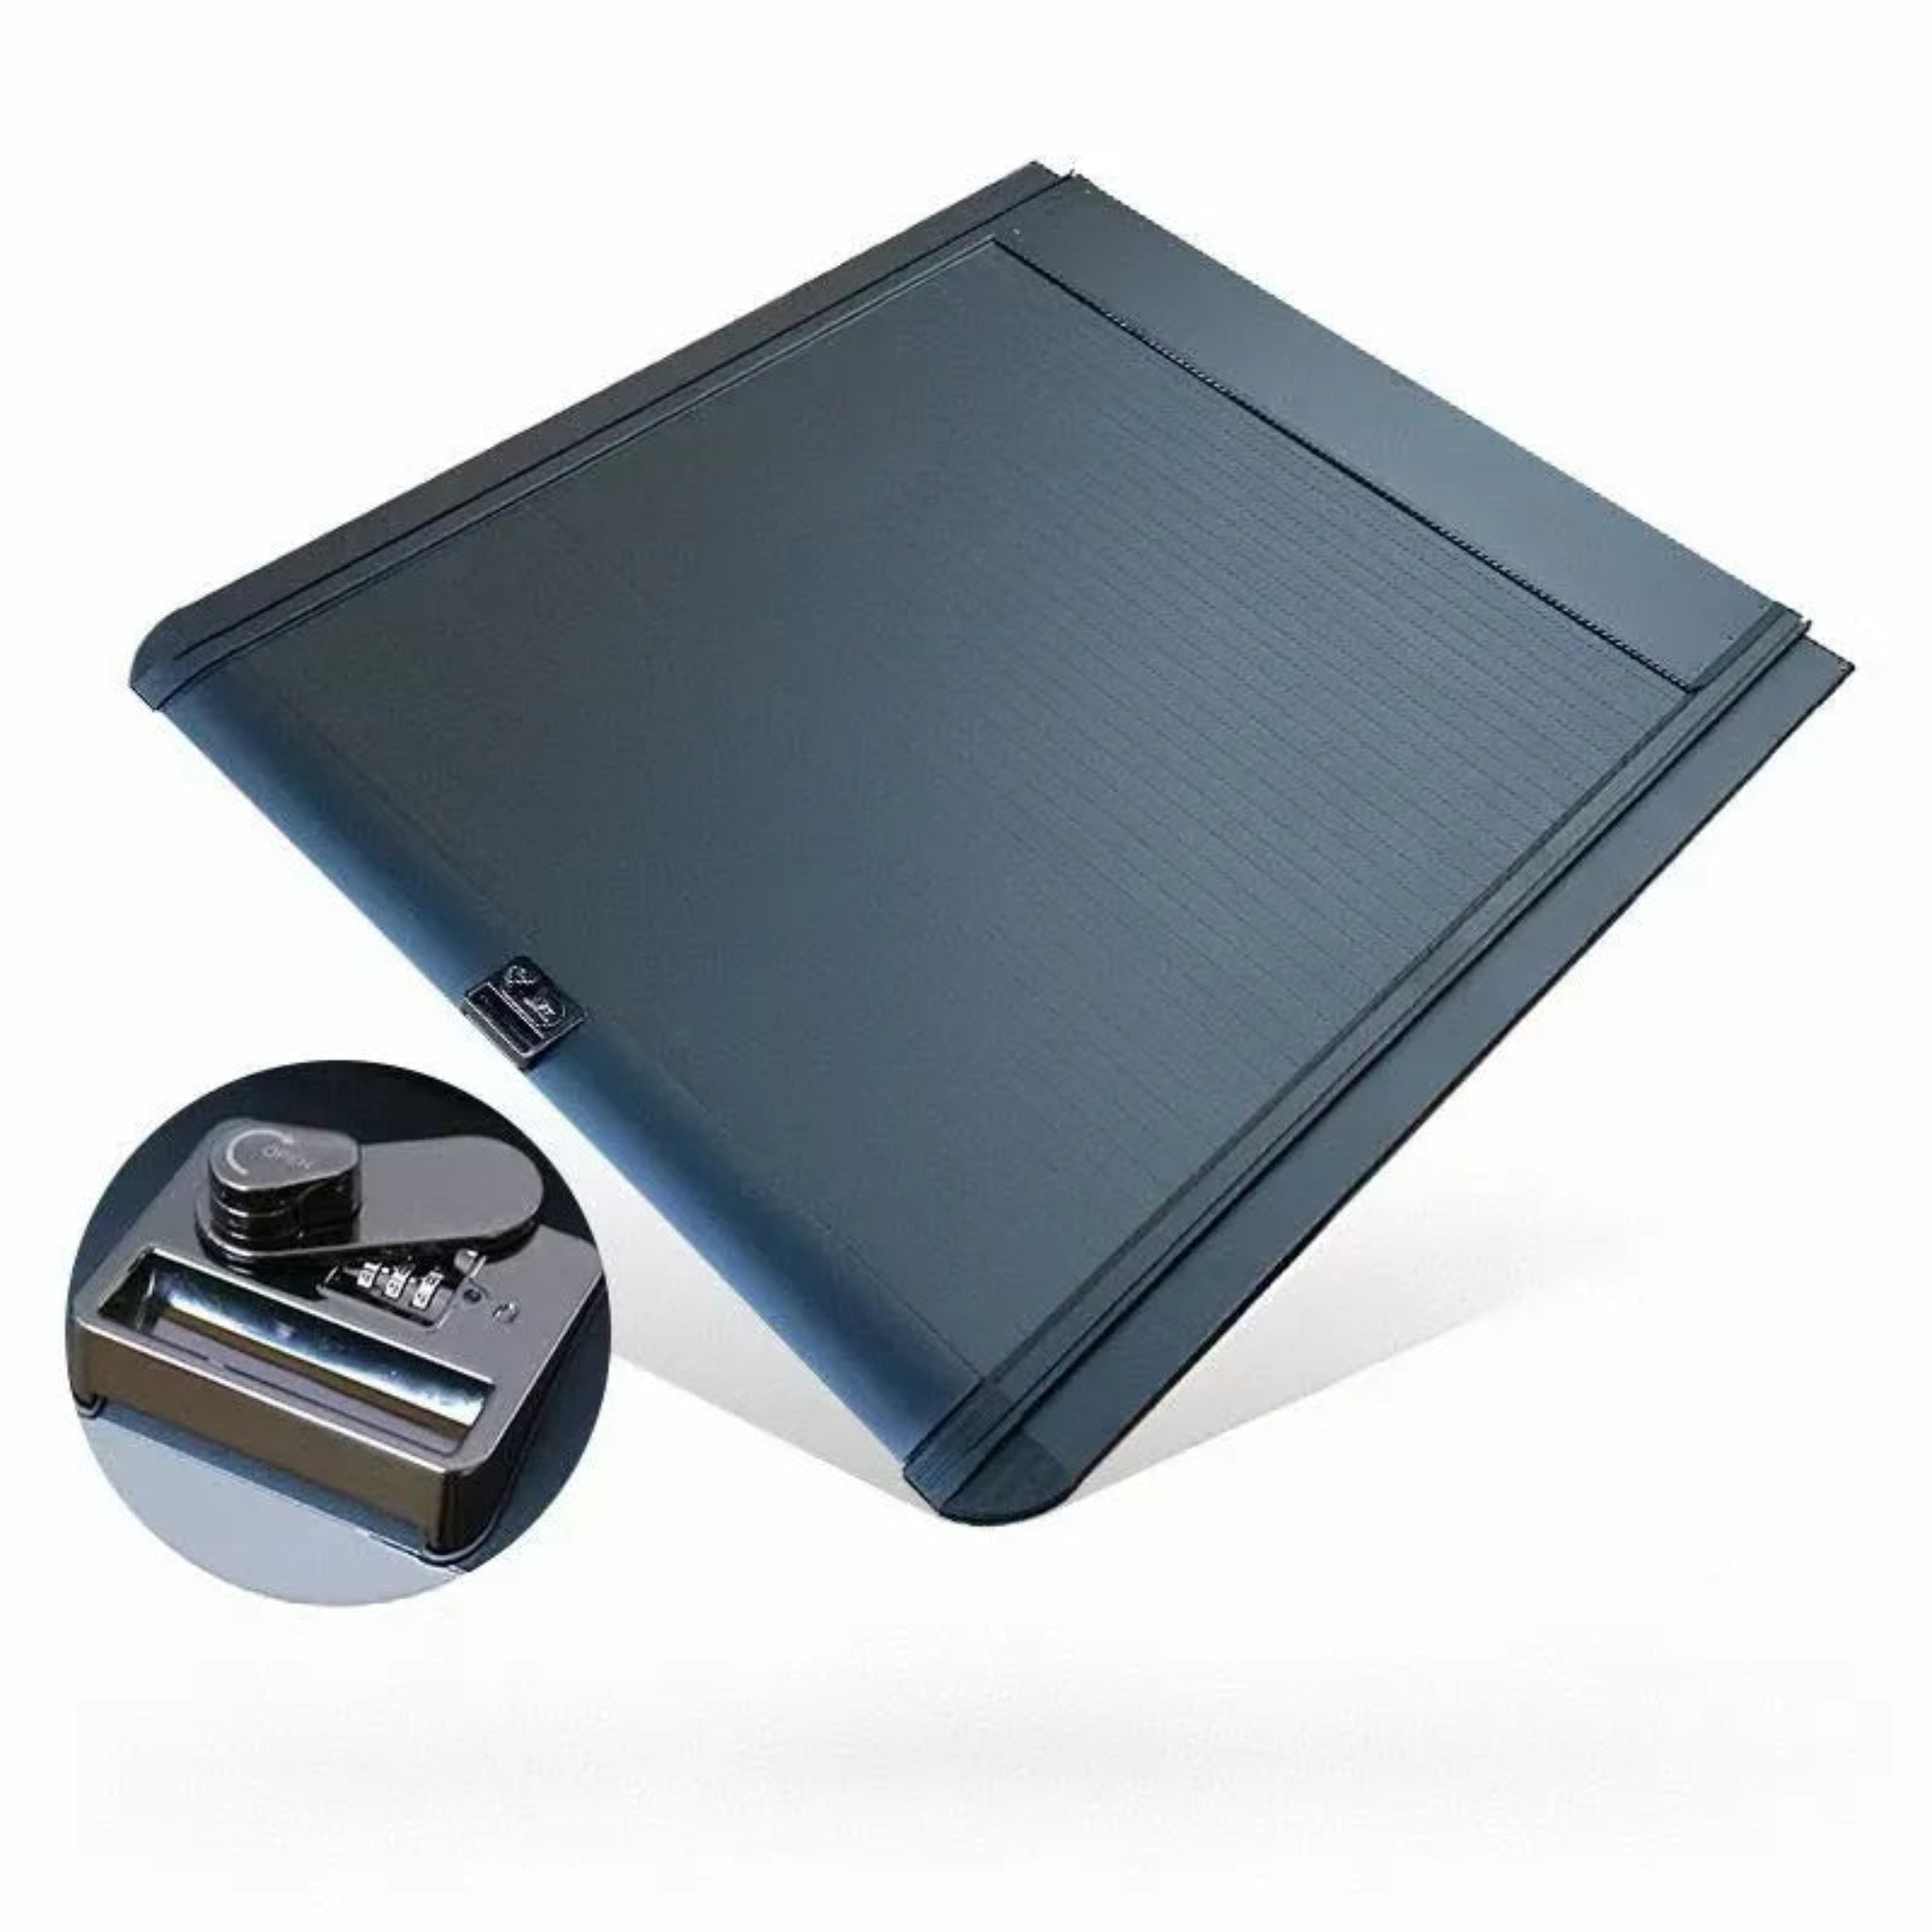
- Superior Anti-Theft Security: Built-in multi-point locking system provides fortress-level security for valuables, giving you total peace of mind whether parked overnight or on the go.
- Improved Fuel Economy: Sleek aerodynamic design significantly reduces wind drag, helping improve gas mileage and save money at the pump over the long haul.
- Hassle-Free Installation: Modular structure designed for quick DIY-friendly assembly with no specialized tools or drilling required to get your truck road-ready.
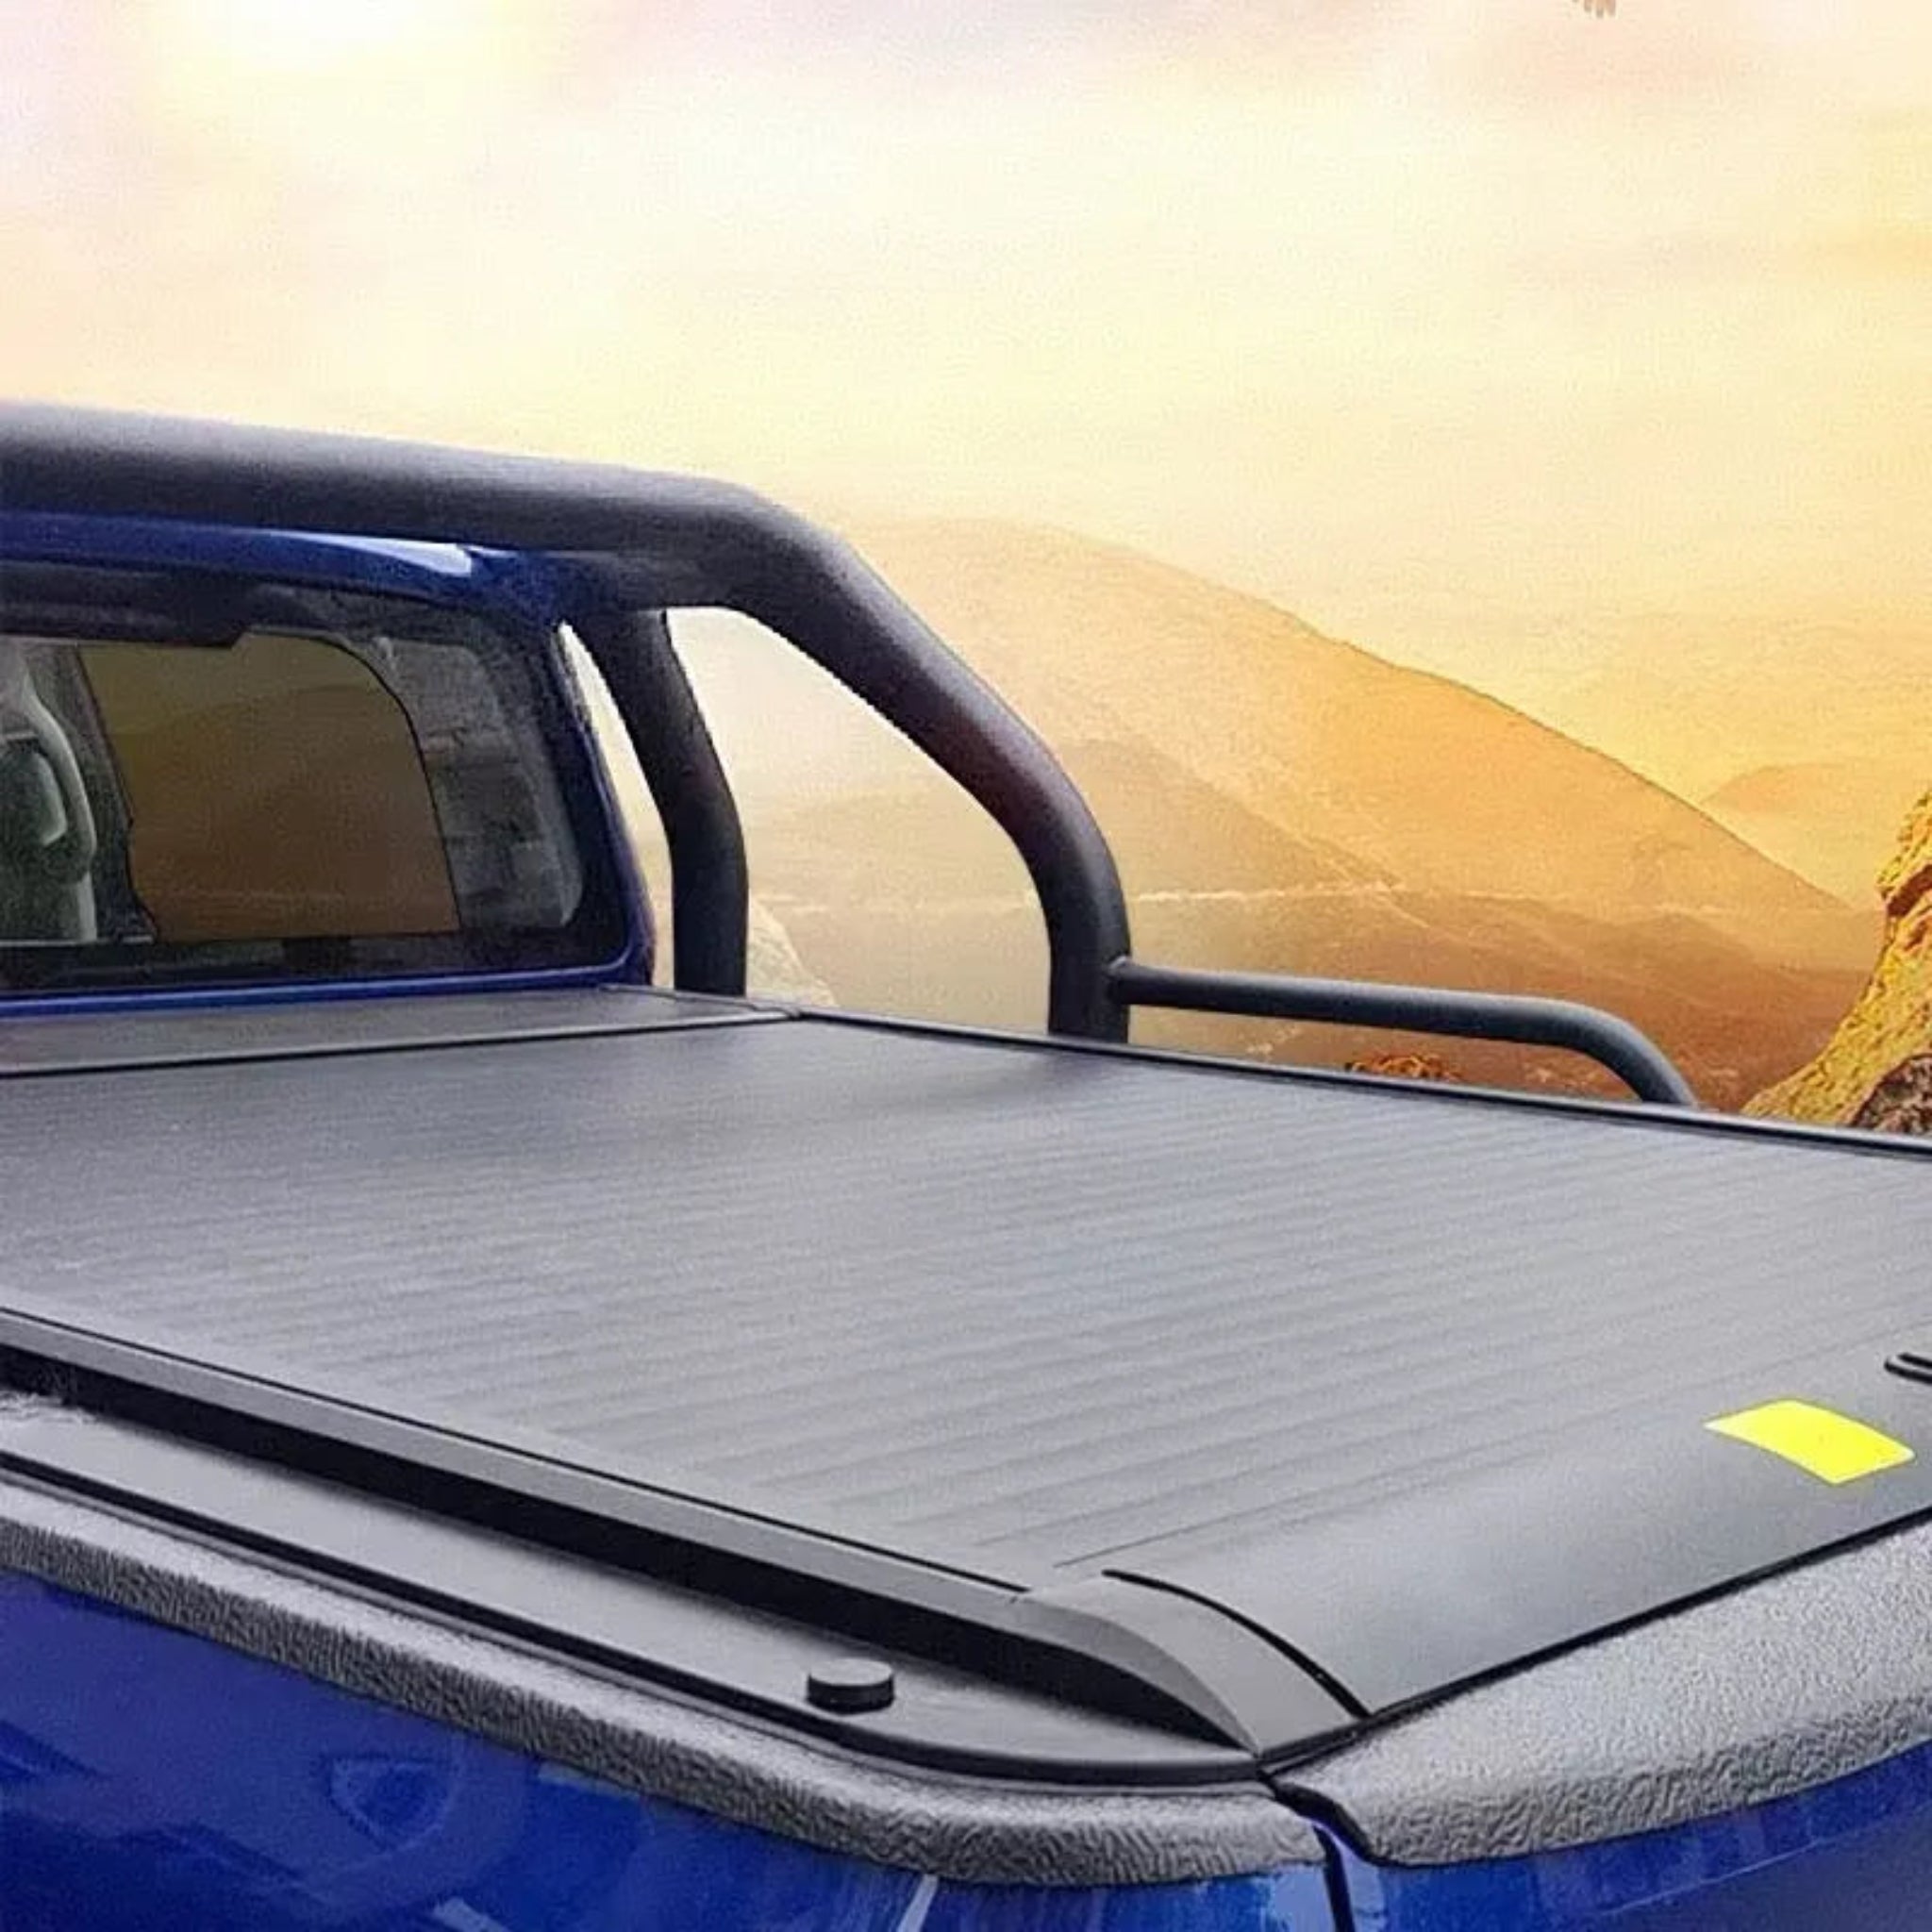
- Versatile Utility: Perfect for daily work commutes and outdoor adventures, keeping your truck bed organized and secure whether hauling construction equipment or camping gear.
- Enhanced Cargo Organization: Keeps contents protected and neatly arranged, preventing shifting during transport and maximizing bed space efficiency.
1
/
4
Gwm Cannon Trunk Roller Shutter Lid
2,337.00 SAR
Shipping fees will be calculated at checkout.
Quantity
Shipping insurance
In the event ofalost or damaged package we guarantee a full refund or replacement product
Expedited order support
We support expedited order processing, can contact us.
securety payments
Easy returns and refundsSecure payments
Return Policy
30-day return policyavailable forall purchases.