



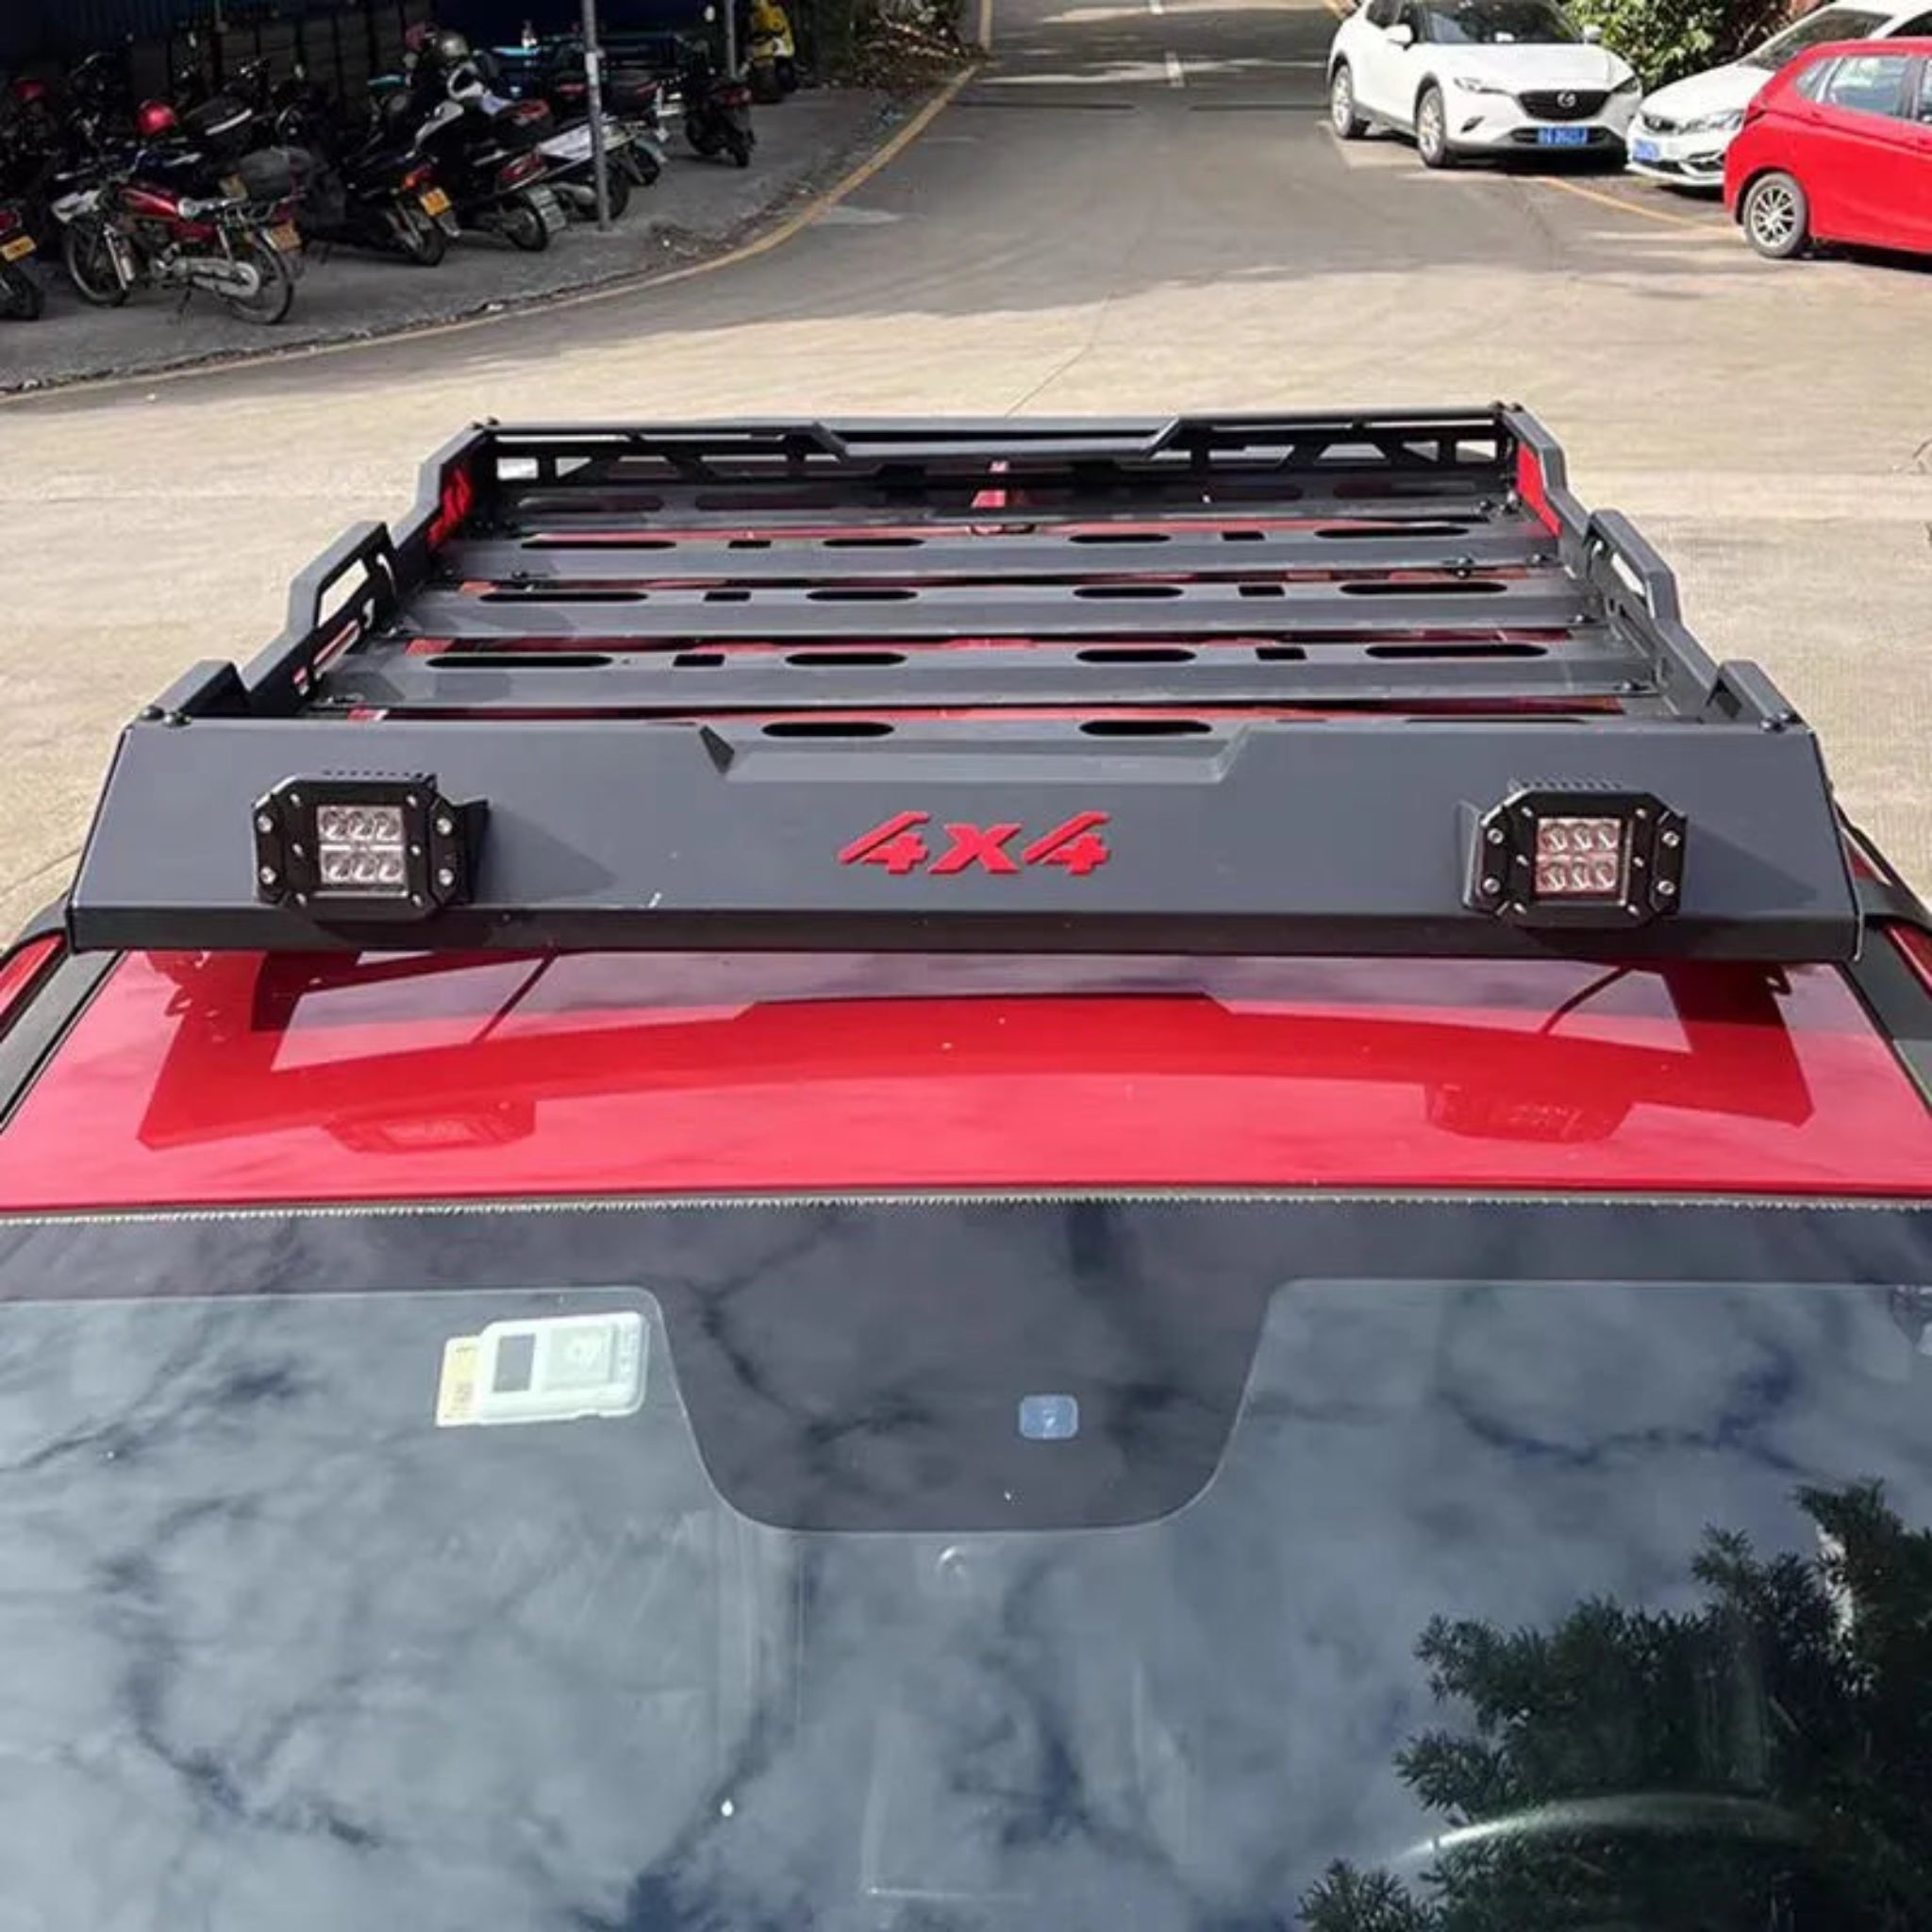
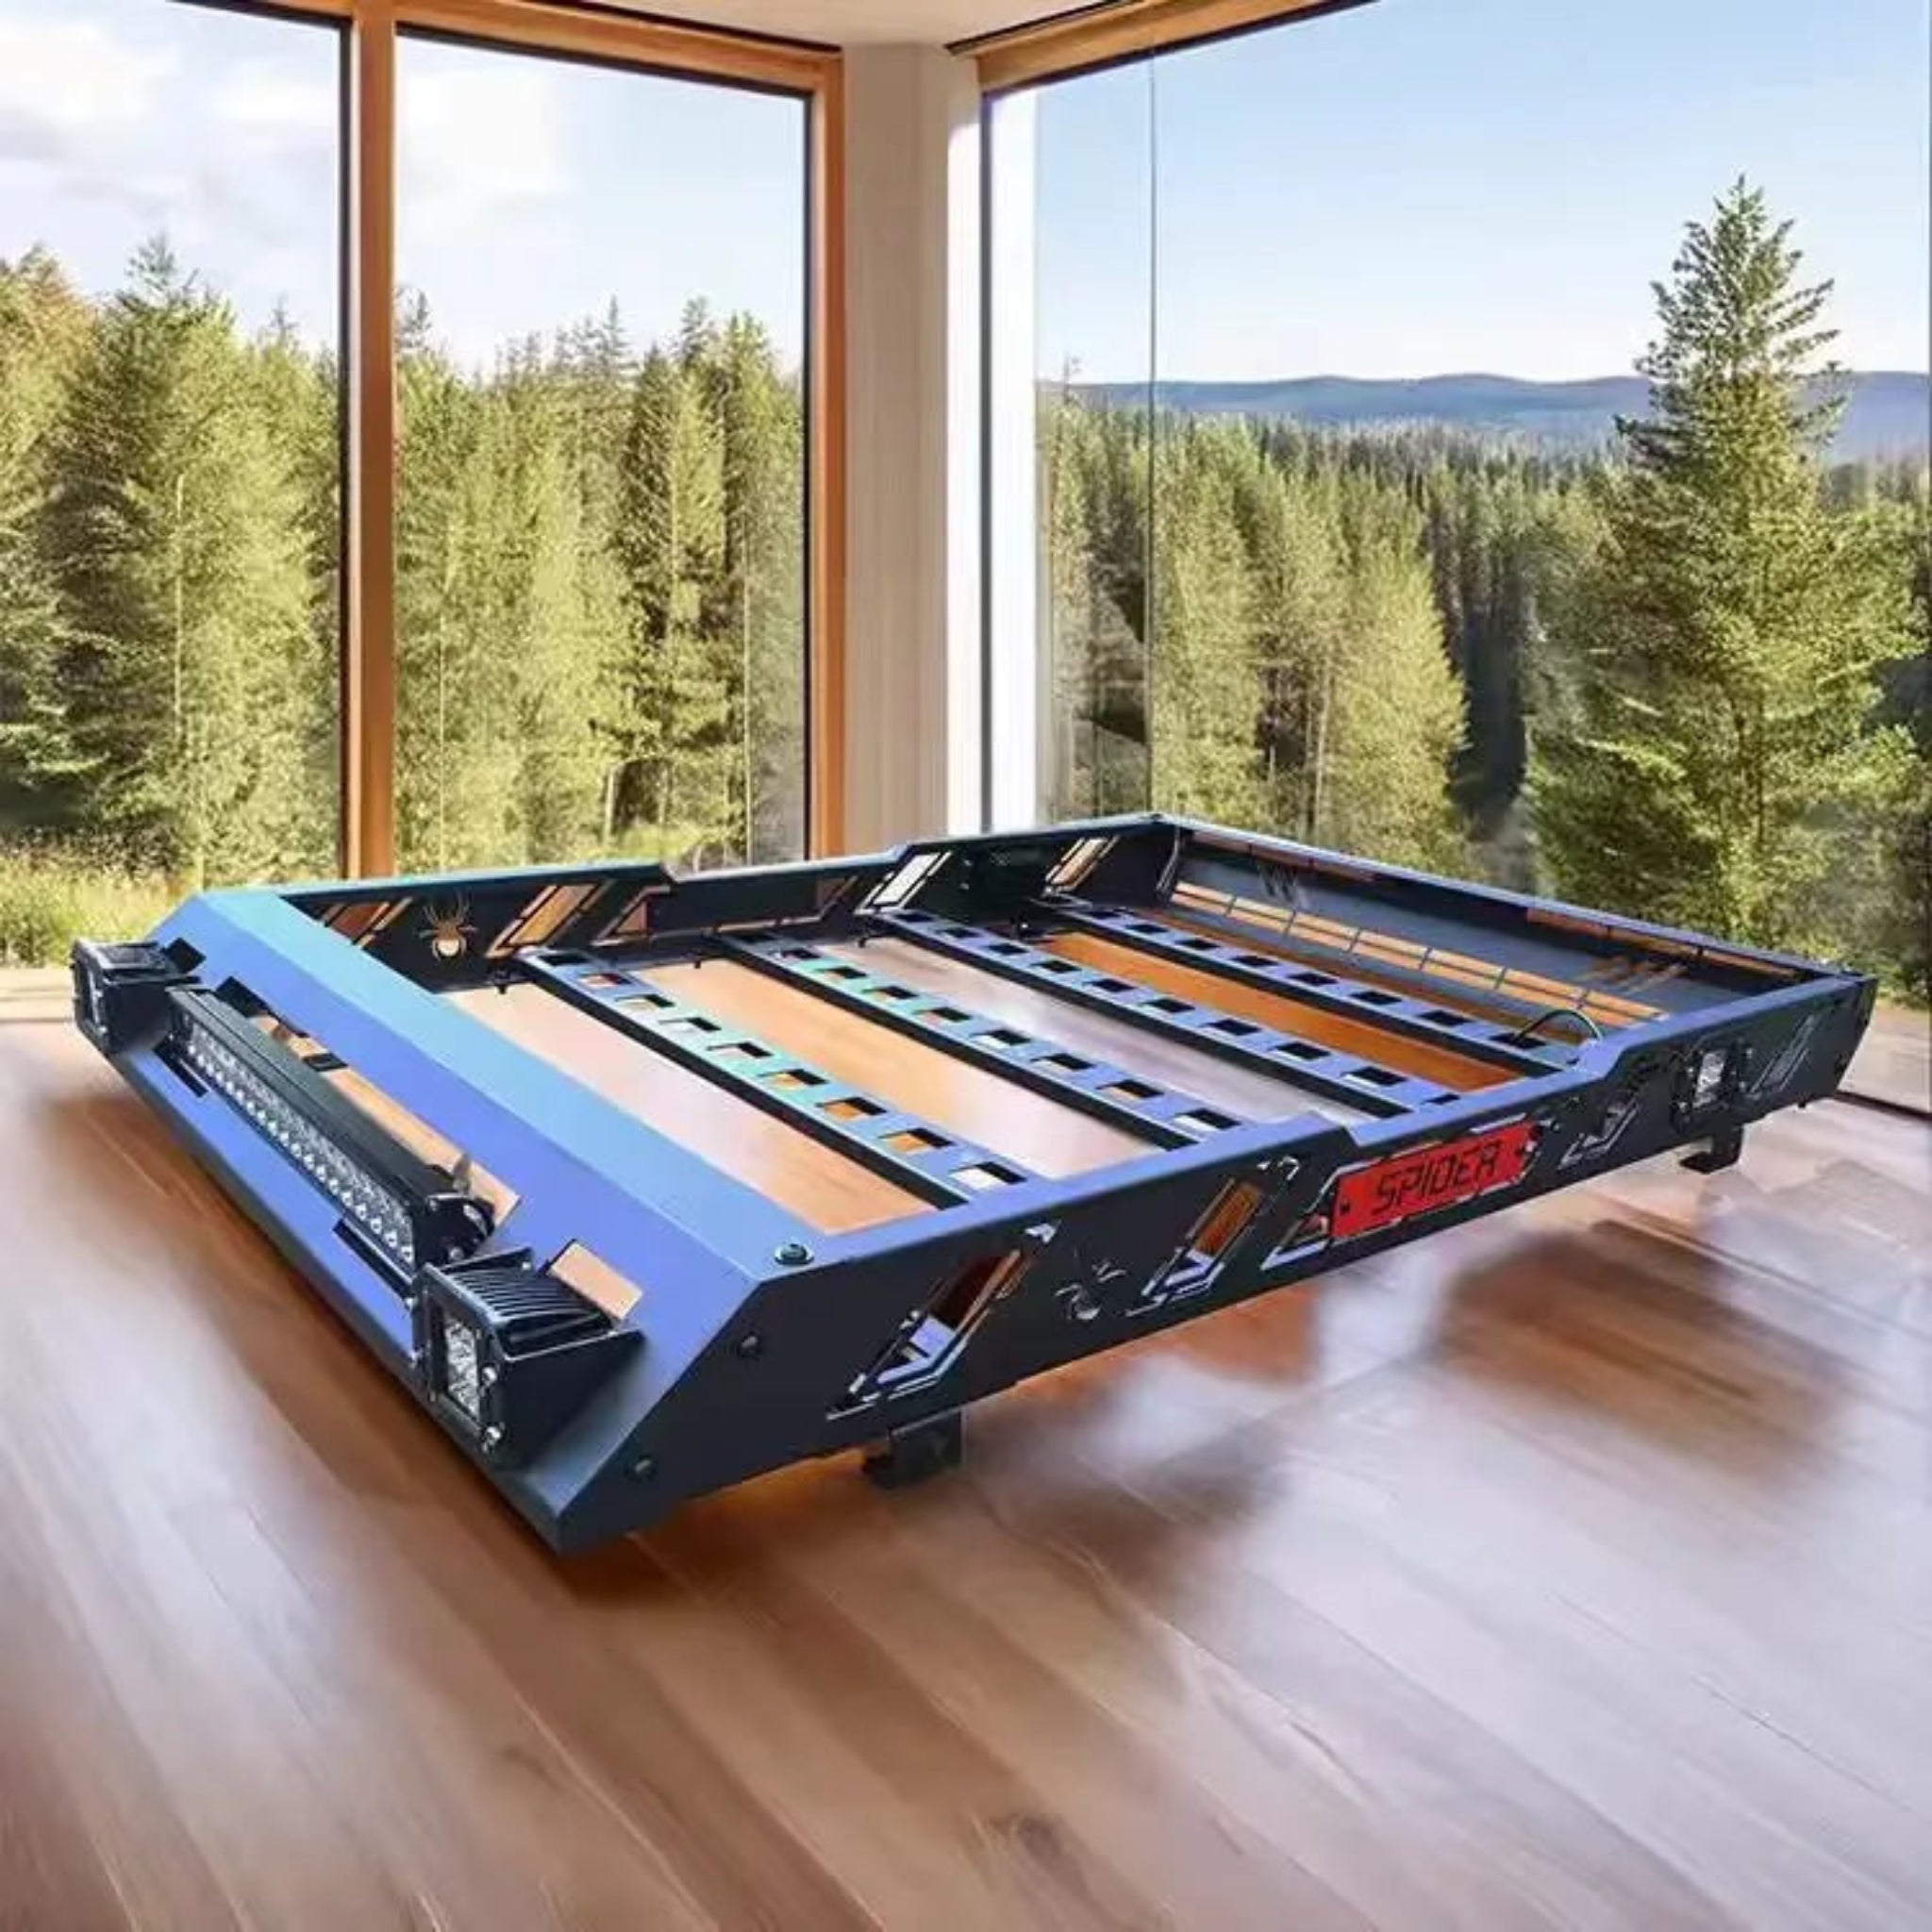
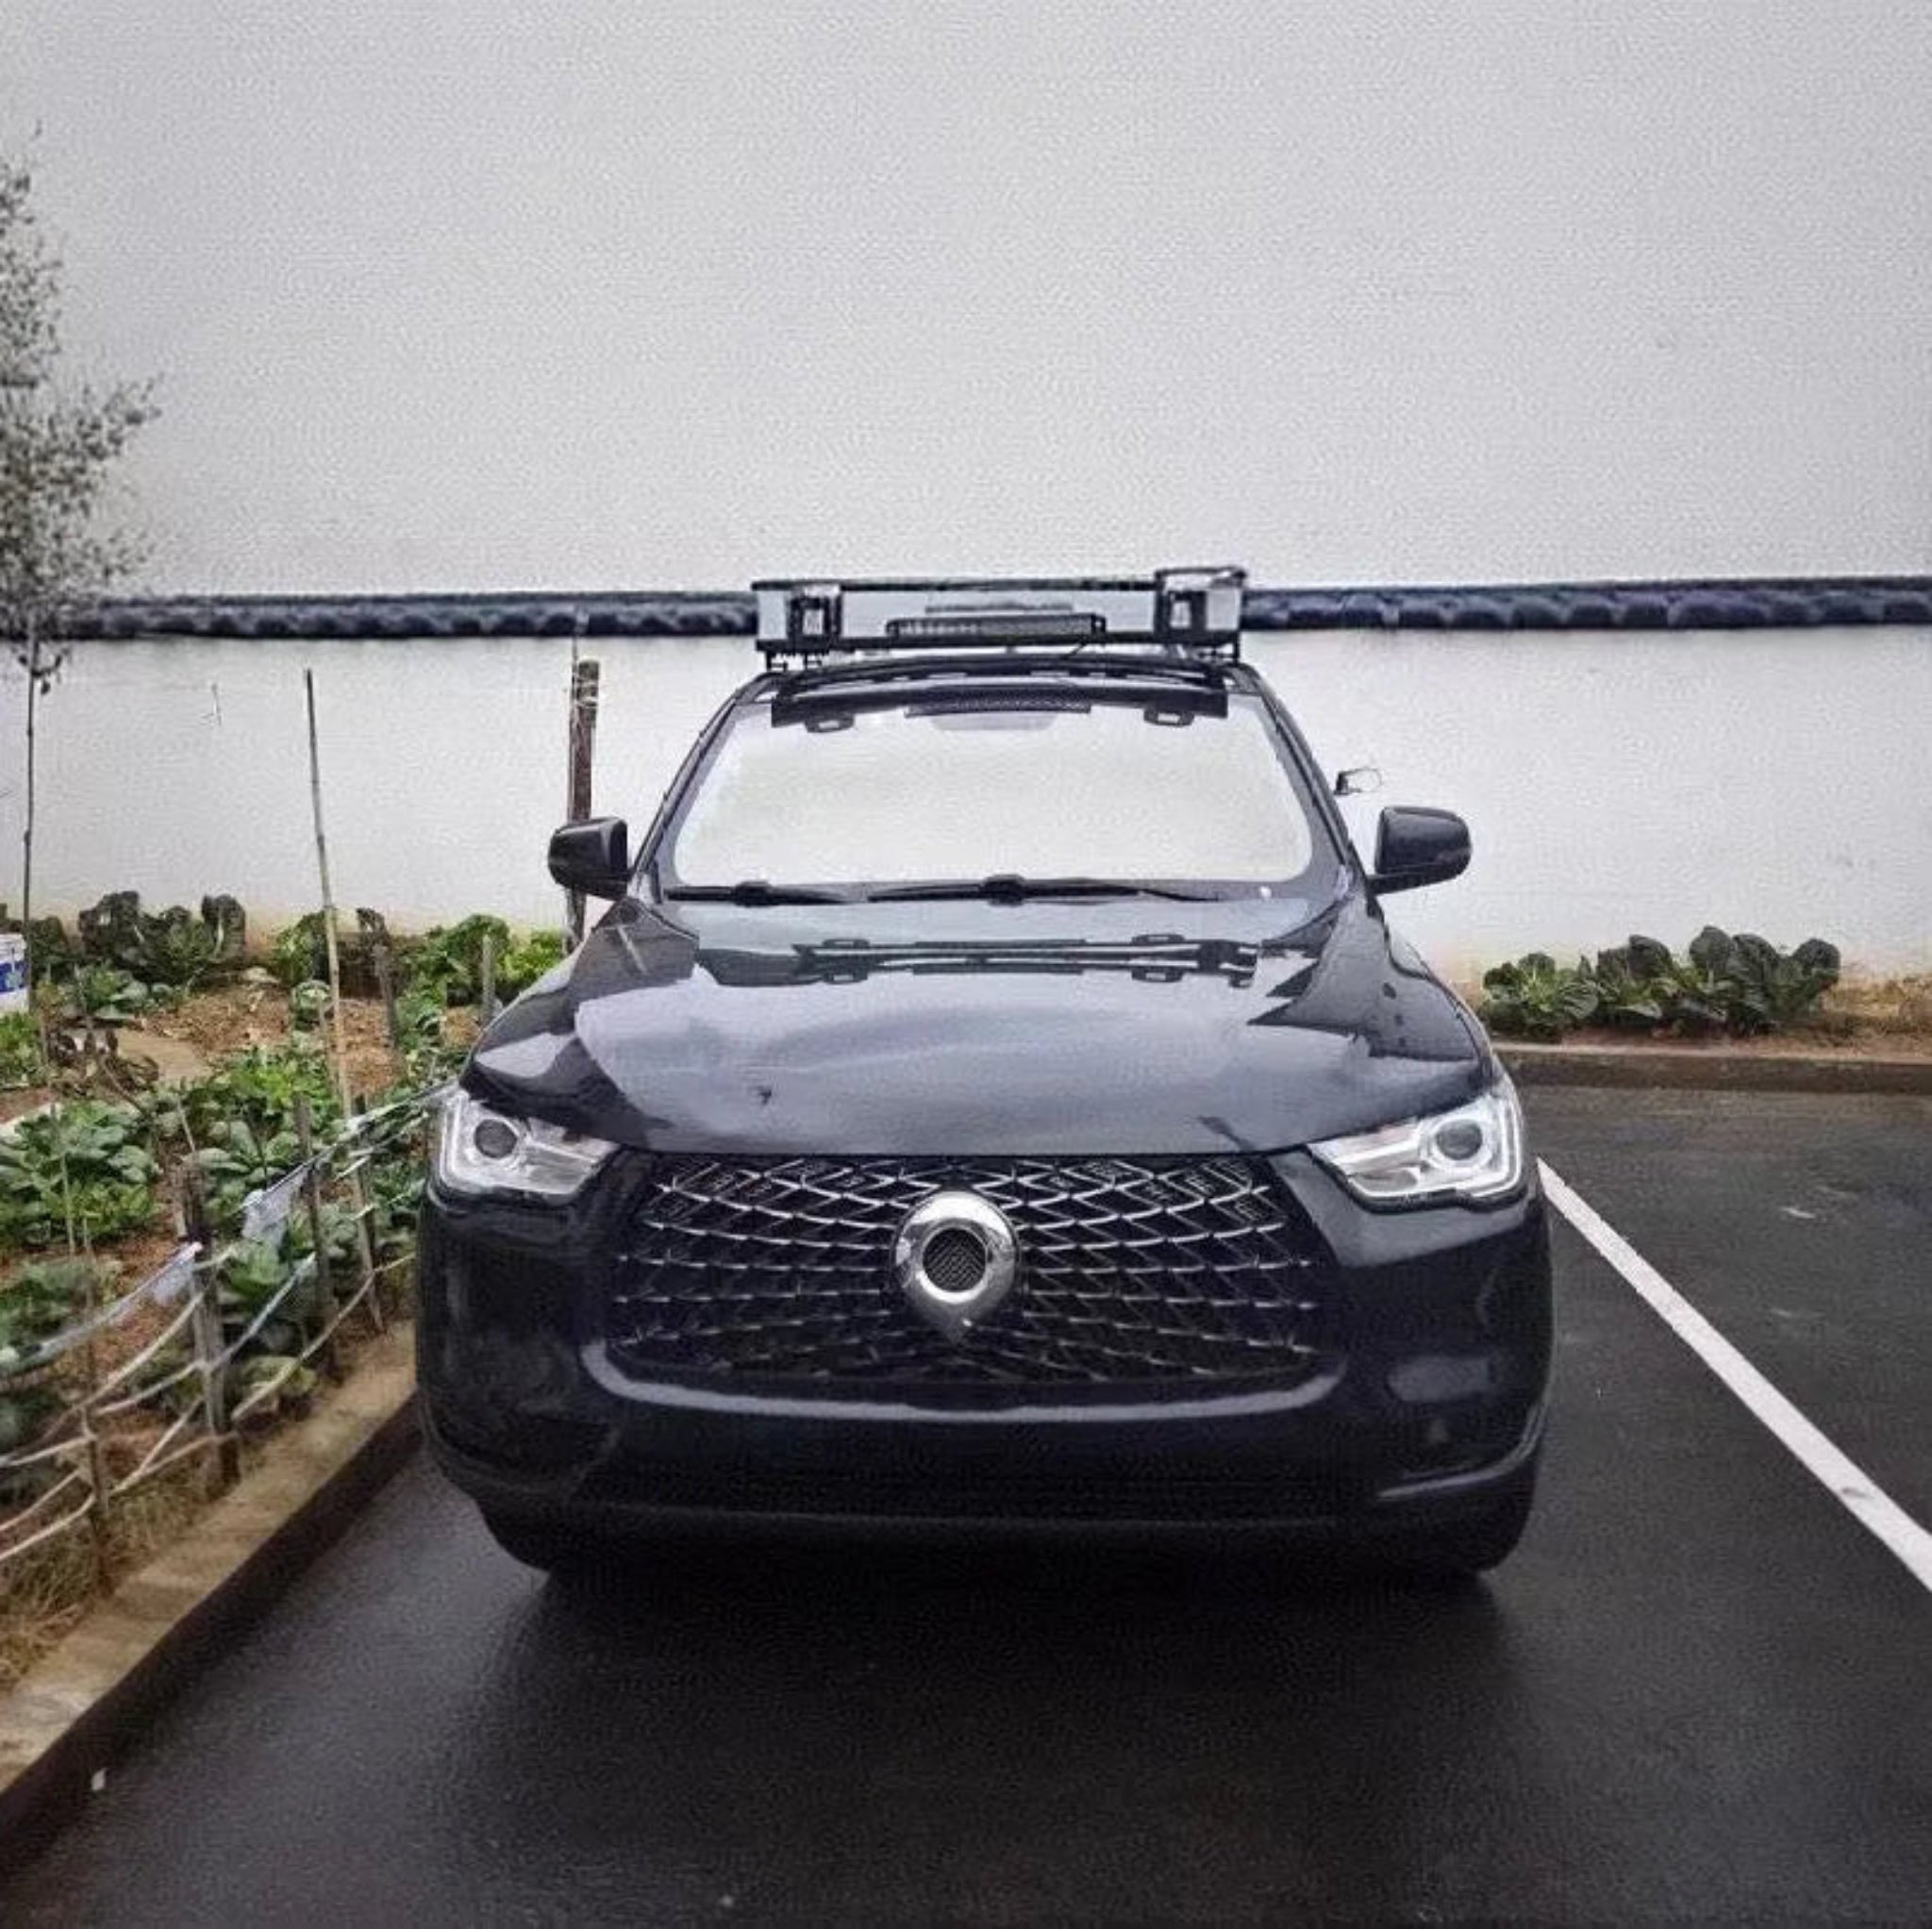
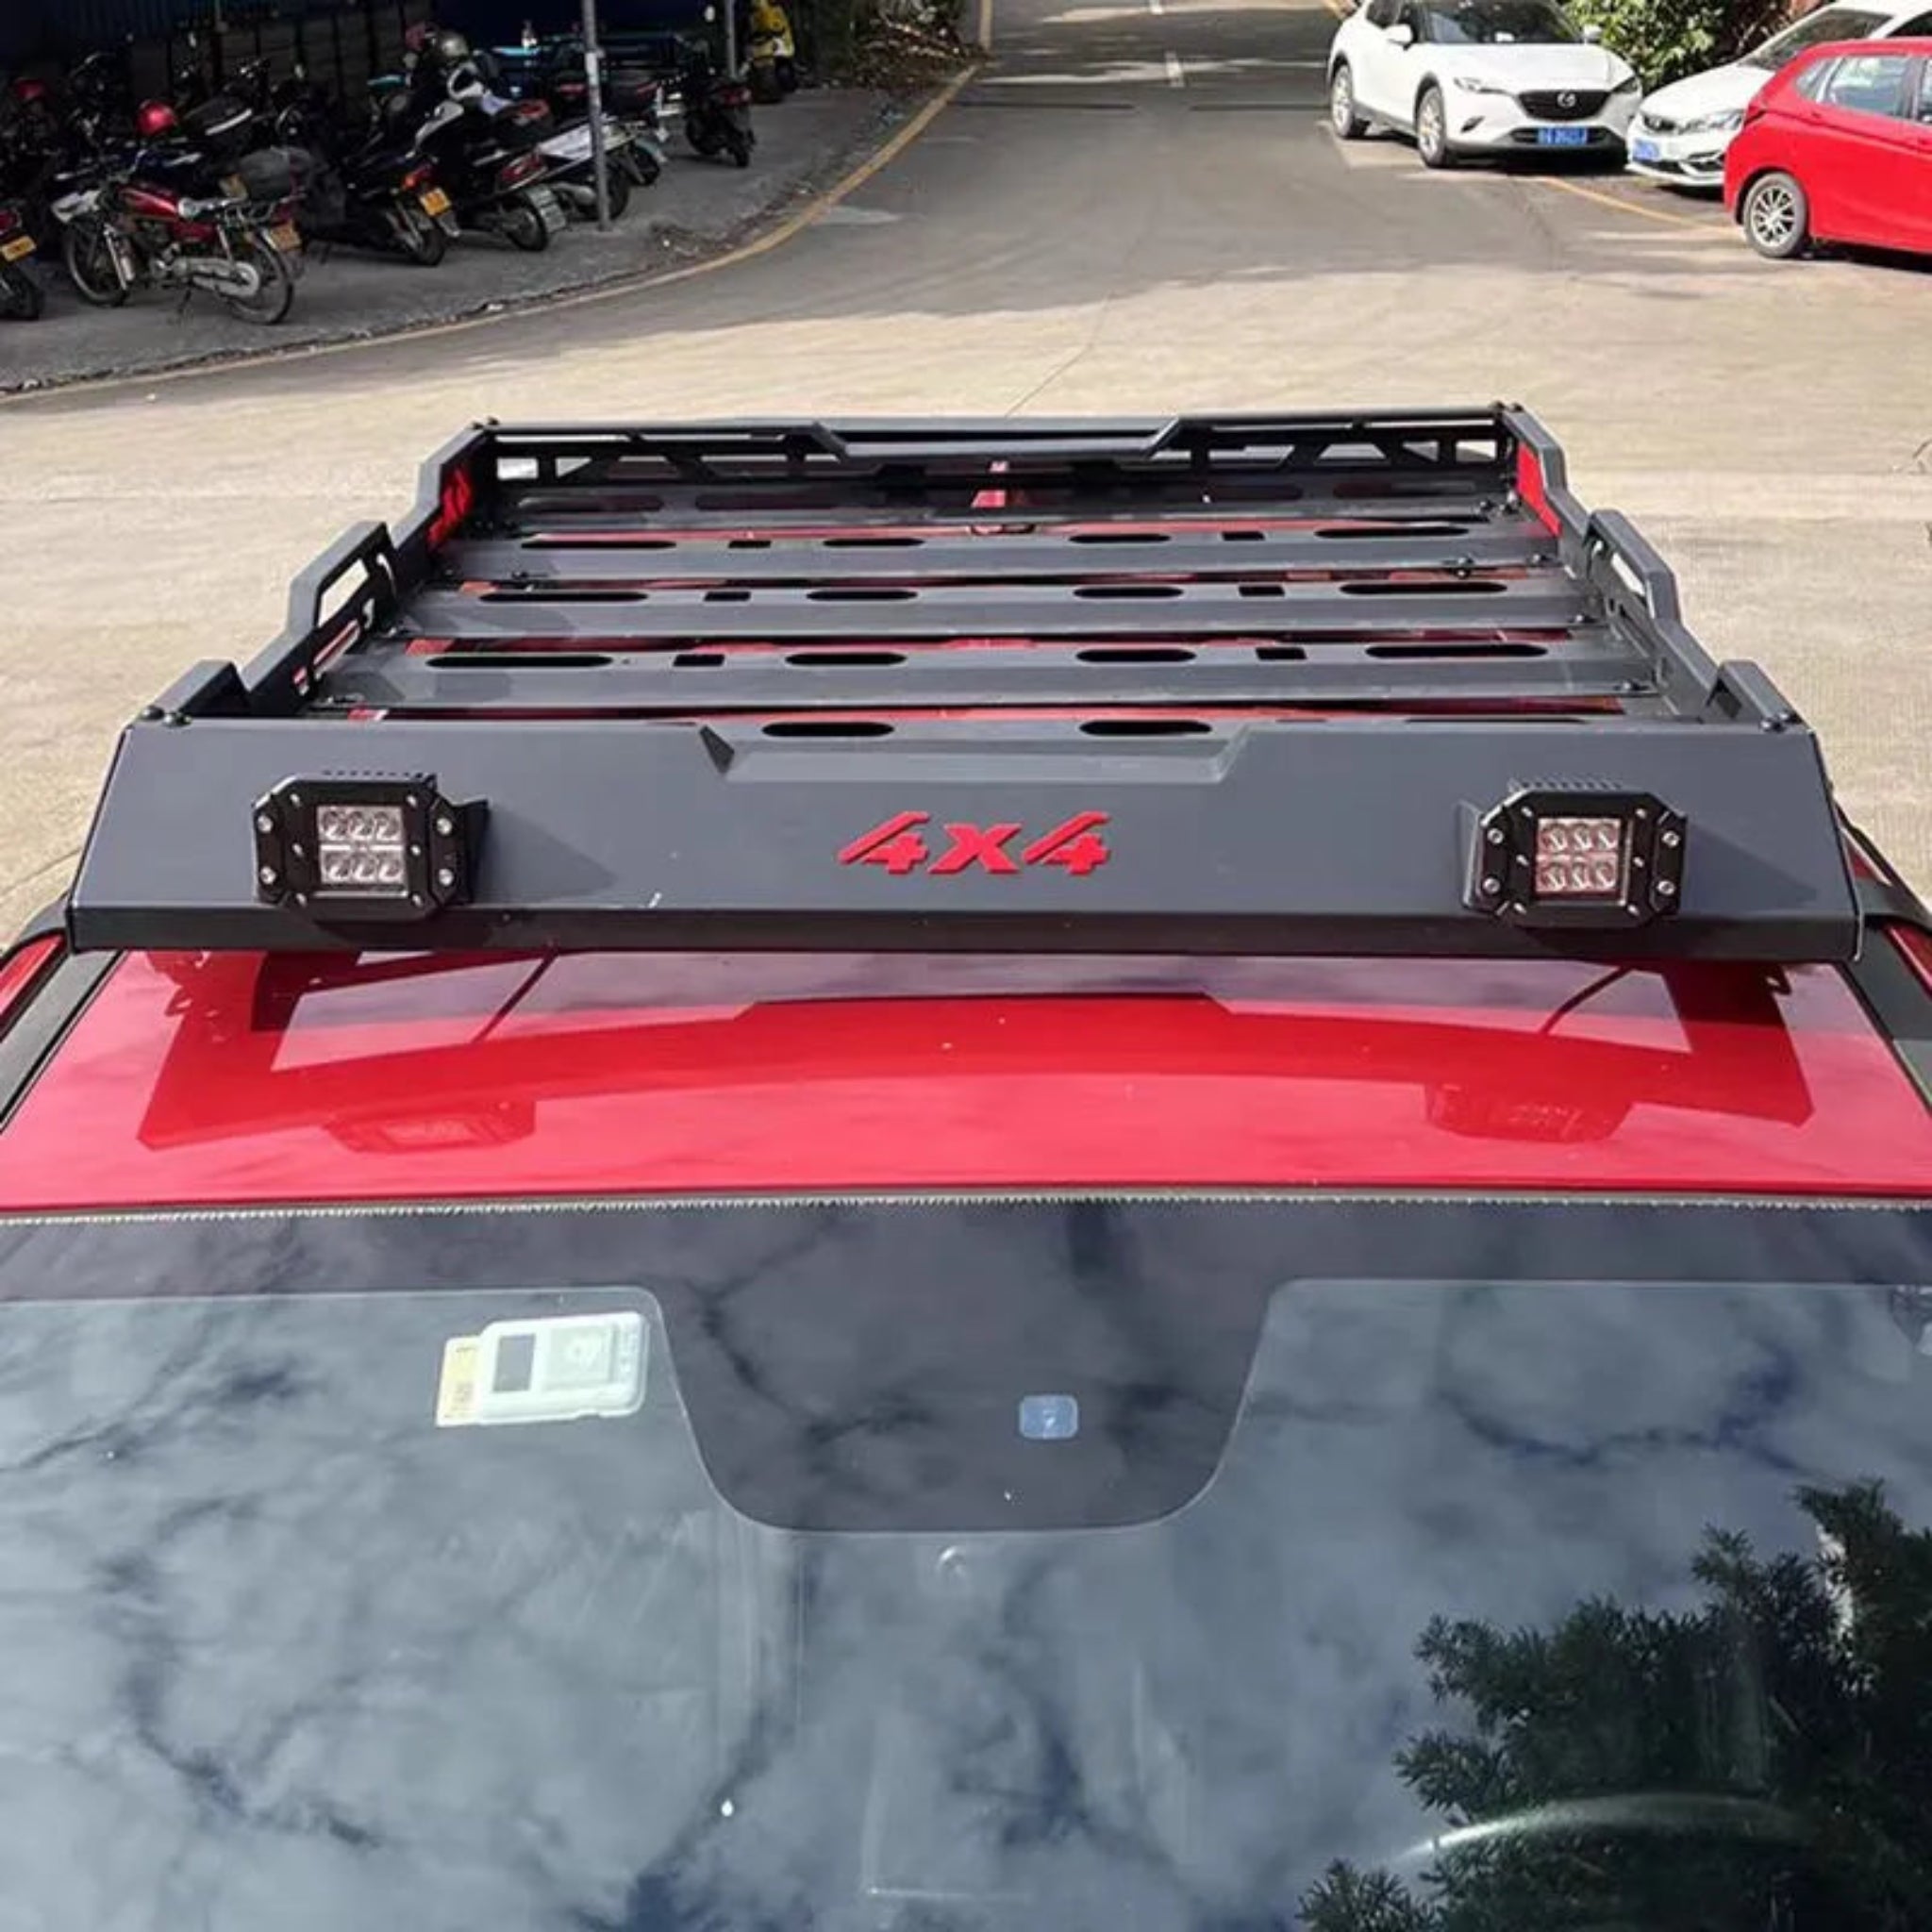
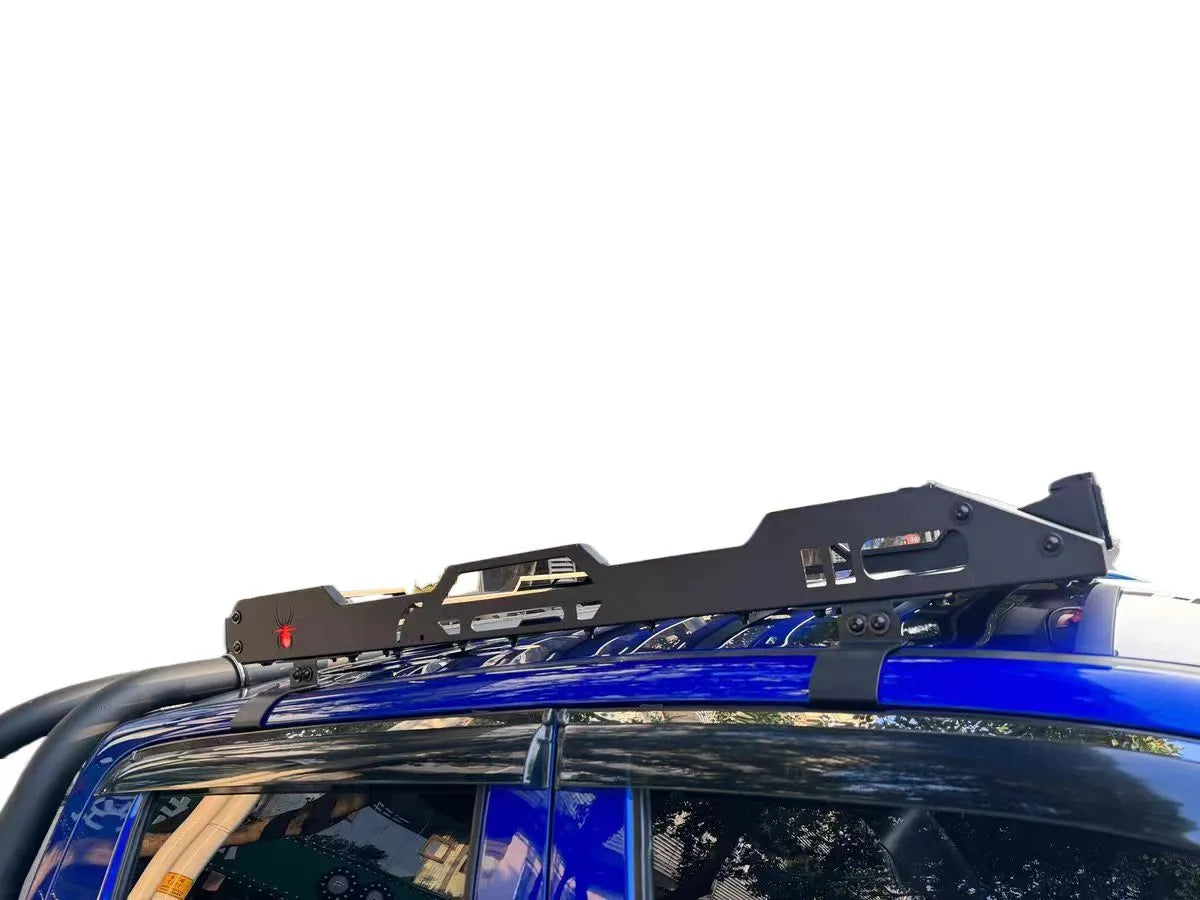
- SIZE-MATCH FITMENT — Engineered for the GWM Cannon (2021-2026) and verified on the Ford Ranger; fits most dual-cab pickups and SUVs by roof dimensions. Send your roof photos — we confirm fit before shipping.
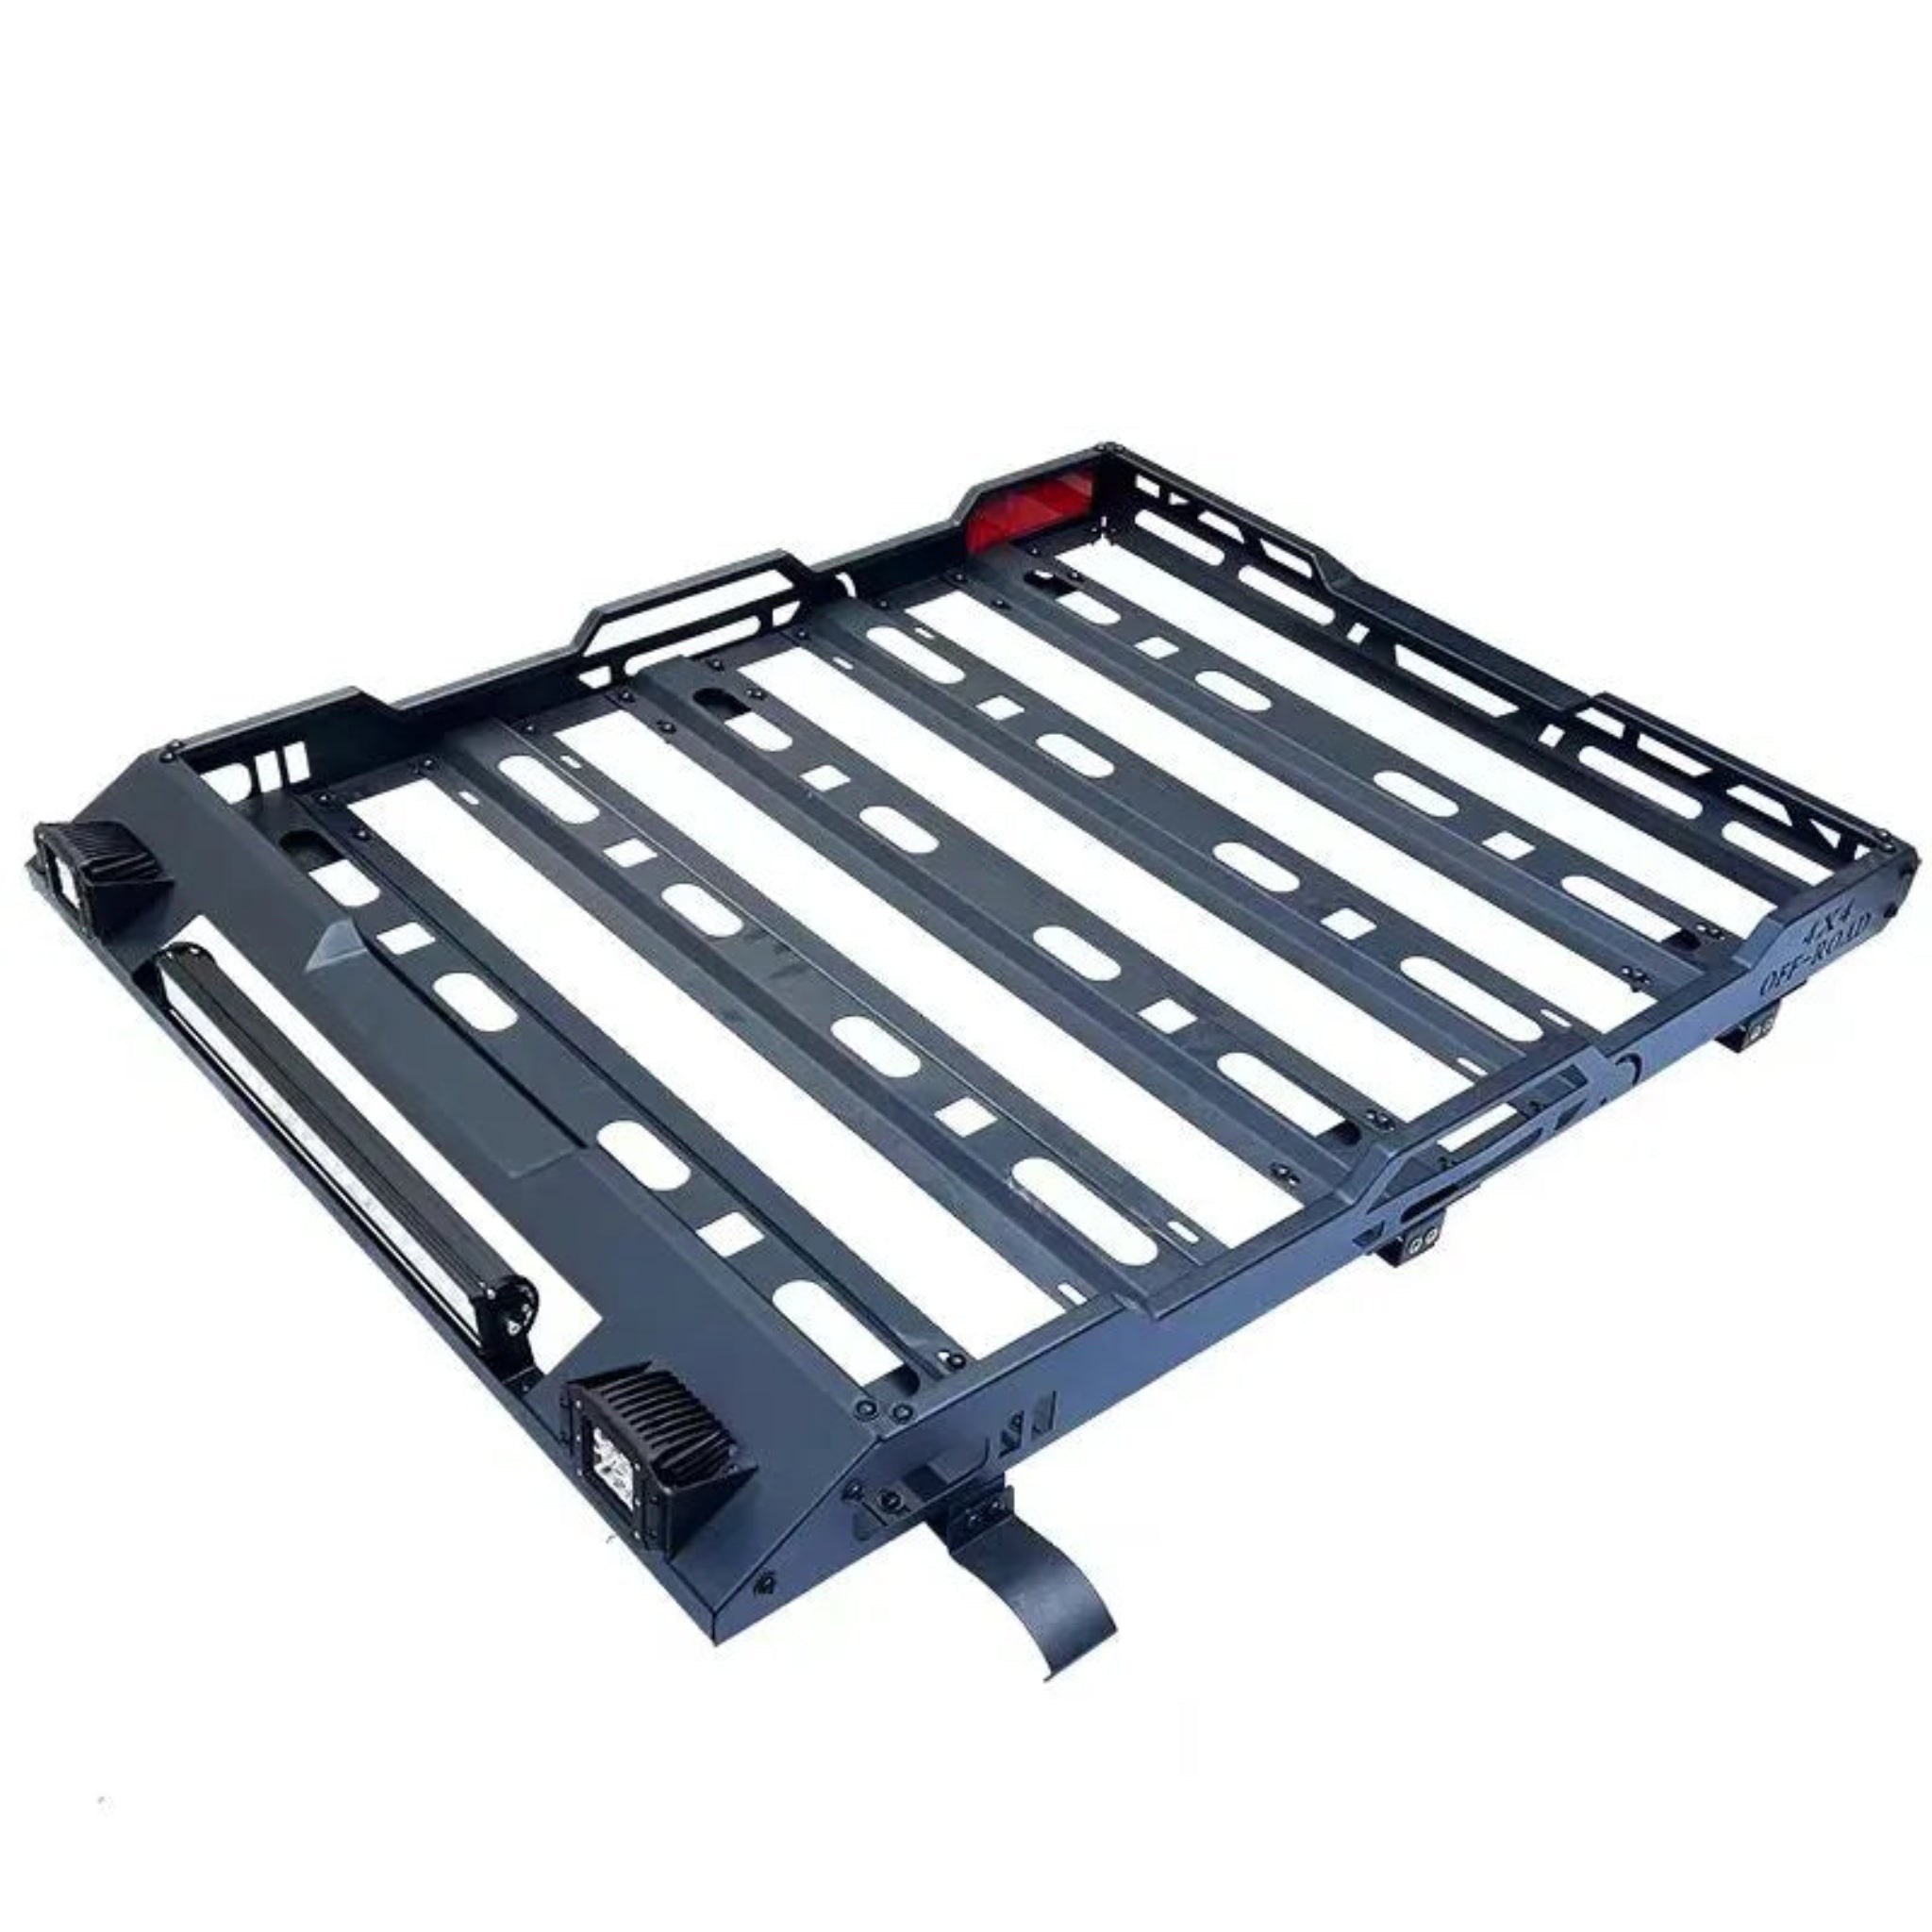
- No-Drill Installation: True bolt-on design requires zero drilling or cutting, preserving your vehicle's structural integrity and resale value.
- Aircraft-Grade Aluminum: Premium extruded aluminum construction offers superior strength-to-weight ratio while minimizing fuel efficiency impact.
- Whisper-Quiet Aerodynamics: Low-profile, sleek wing-shape design reduces wind drag and eliminates annoying whistling noise.
- Universal T-Slot Integration: Standard T-slots fully compatible with recovery tracks, awnings, roof tents, and bike carriers.
- Extreme Weather Resilience: UV-stable matte black powder coating withstands harsh sun and coastal salt-spray without fading or rusting.
- High Load Rating: Supports up to 100kg dynamic load (driving) and 300kg static load (parked), ideal for rooftop tent enthusiasts.
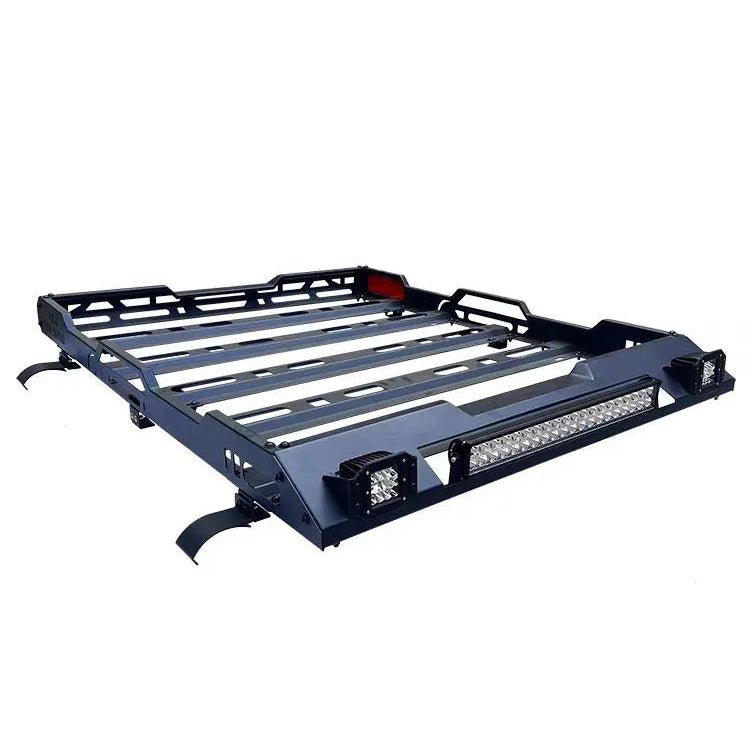
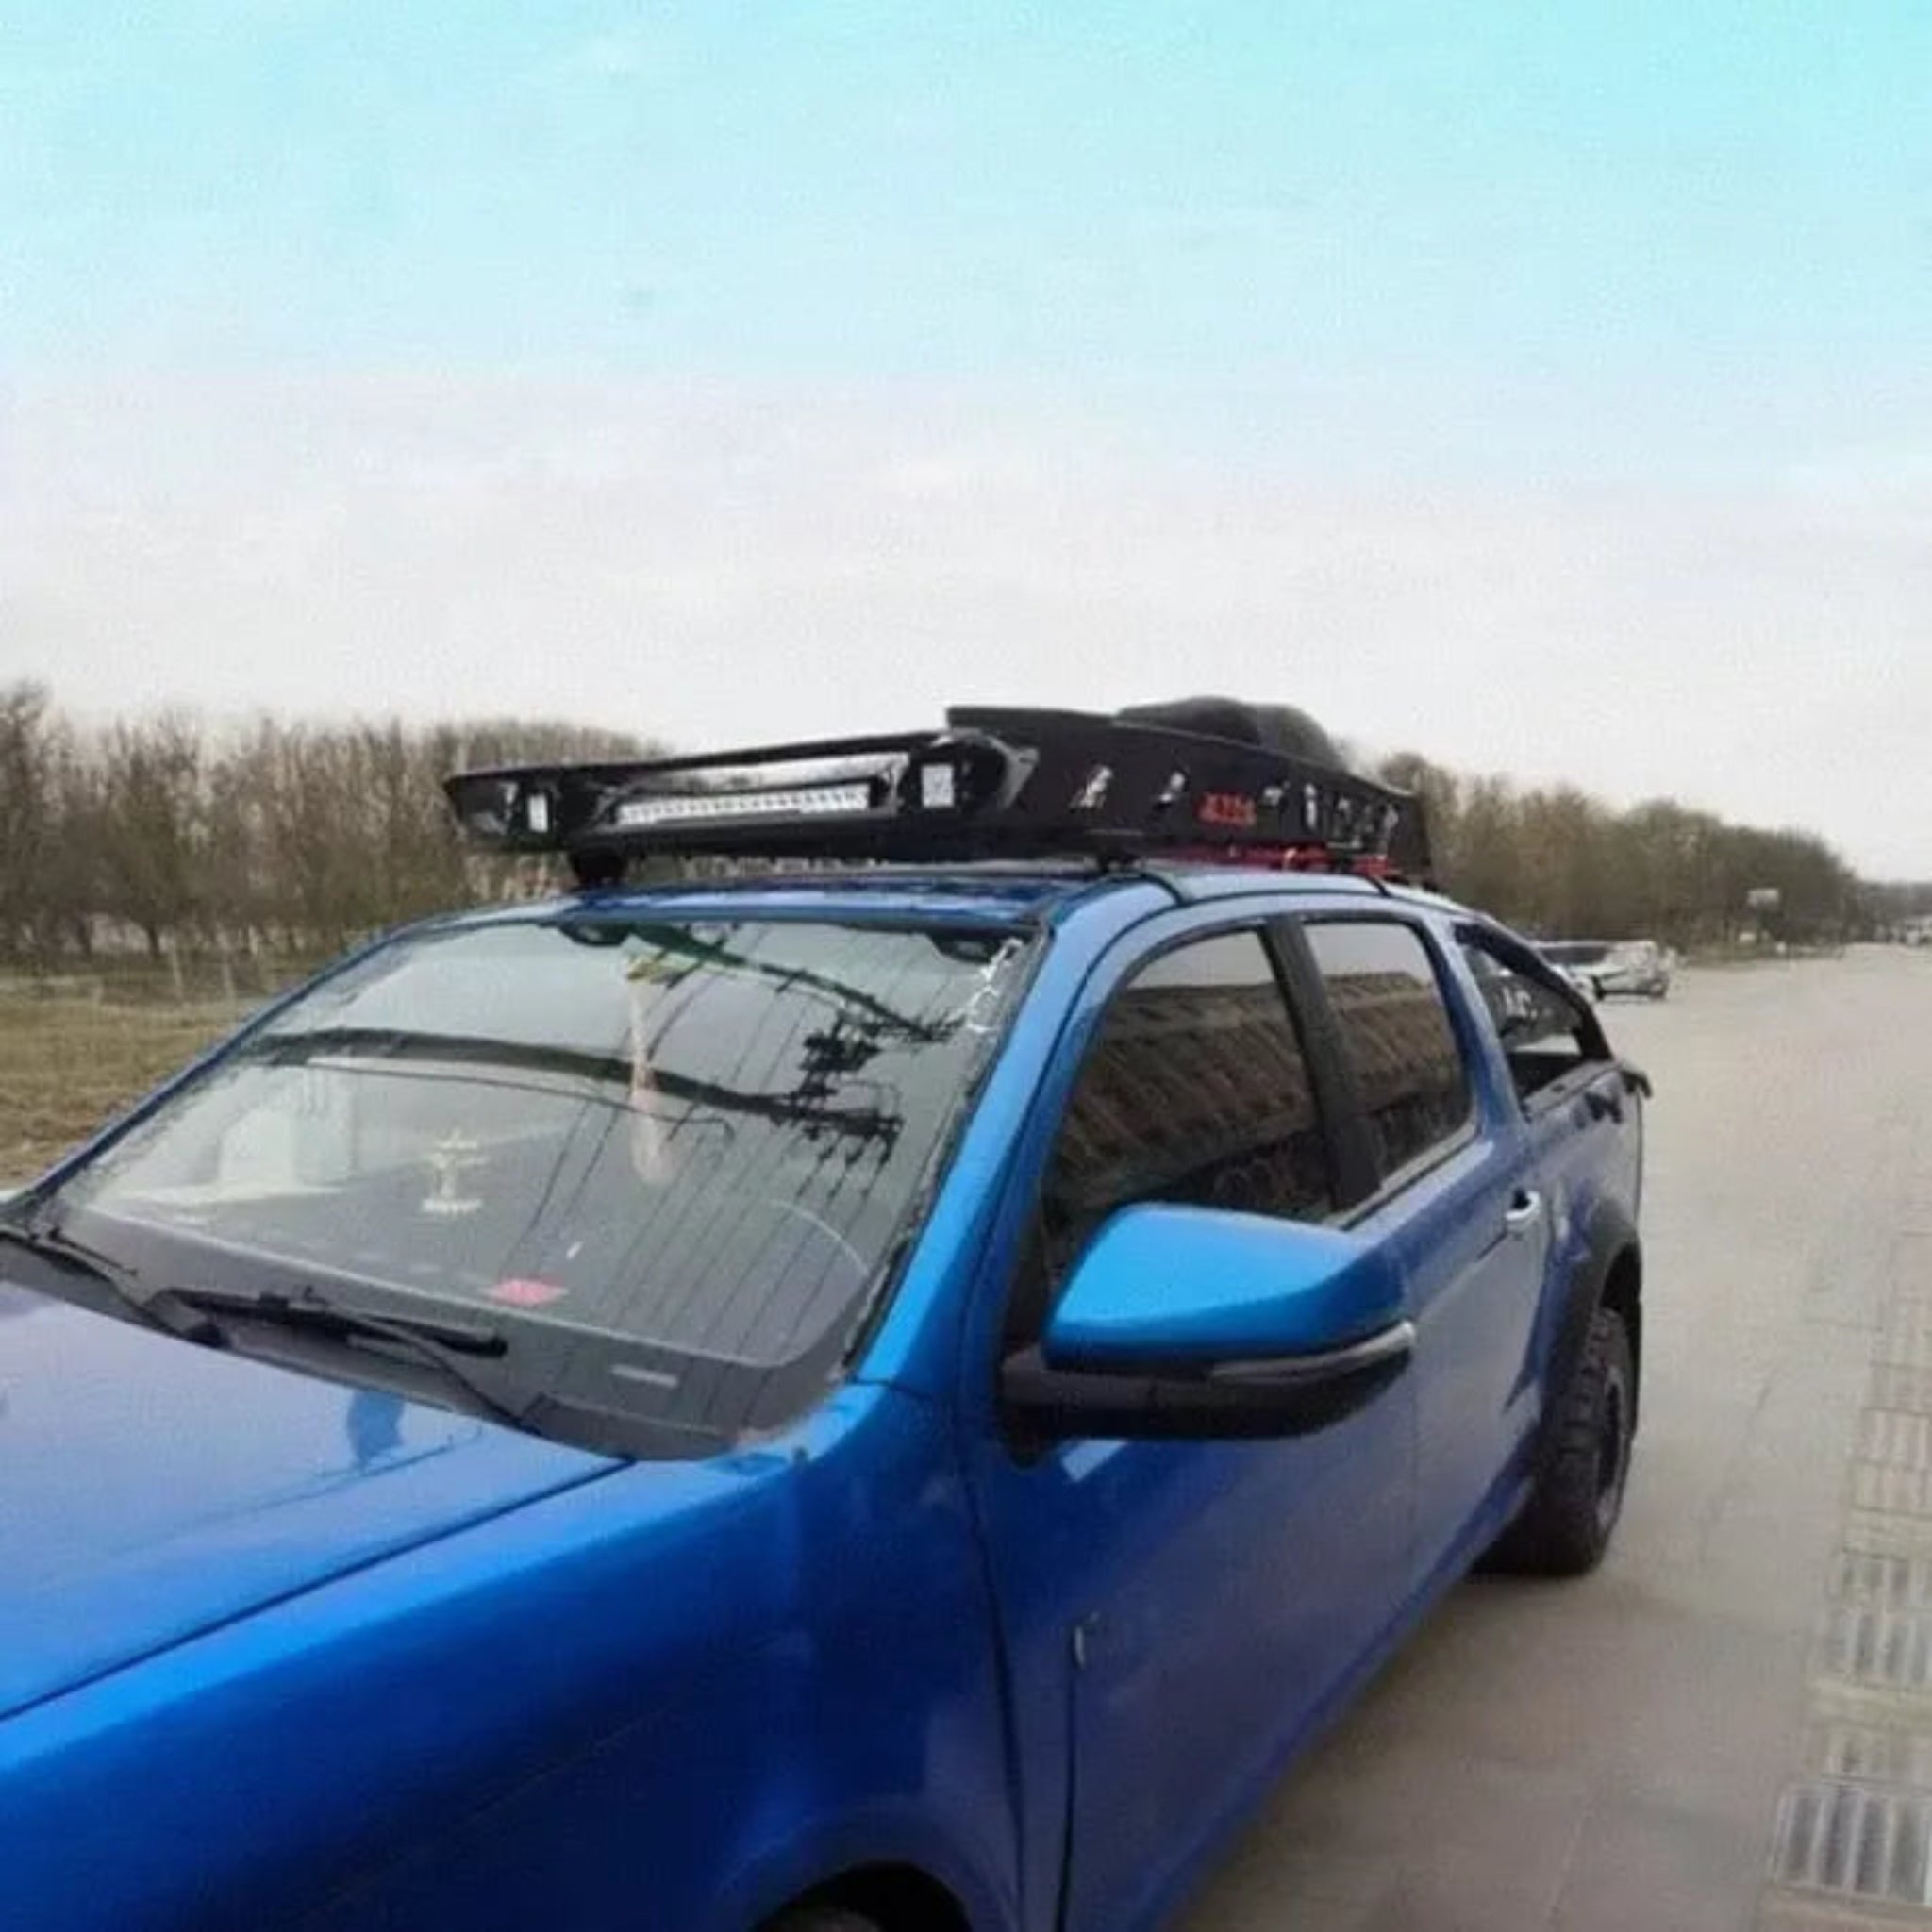
1
/
6
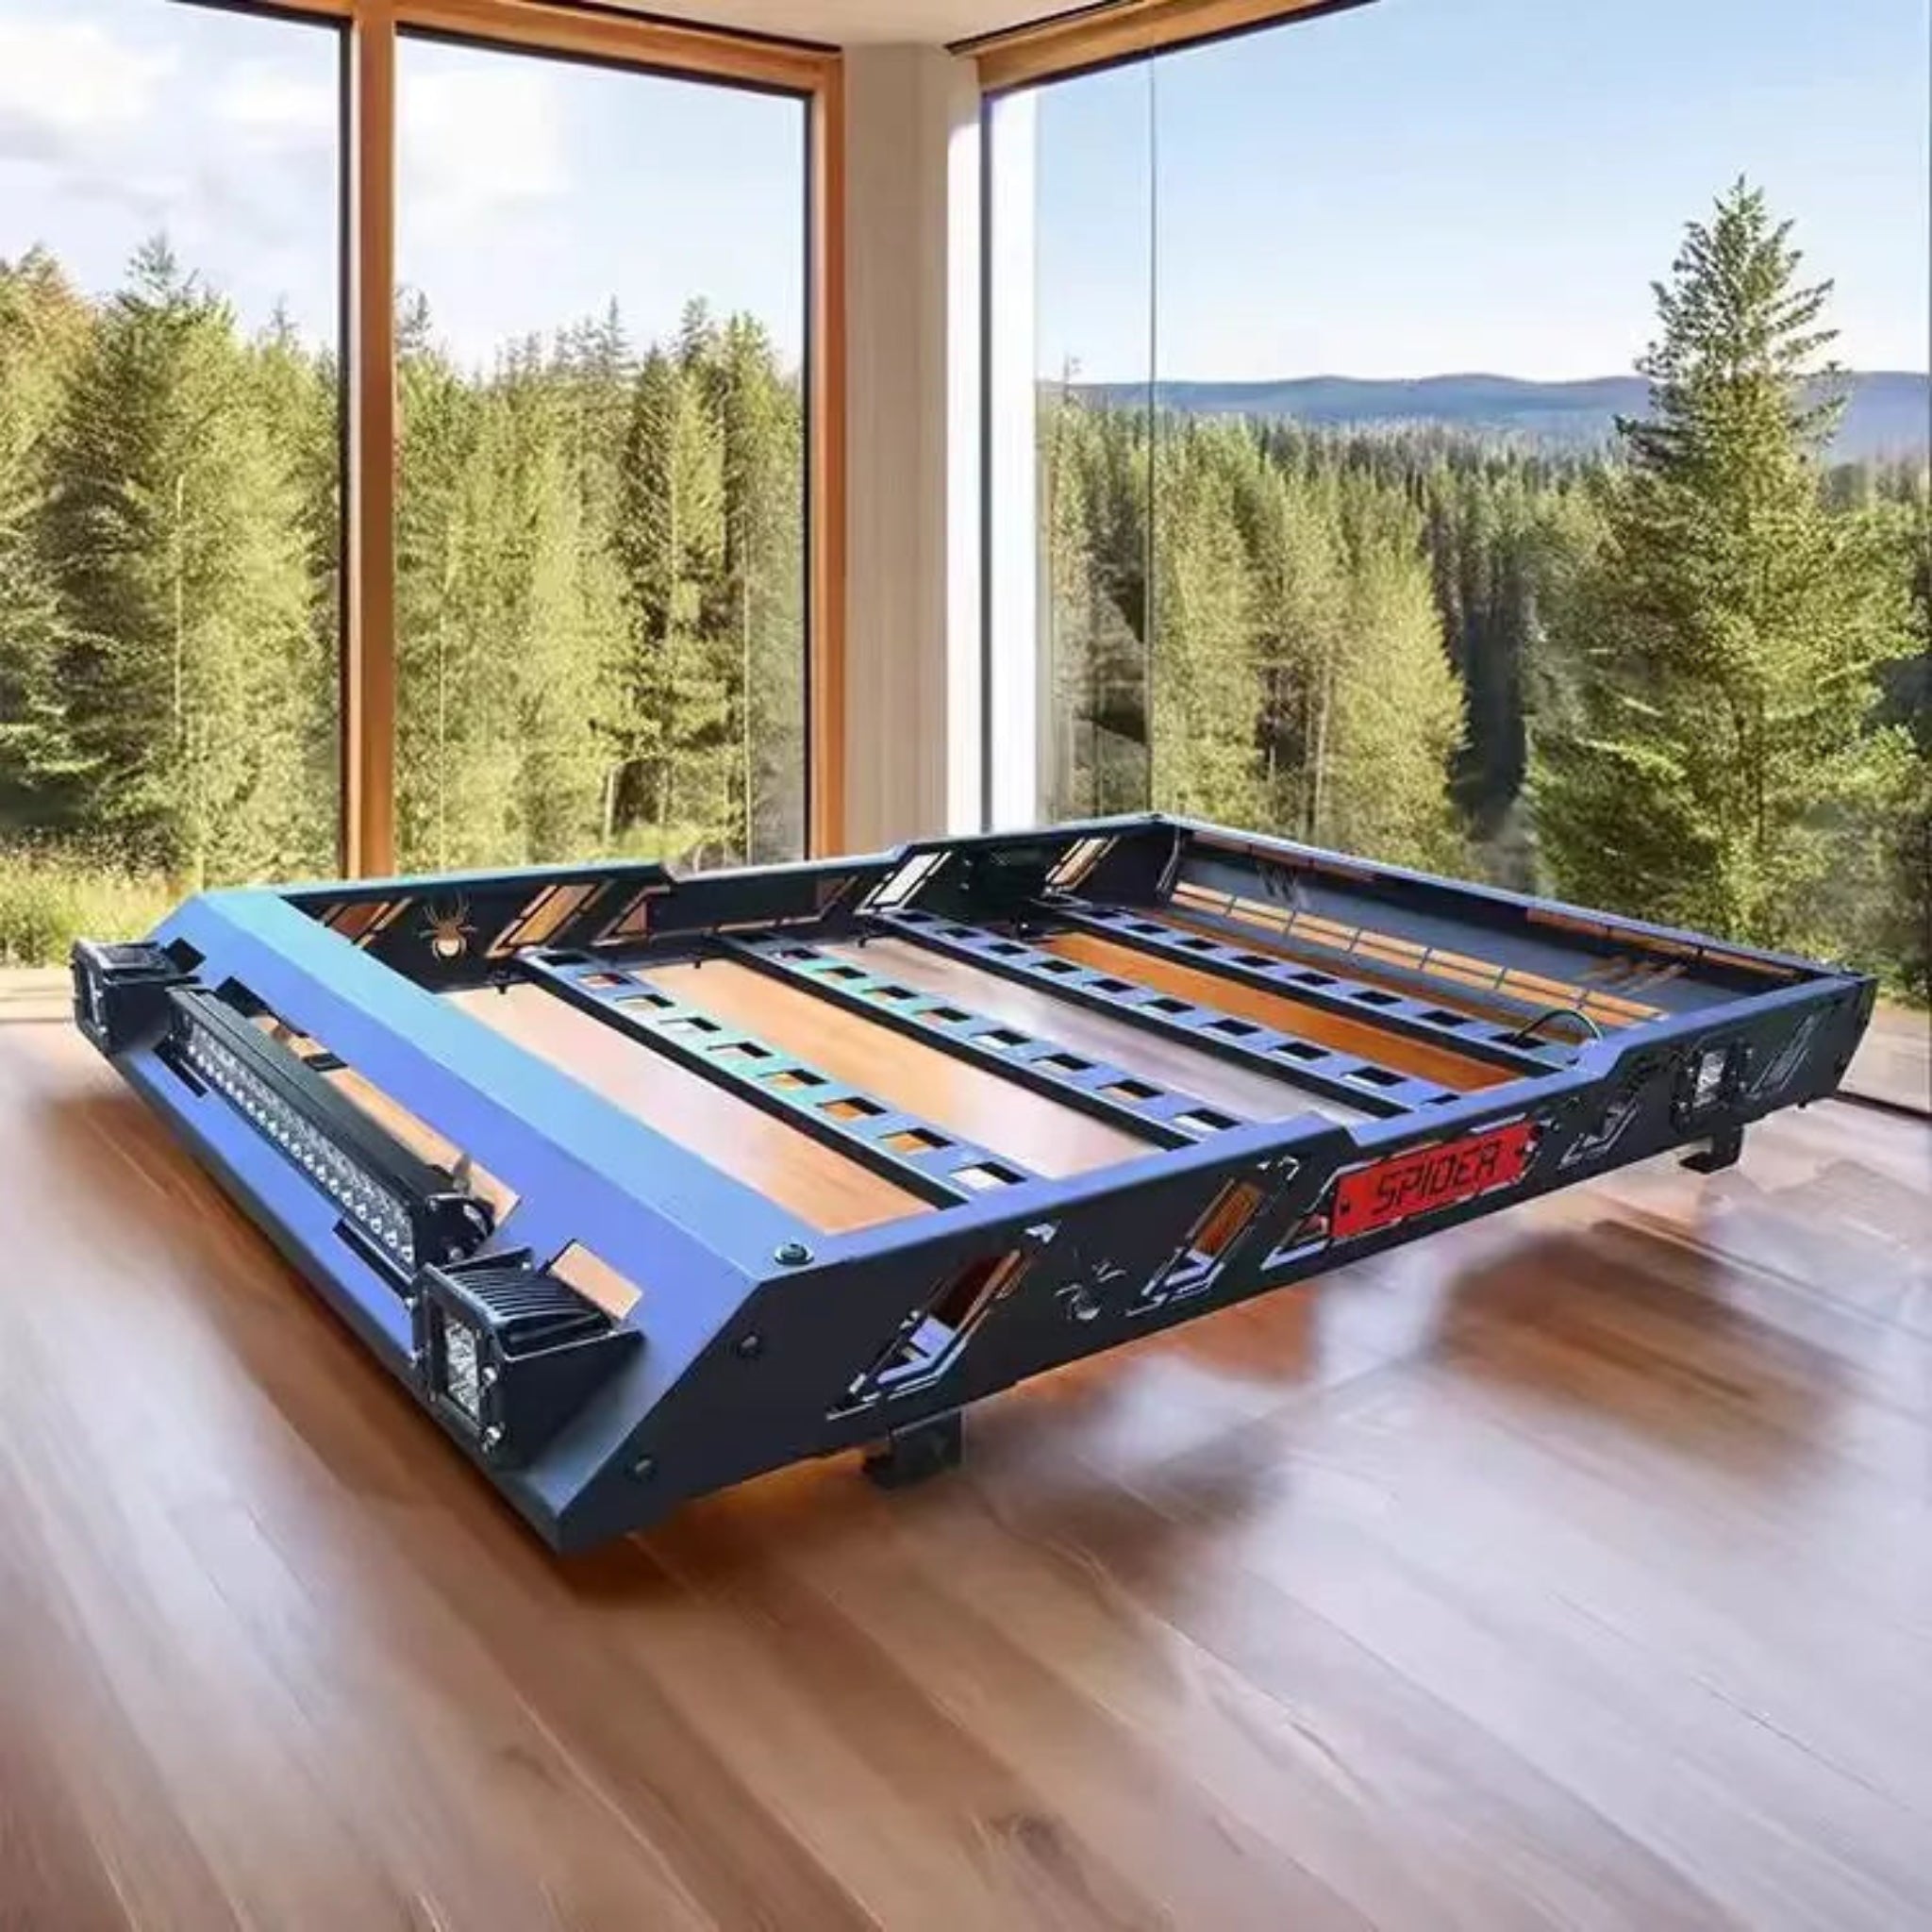
Aluminum Pickup Roof Rack Platform with LED Lights — Fits GWM Cannon, Ford Ranger, BYD Shark 6 & More
$1,052.00 NZD
$1,160.00 NZD
Save $108.00 NZD
Shipping fees will be calculated at checkout.
Quantity
Features & Benefits
What's Included
Product Gallery
Installation Guide
Total time
45-60 minutes
Drilling required
No - bolt-on
Warranty
Yes - non-invasive
Shipping insurance
In the event ofalost or damaged package we guarantee a full refund or replacement product
Expedited order support
We support expedited order processing, can contact us.
securety payments
Easy returns and refundsSecure payments
Return Policy
30-day return policyavailable forall purchases.