
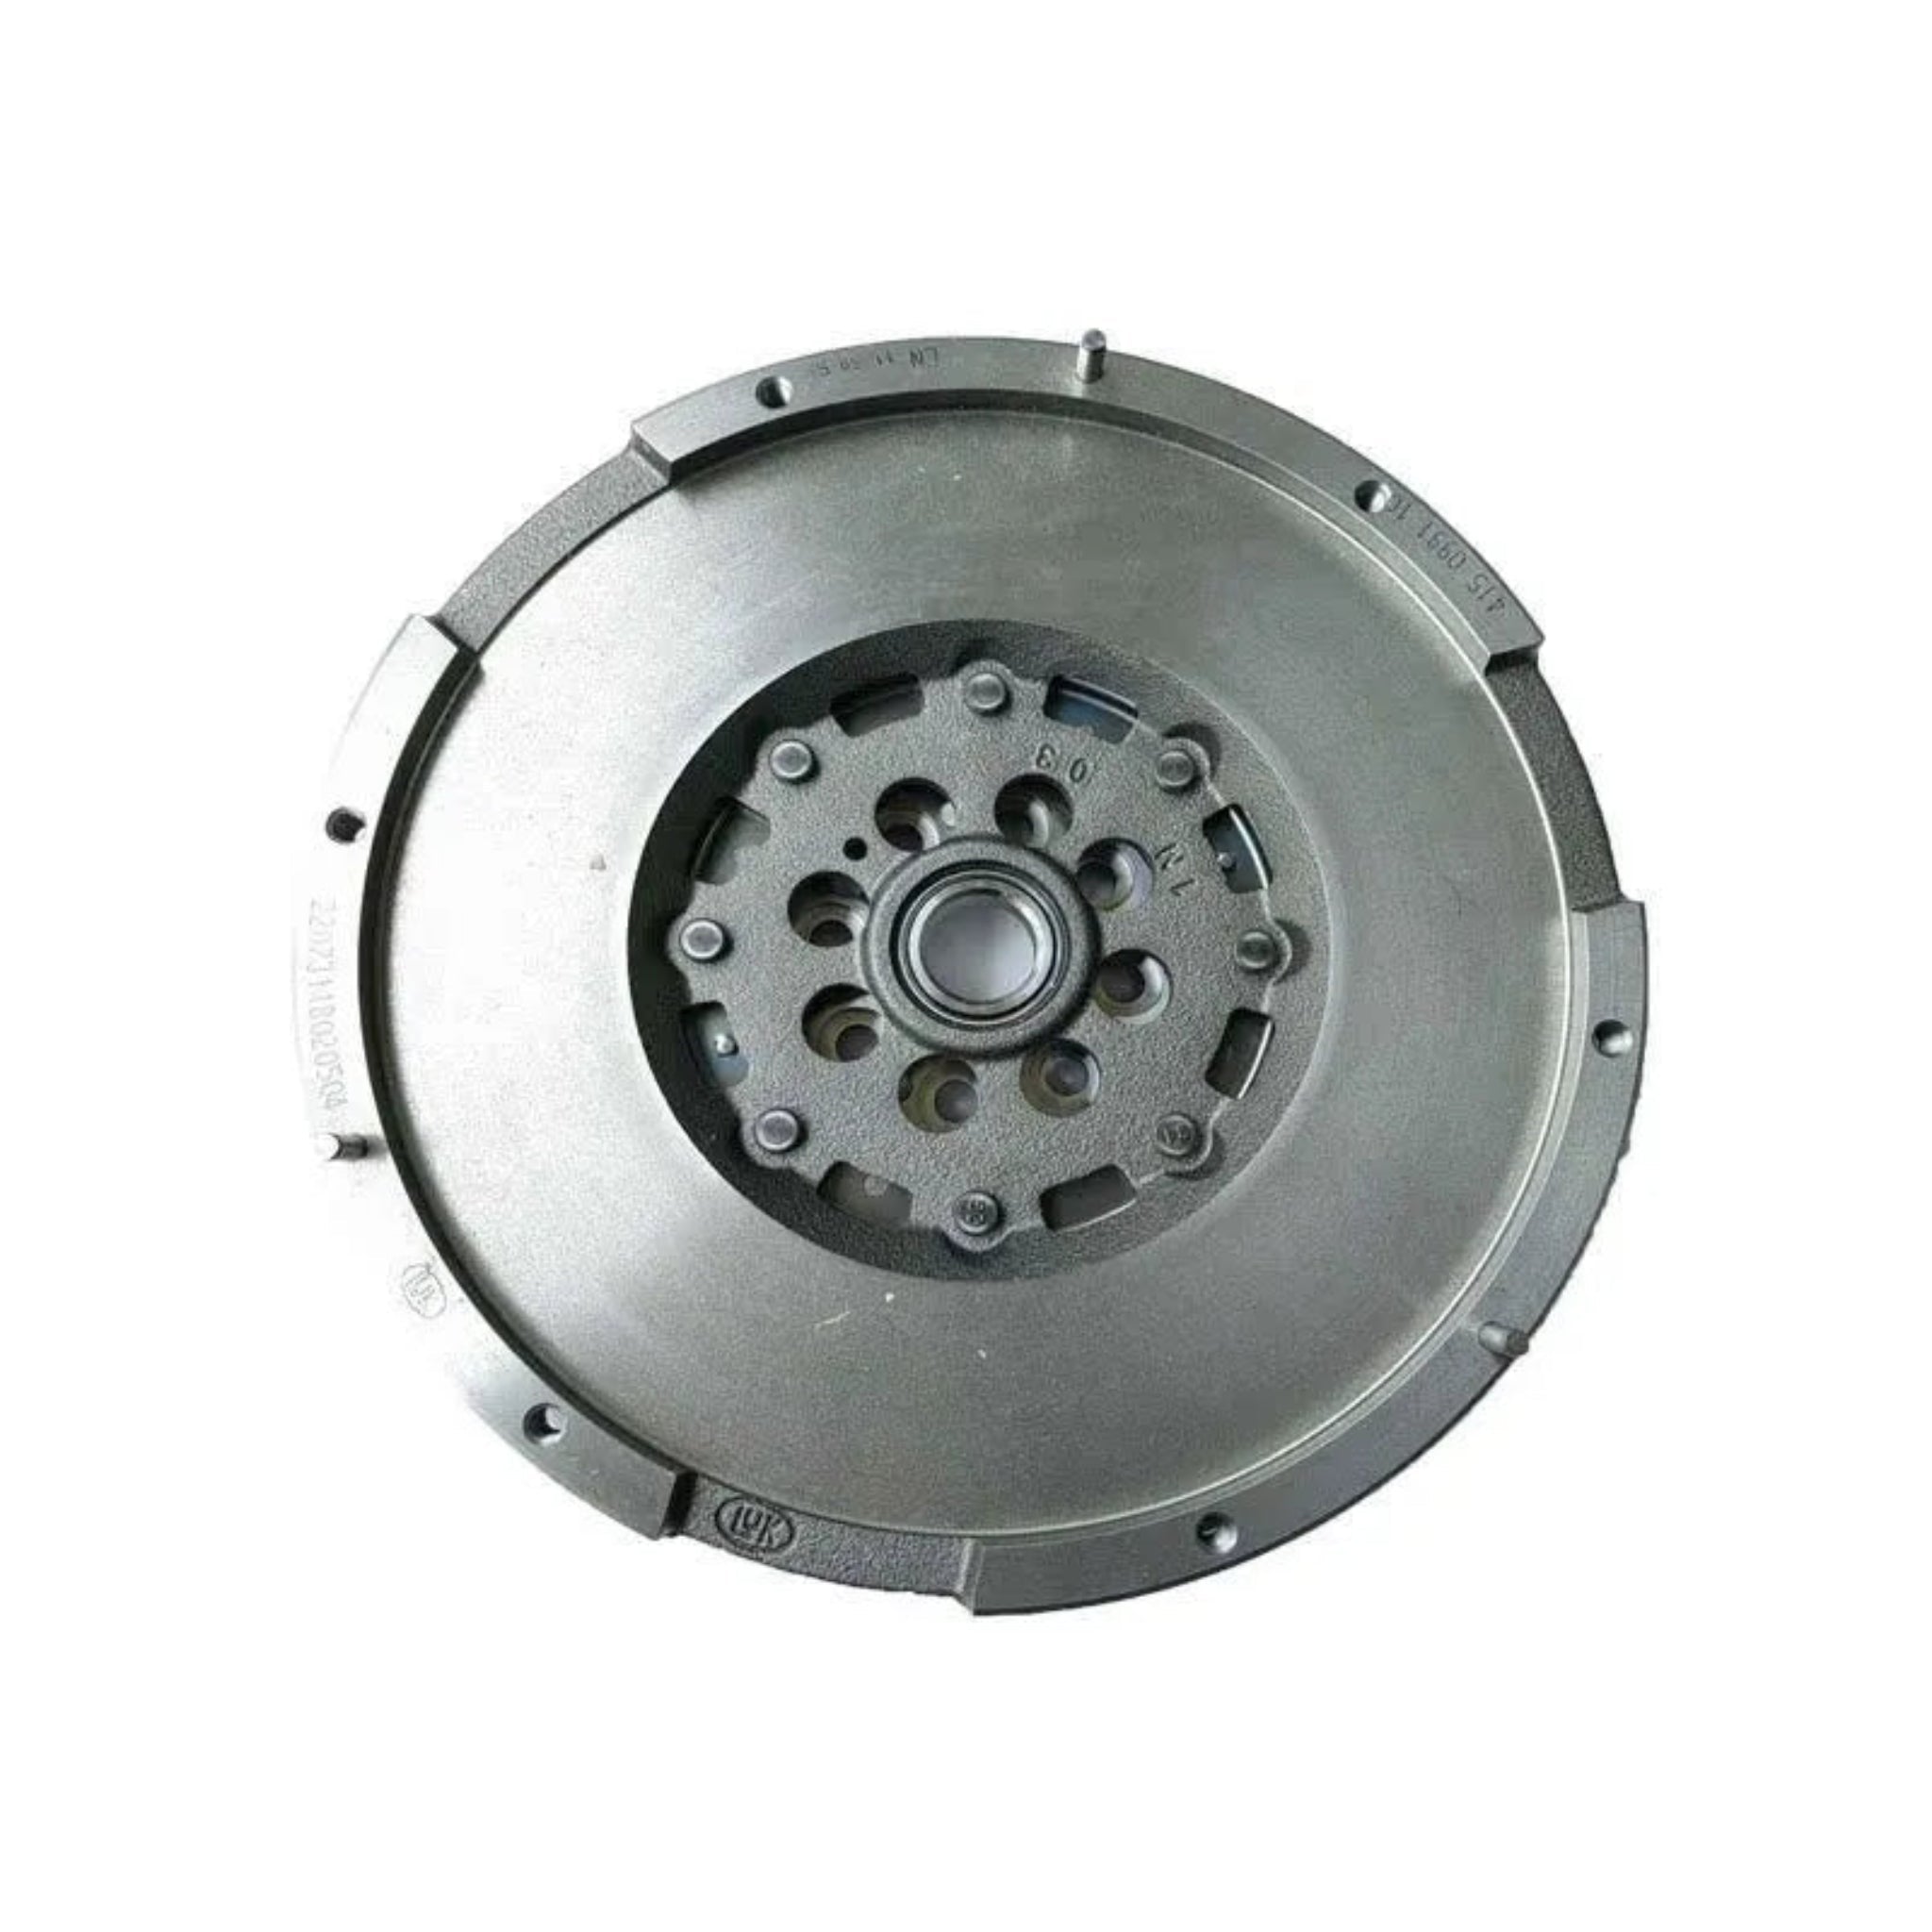
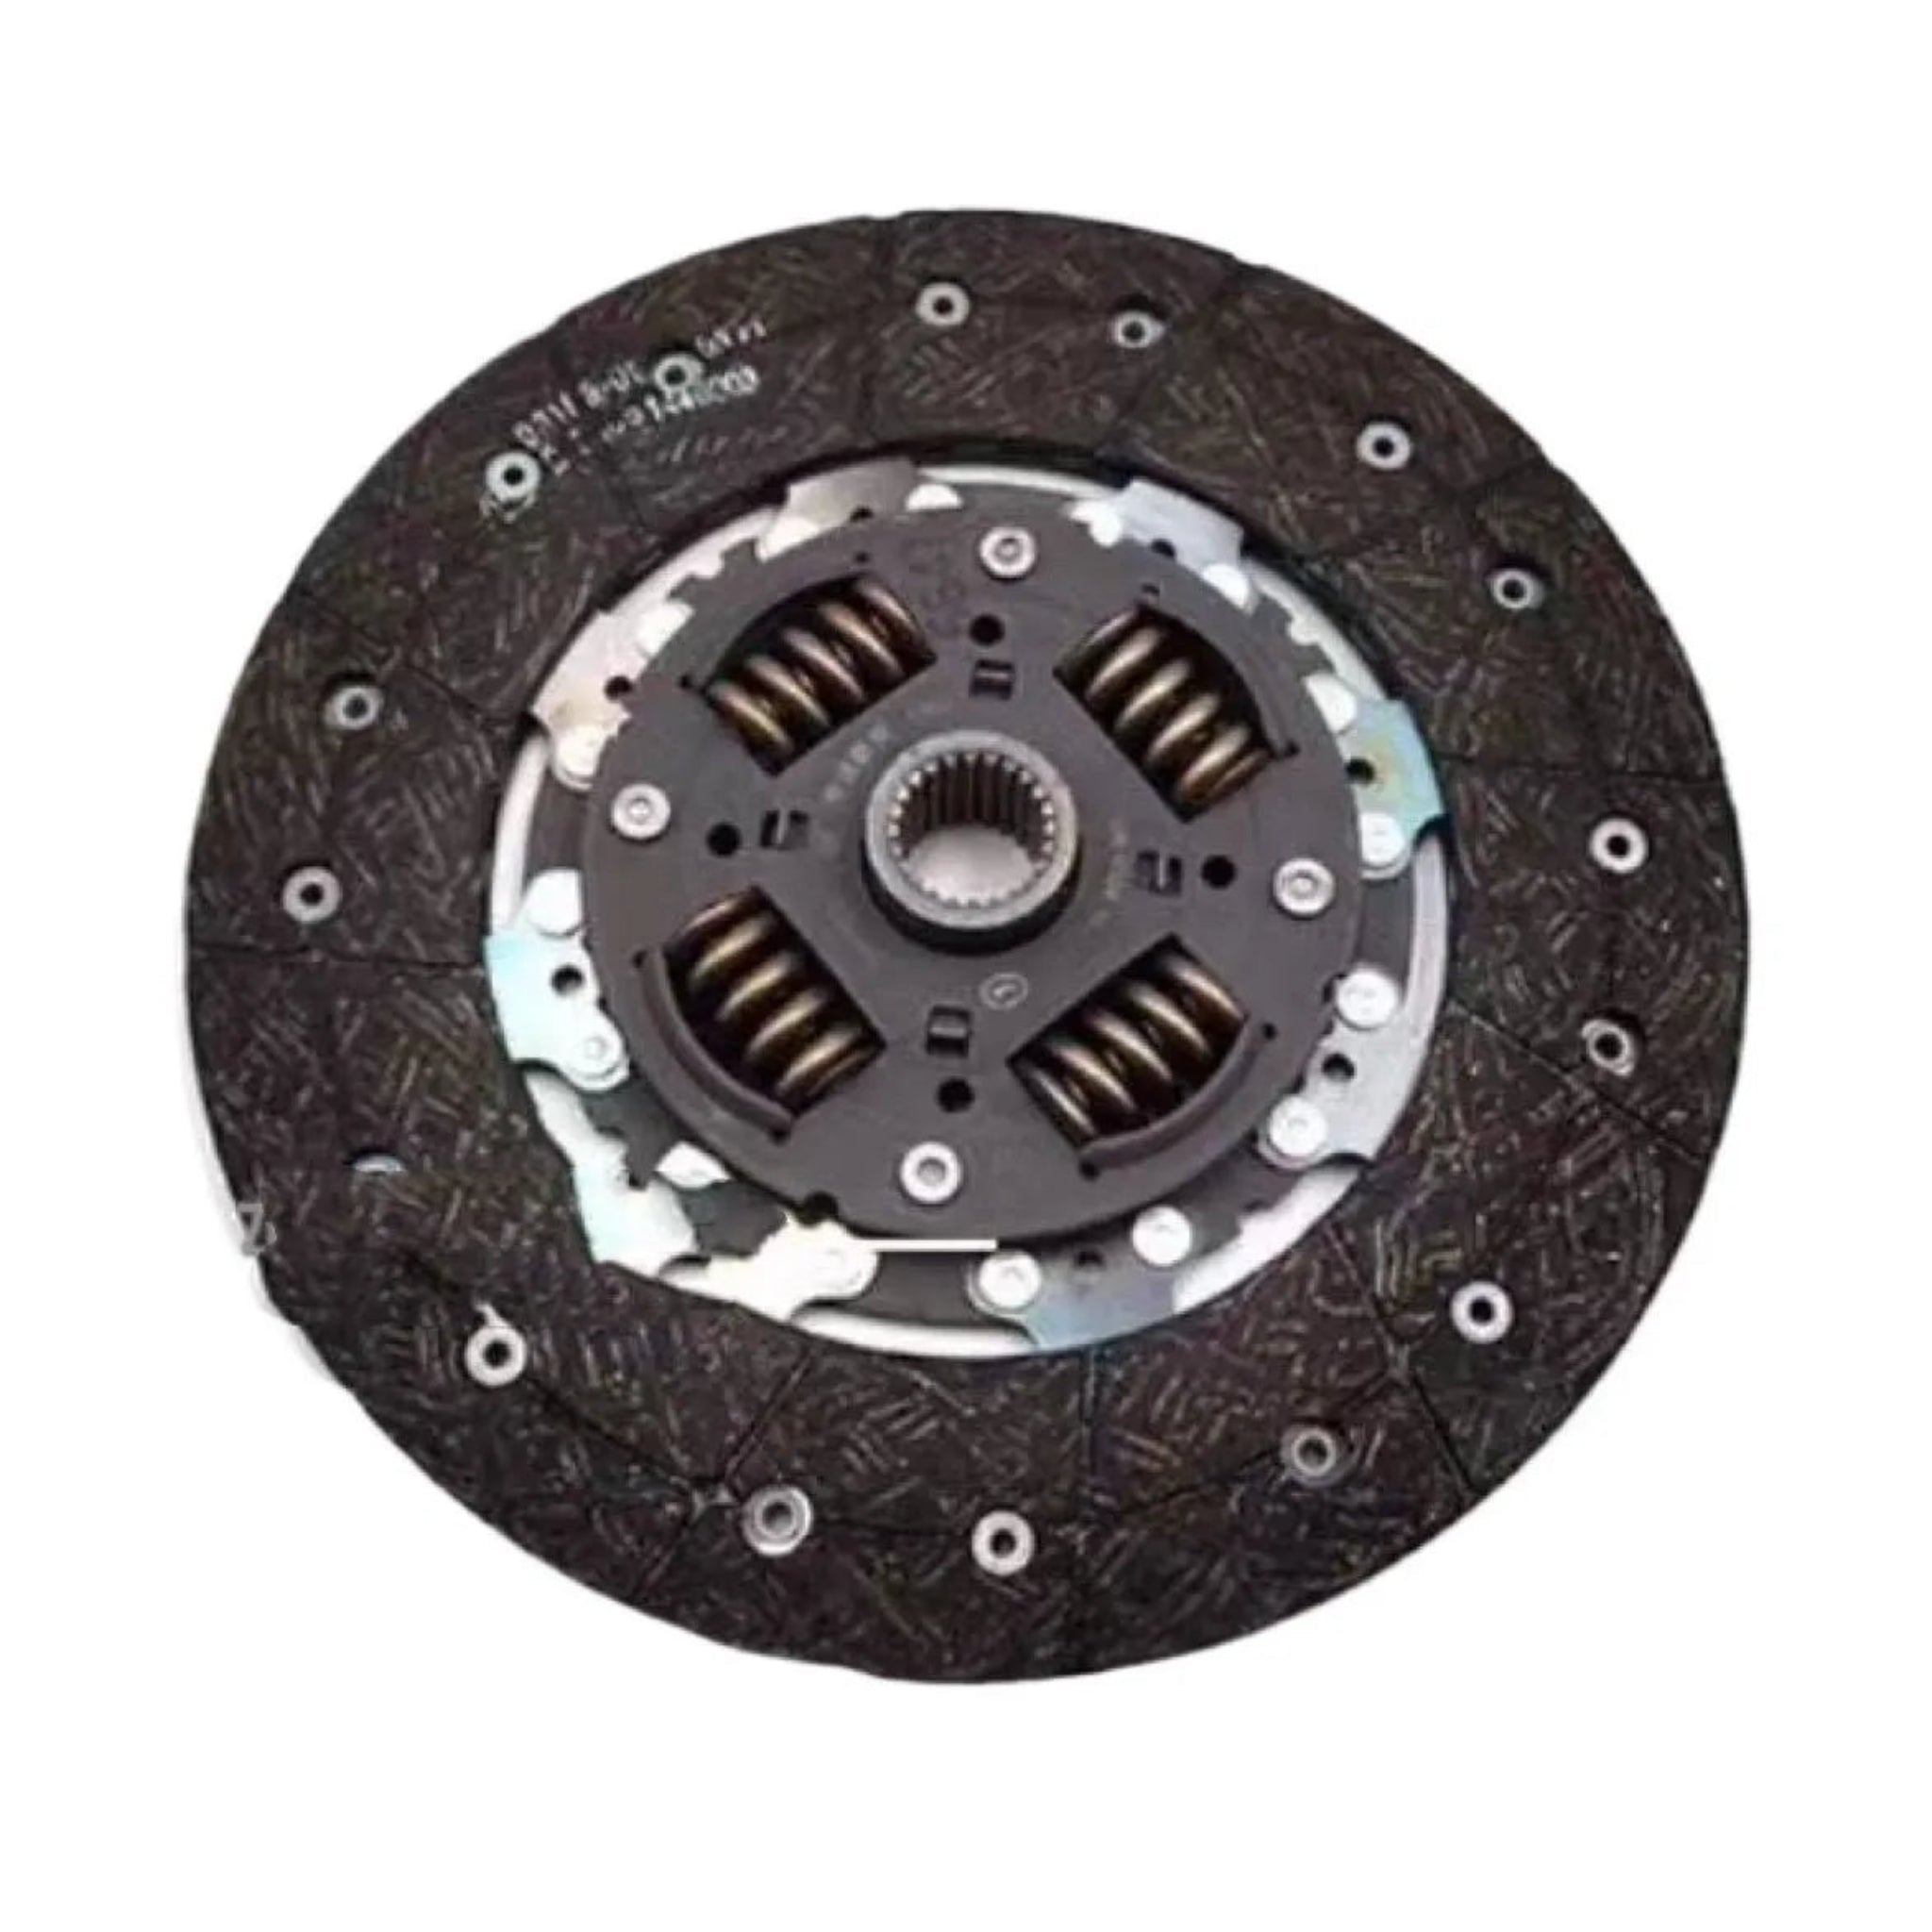
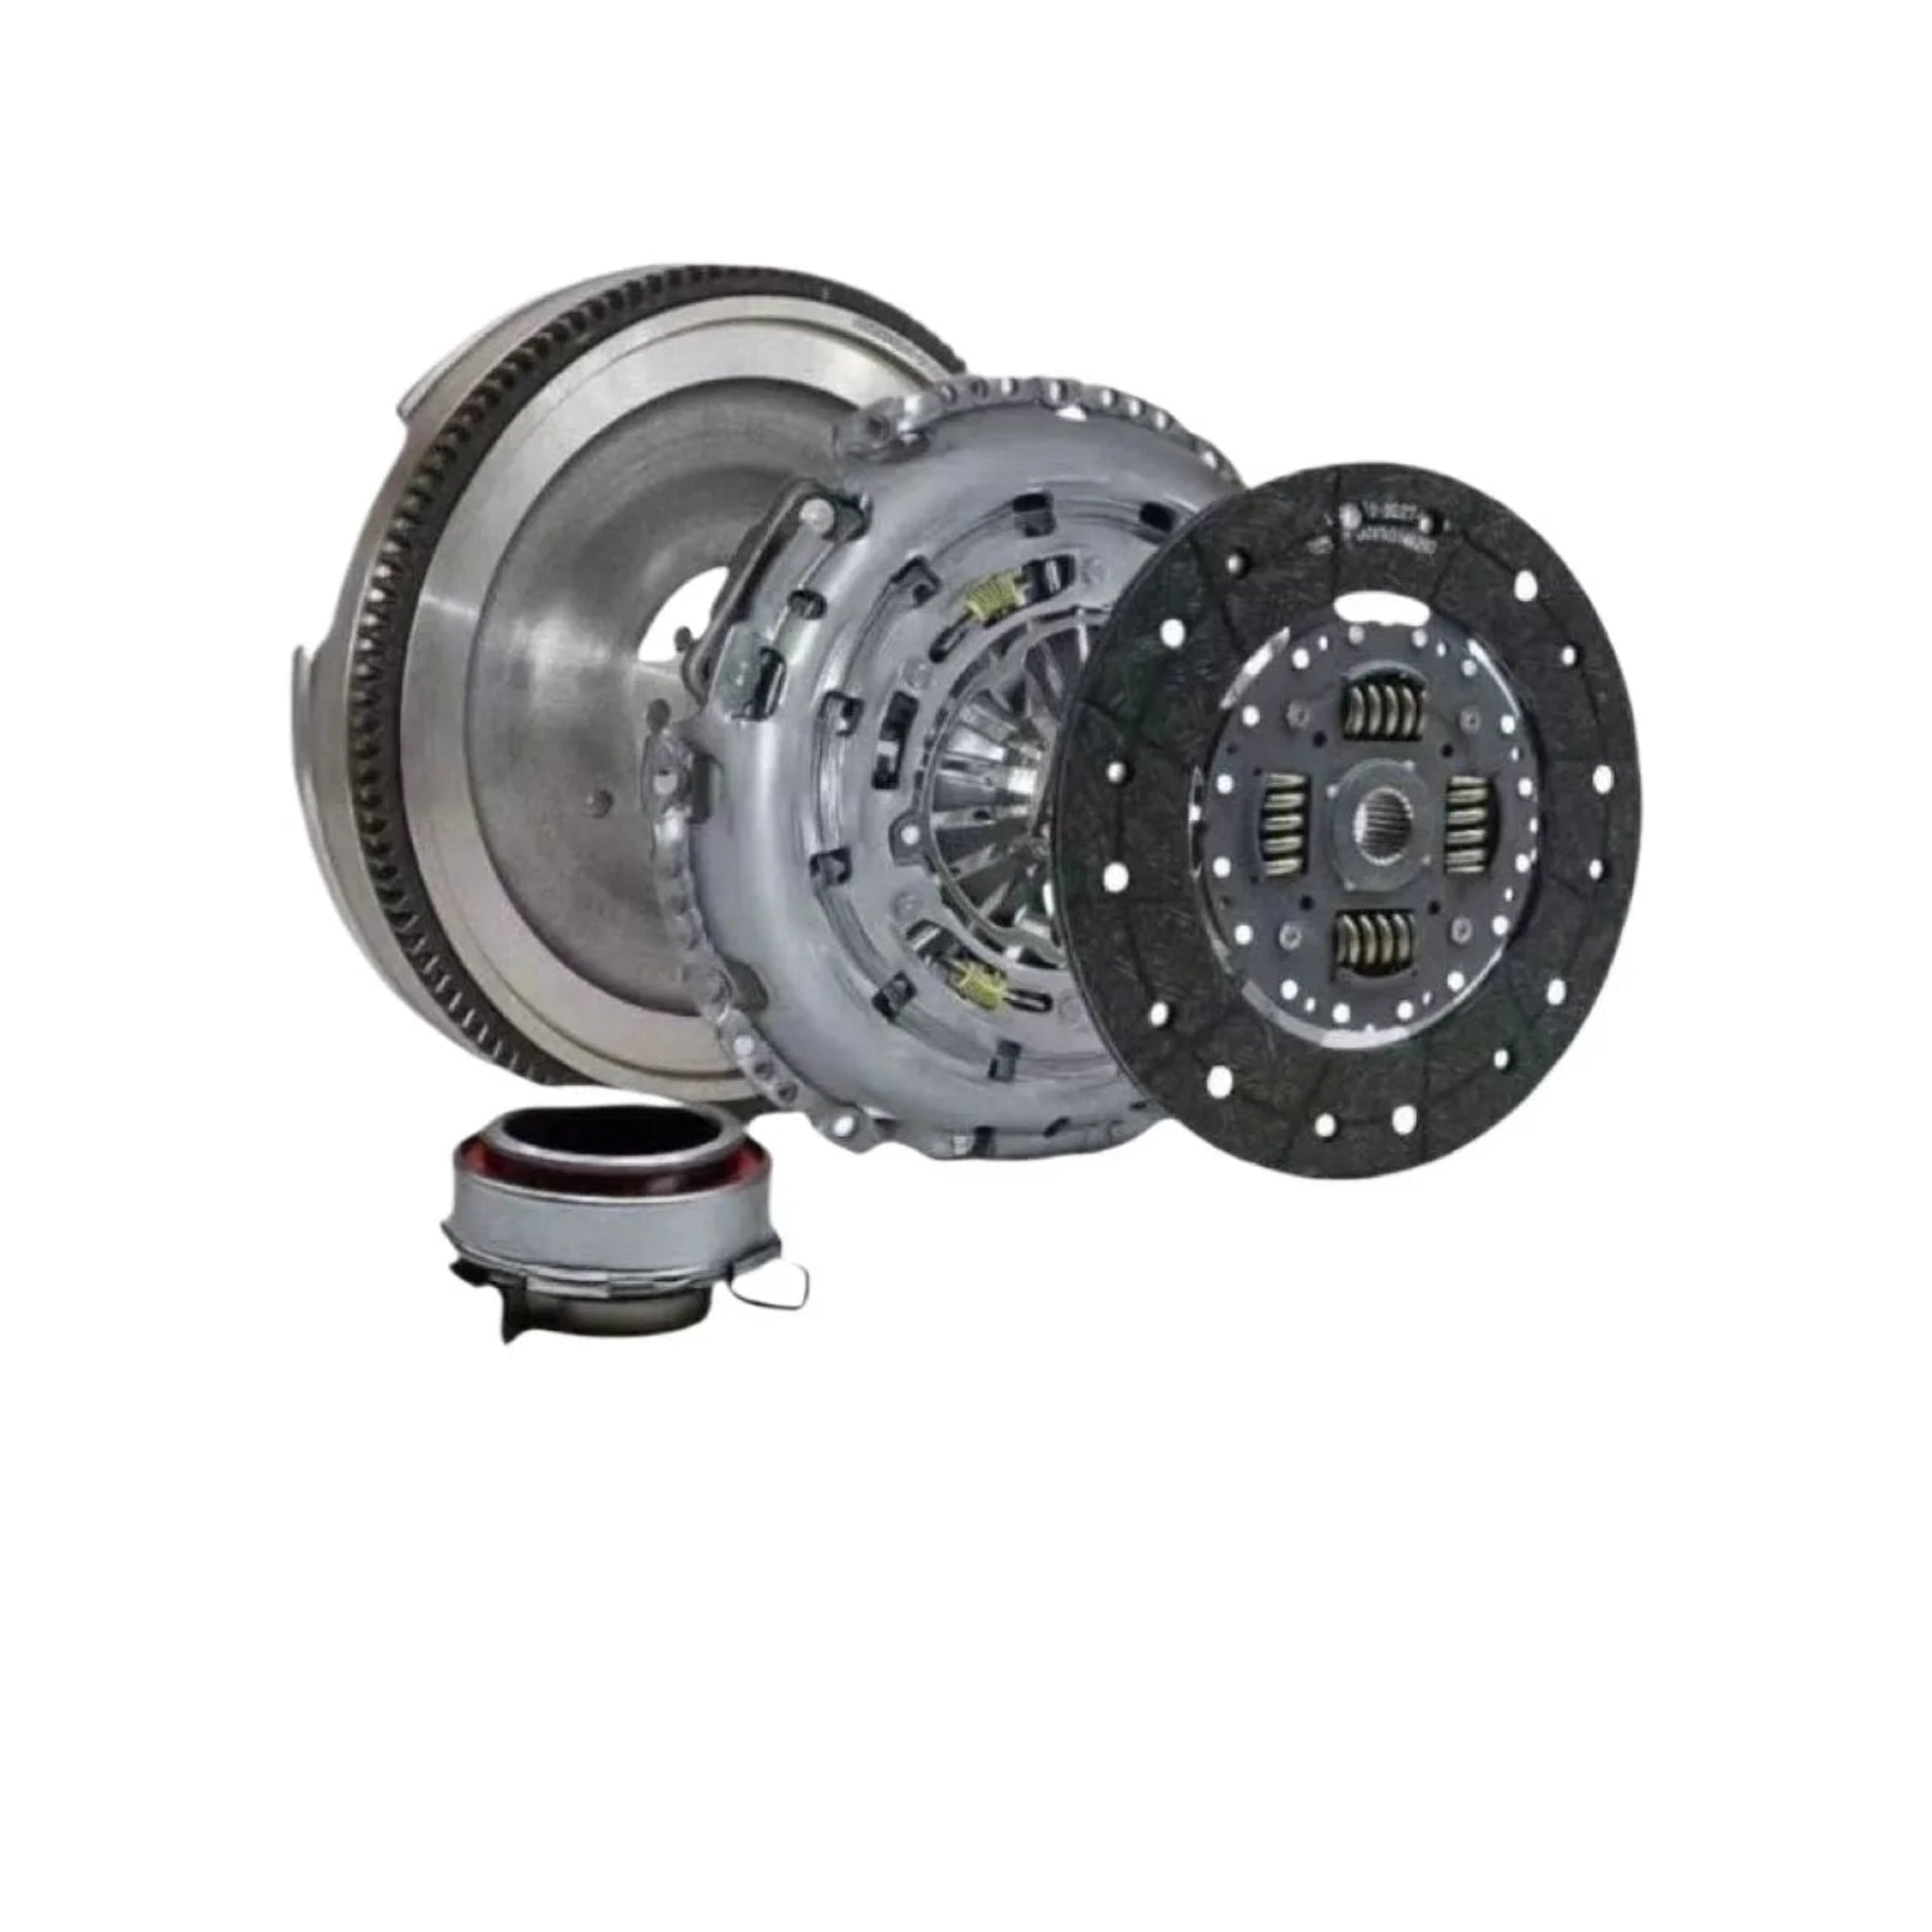
Gwm Cannon Clutch Kit

$703.00 NZD
Shipping fees will be calculated at checkout.
Vehicle Type
releases
Quantity

Features & Benefits

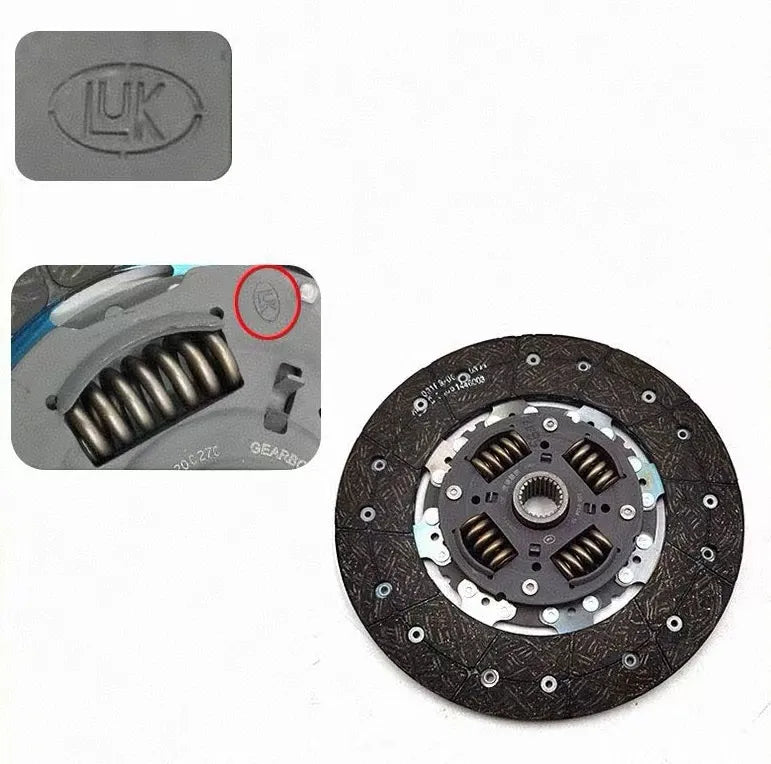
  • Smooth & Chatter-Free Starts: Features an advanced Marcel Spring waveform design that cushions engagement and extends bonding time, eliminating jerky starts and stalling for confident daily driving.
  • Instant Power Transfer: Engineered for zero-loss transmission to match your engine's output precisely, delivering responsive acceleration and confident overtaking with no slipping.
  • Premium Friction Materials: Constructed from rigorously tested high-quality facings with superior heat and abrasion resistance, delivering significantly longer service life than standard discs.
  • Optimized Driveability: The unique cushioning structure smooths the bite point, providing comfortable pedal feel and making stop-and-go traffic easier to manage.
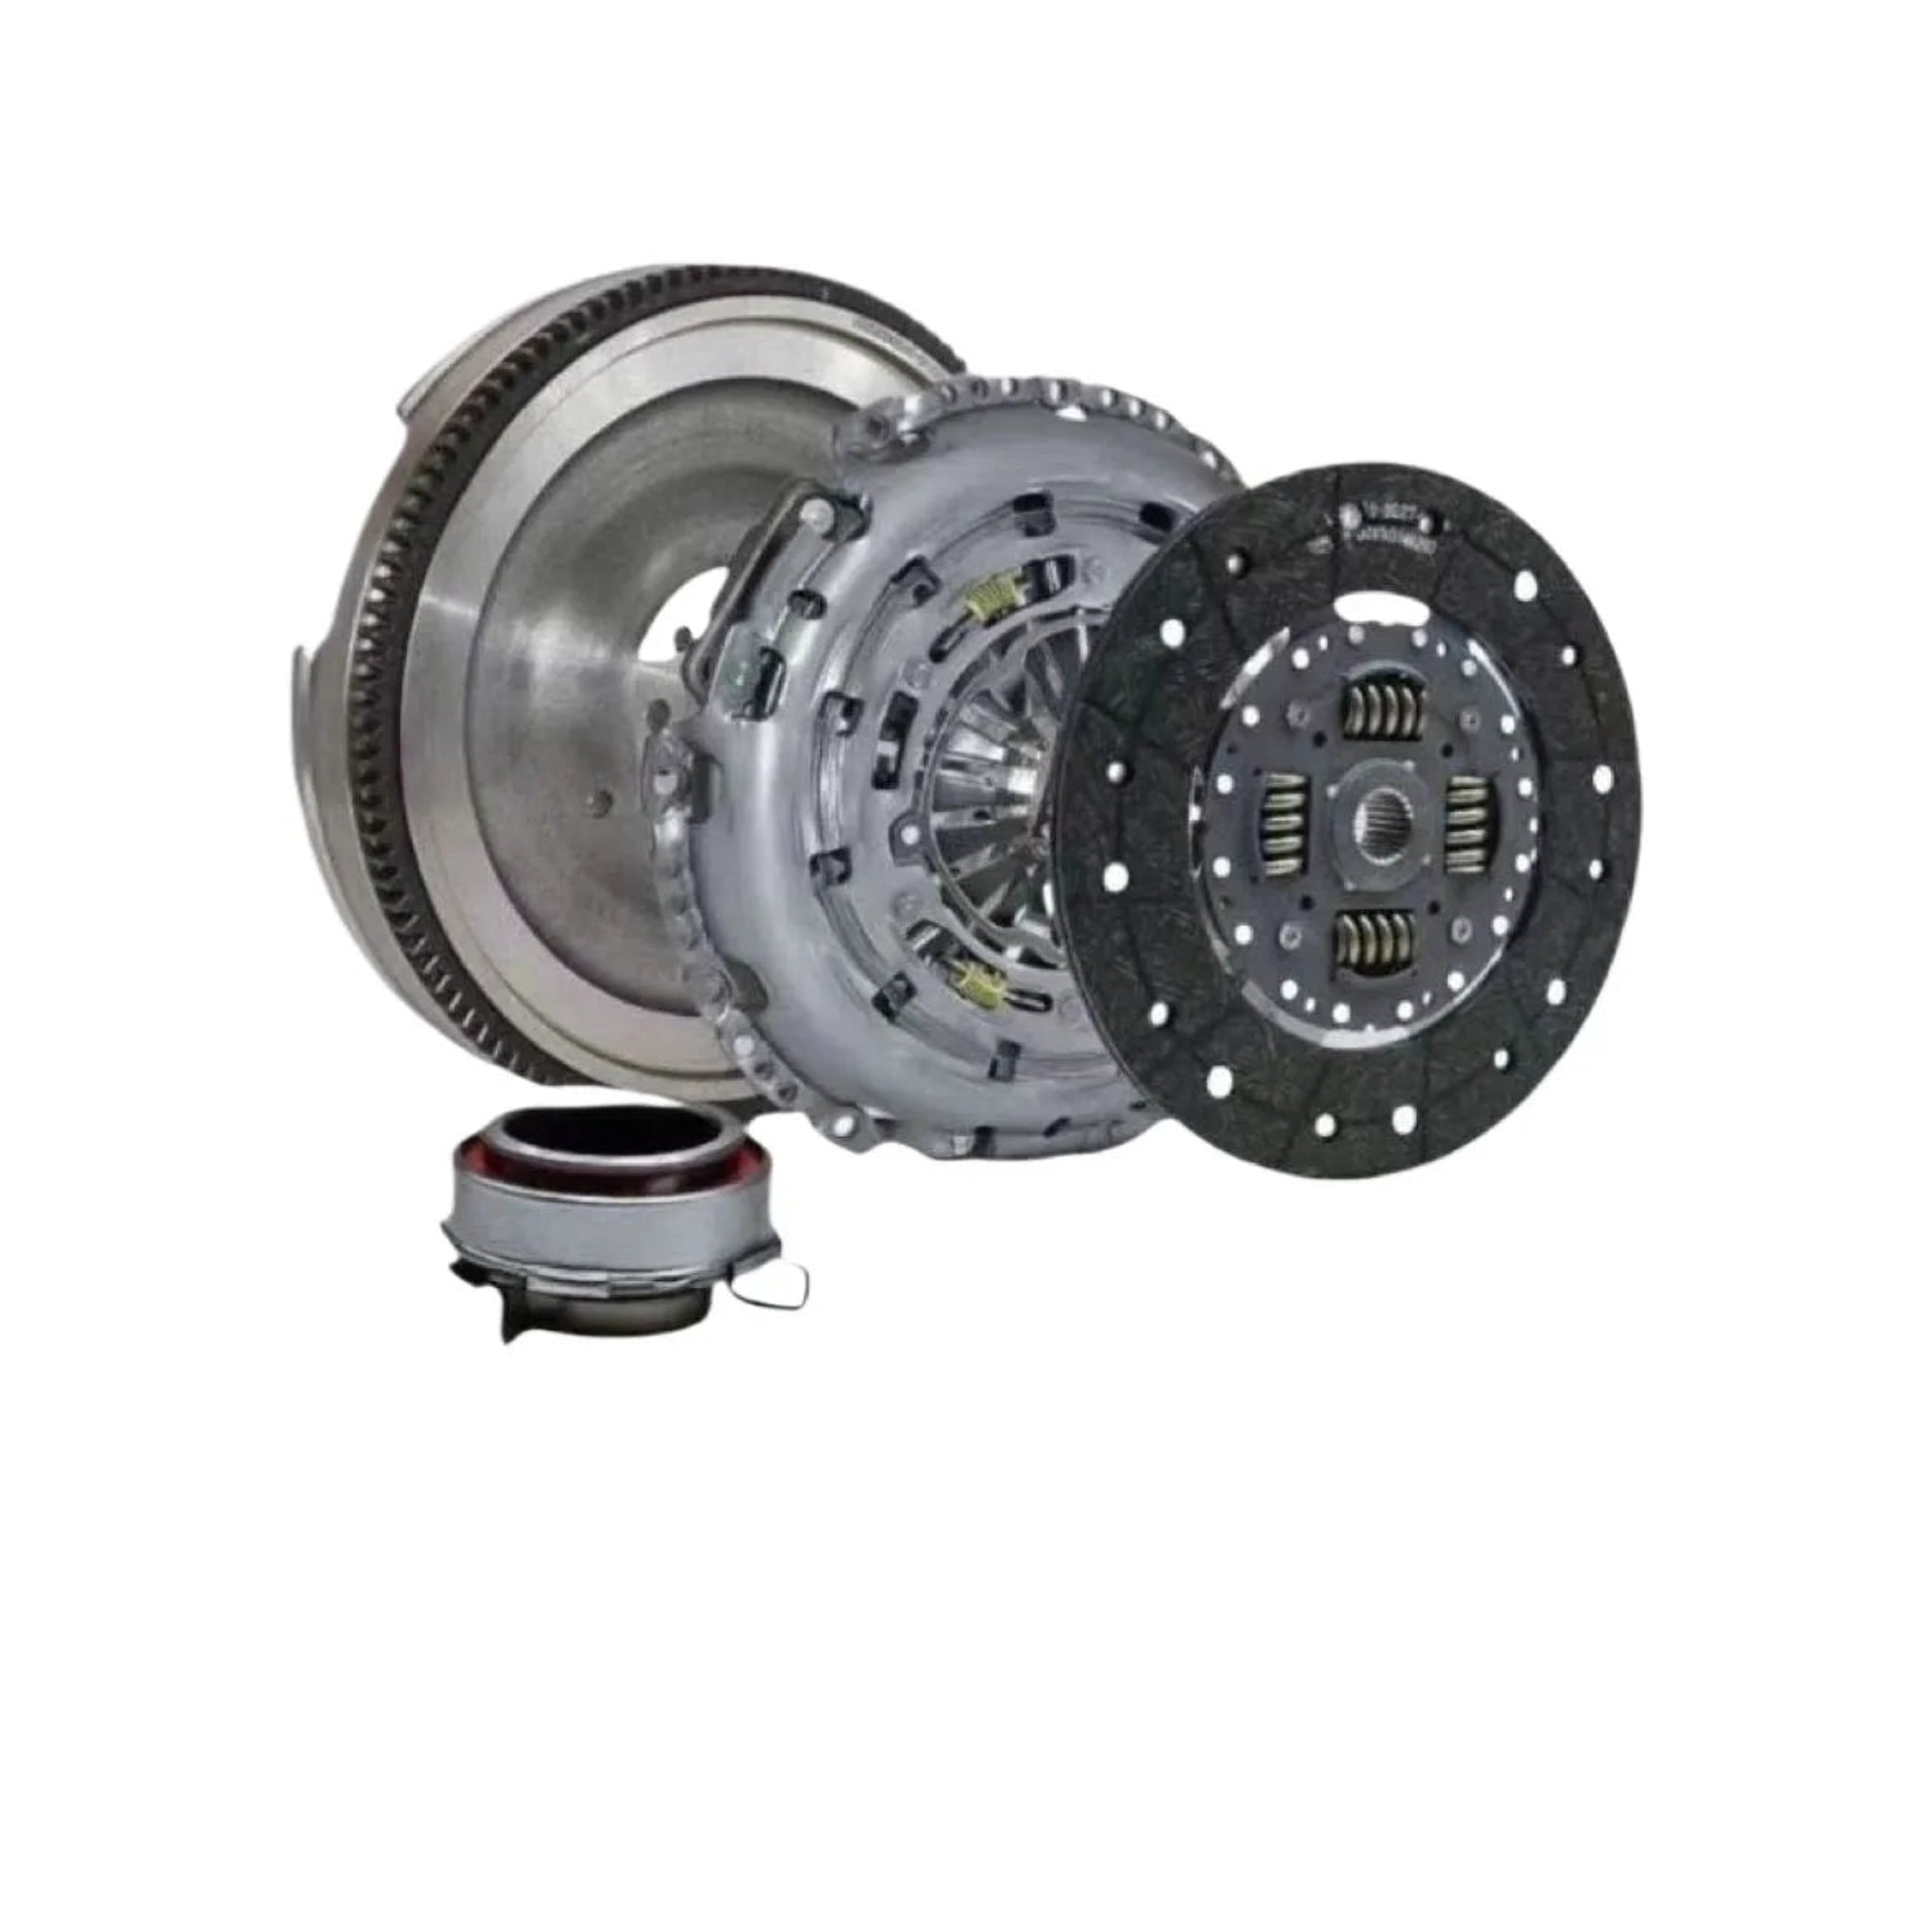
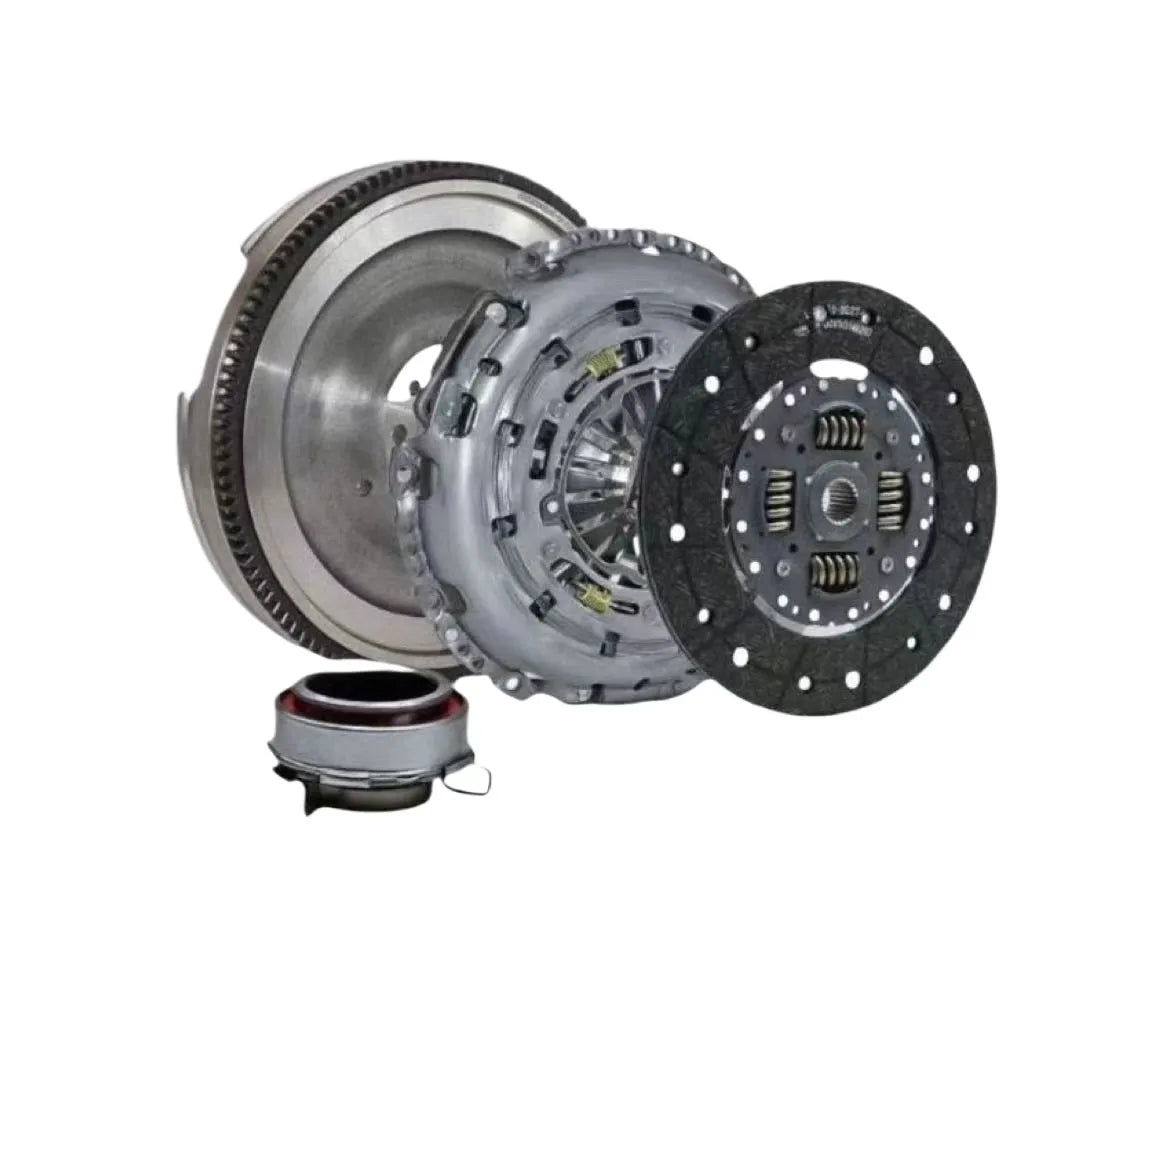
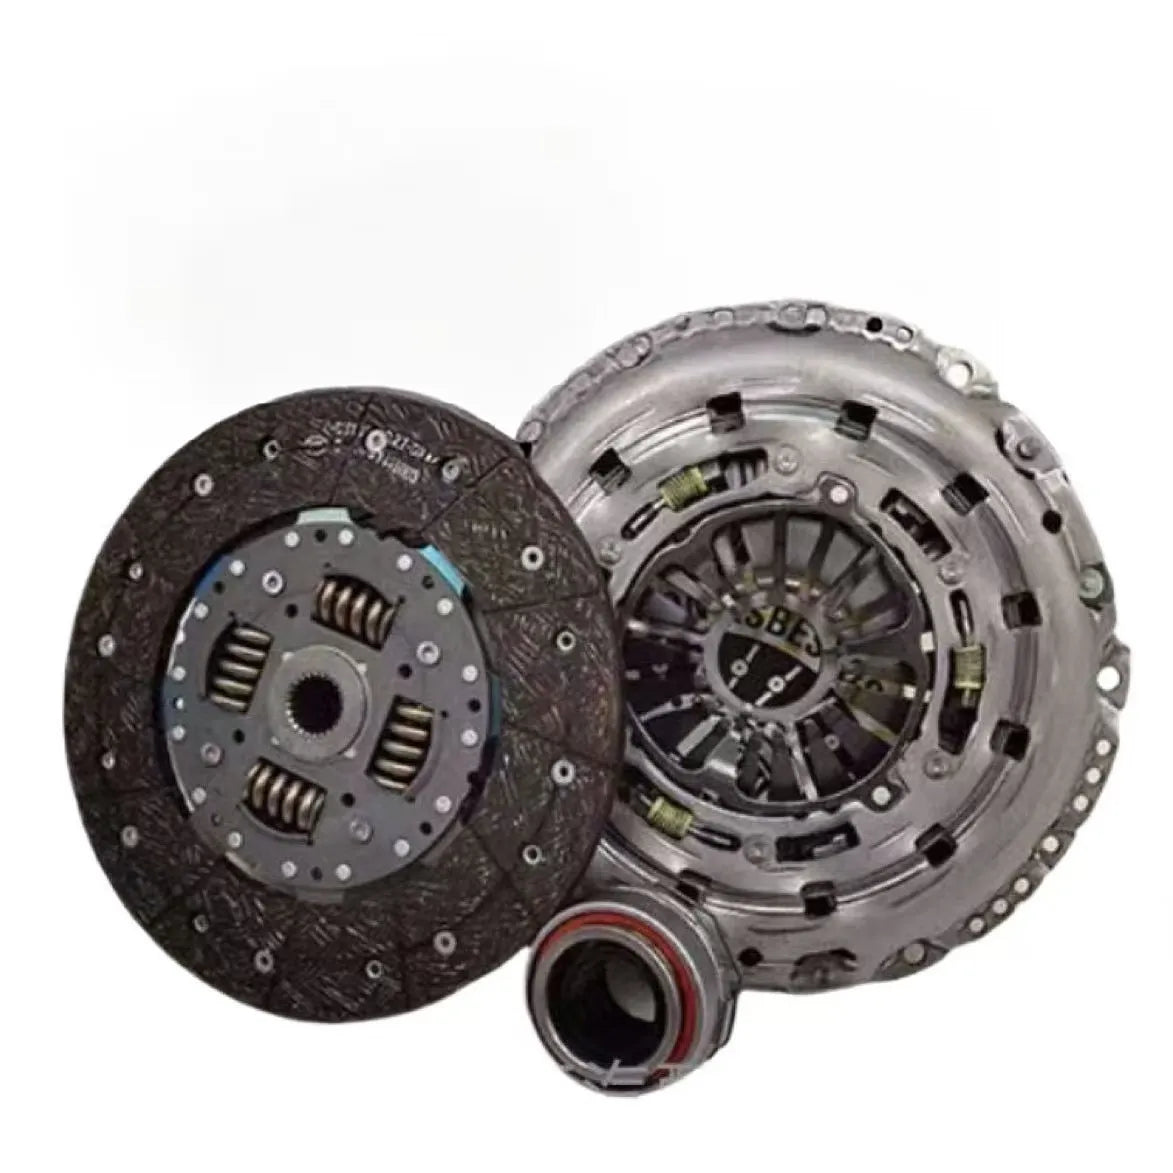
  • Complete Kit Solution: Three-piece clutch system includes pressure plate, clutch disc, and release bearing for comprehensive replacement in one purchase.
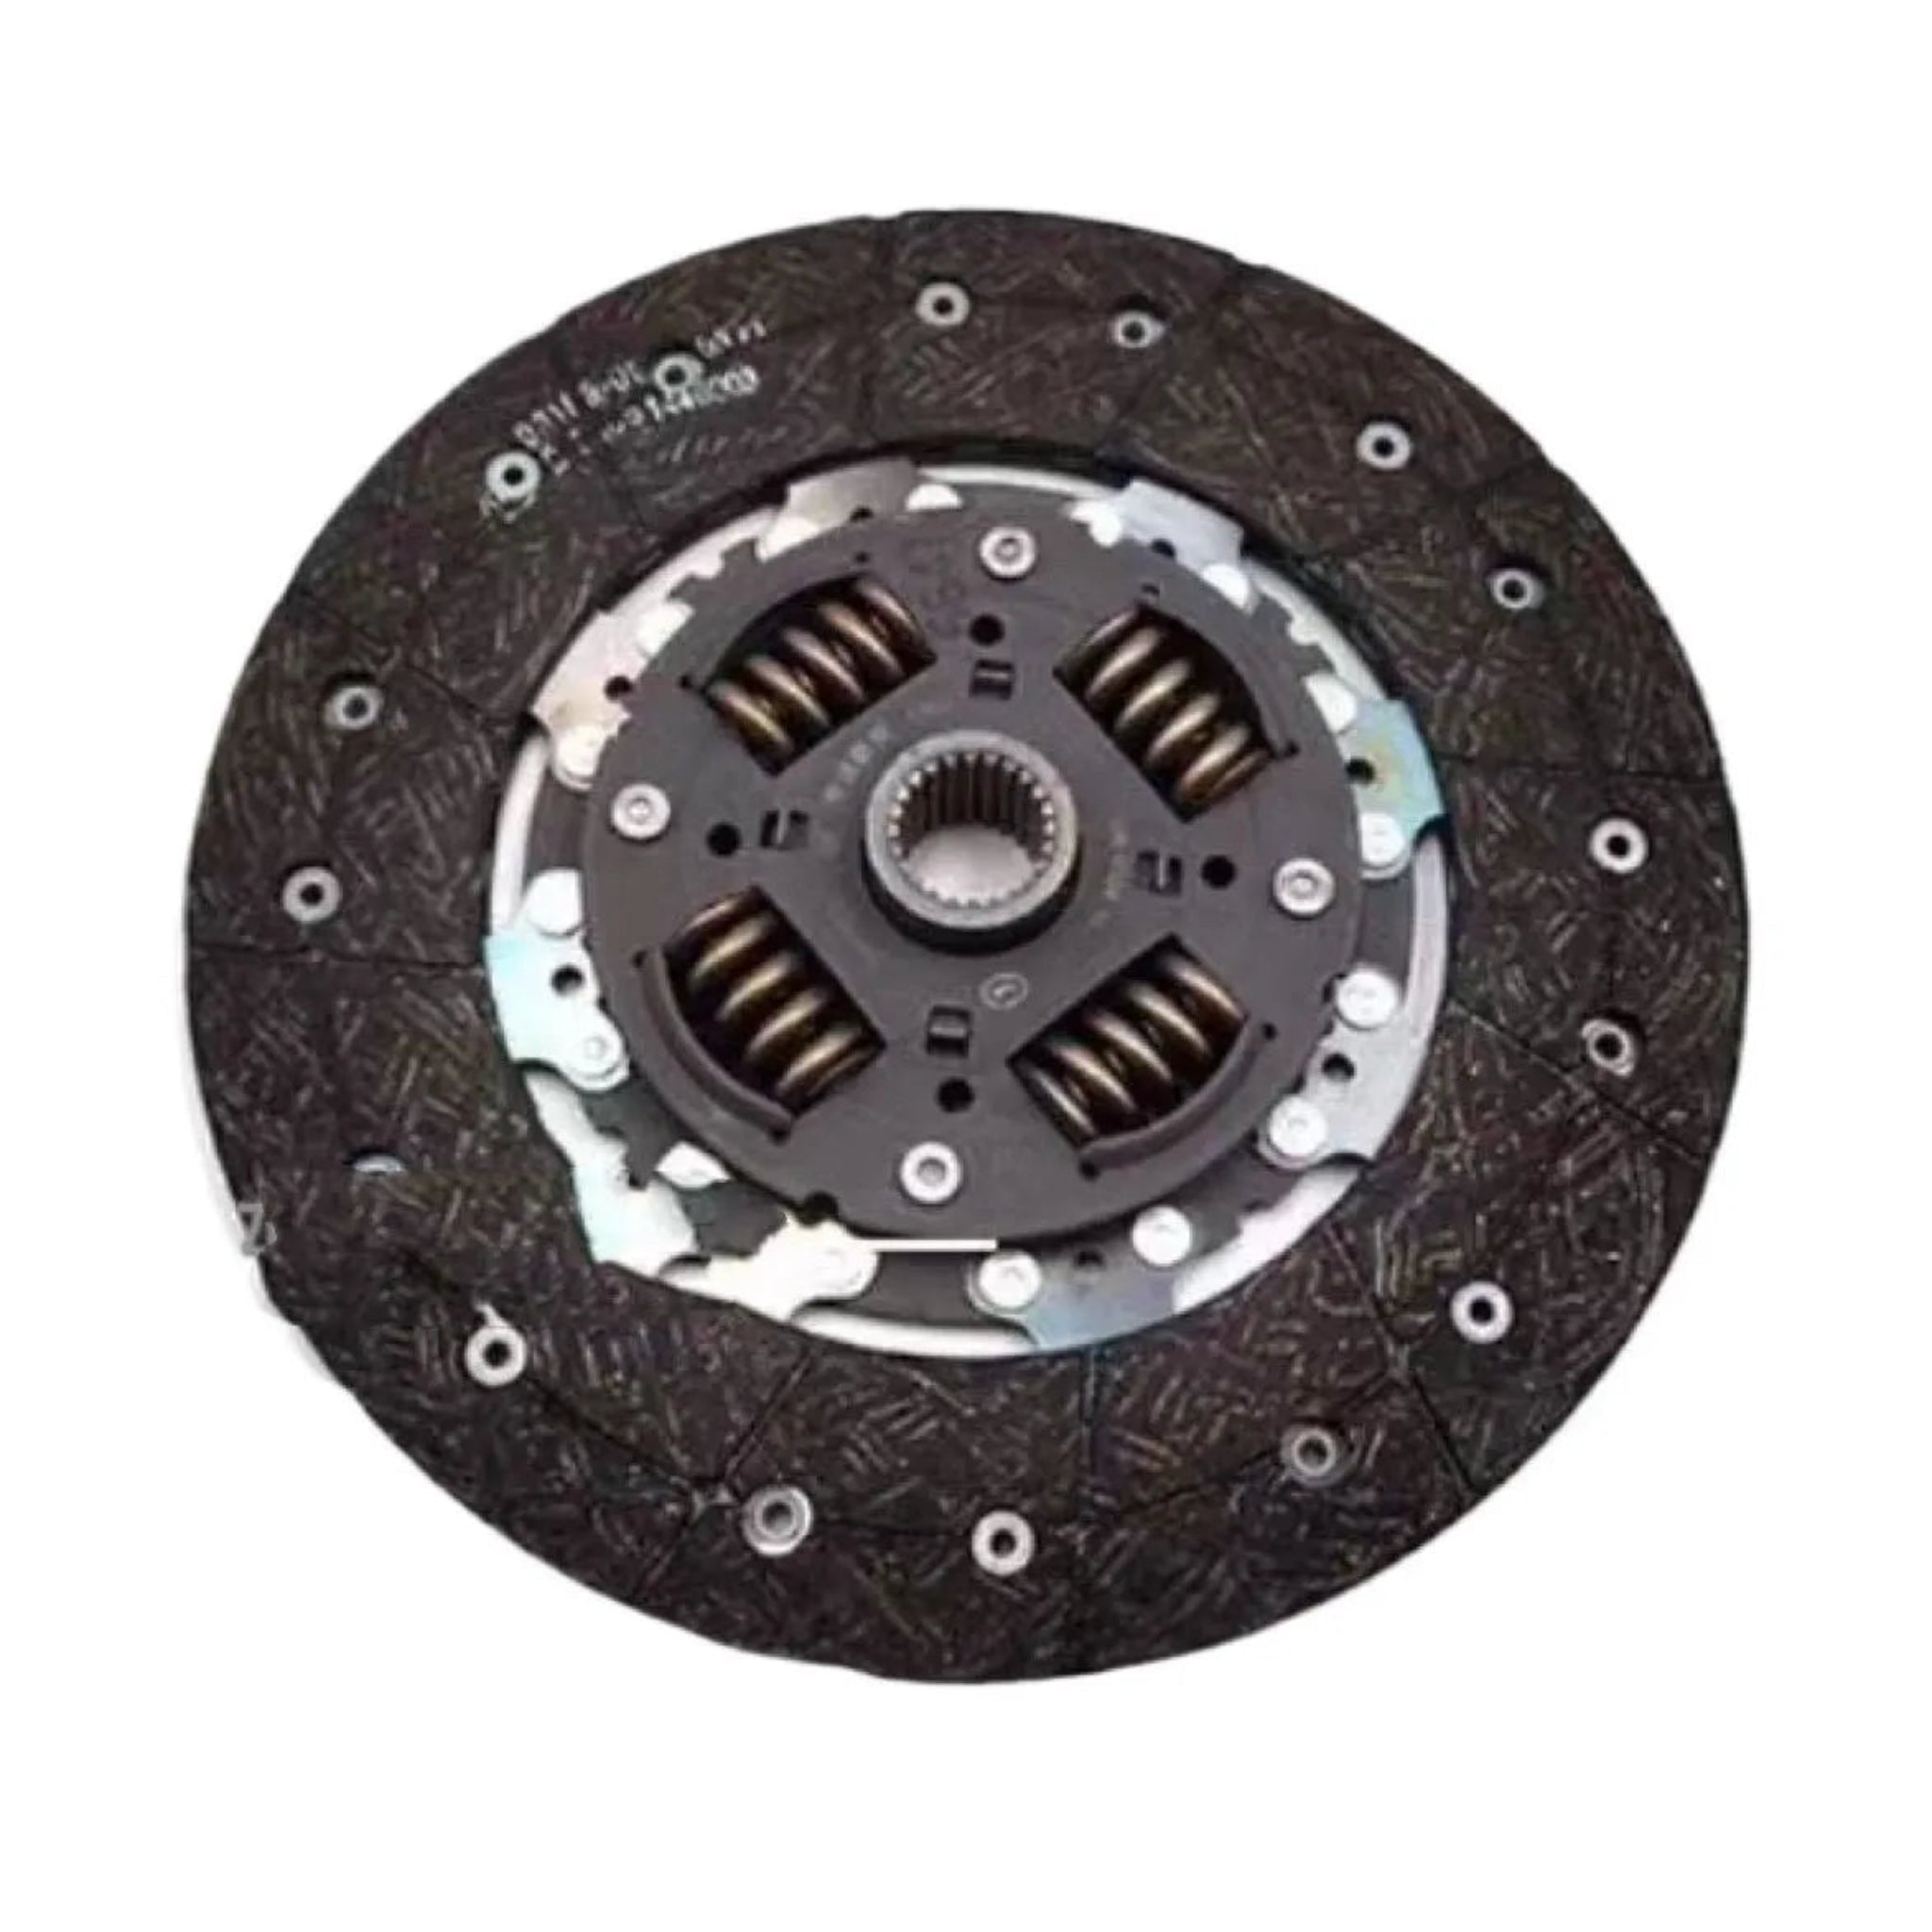
What's Included

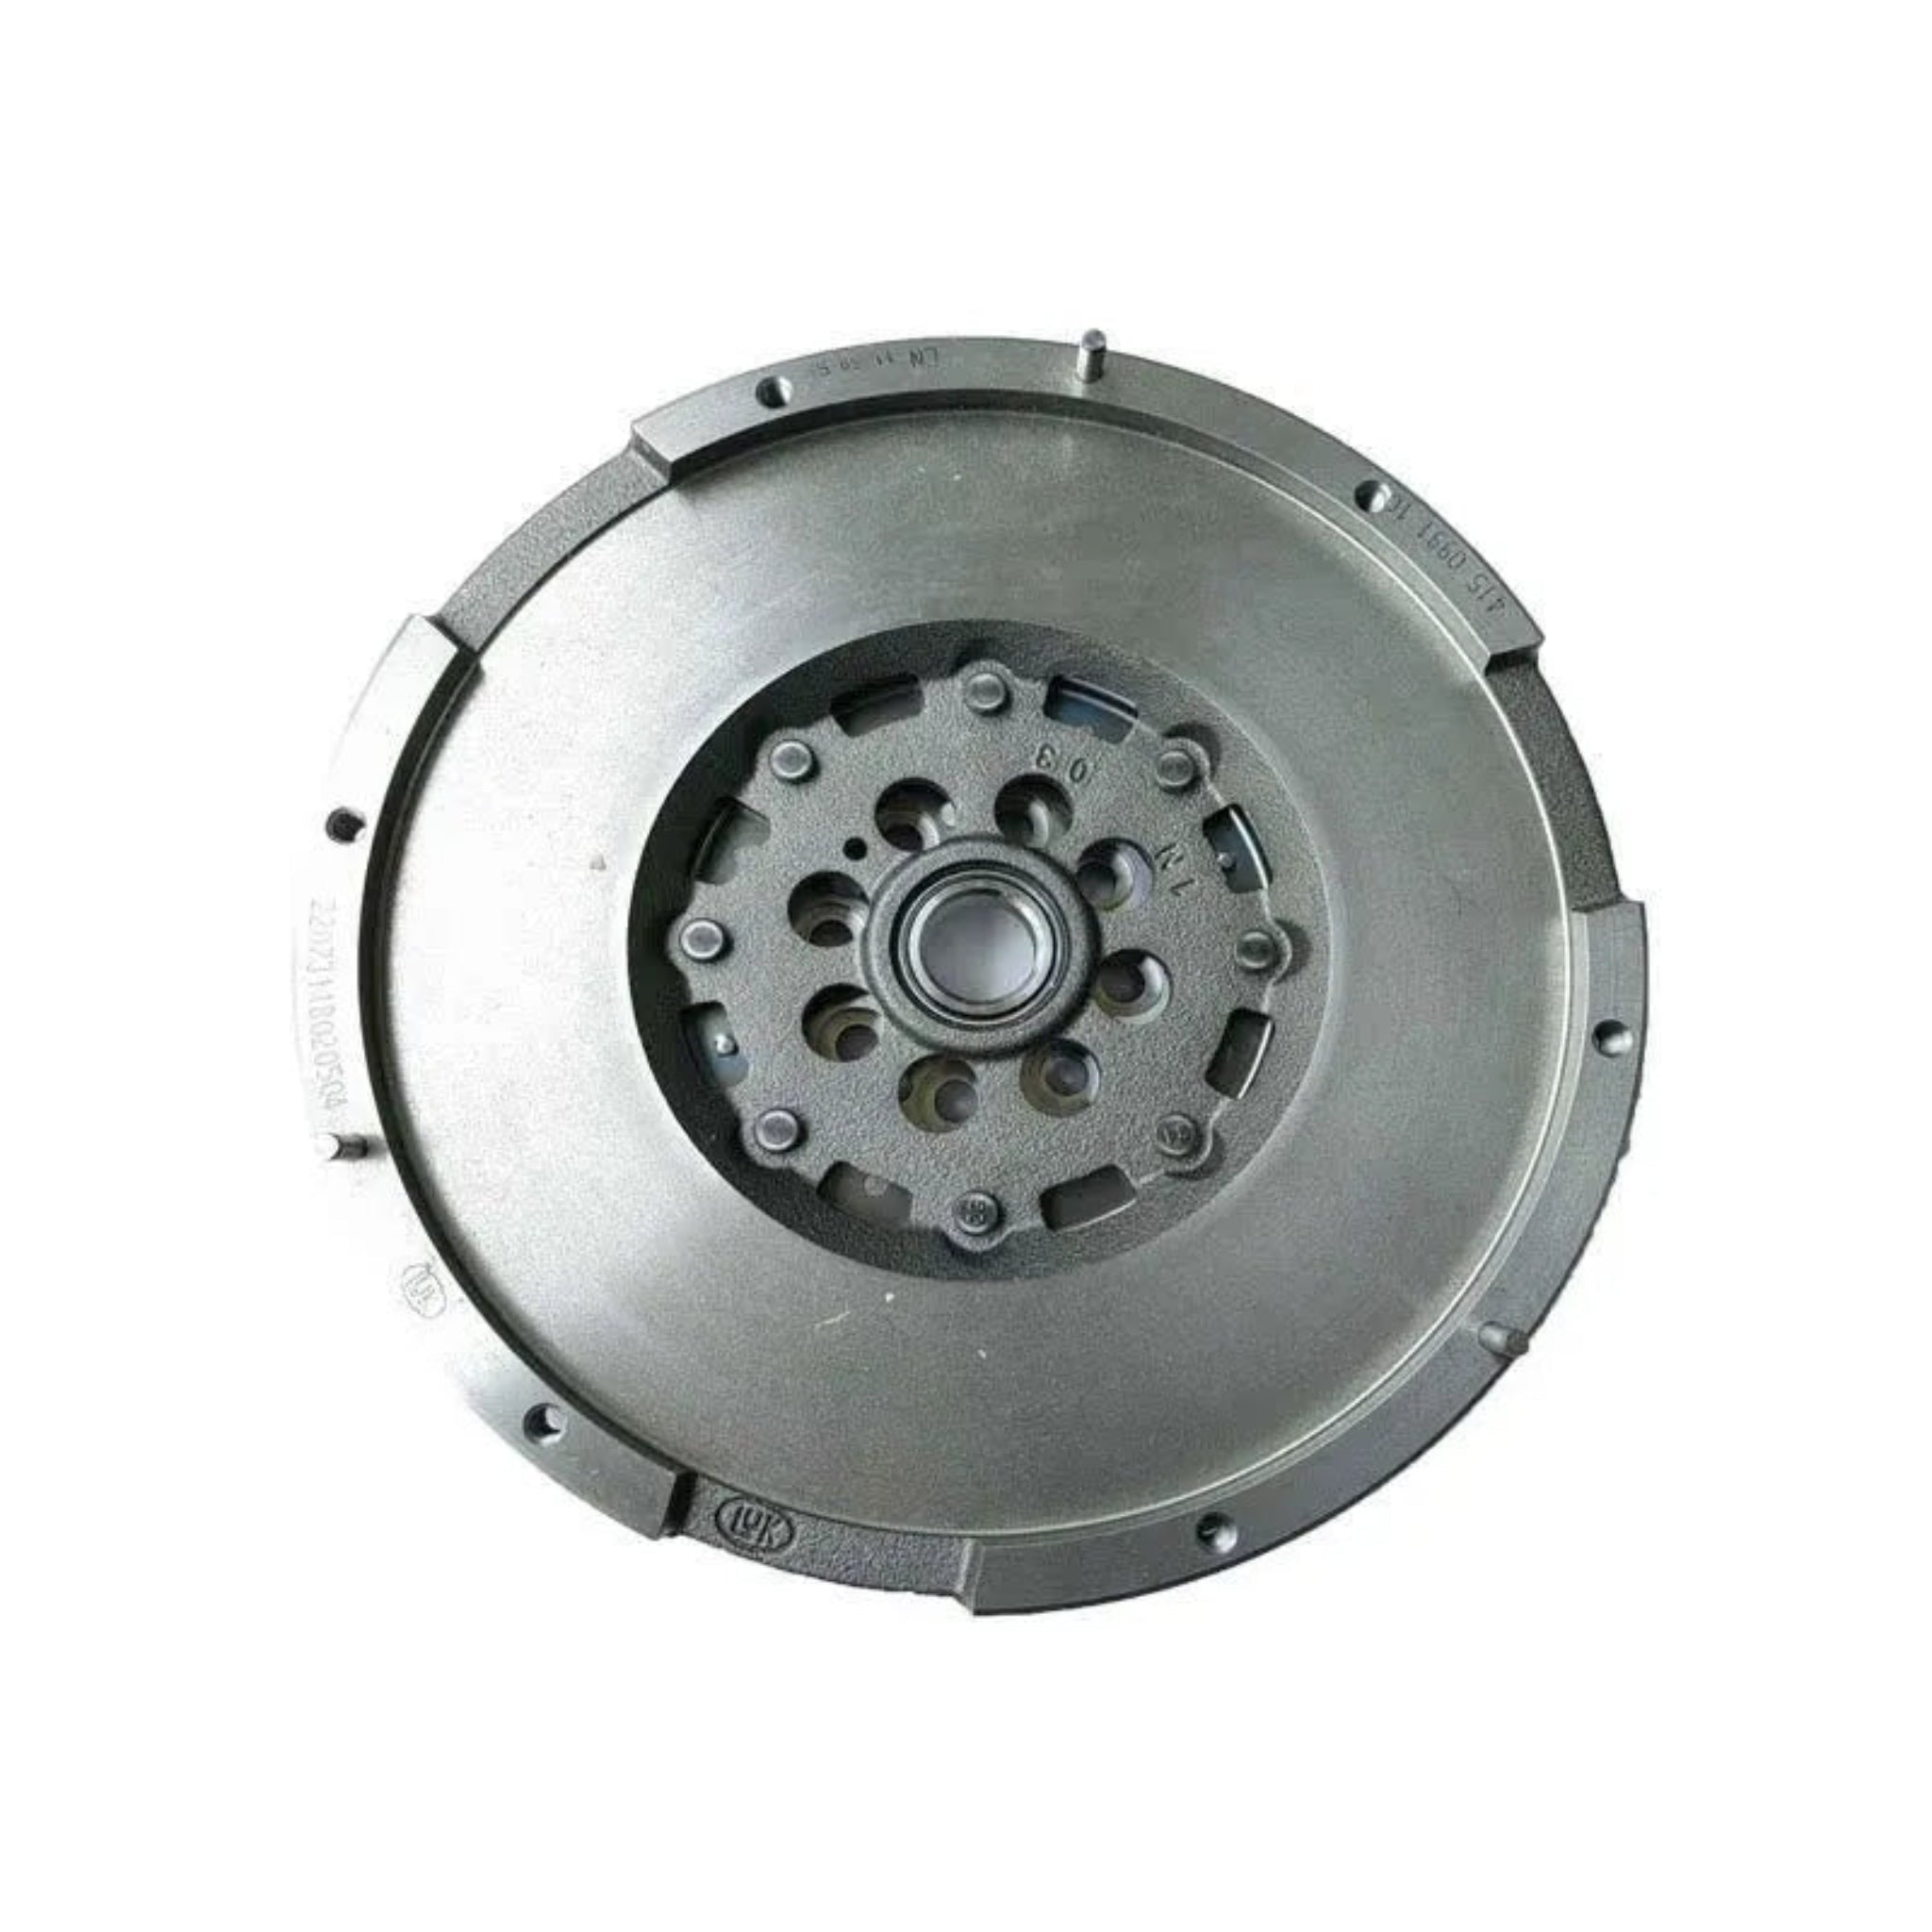
1x Clutch Disc, 1x Pressure Plate, 1x Release Bearing

Product Gallery

Installation Guide

Total time
120-180 minutes
Drilling required
No - bolt-on
Warranty
Caution - check dealer
  1. Secure Vehicle & Disconnect Battery Safely lift and support the vehicle on jack stands, then disconnect the negative terminal of the battery to prevent electrical hazards.
  2. Remove Gearbox Assembly According to your model manual, gradually dismantle components preventing gearbox removal (drive shaft, gear lever connection, wiring harness), then safely extract the gearbox assembly.
  3. Remove Old Clutch Components Remove pressure plate bolts and extract the pressure plate and clutch disc. Inspect the pilot bearing and flywheel center, replacing if worn or damaged.
  4. Inspect & Clean Flywheel Check the flywheel working surface for flatness, abrasion, or cracks. Polish or replace damaged flywheels as needed, then thoroughly clean all flywheel and engine attachment surfaces.
  5. Install New Clutch Disc Using the special centering tool, align the new clutch disc to the flywheel center, ensuring the "FLYWHEEL SIDE" marking faces the flywheel correctly.
  6. Install Pressure Plate Position the new pressure plate over the clutch disc, align screw holes, and tighten bolts diagonally in multiple stages to specified torque to avoid deformation.
  7. Install Release Bearing Install the new release bearing and replace the fork or related parts if included in the kit.
  8. Reinstall Gearbox Carefully position the gearbox back into place, ensuring the input shaft accurately inserts into the clutch disc splines, then reconnect all components in reverse order.
  9. Reconnect & Test Clutch Reconnect the negative battery terminal and check clutch pedal free travel, adjusting as necessary for proper operation.
  10. Start & Road Test Start the engine and verify complete disengagement, smooth engagement, and absence of abnormal noise or vibration. Allow a break-in period with gentle driving initially.

Recently viewed