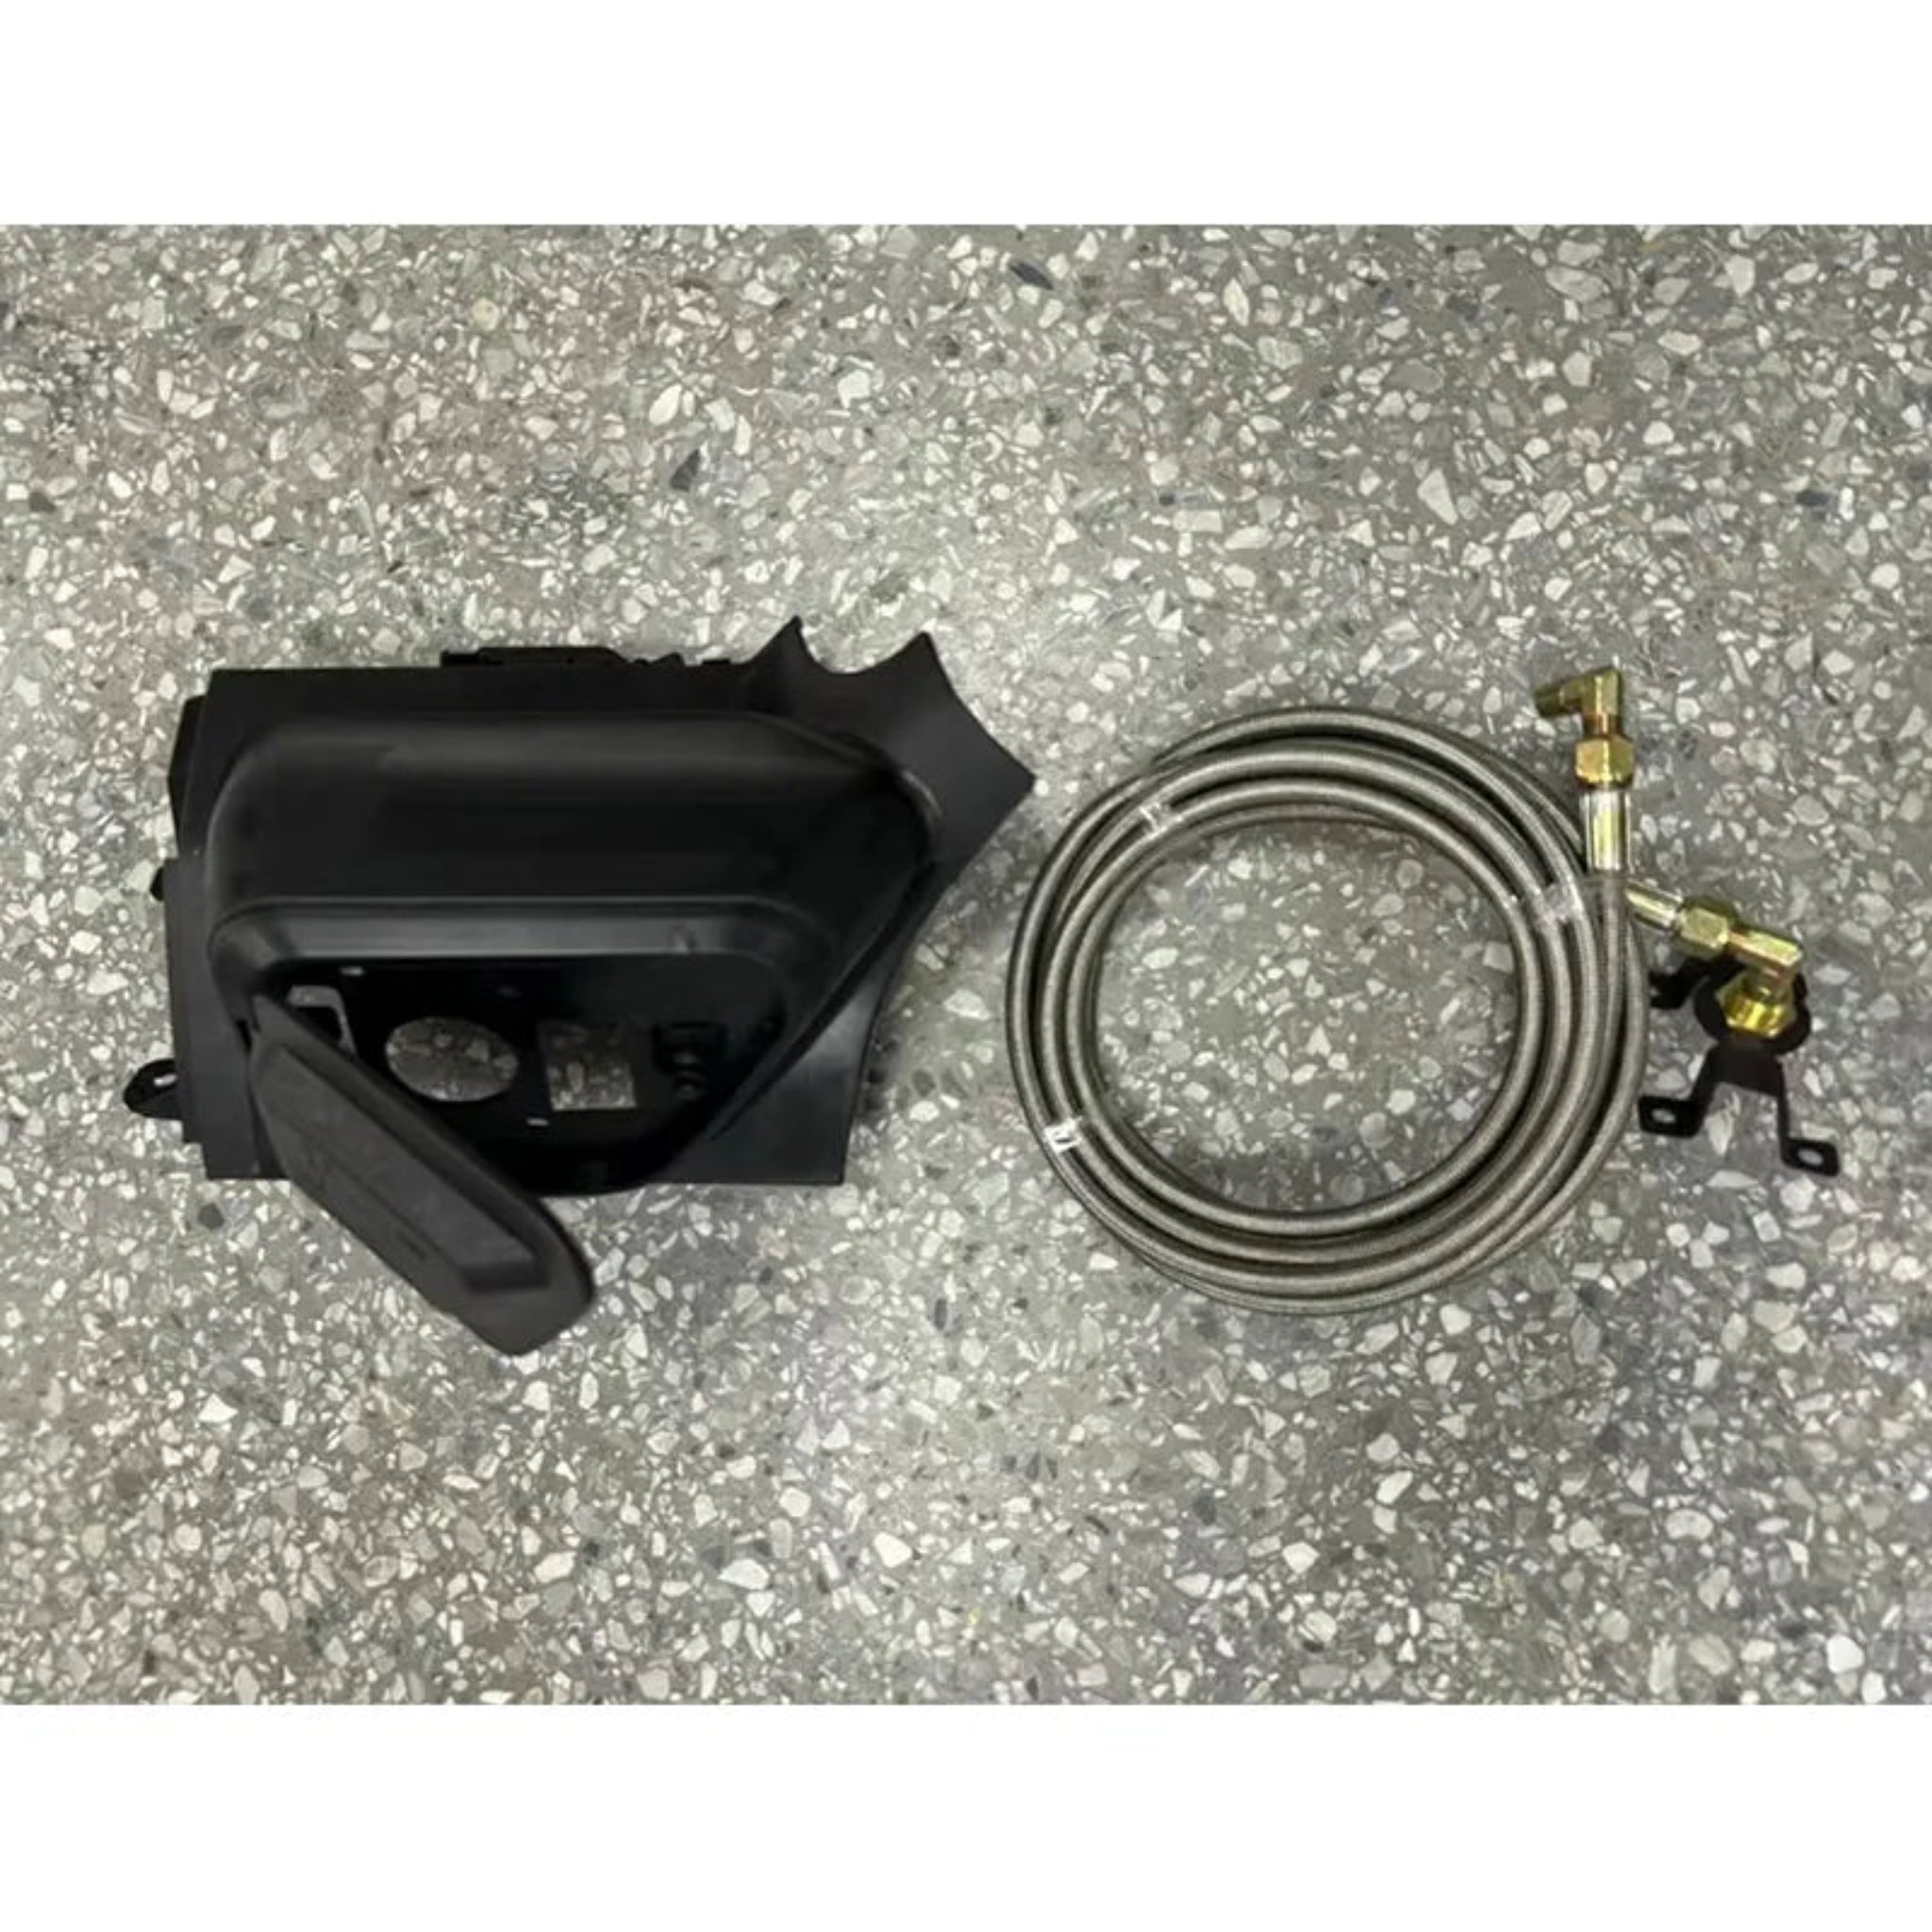

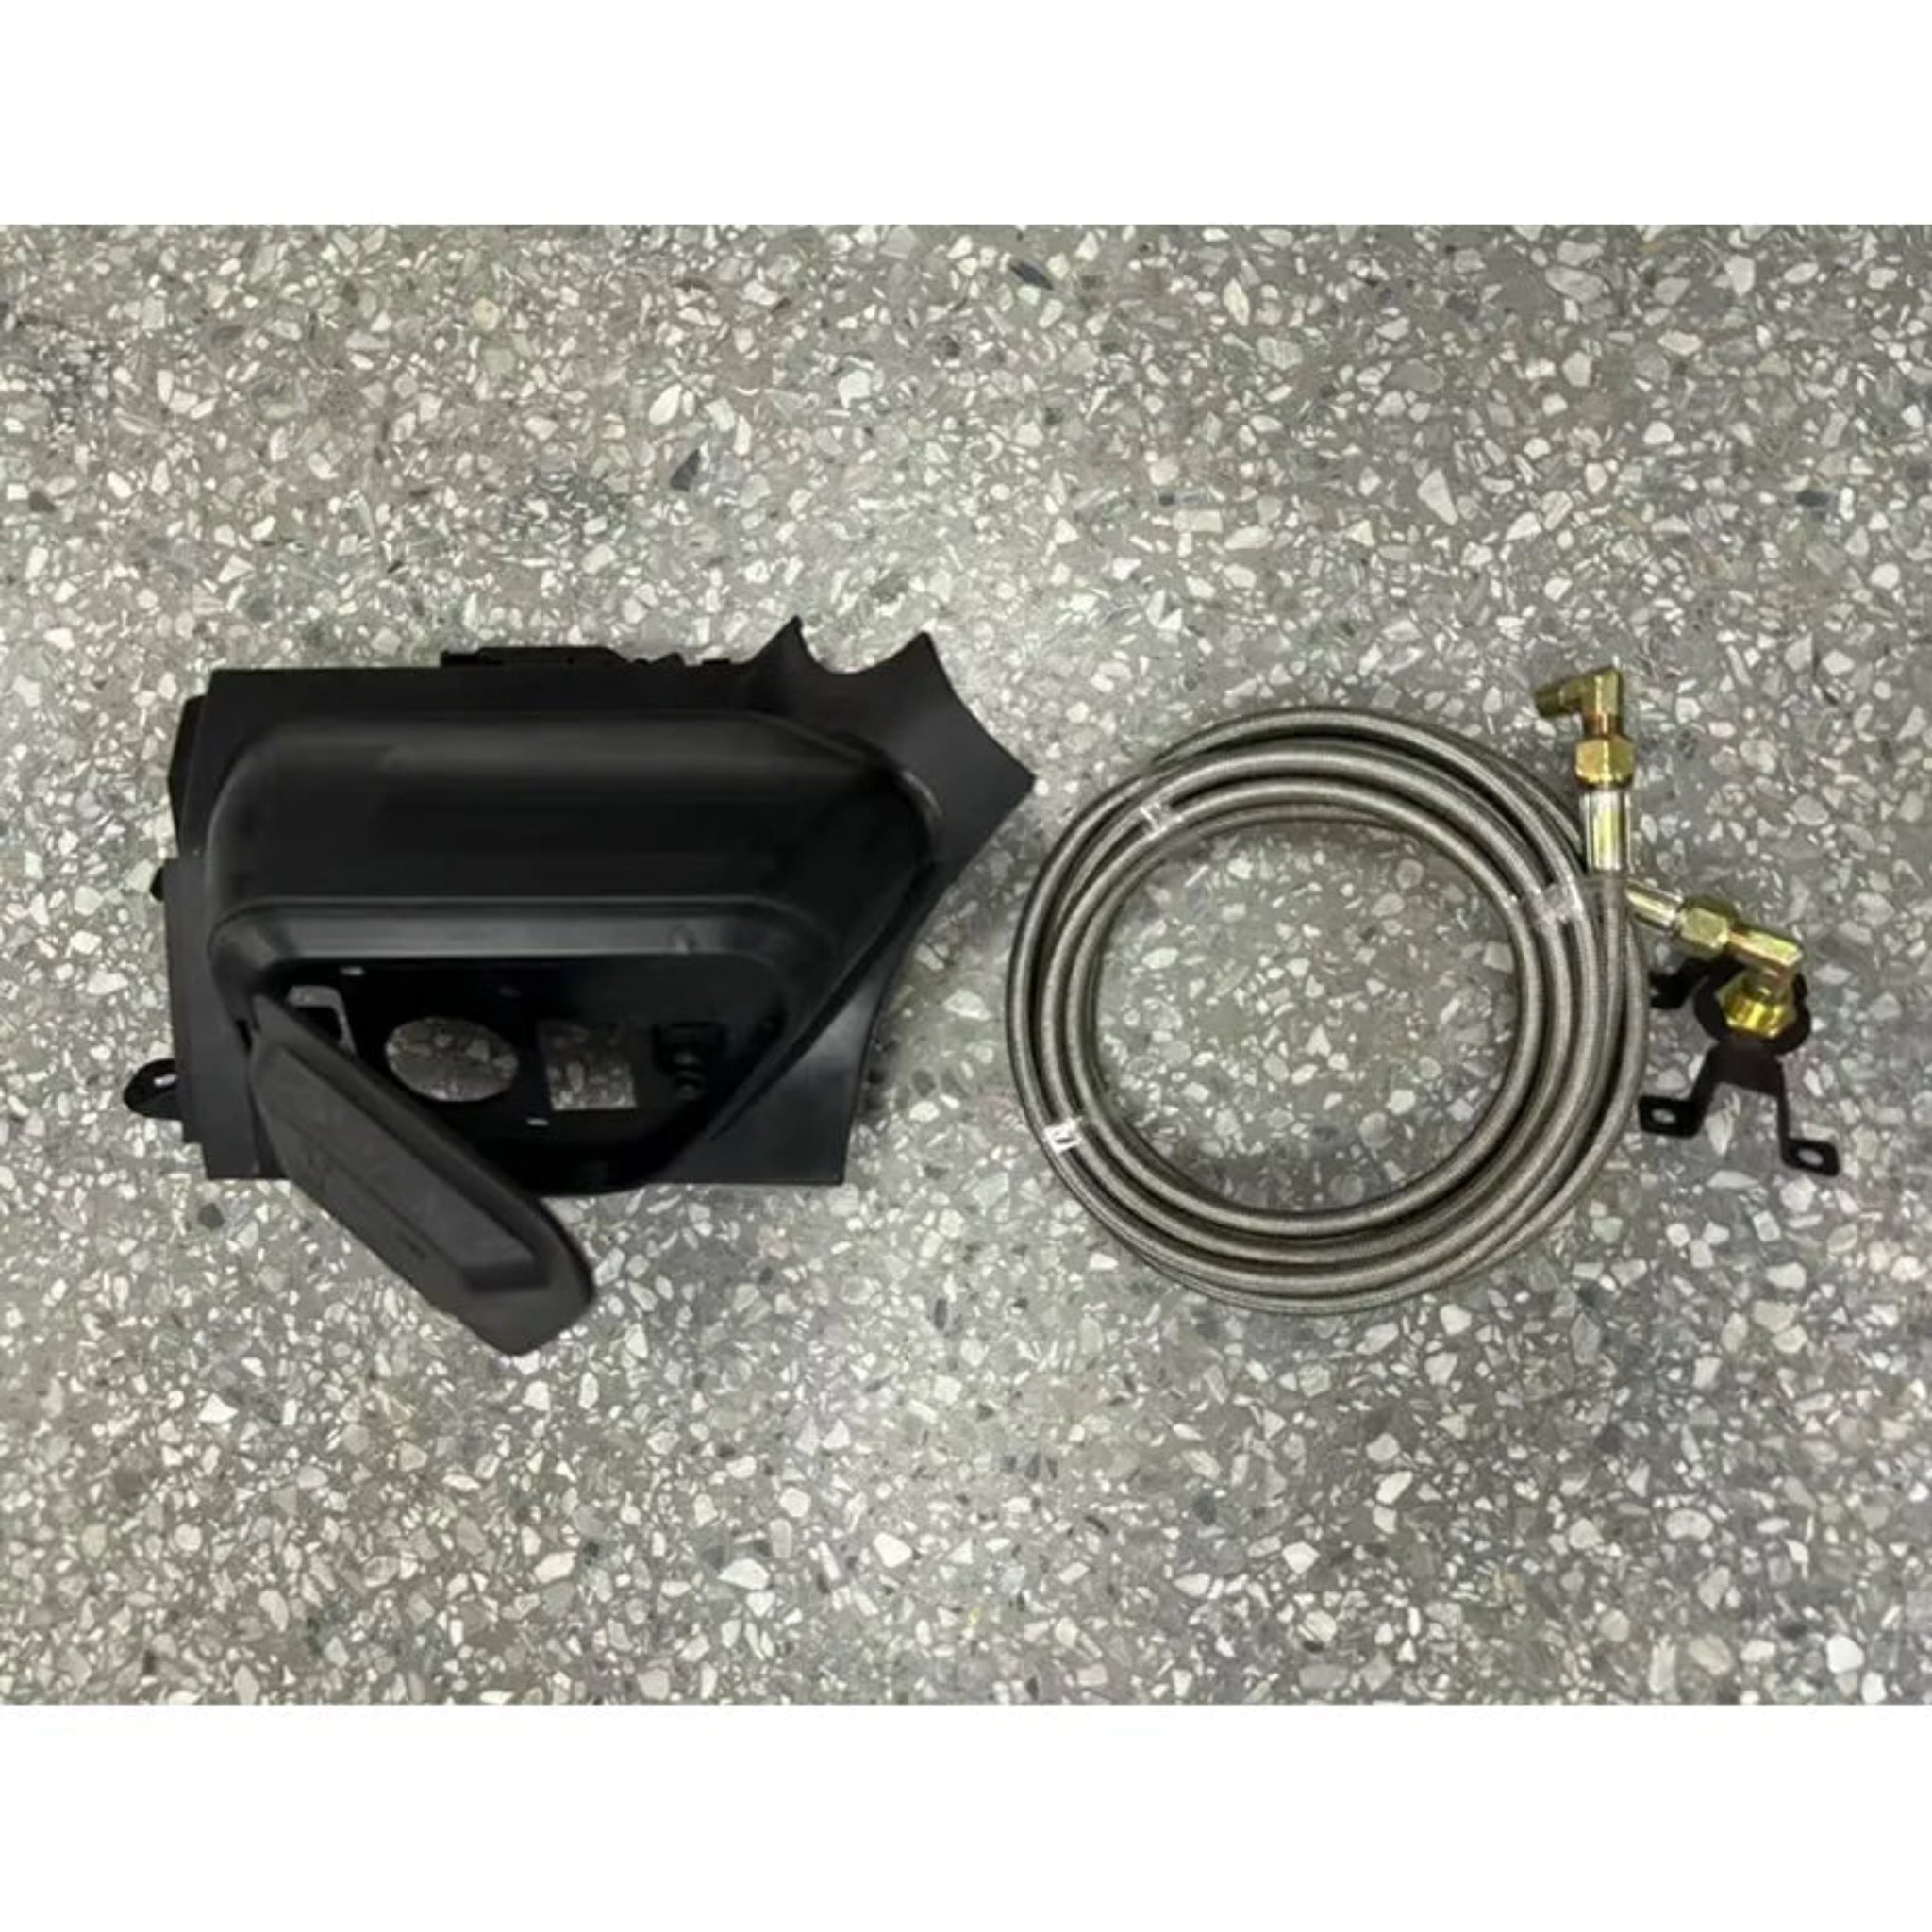
GWM TANK300 air pump

11,140.00 ฿ THB
12,157.00 ฿ THB
Save 1,017.00 ฿ THB
Shipping fees will be calculated at checkout.
Specification
Quantity

Features & Benefits

  • Immediate Response: High-quality buttons with clear feedback enable one-touch starting and shutdown of your air pump for convenient operation.
  • Durable Materials: High-strength, abrasion-resistant engineering plastics ensure long-lasting durability and reliable performance in demanding conditions.
  • Optimized Circuit Design: Built-in circuit protection maintains stable current flow and effectively prevents overload, short circuits, and electrical hazards for enhanced driving safety.
  • Non-Destructive Installation: Seamlessly replaces the original panel without additional drilling or wire damage, preserving your vehicle's aesthetic appeal and resale value.
  • Easy Integration: Compatible with GWM Tank 300's existing electrical system for straightforward plug-and-play installation without complex modifications.

What's Included

1x A-pillar air pump switch panel, 1x Tailgate air pump bracket, 1x ACC power cord (red), 1x Ground wire (black), 1x Air pump control wire, 1x Hardware kit with fasteners

Installation Guide

Total time
45-60 minutes
Drilling required
No - bolt-on
Warranty
Yes - non-invasive
  1. Prepare Mounting Area Locate the A-pillar panel on your GWM Tank 300 and carefully remove the original switch base, ensuring no damage to surrounding trim or wiring.
  2. Install Switch Panel Firmly secure the new air pump switch panel at the A-pillar location, aligning it properly with the mounting points for a flush fit.
  3. Connect ACC Power Connect the red ACC power cord to your vehicle's ACC power supply to ensure the pump receives power when the ignition is activated. Install an inline fuse for safety protection.
  4. Ground the Circuit Connect the black grounding wire to a clean, bare metal grounding point on the vehicle body to complete the electrical circuit return path.
  5. Wire Air Pump Control Connect the air pump control wire to the positive input terminal of your air pump's power supply, ensuring secure connections with no exposed copper.
  6. Verify All Connections Double-check that all wiring is correct, properly insulated, and securely fastened to prevent vibration-related loosening during operation.
  7. Reconnect Battery Reconnect the vehicle battery negative terminal and ensure all connections are tight before proceeding to testing.
  8. Test Functionality Start the vehicle and operate the air pump switch to confirm the pump starts and stops smoothly with each button press.

Recently viewed