
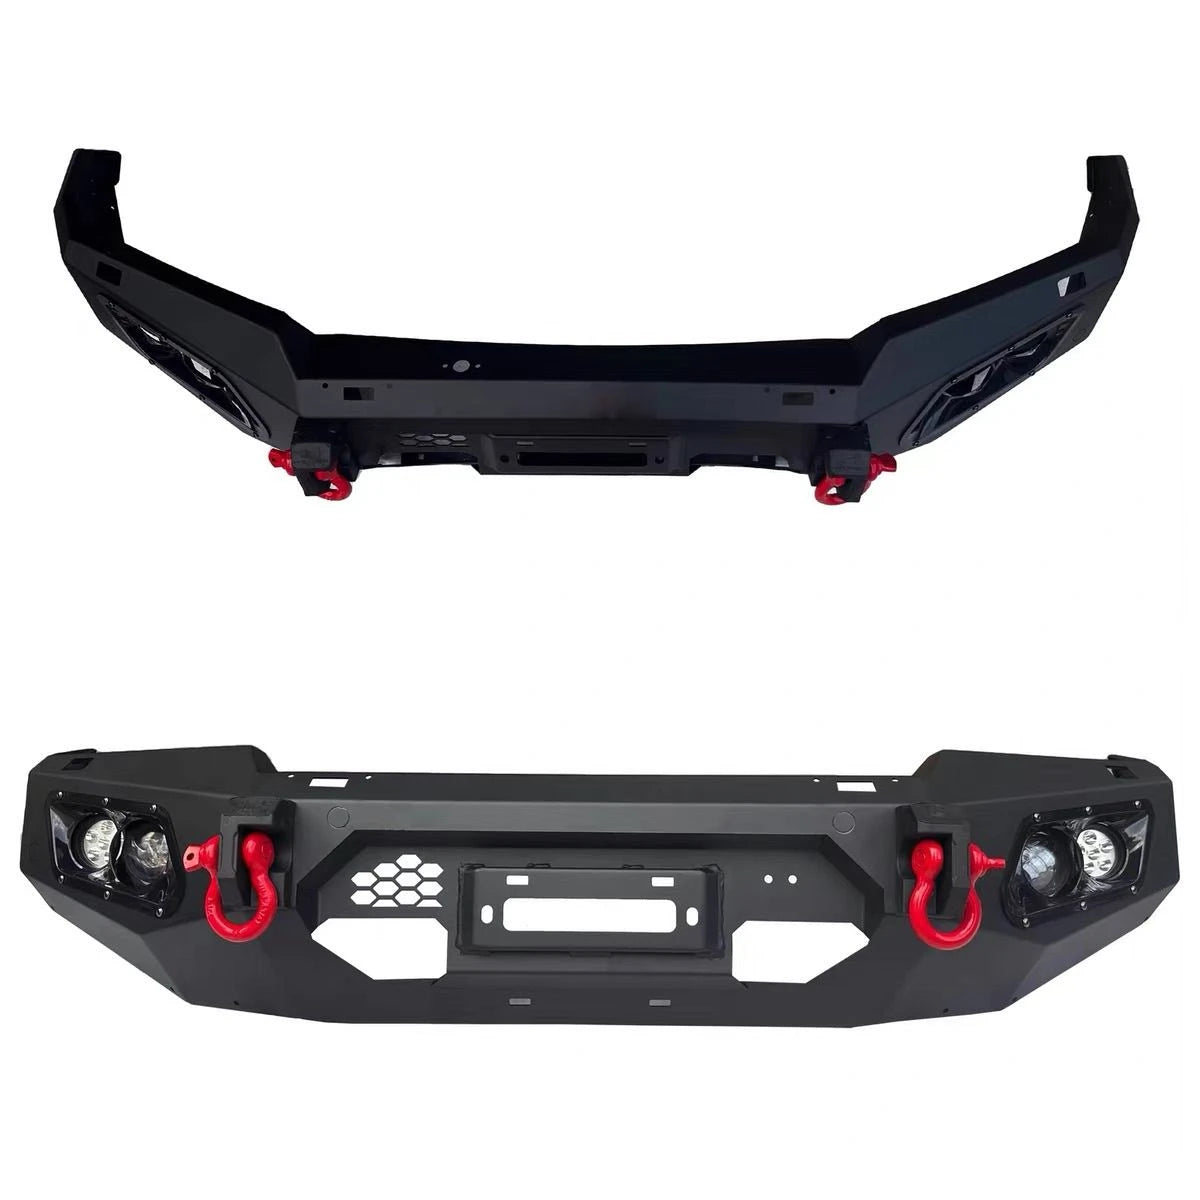
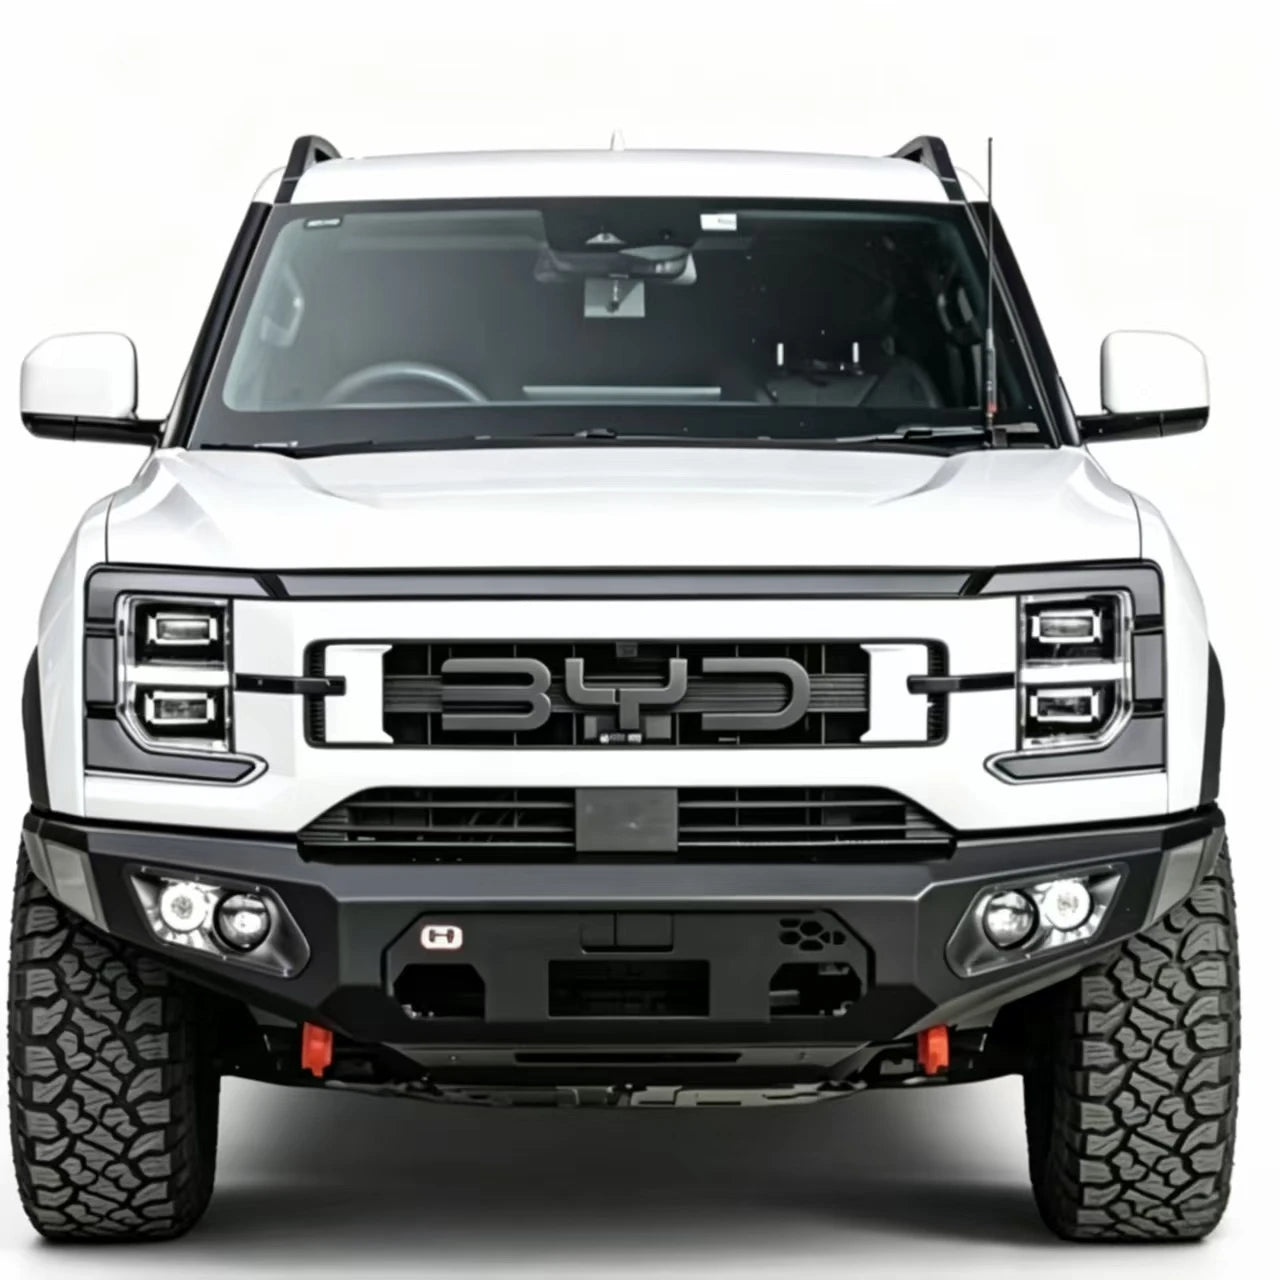
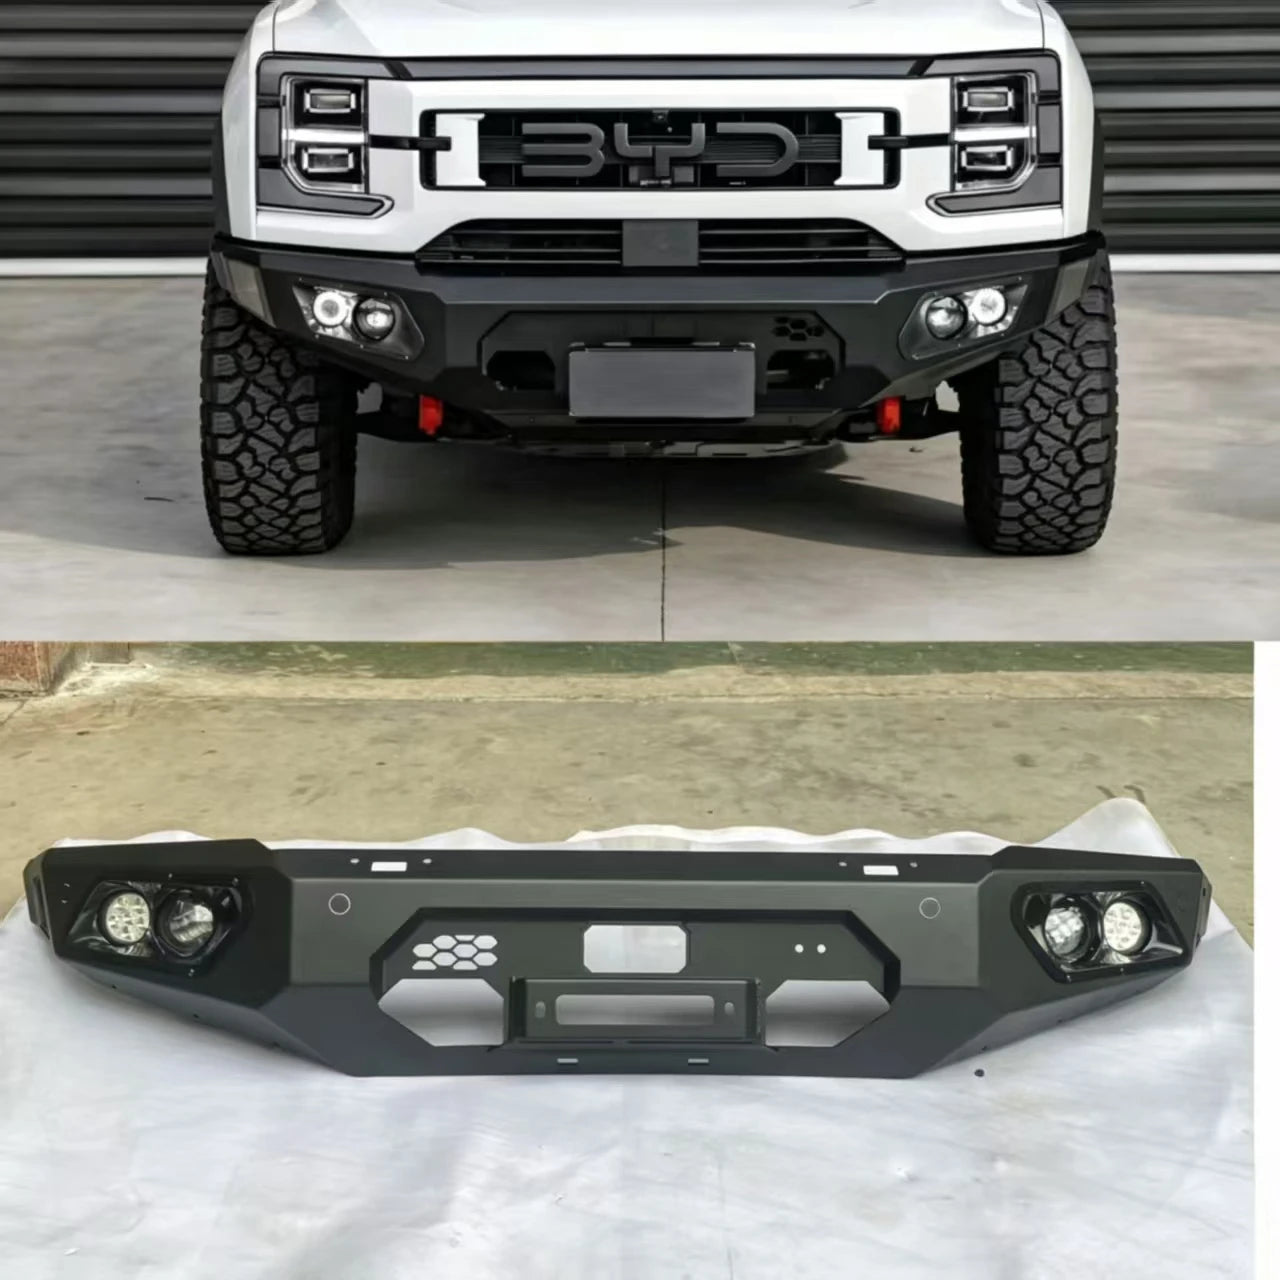
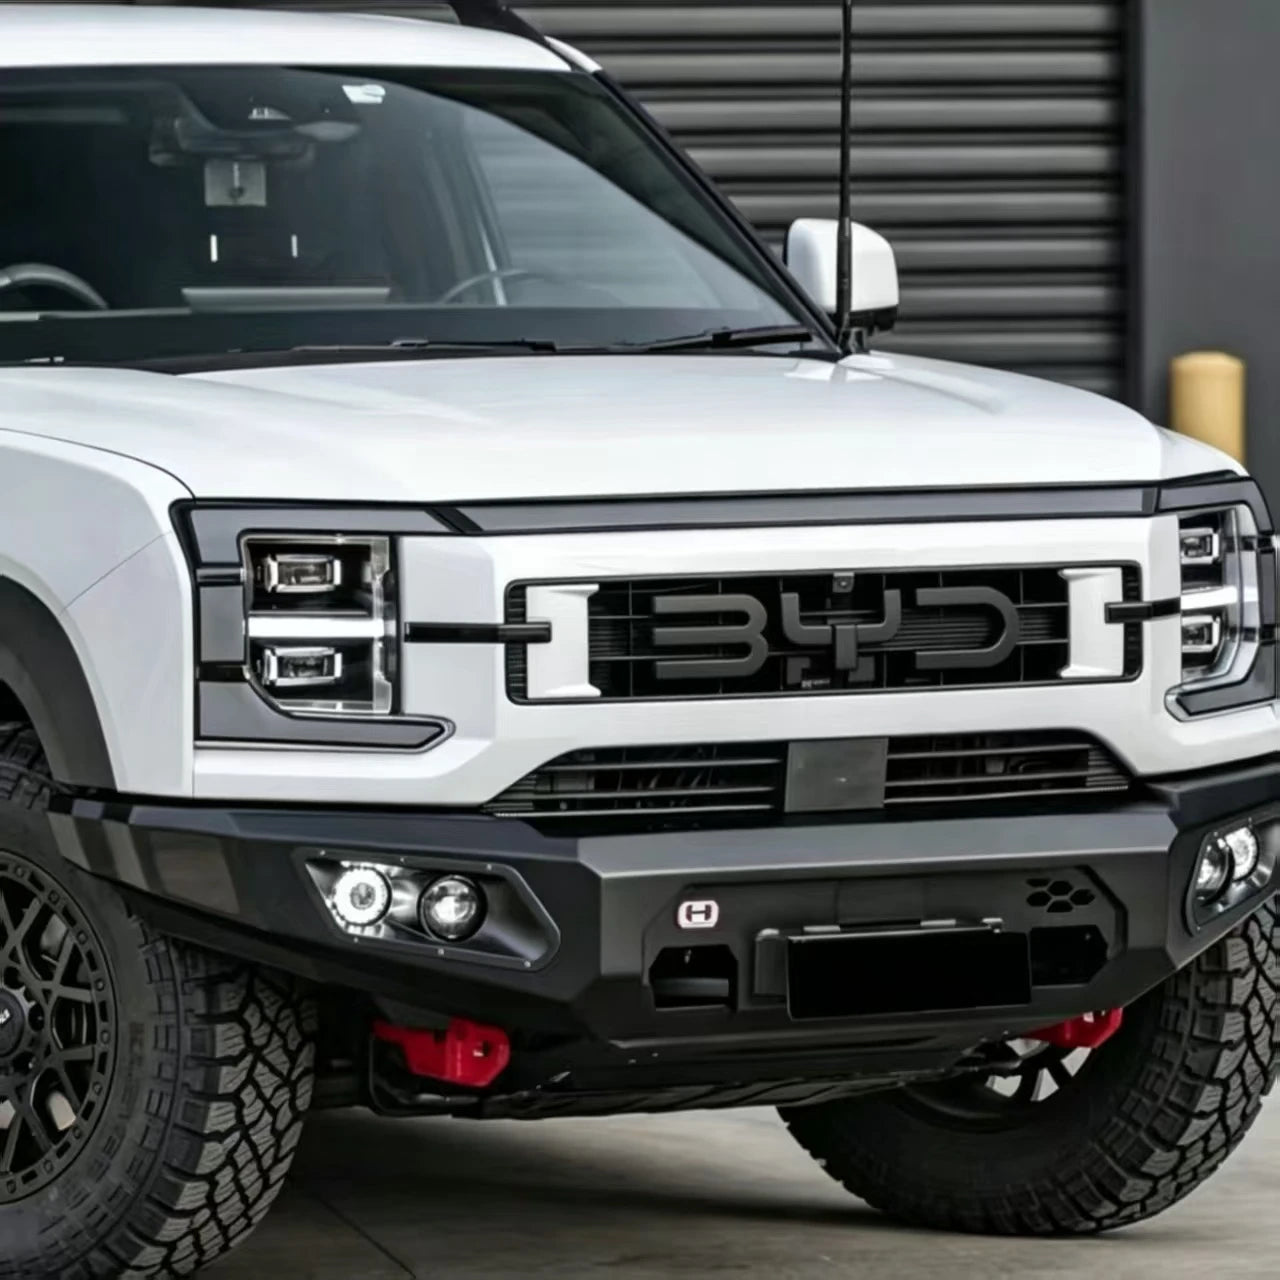
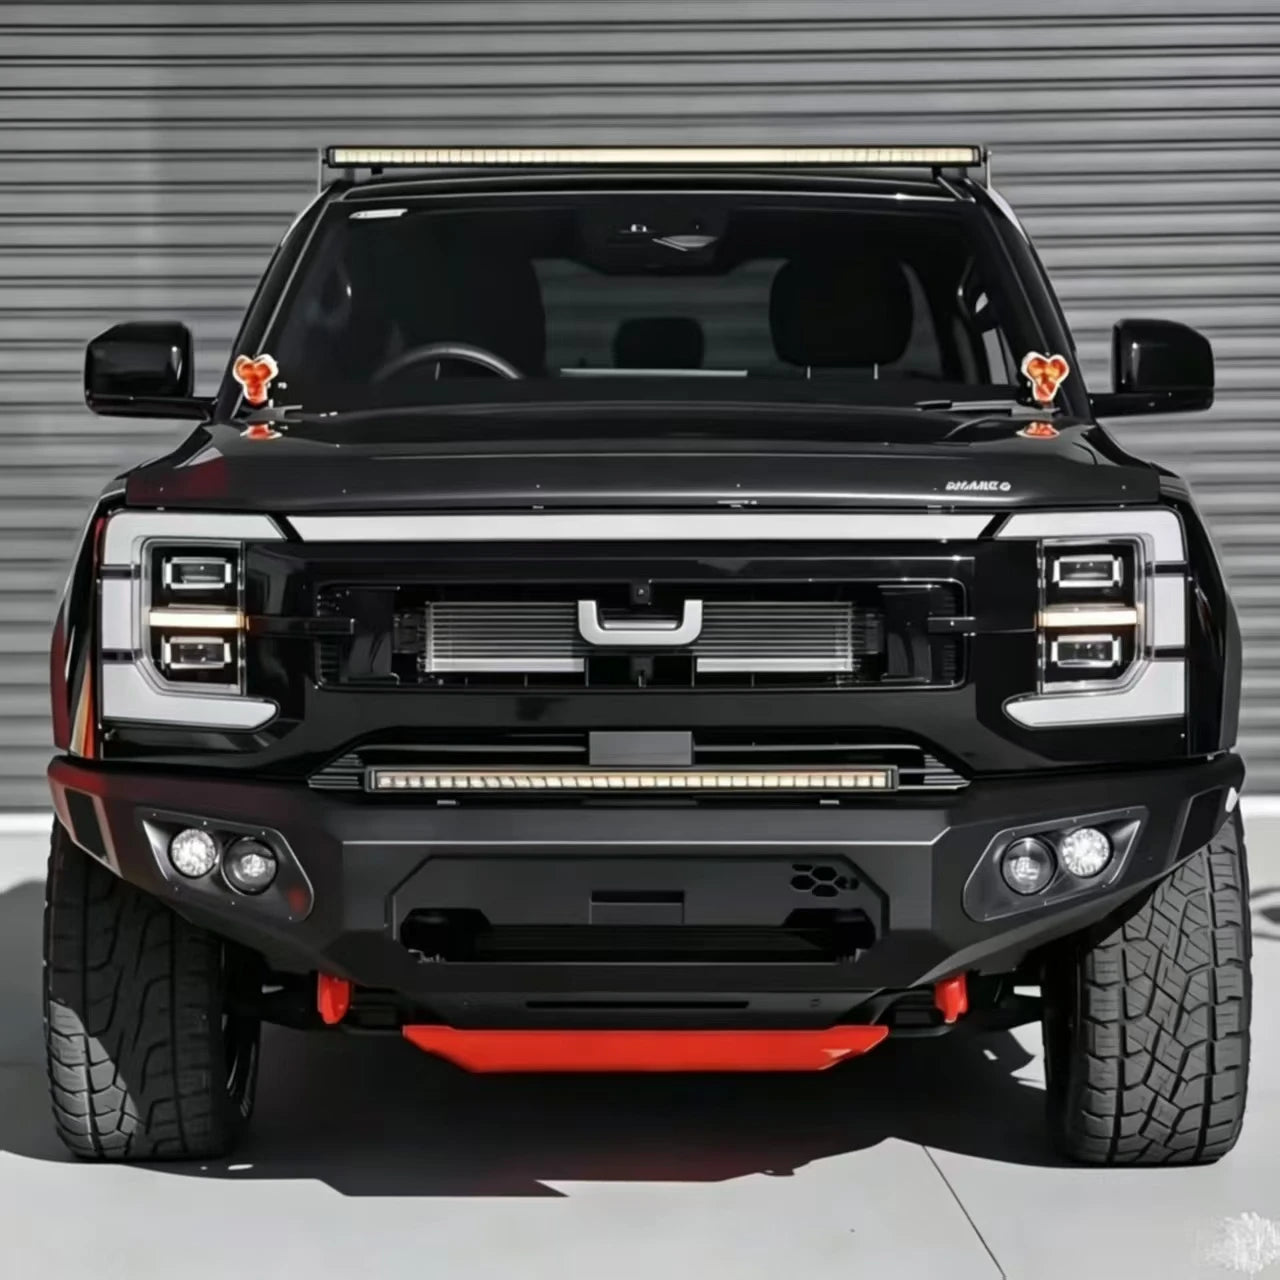
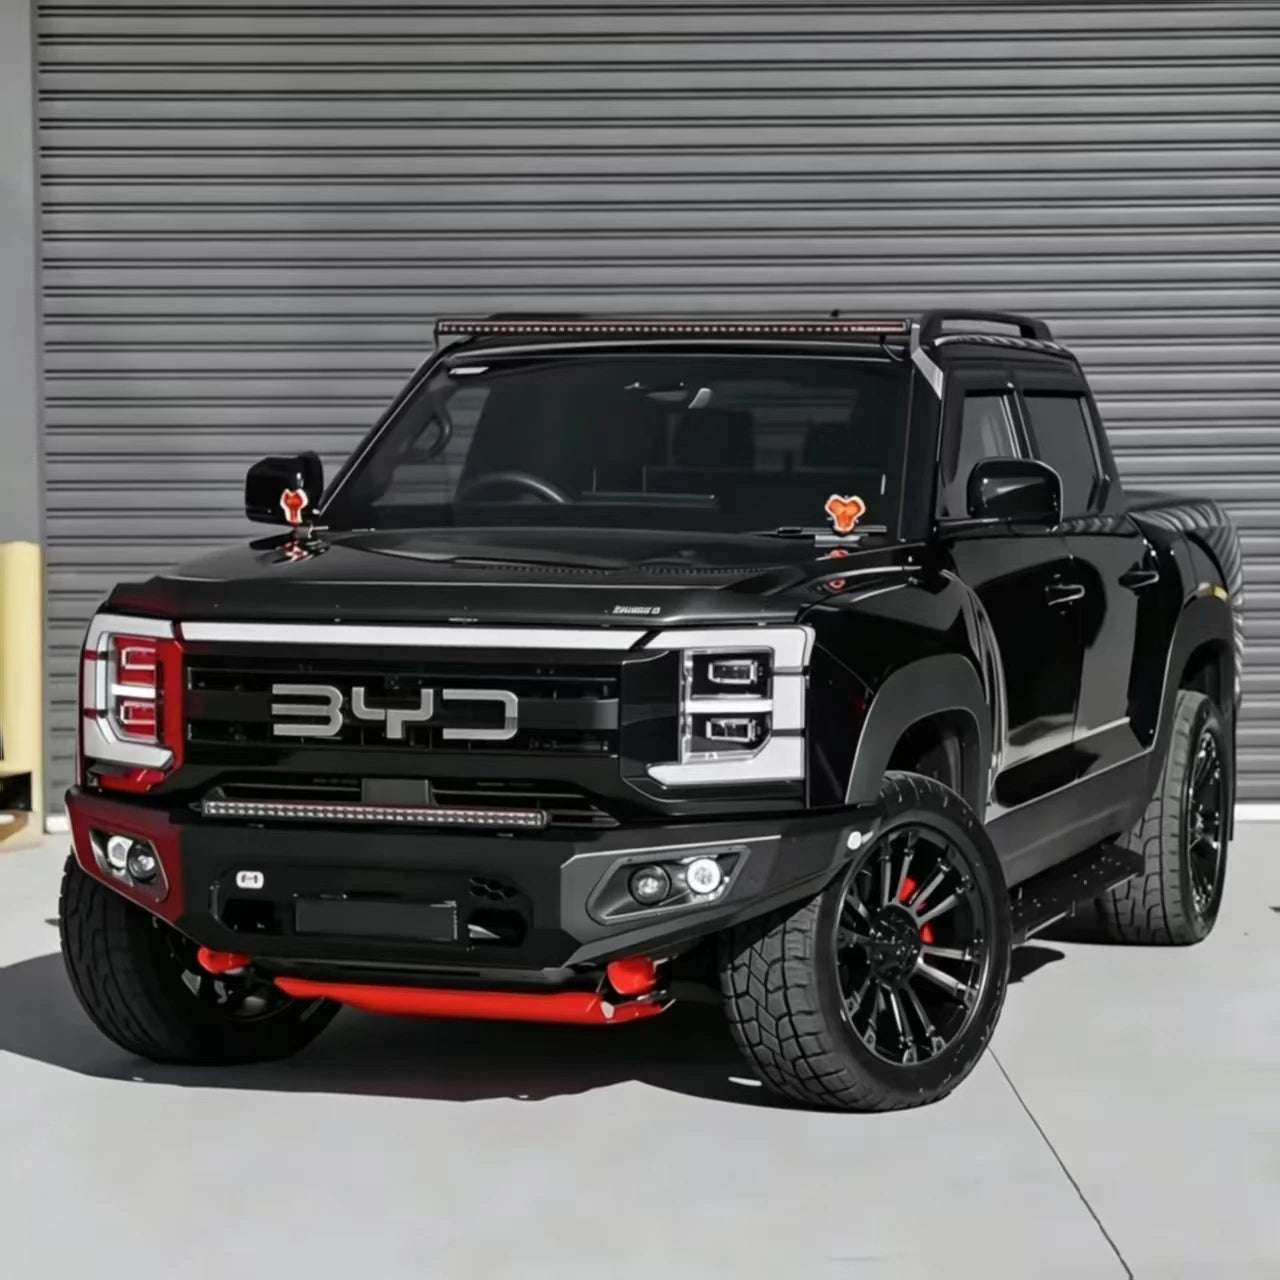
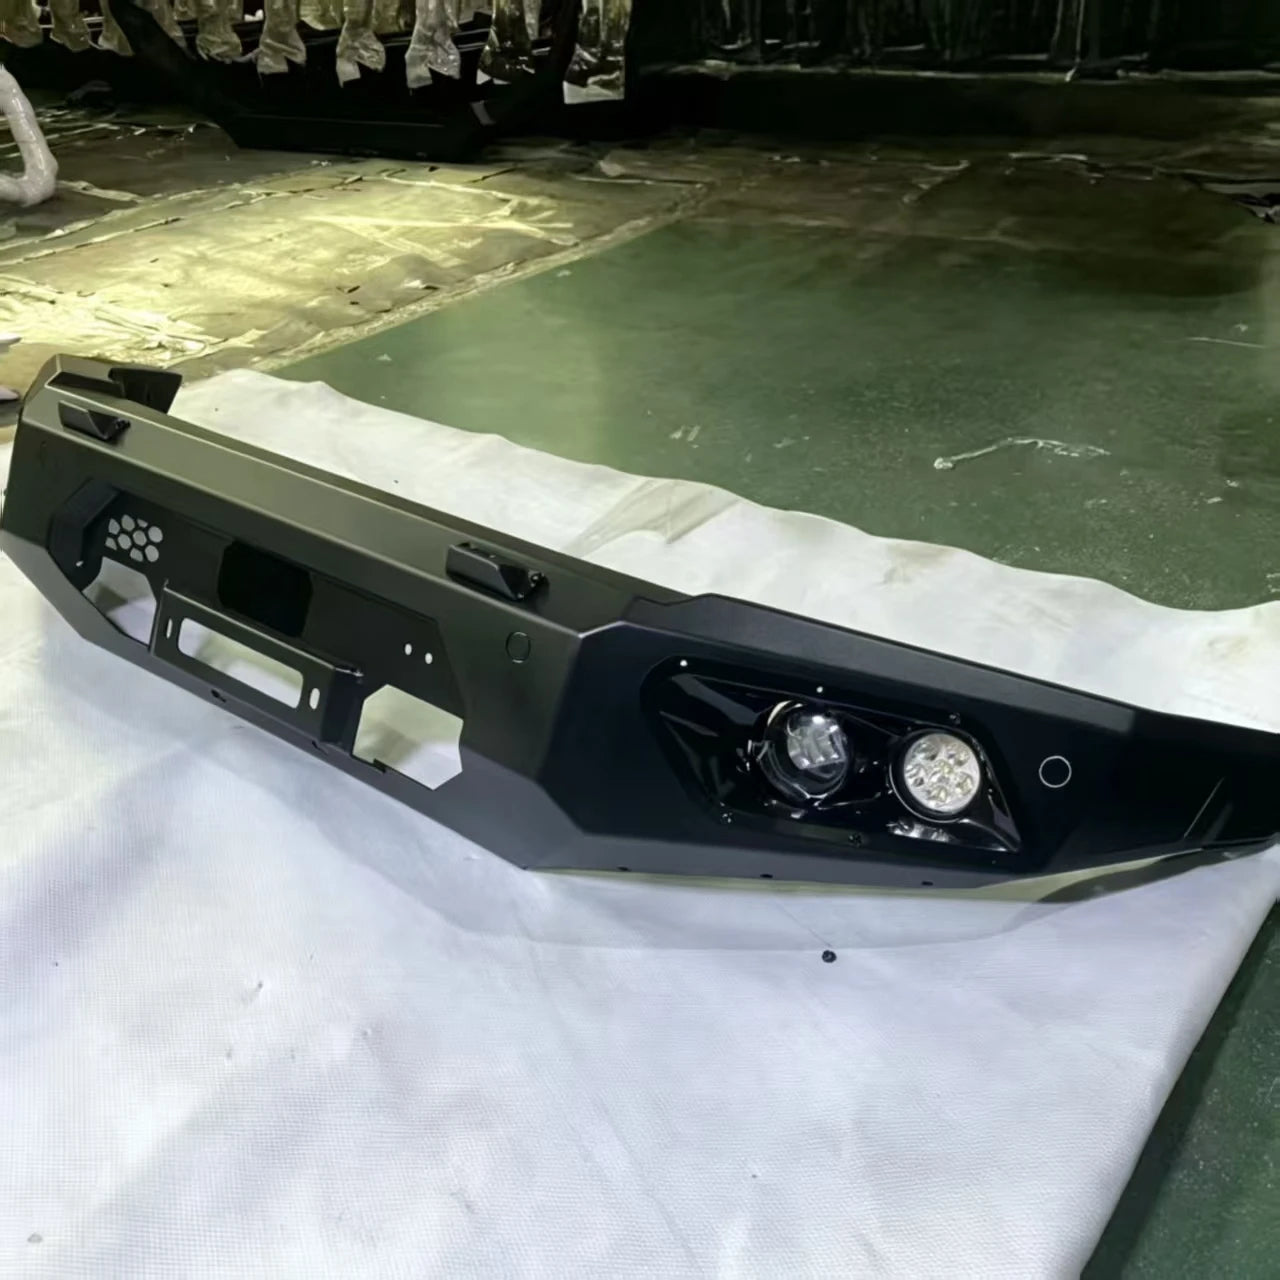
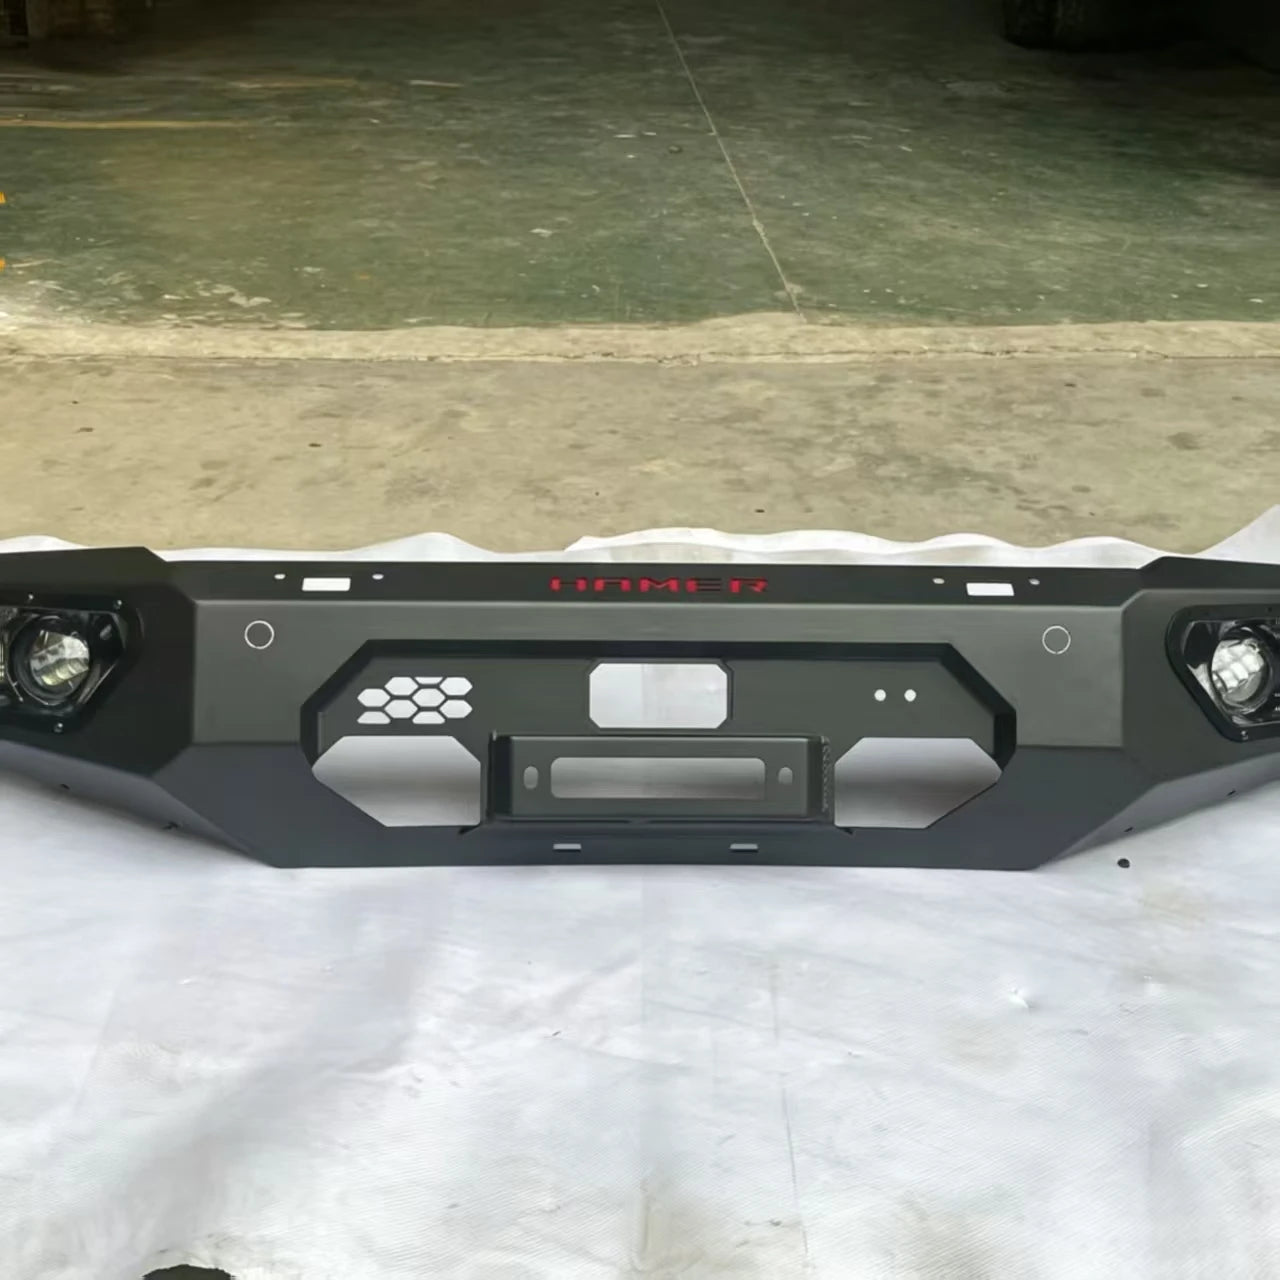
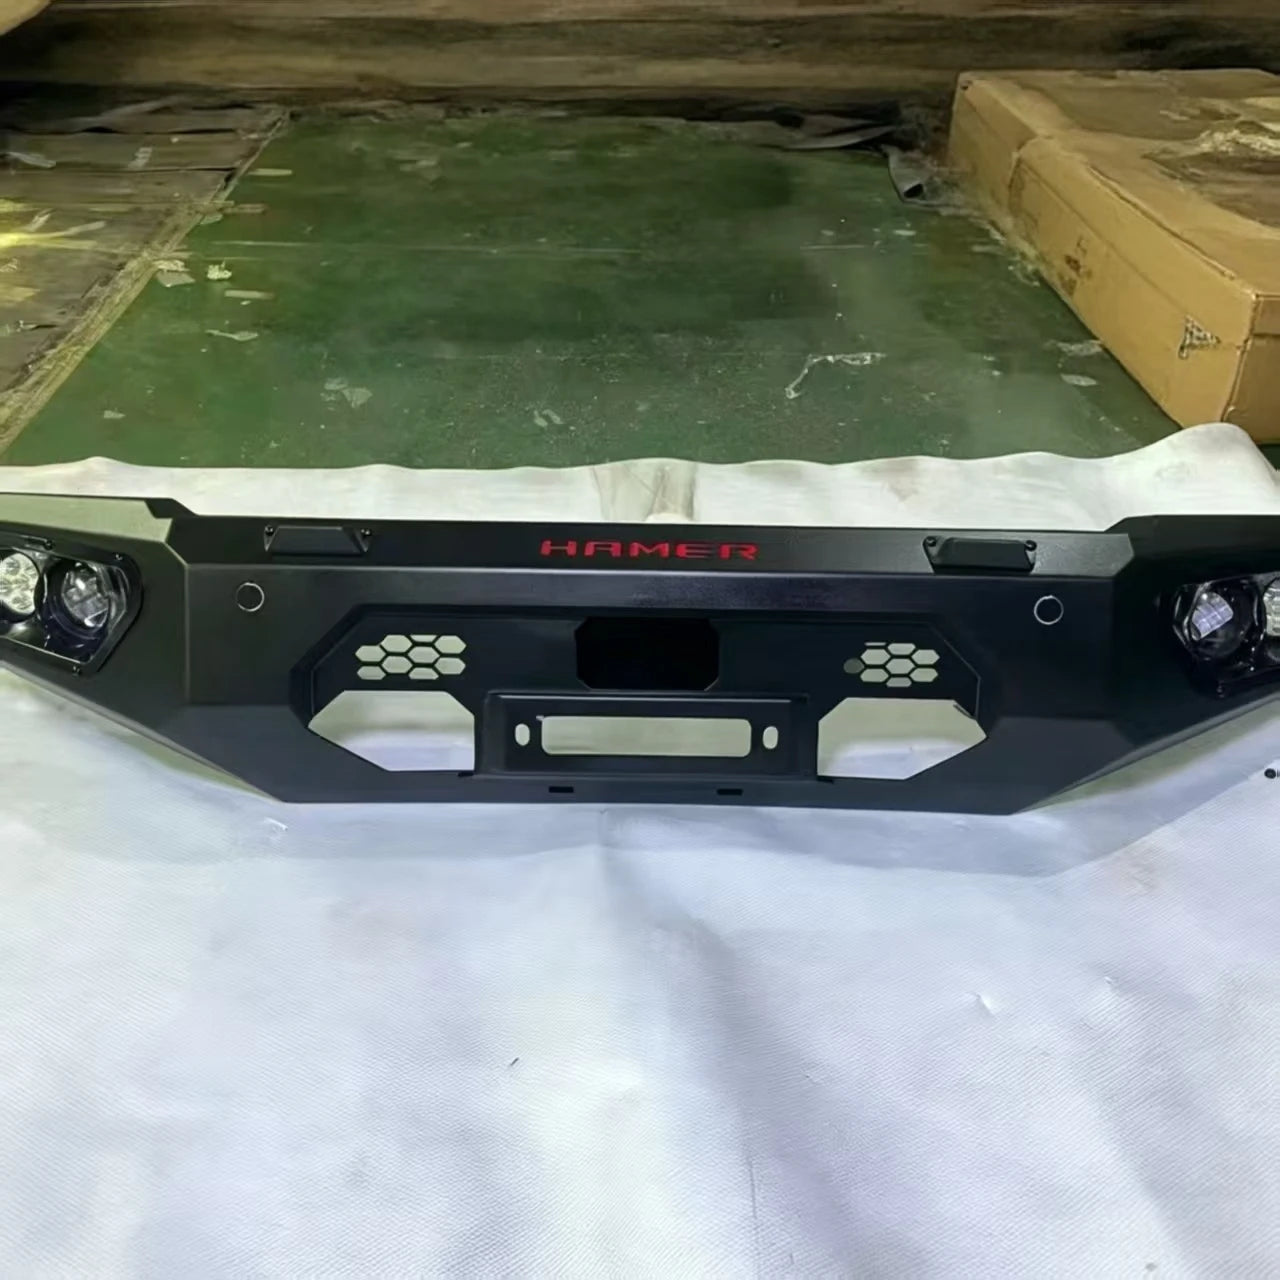
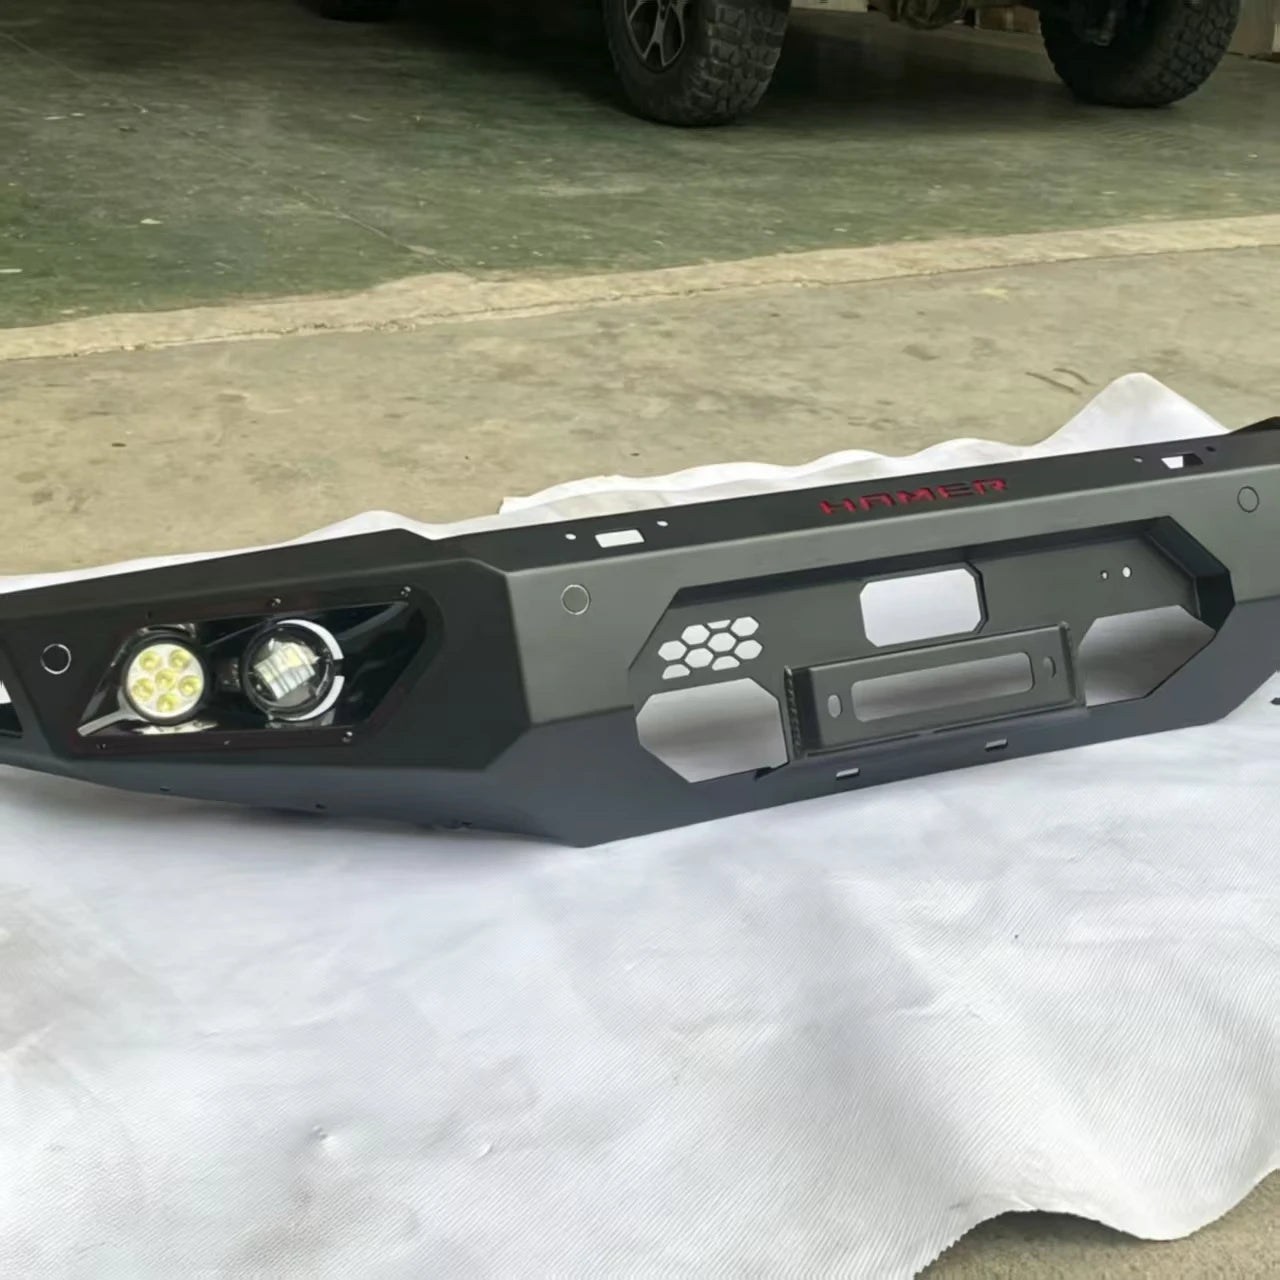
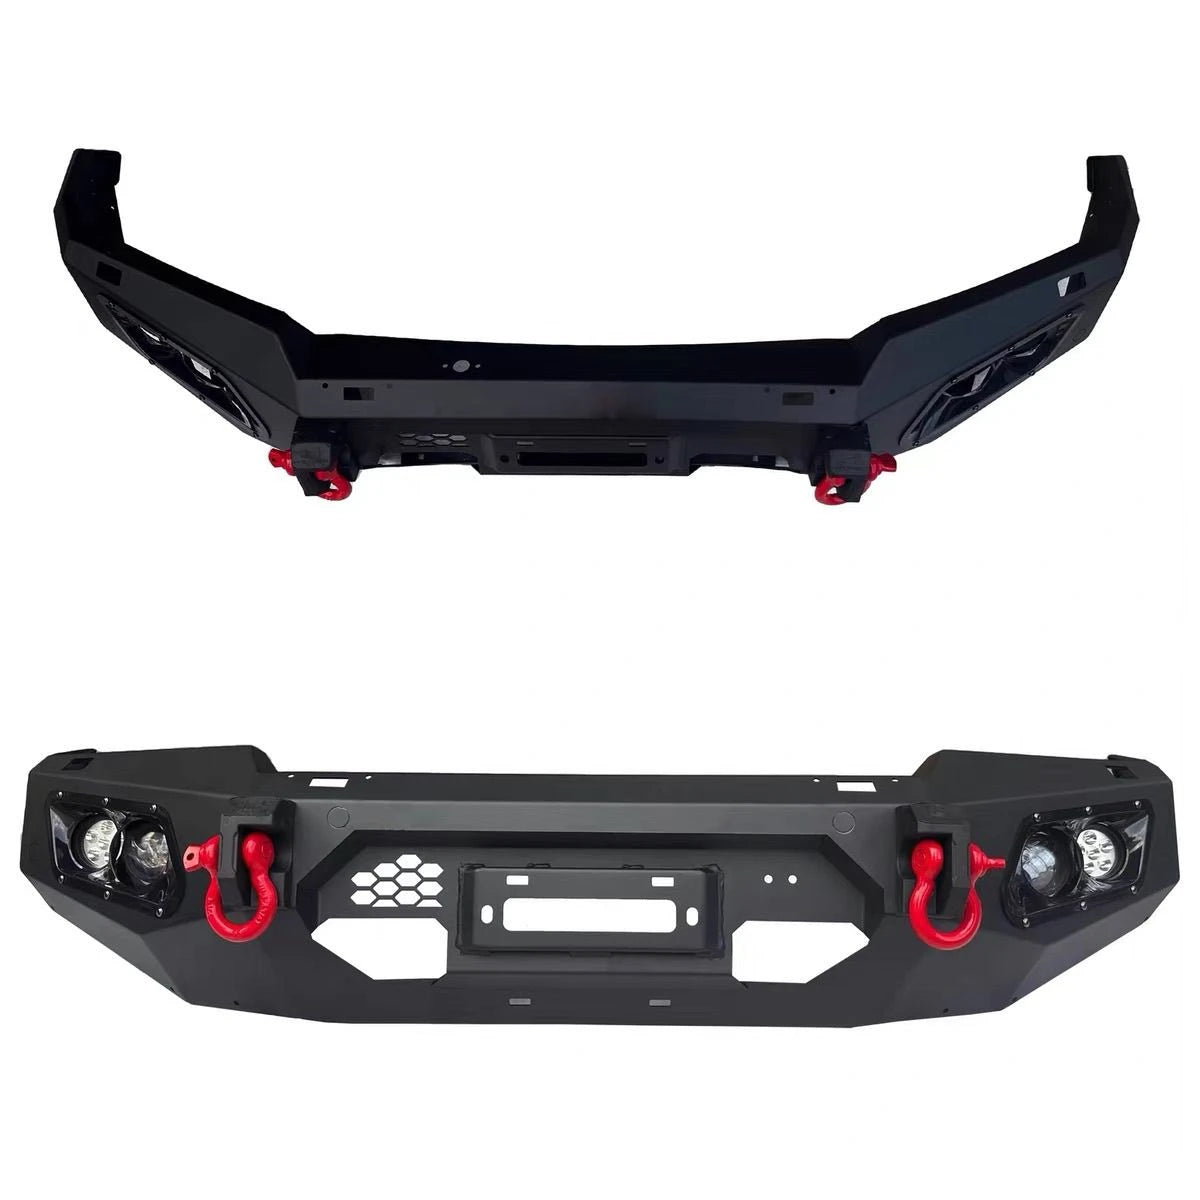
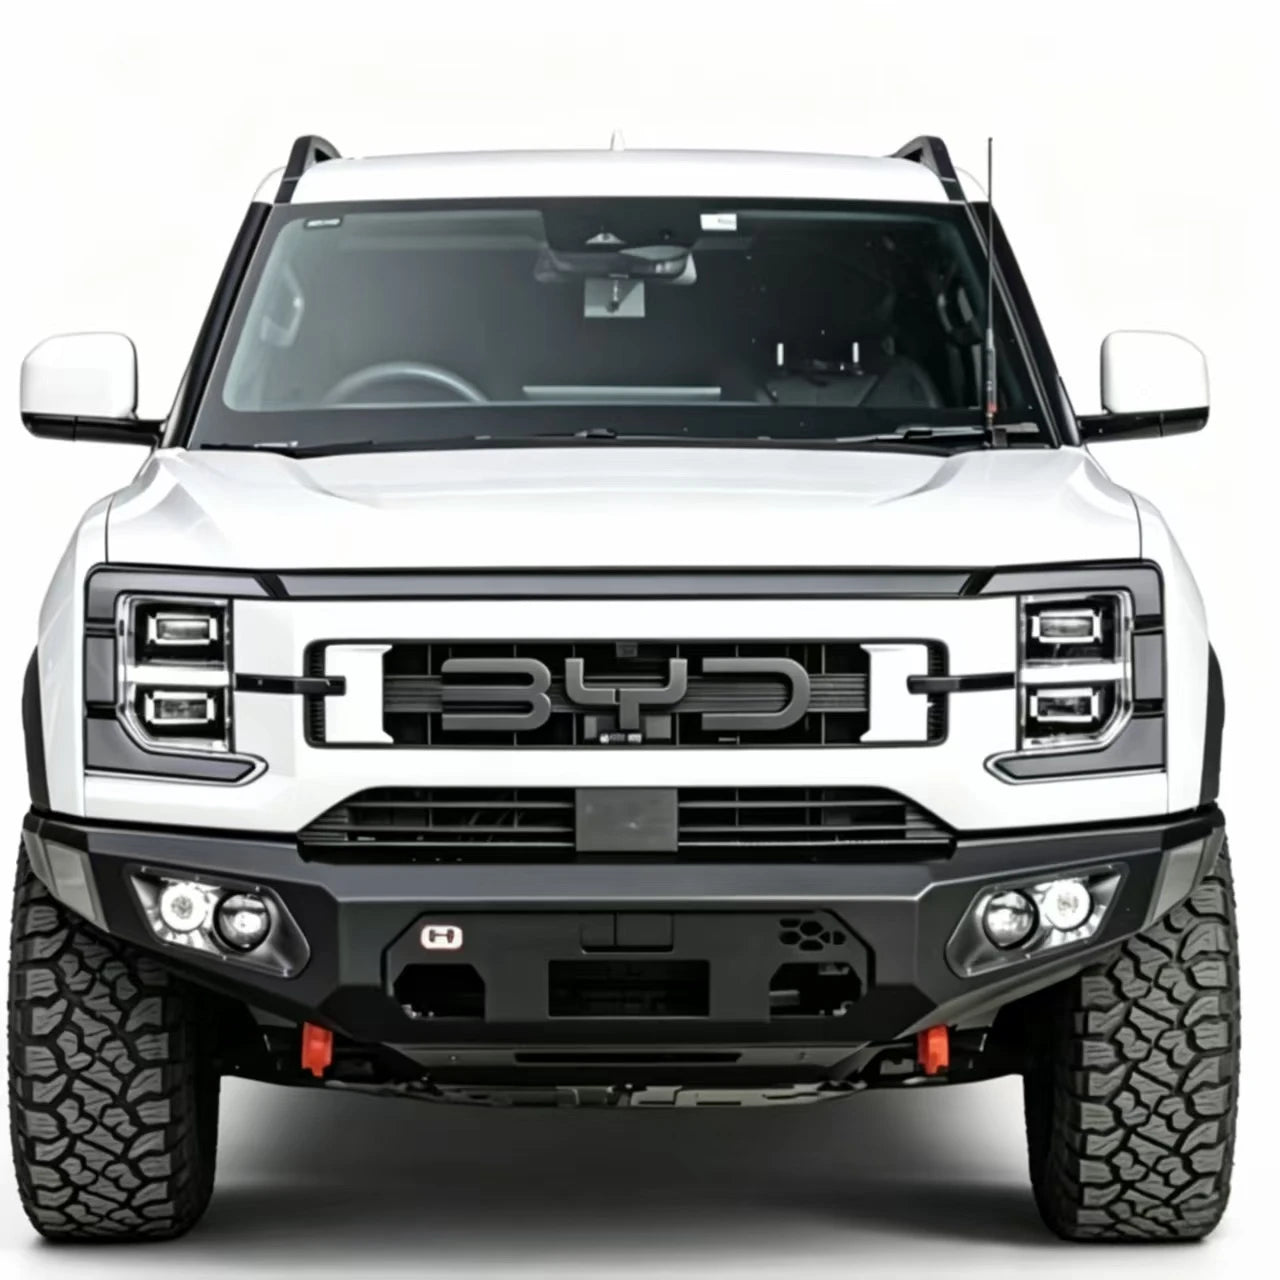
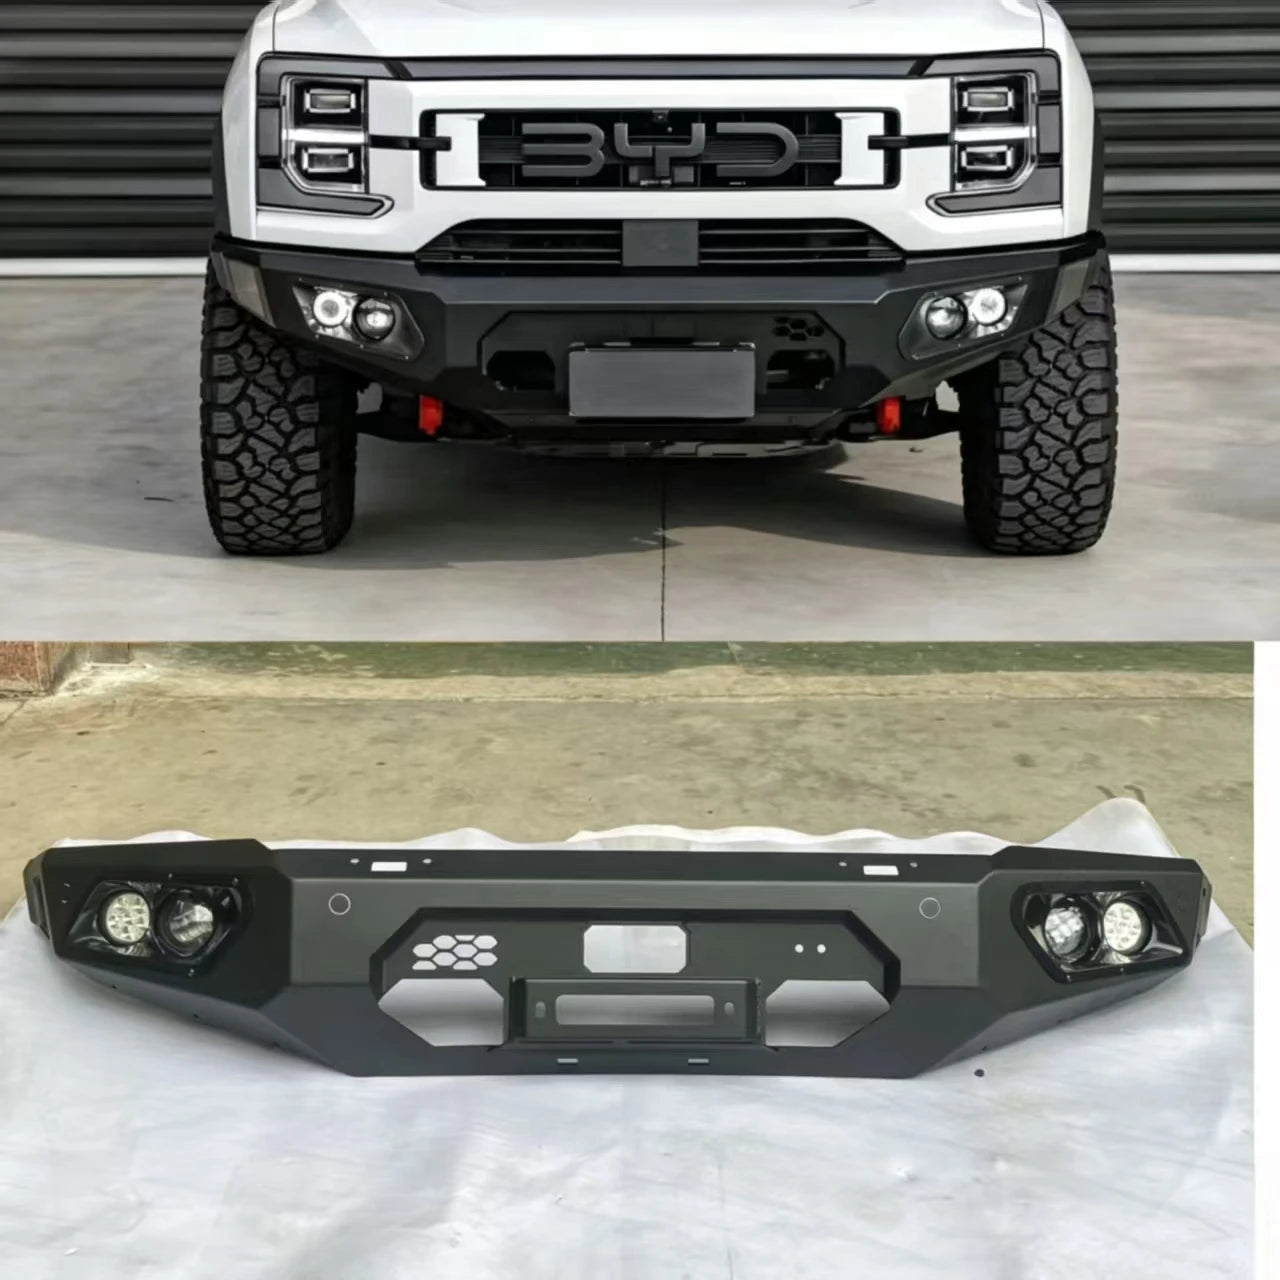
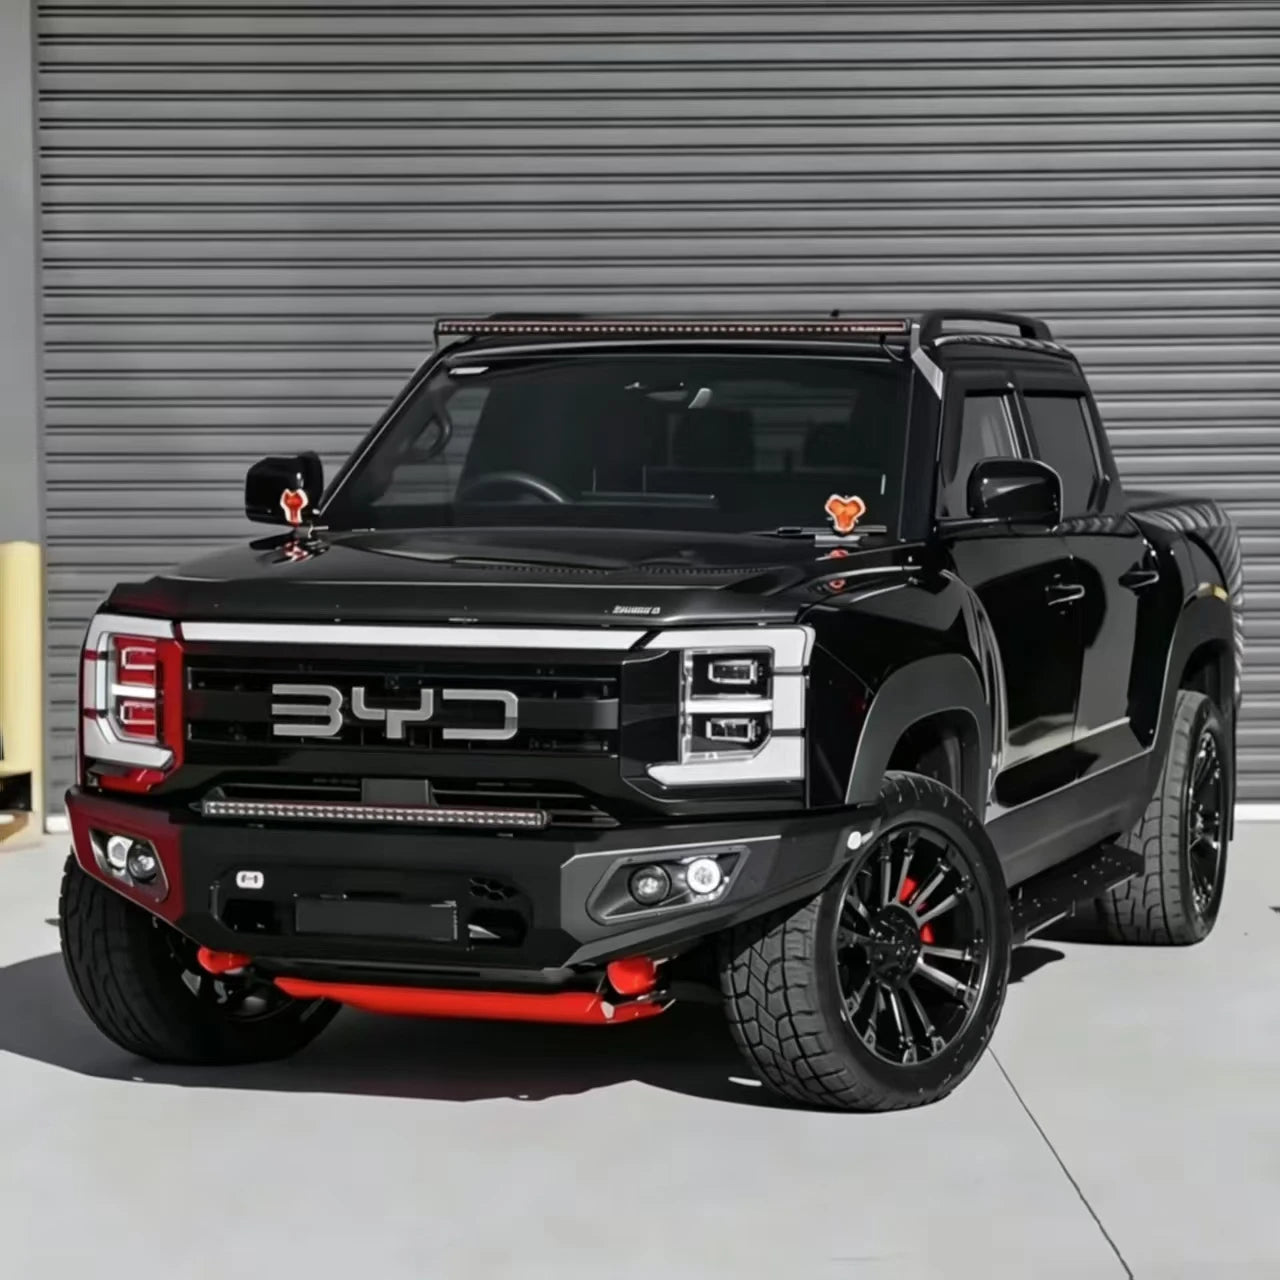
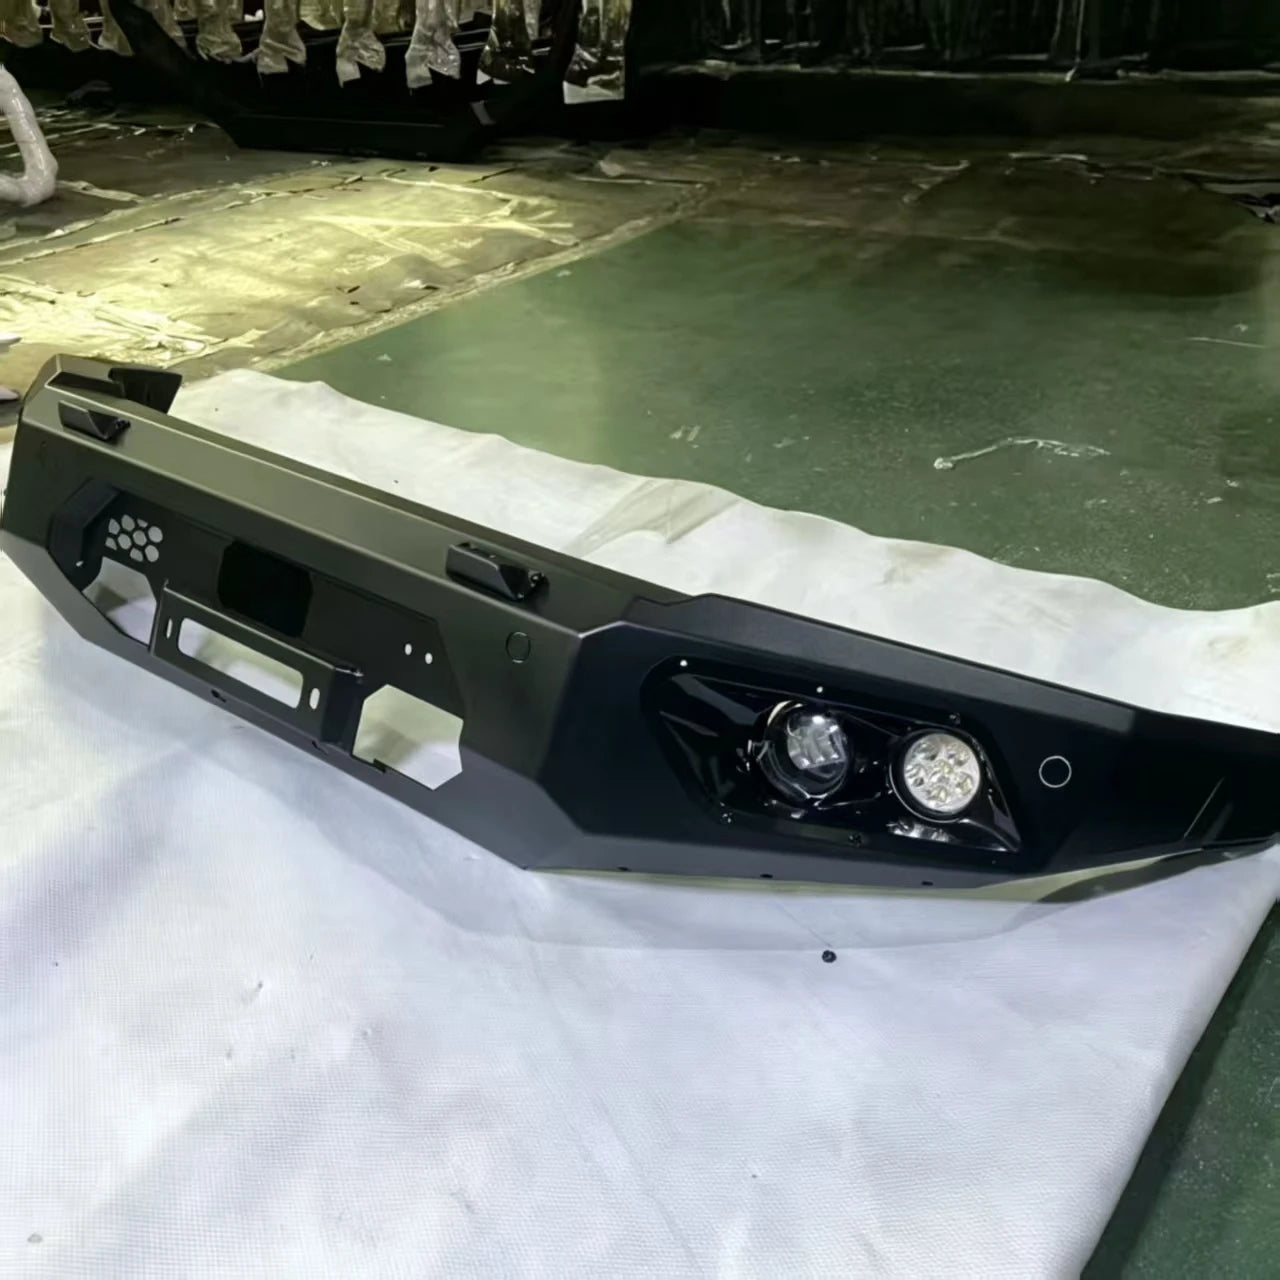
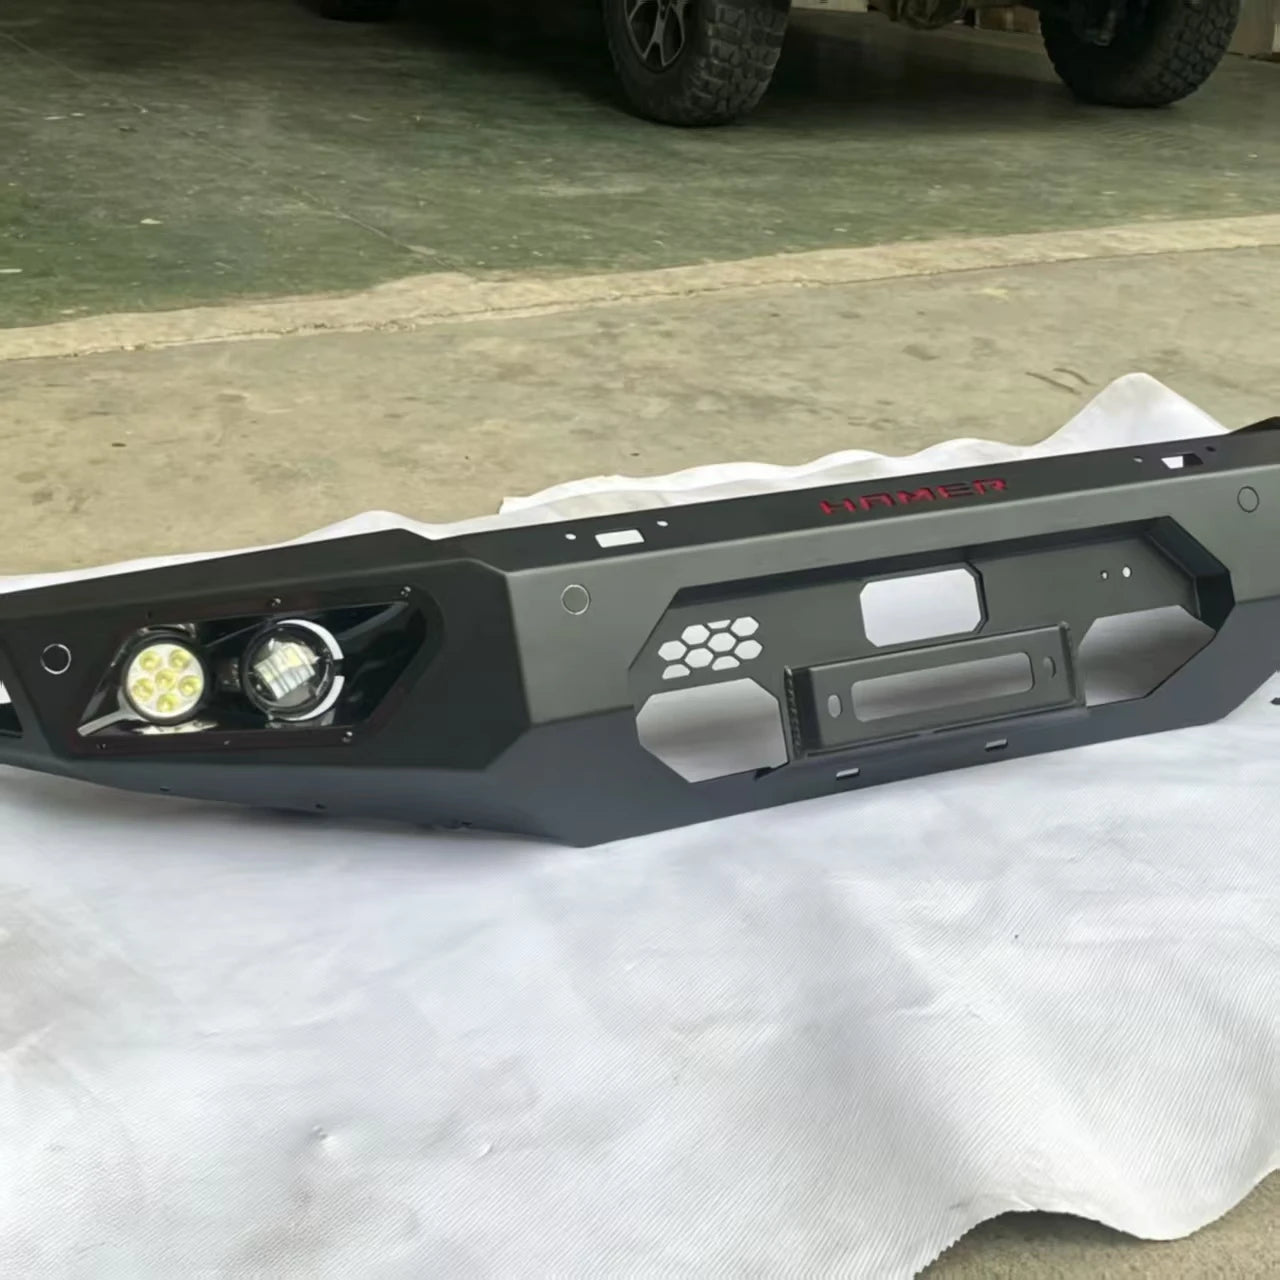
- Full Bumper Replacement: Removes the plastic factory bumper and foam absorber entirely. 3mm steel plate structure gives you front-end protection the OEM part cannot.
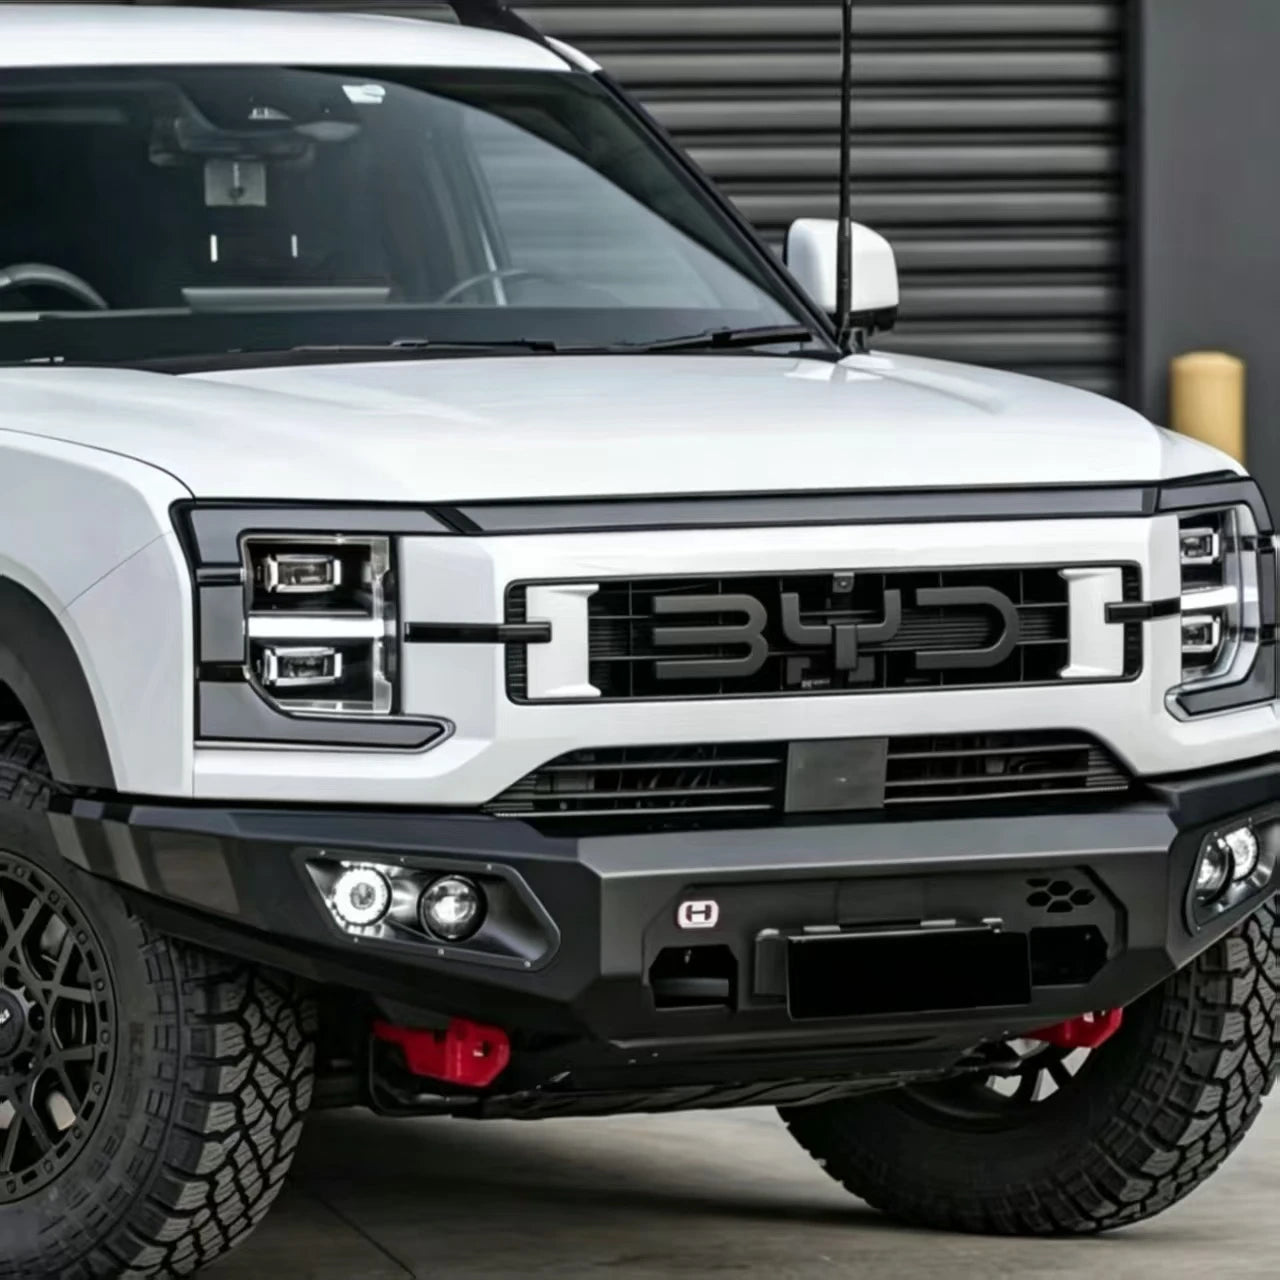
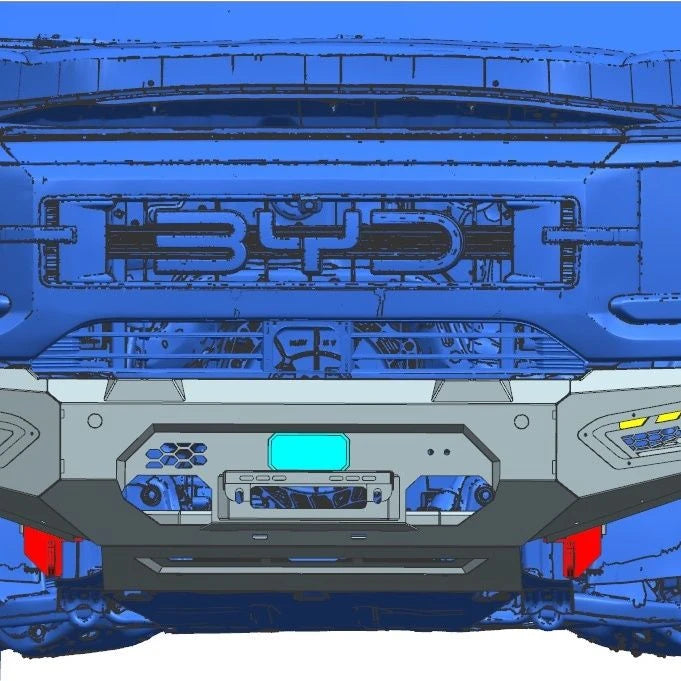
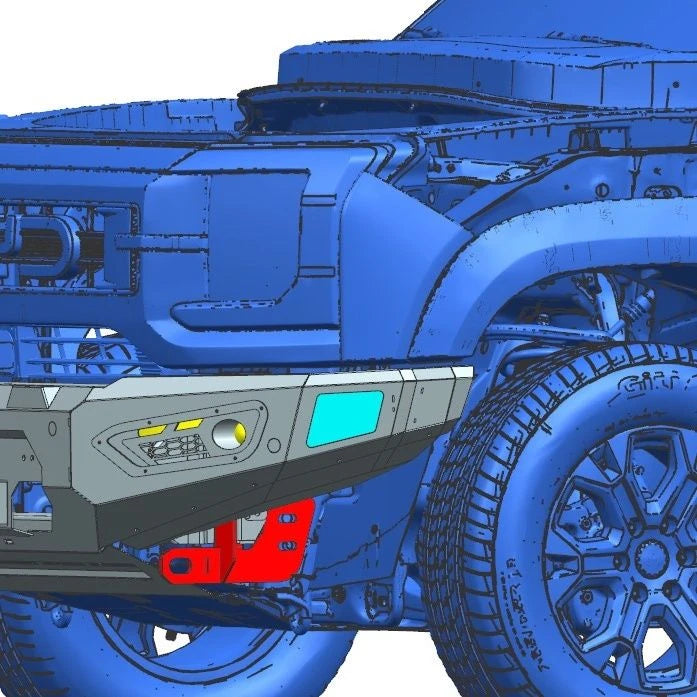
- Slimline King-Style Profile: Tight-to-body design with no protruding loop work. Keeps the Shark 6's modern face and preserves approach angle while adding real strength.
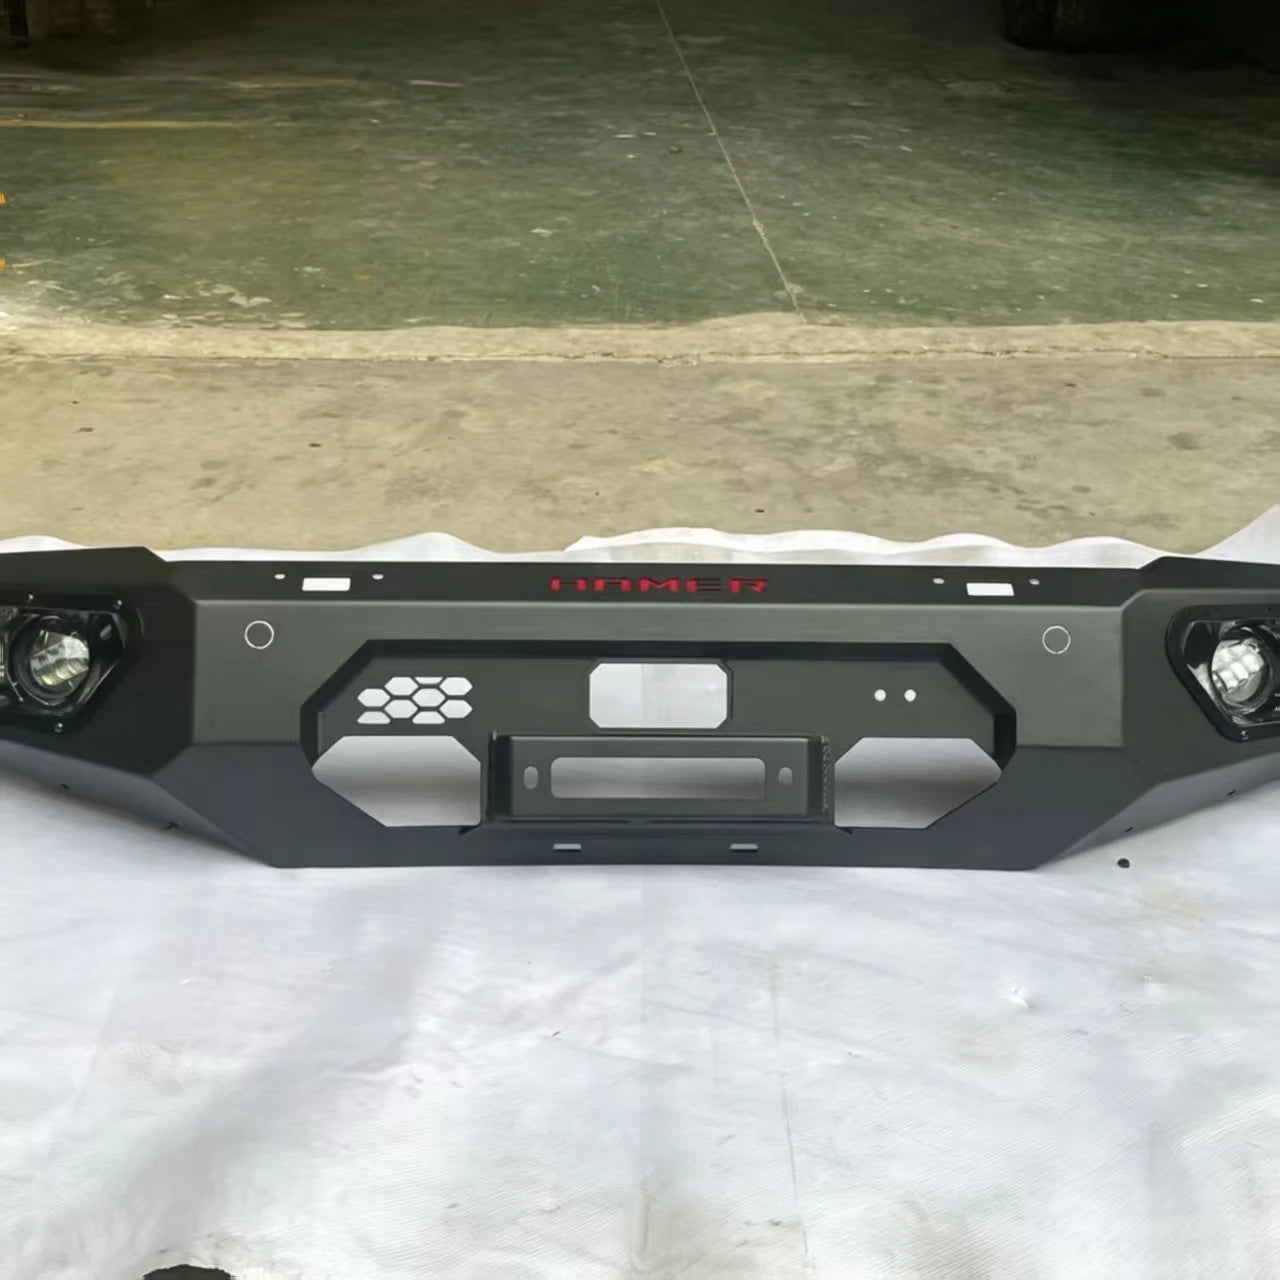
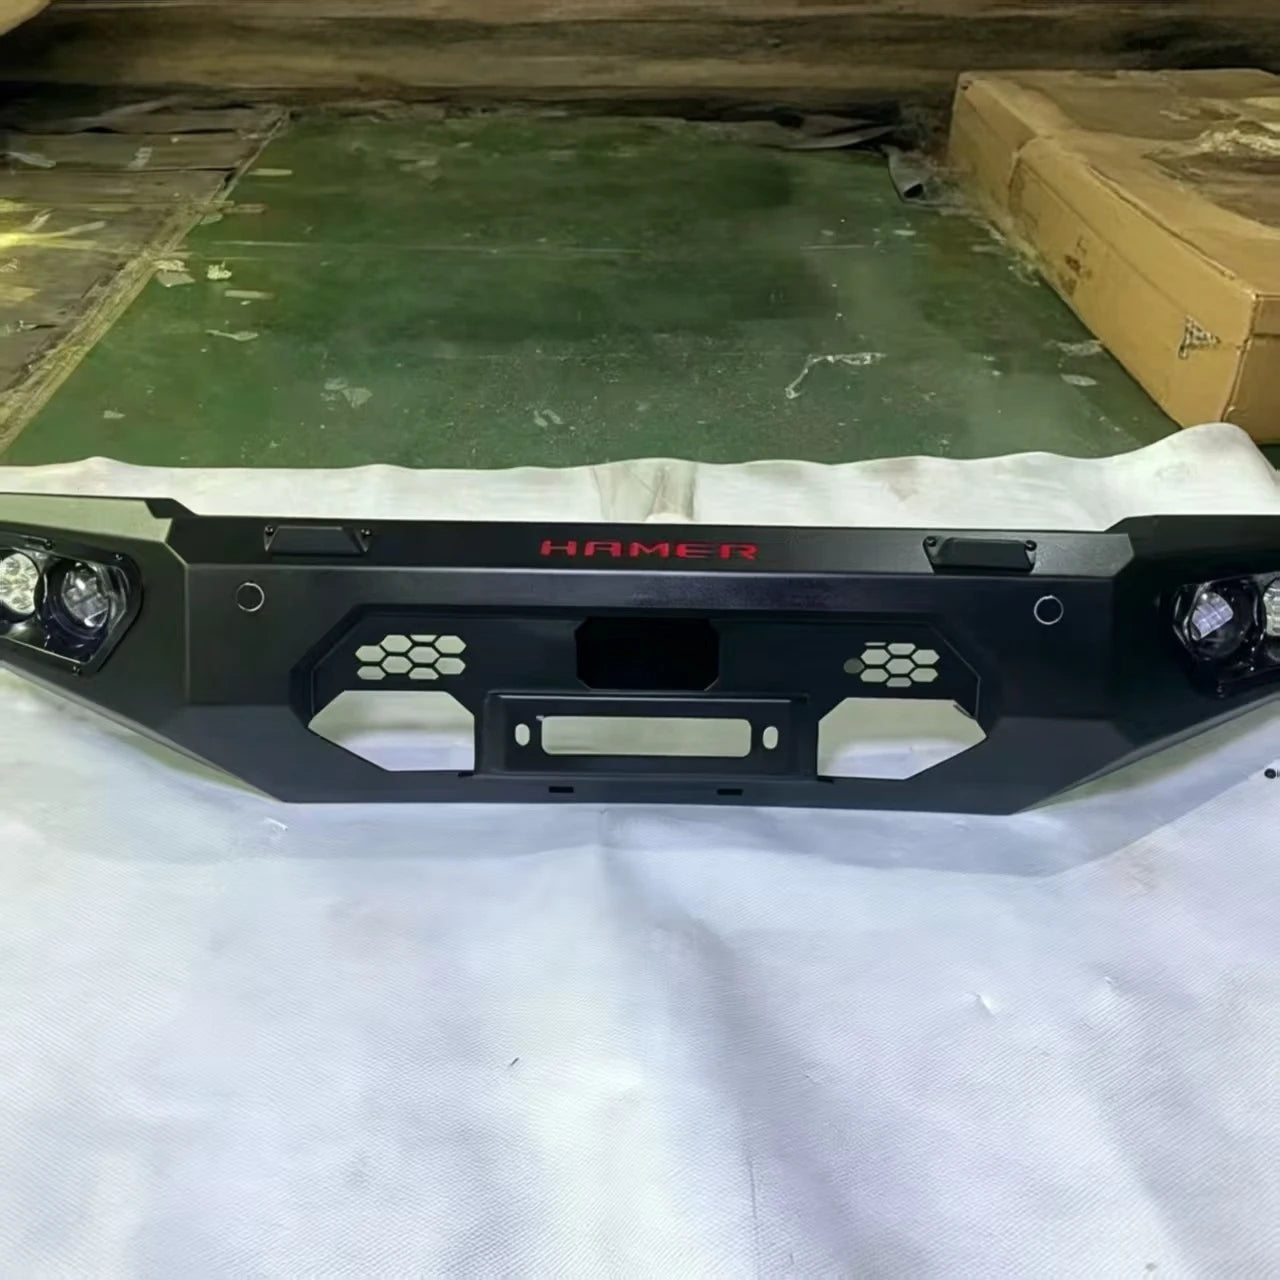
- Integrated LED Lighting: Two recessed LED light pods in the outer wings, supplied with a plug-in wiring harness. Auxiliary forward lighting for tracks, fog and dusk driving.
- Winch Ready: Built-in low-mount fairlead plate in the centre section accepts winches up to 12,000 lb. Direct access to the winch clutch lever.
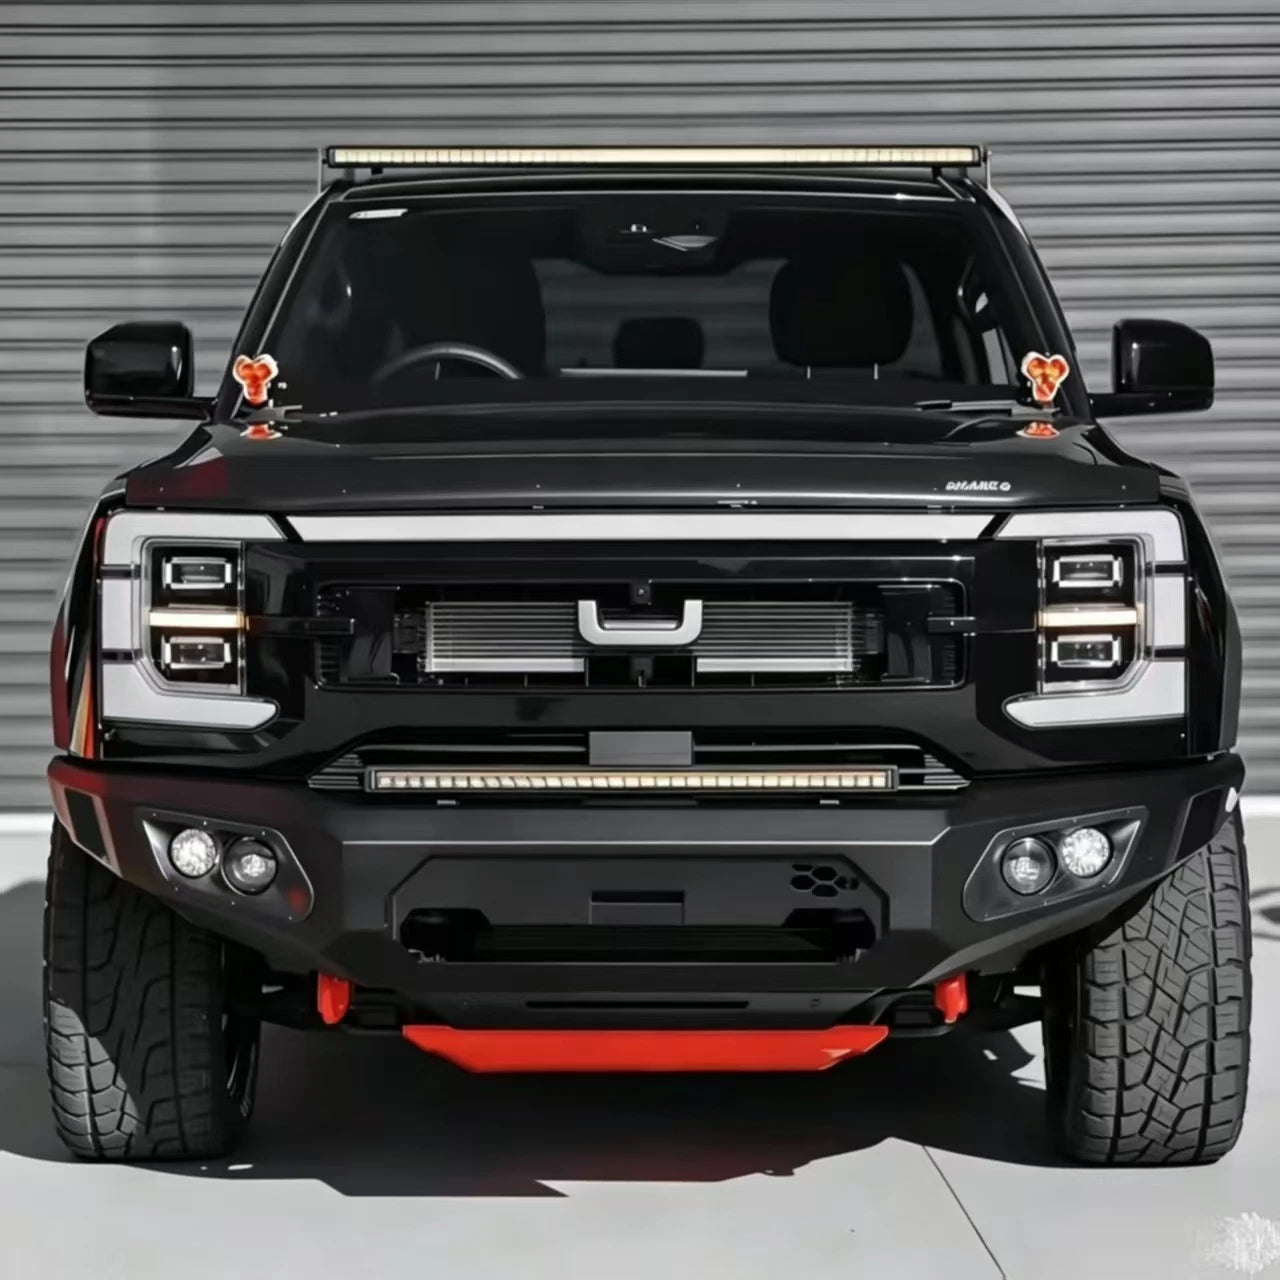
- Rated Recovery Points: Two bolt-through recovery points on the lower bar for snatch strap and shackle use. Red powder coat for fast identification in a recovery.
- Factory Sensor Compatible: Retains the Shark 6's front parking sensor apertures. Grille radar and camera remain in their factory positions.
- Light Bar Provisions: Flat top face with pre-drilled mounting points for a light bar or a pair of driving lights.
- Matte Black Powder Coat: Durable, UV-stable finish that hides scratches and matches the Shark 6's factory black wheel arches, mirrors and roof rails.
- Complete Kit: Bar, LED pods, harness, fairlead plate, recovery points, vehicle-specific brackets and all fasteners in one crate.
1
/
10
BYD Shark 6 Bull Bar | Steel Front Bumper with LED Lights & Winch Mount
$2,488.00 NZD
Shipping fees will be calculated at checkout.
Quantity
Features & Benefits
What's Included
Product Gallery
Installation Guide
Total time
3-5 hours with two people or a bumper lift. Professional fitment strongly recommended.
Drilling required
No chassis drilling. The bar mounts through vehicle-specific brackets to the Shark 6's factory bumper mounting points. Light harness connects via supplied connectors - no cutting of factory wiring.
Warranty
Caution - this is a full bumper replacement. It is not ADR-certified or airbag-tested; Factory sensors are retained. Consult your BYD dealer regarding warranty on front-end components.
Shipping insurance
In the event ofalost or damaged package we guarantee a full refund or replacement product
Expedited order support
We support expedited order processing, can contact us.
securety payments
Easy returns and refundsSecure payments
Return Policy
30-day return policyavailable forall purchases.