
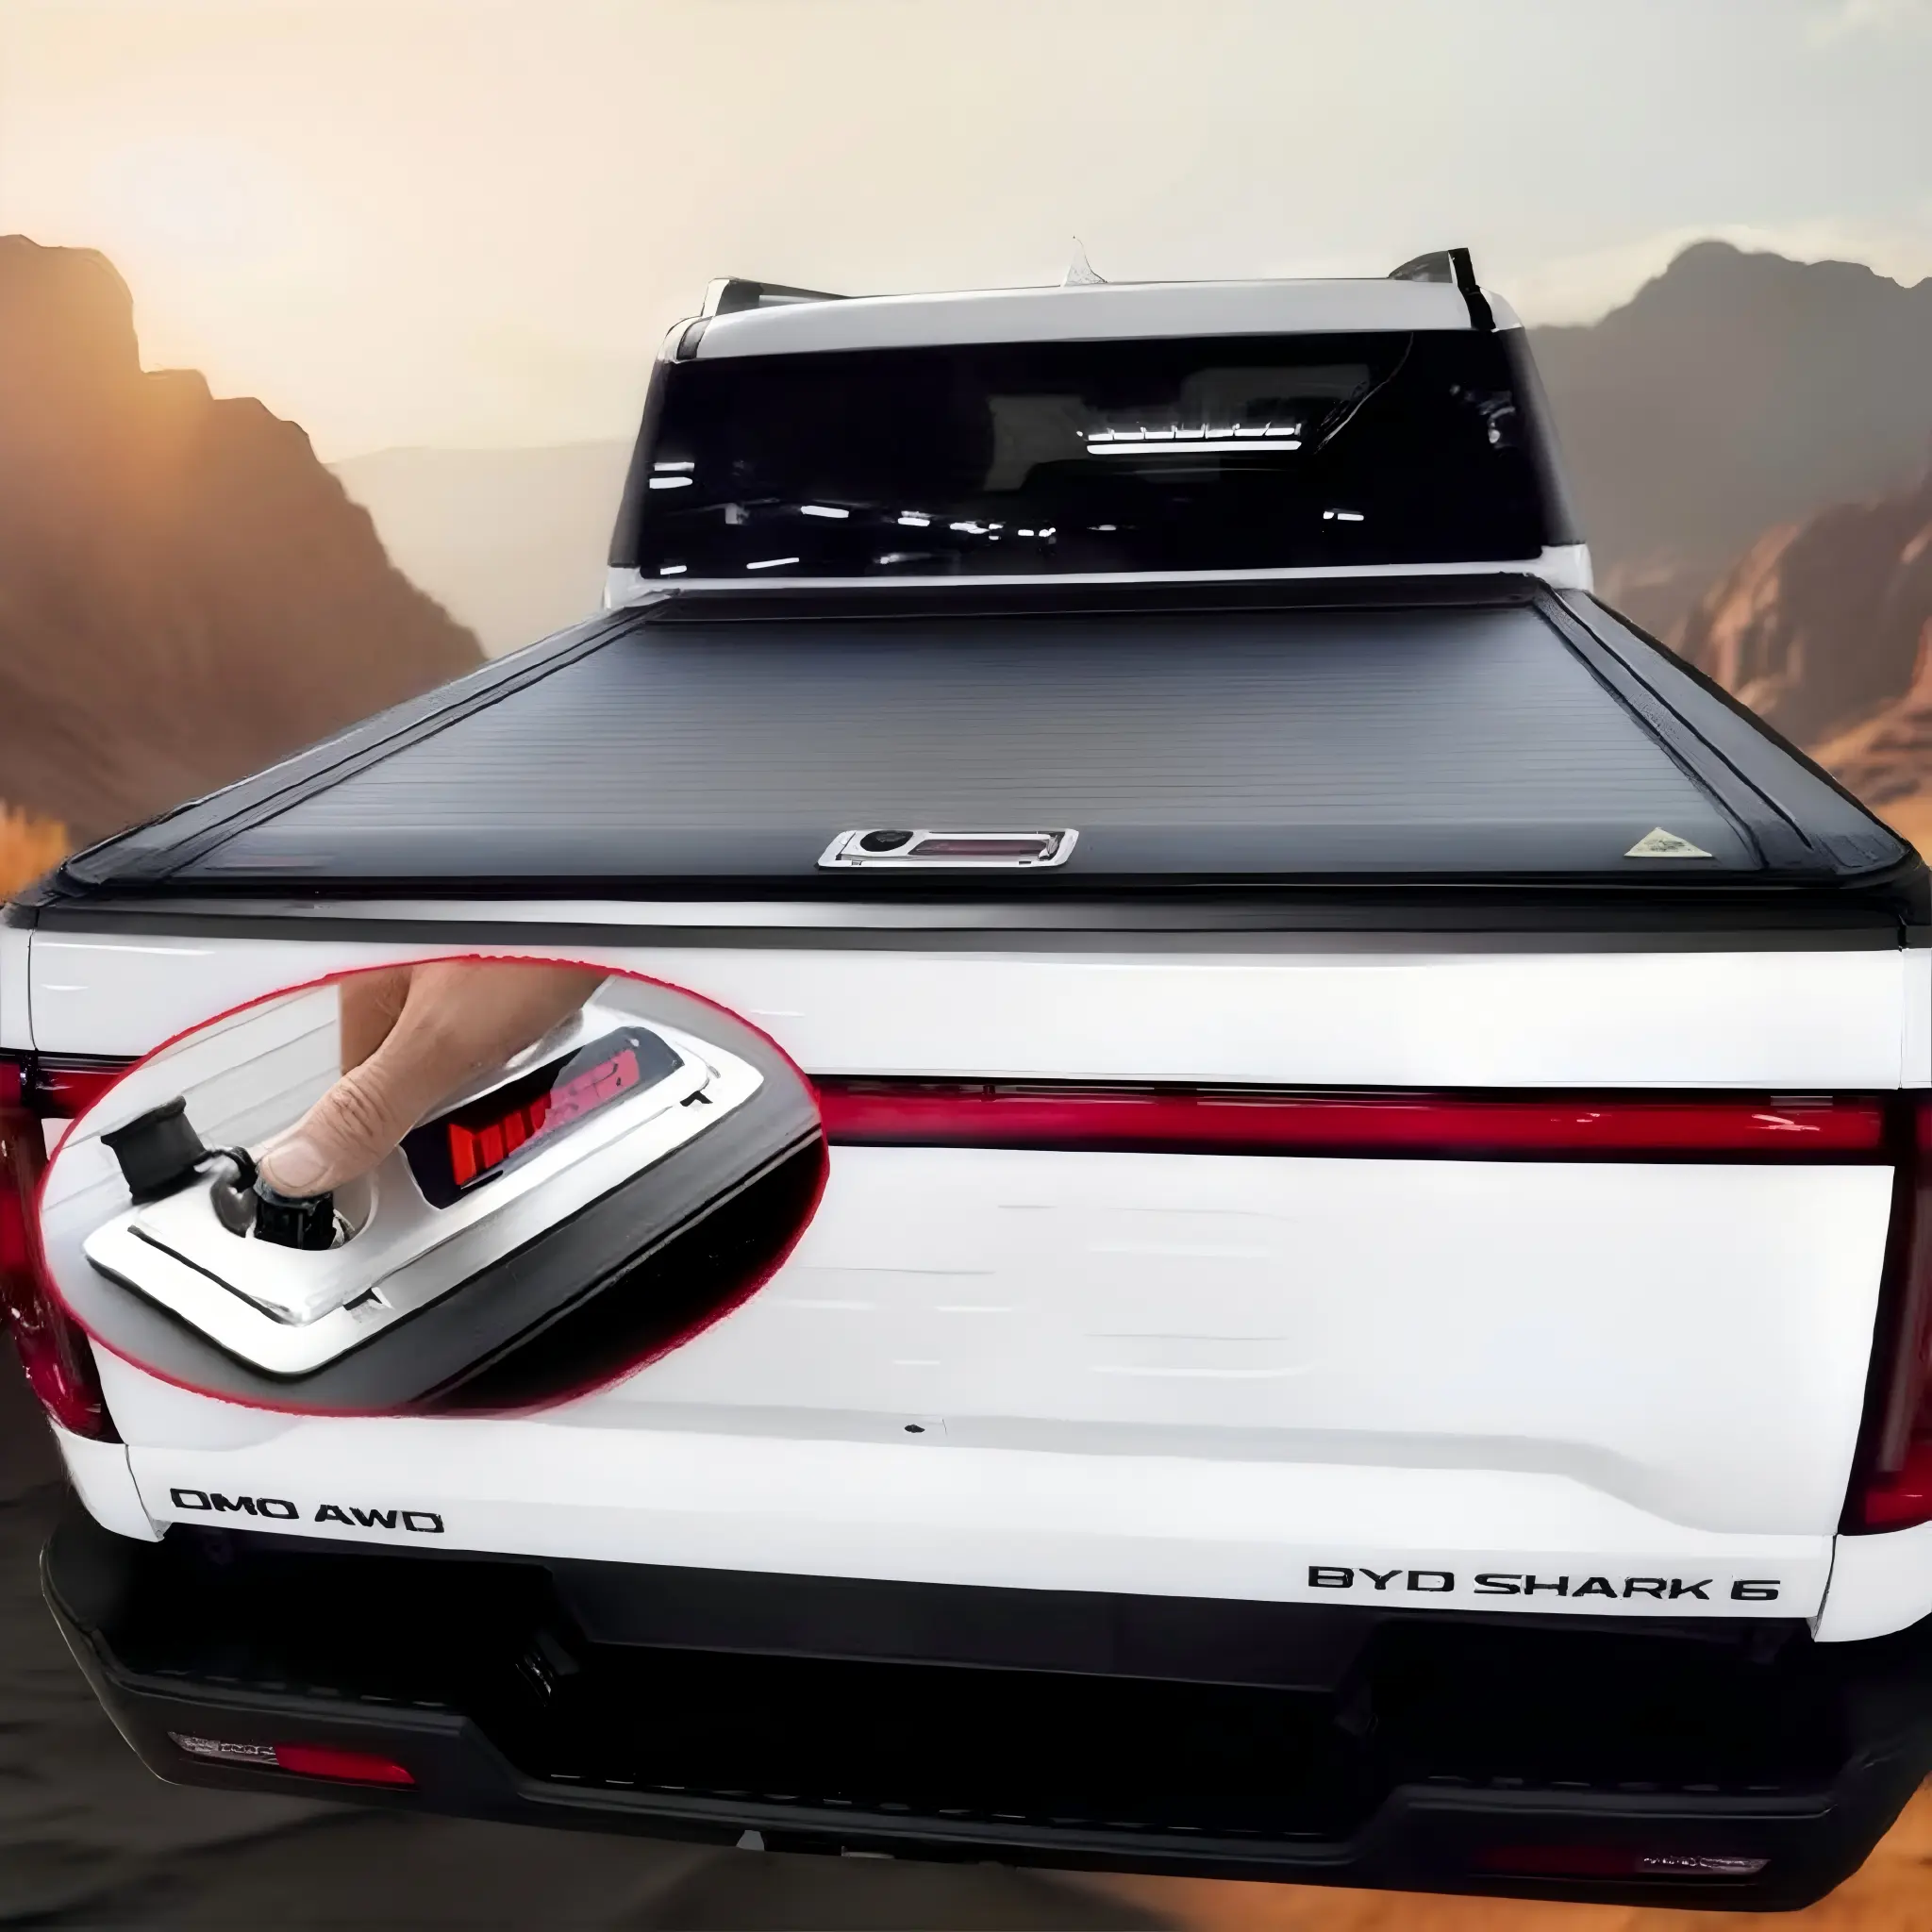
BYD Shark 6 Aluminium Roller Shutter | Electric & Manual Ute Tub Covers

$1,076.57 USD
Shipping fees will be calculated at checkout.
Car Model
Quantity

Features & Benefits

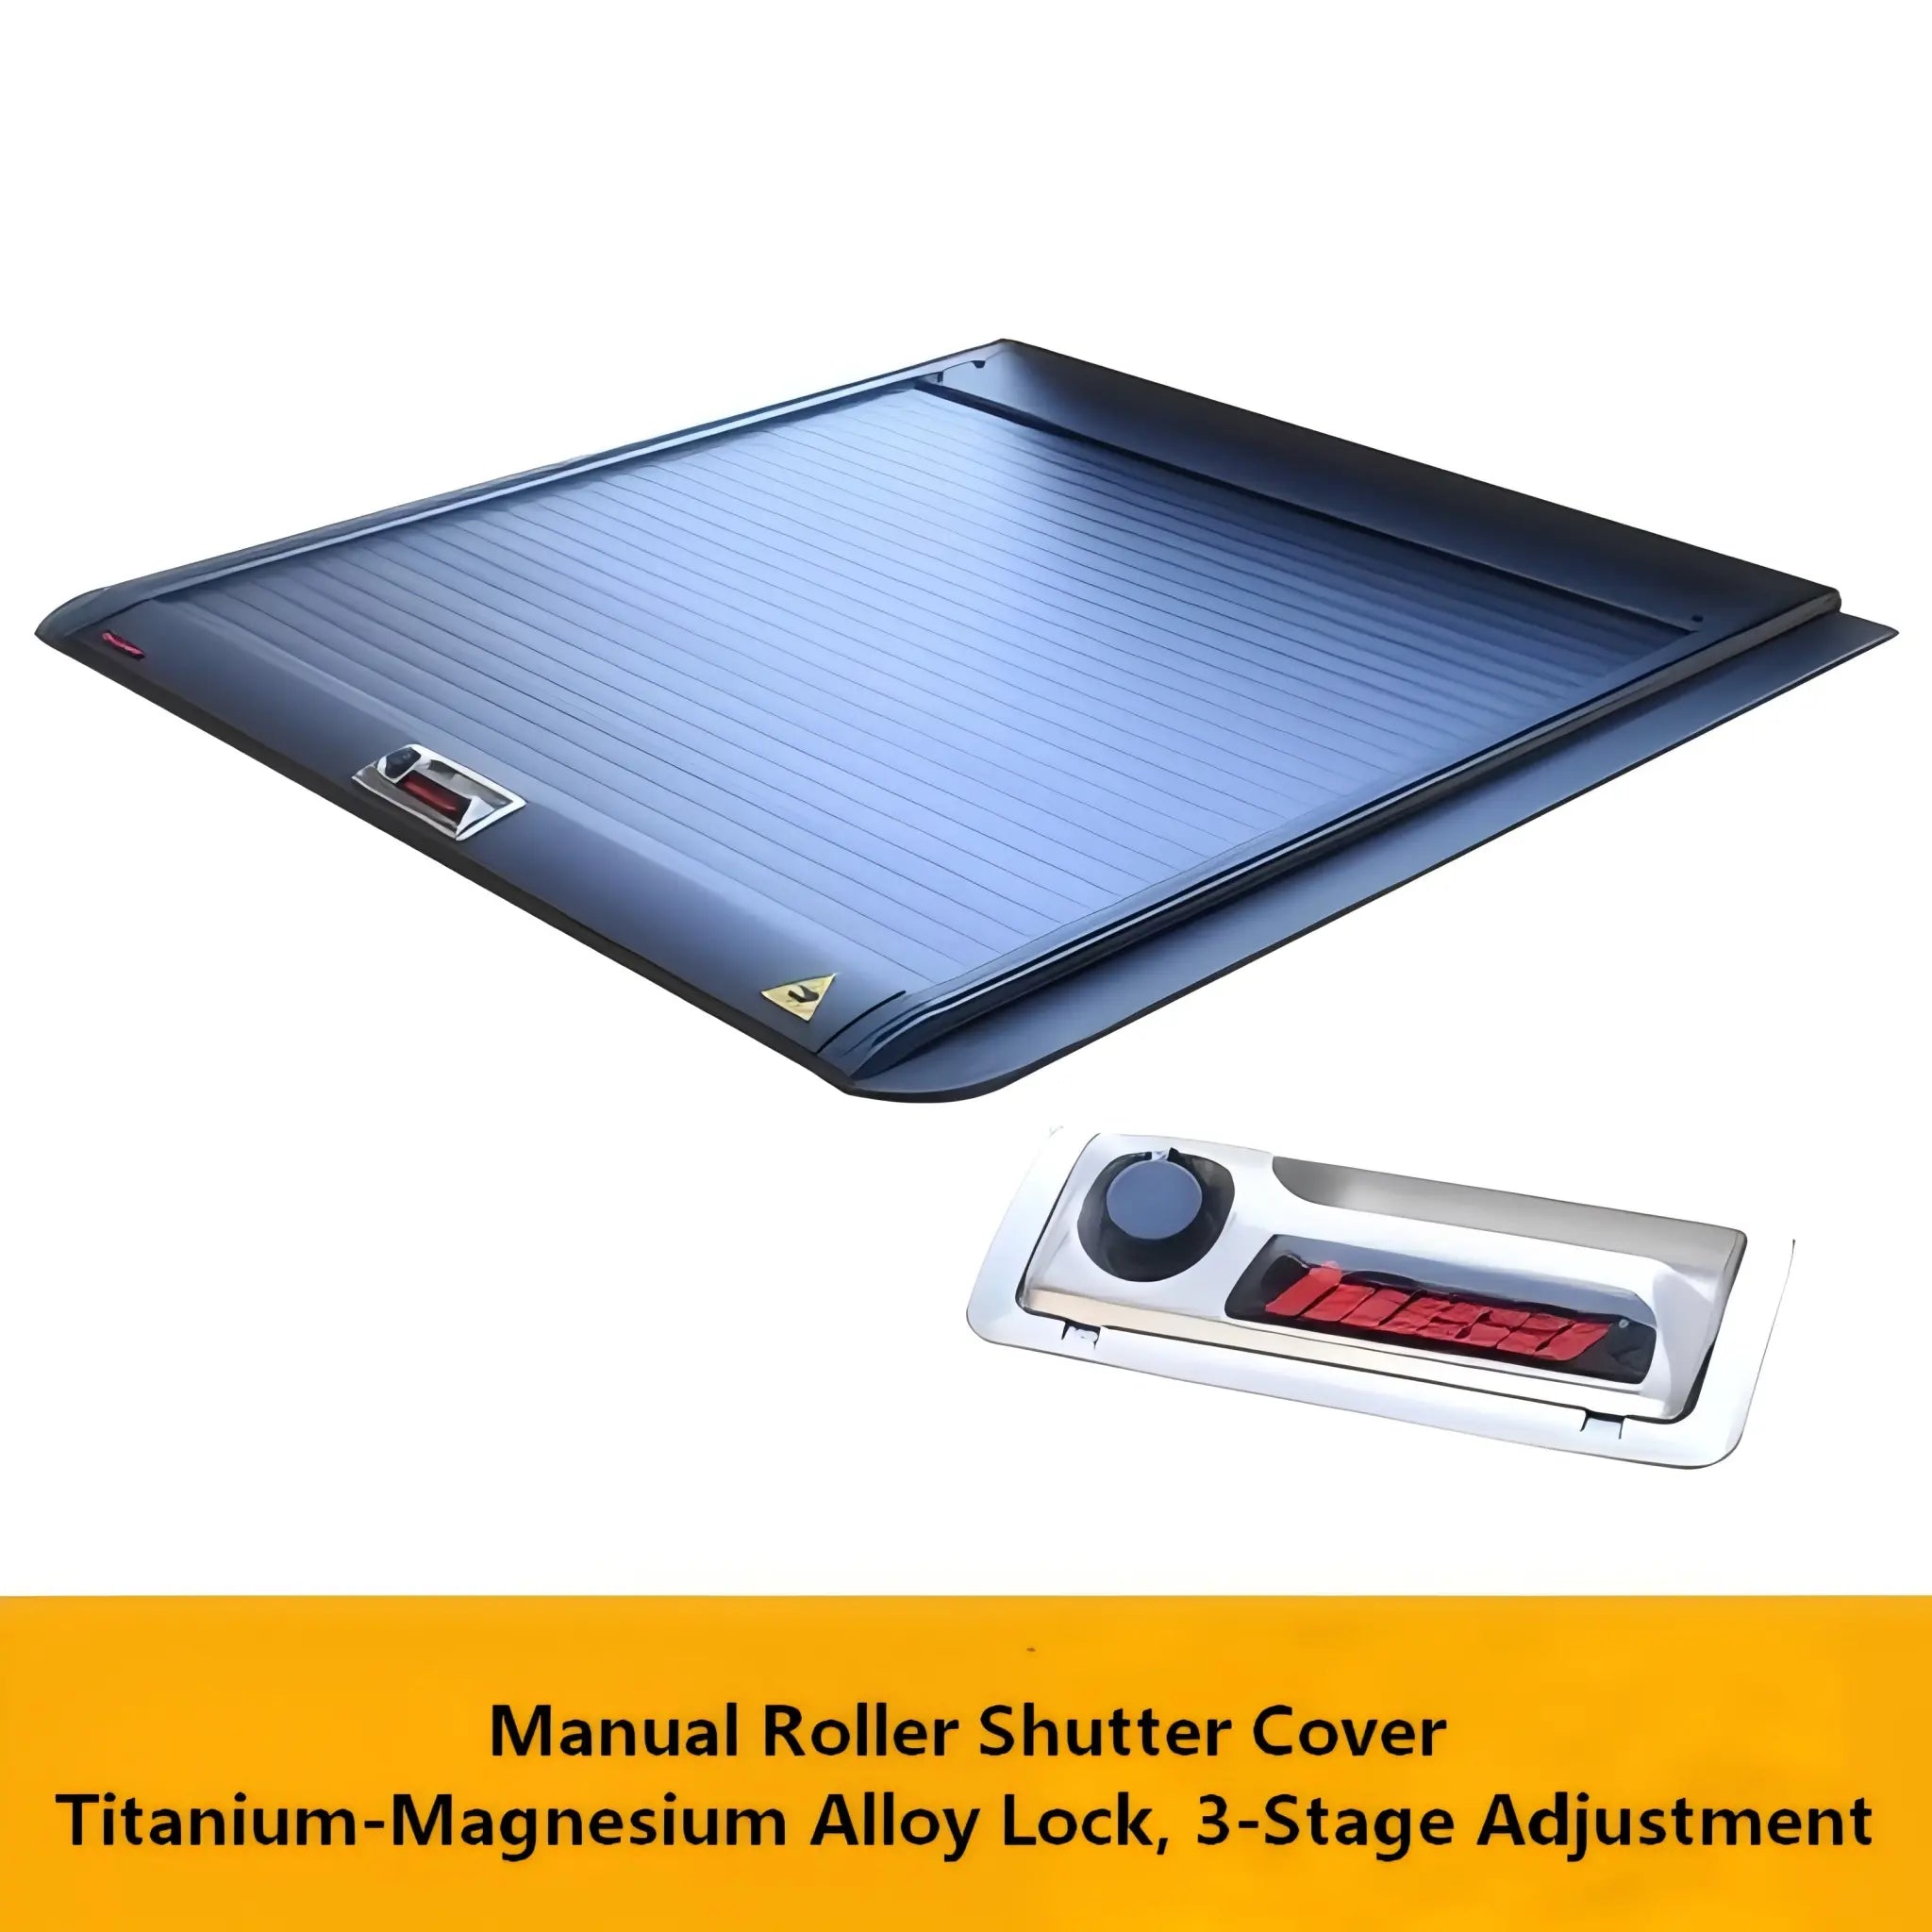
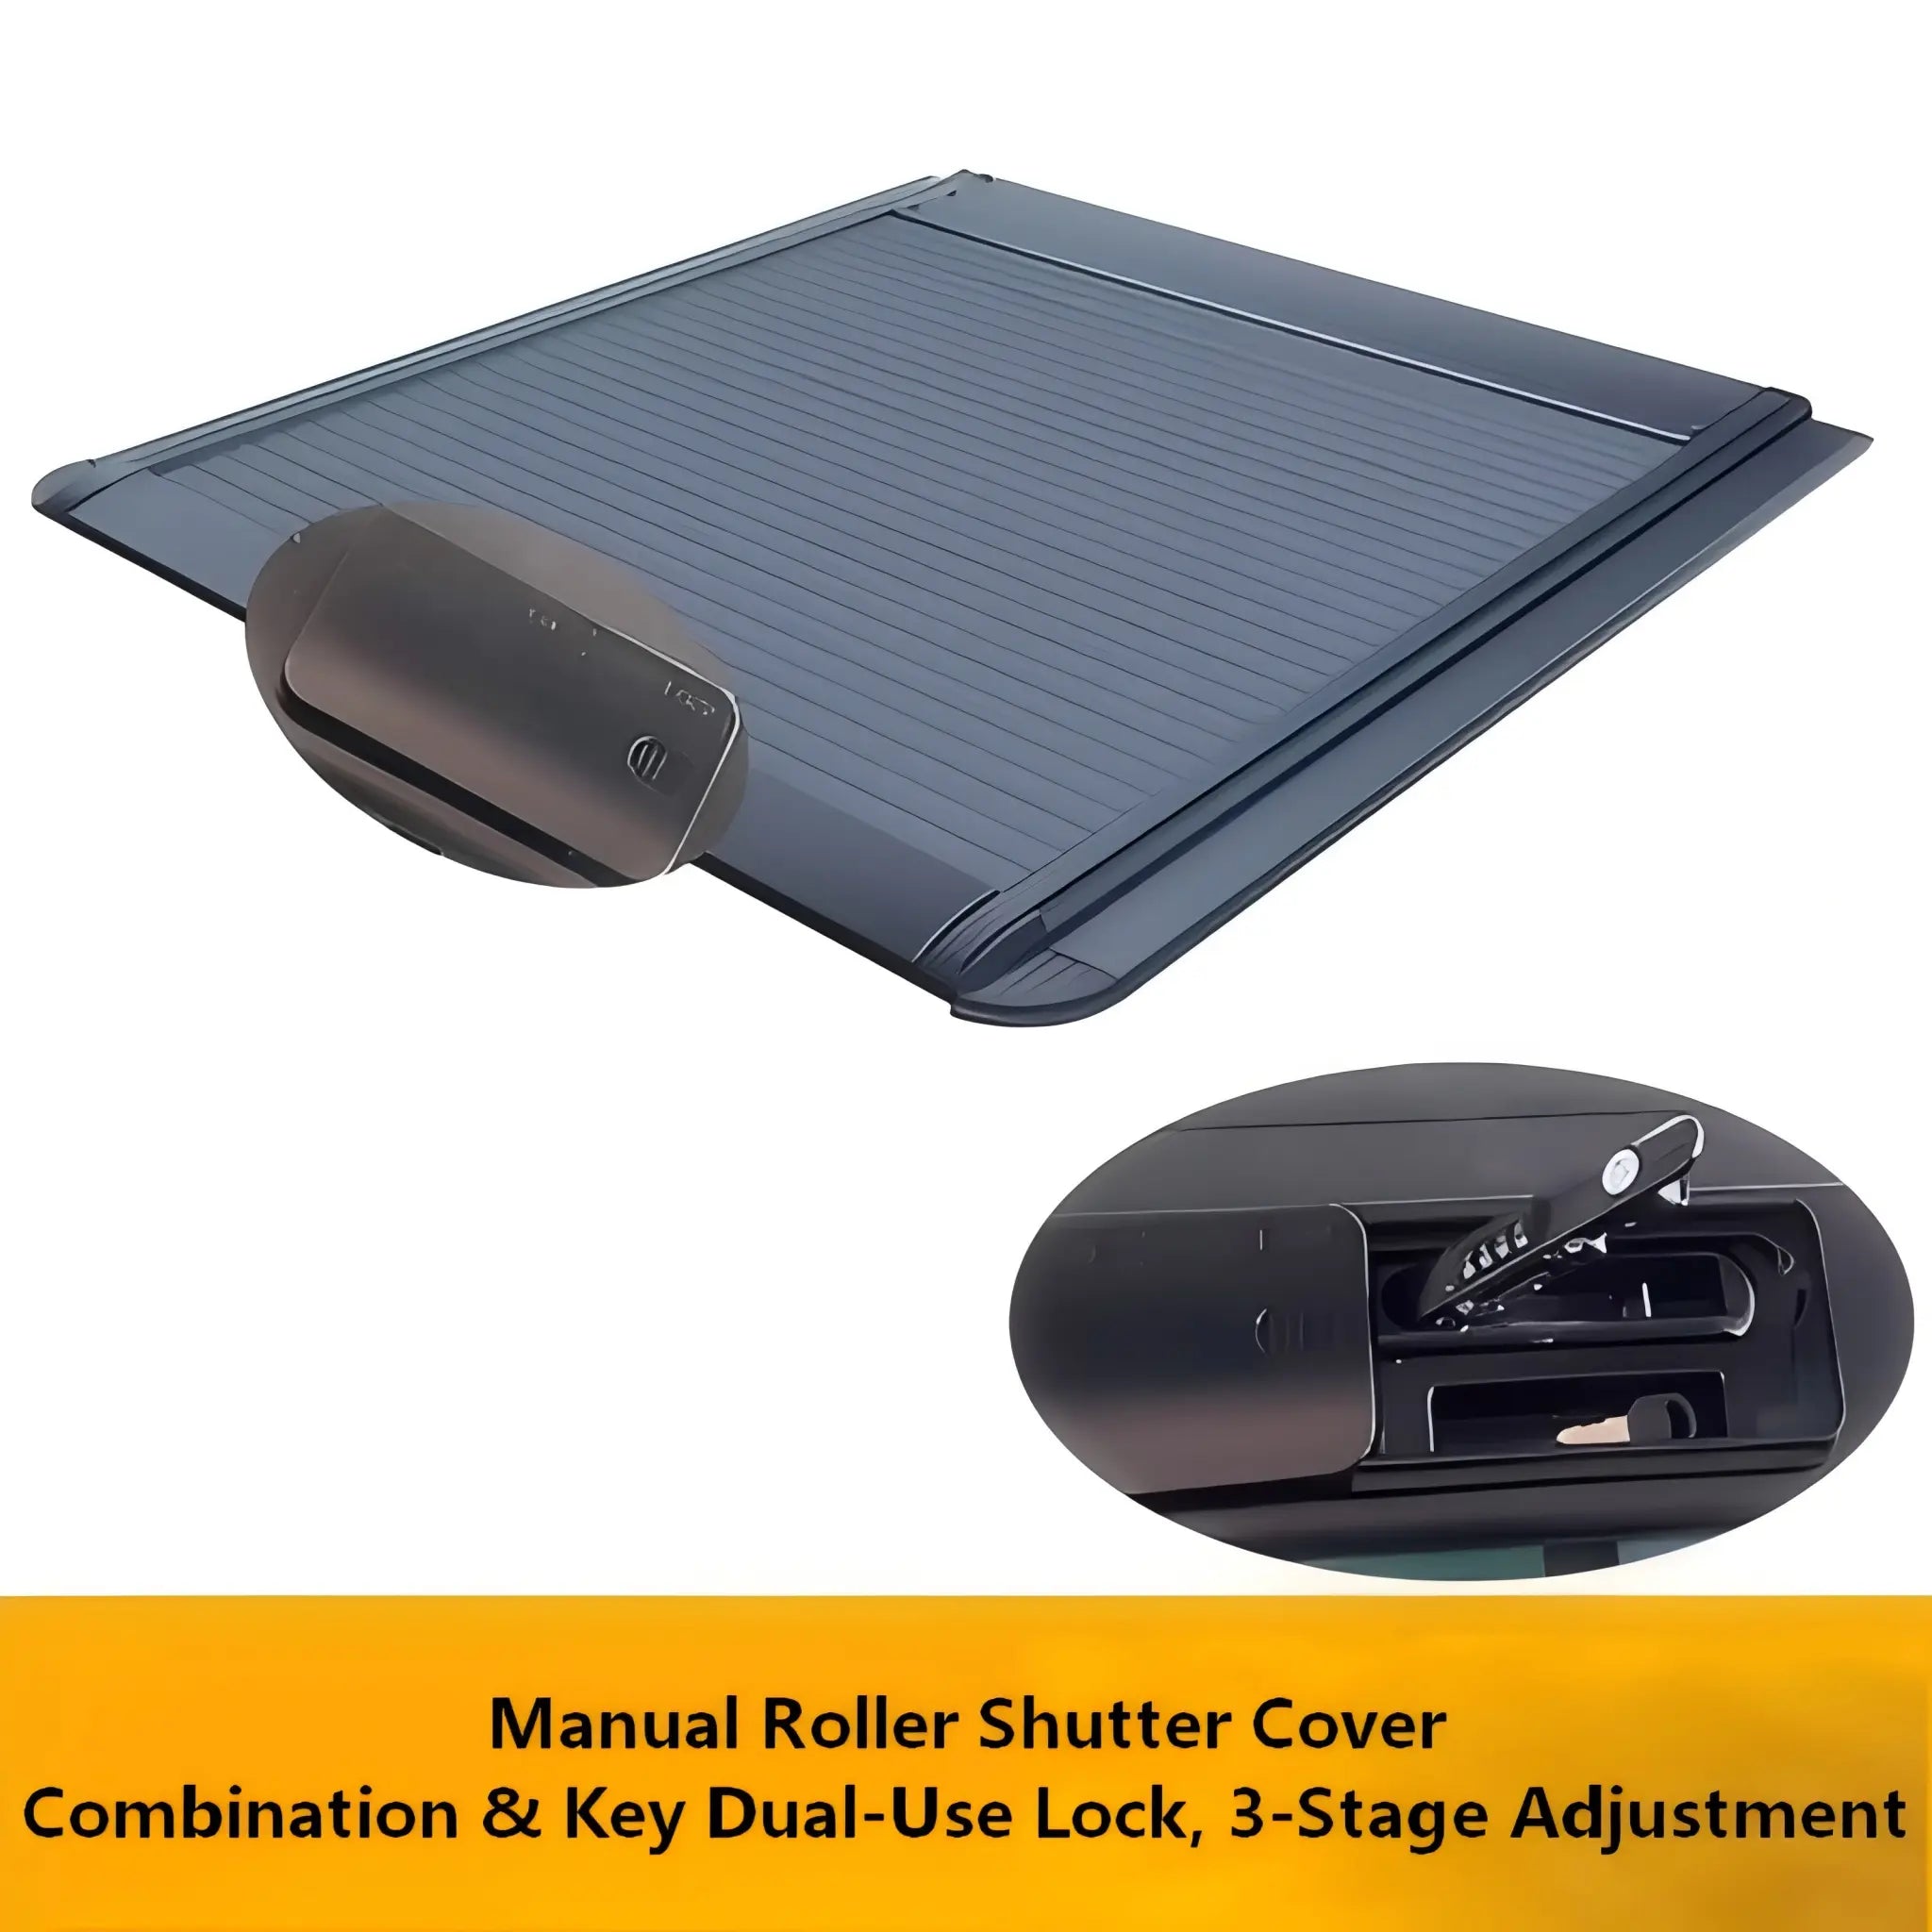
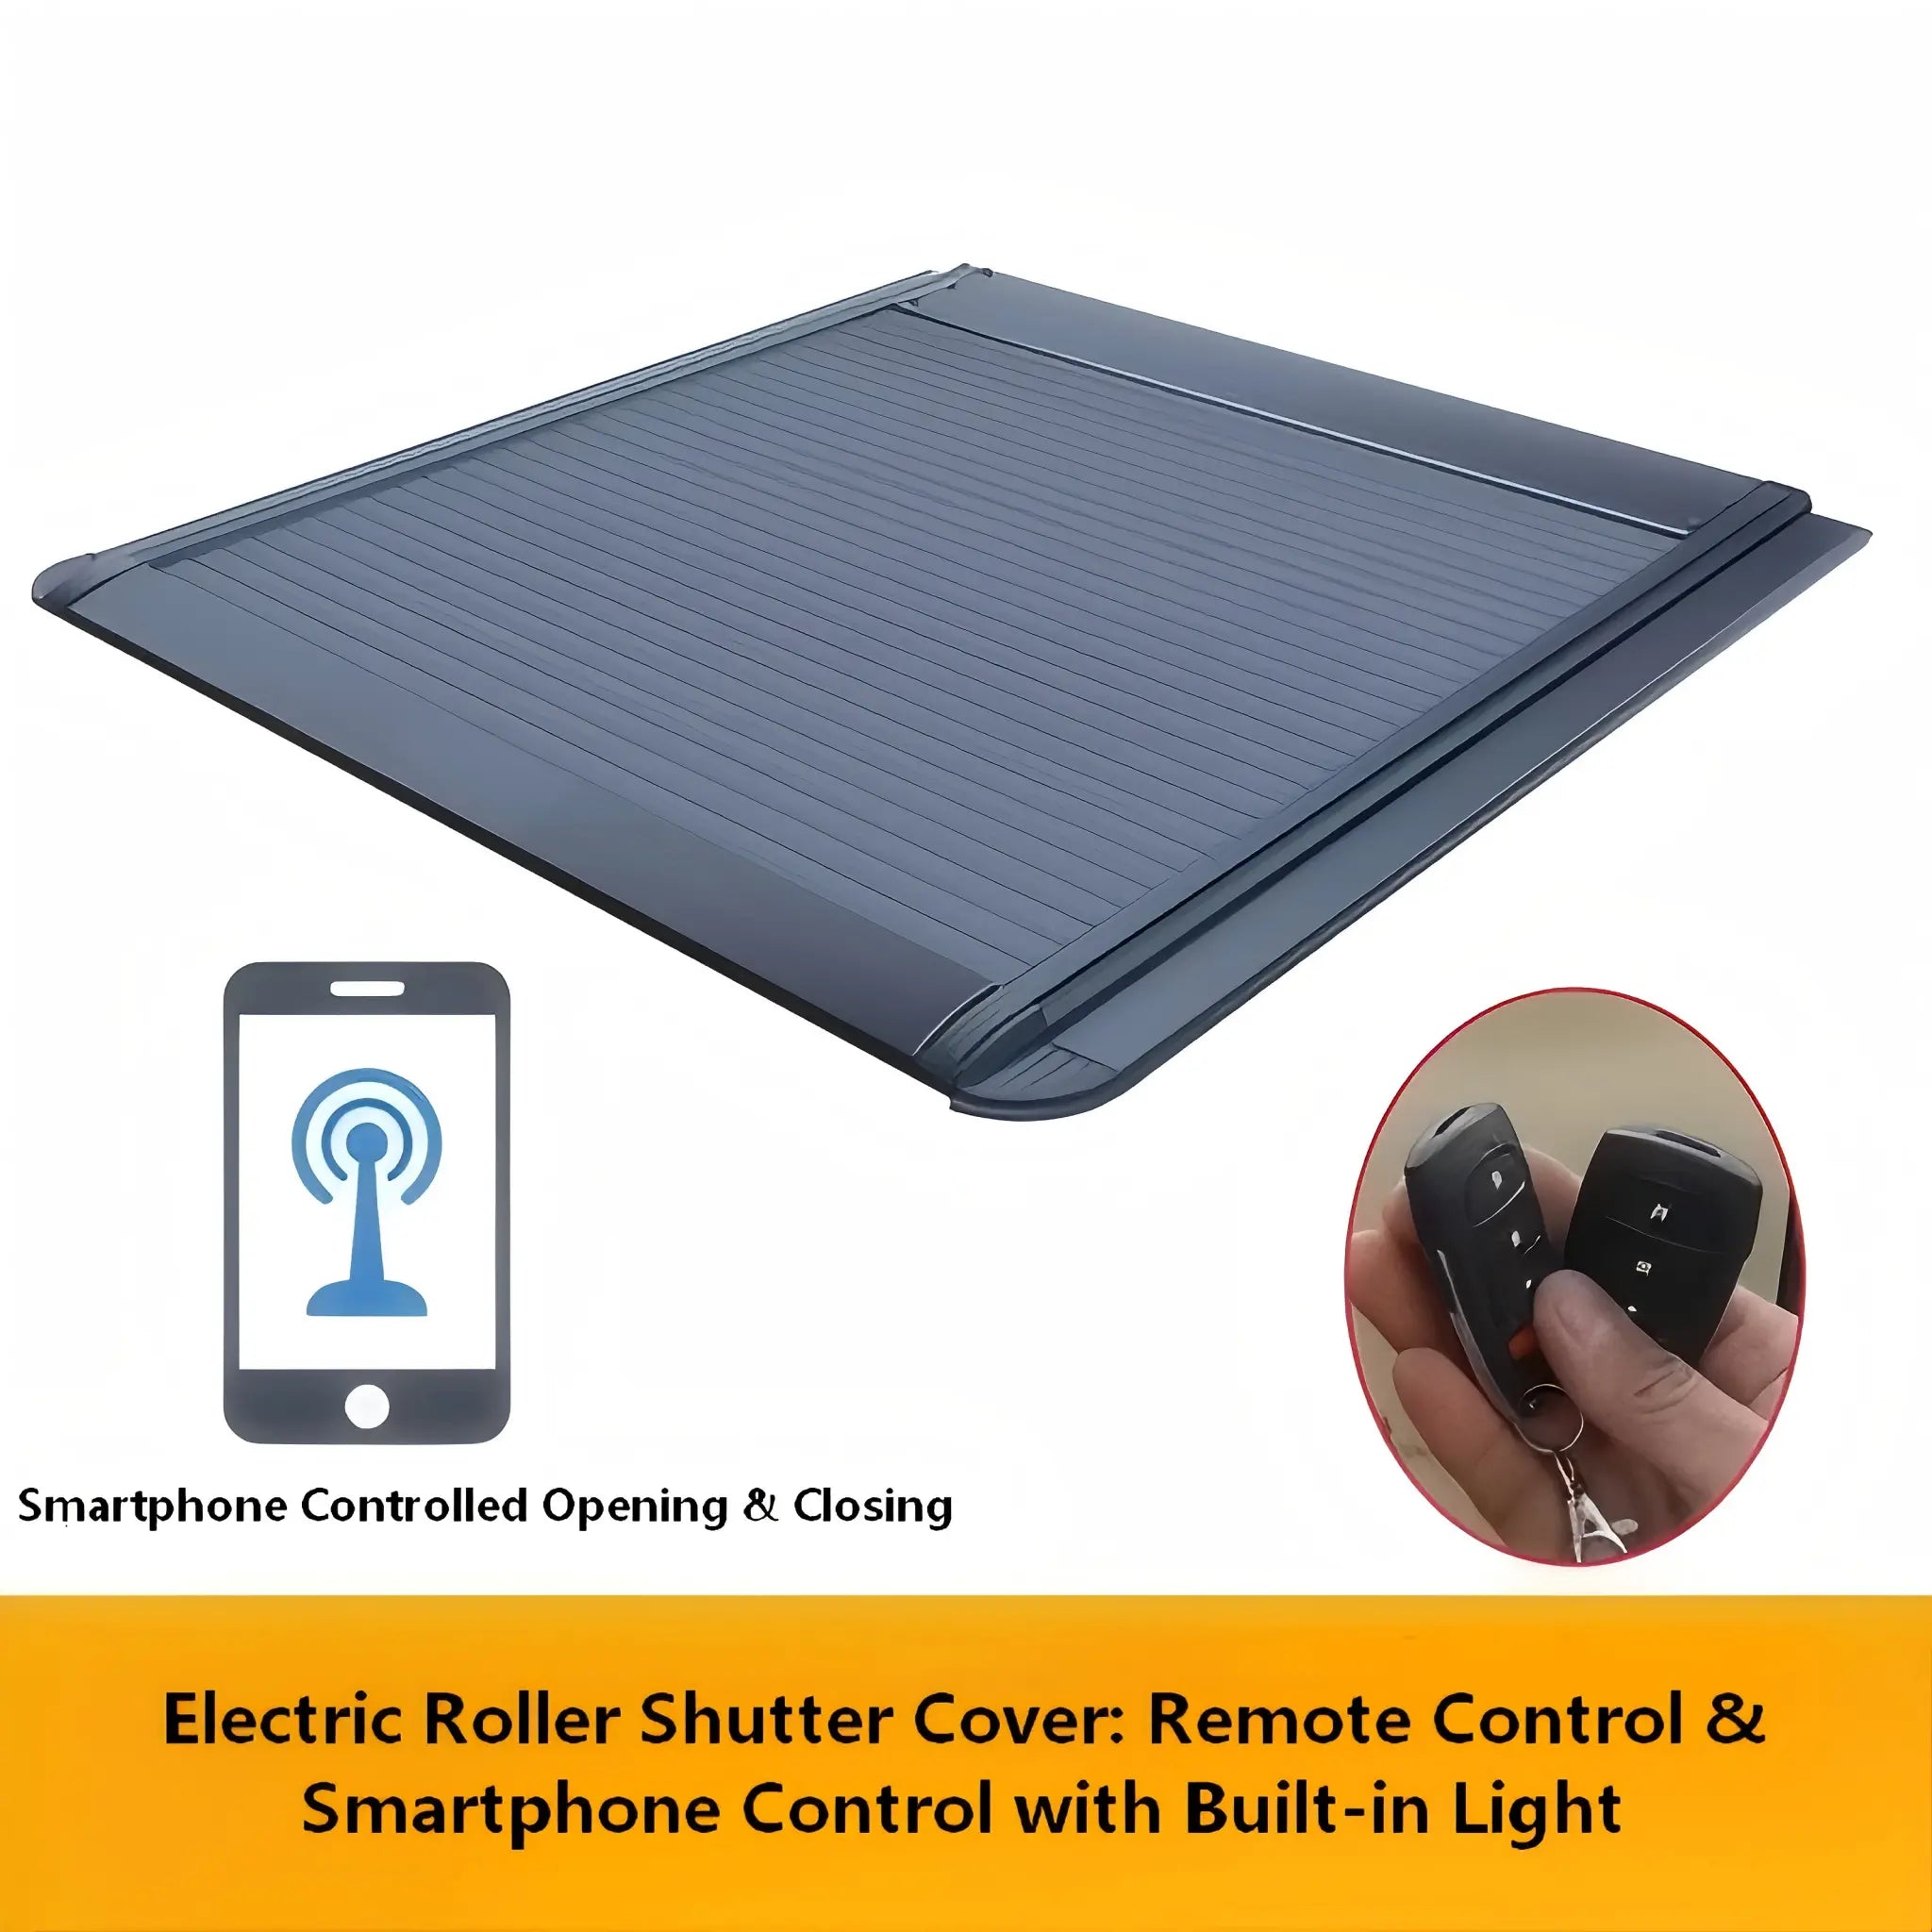
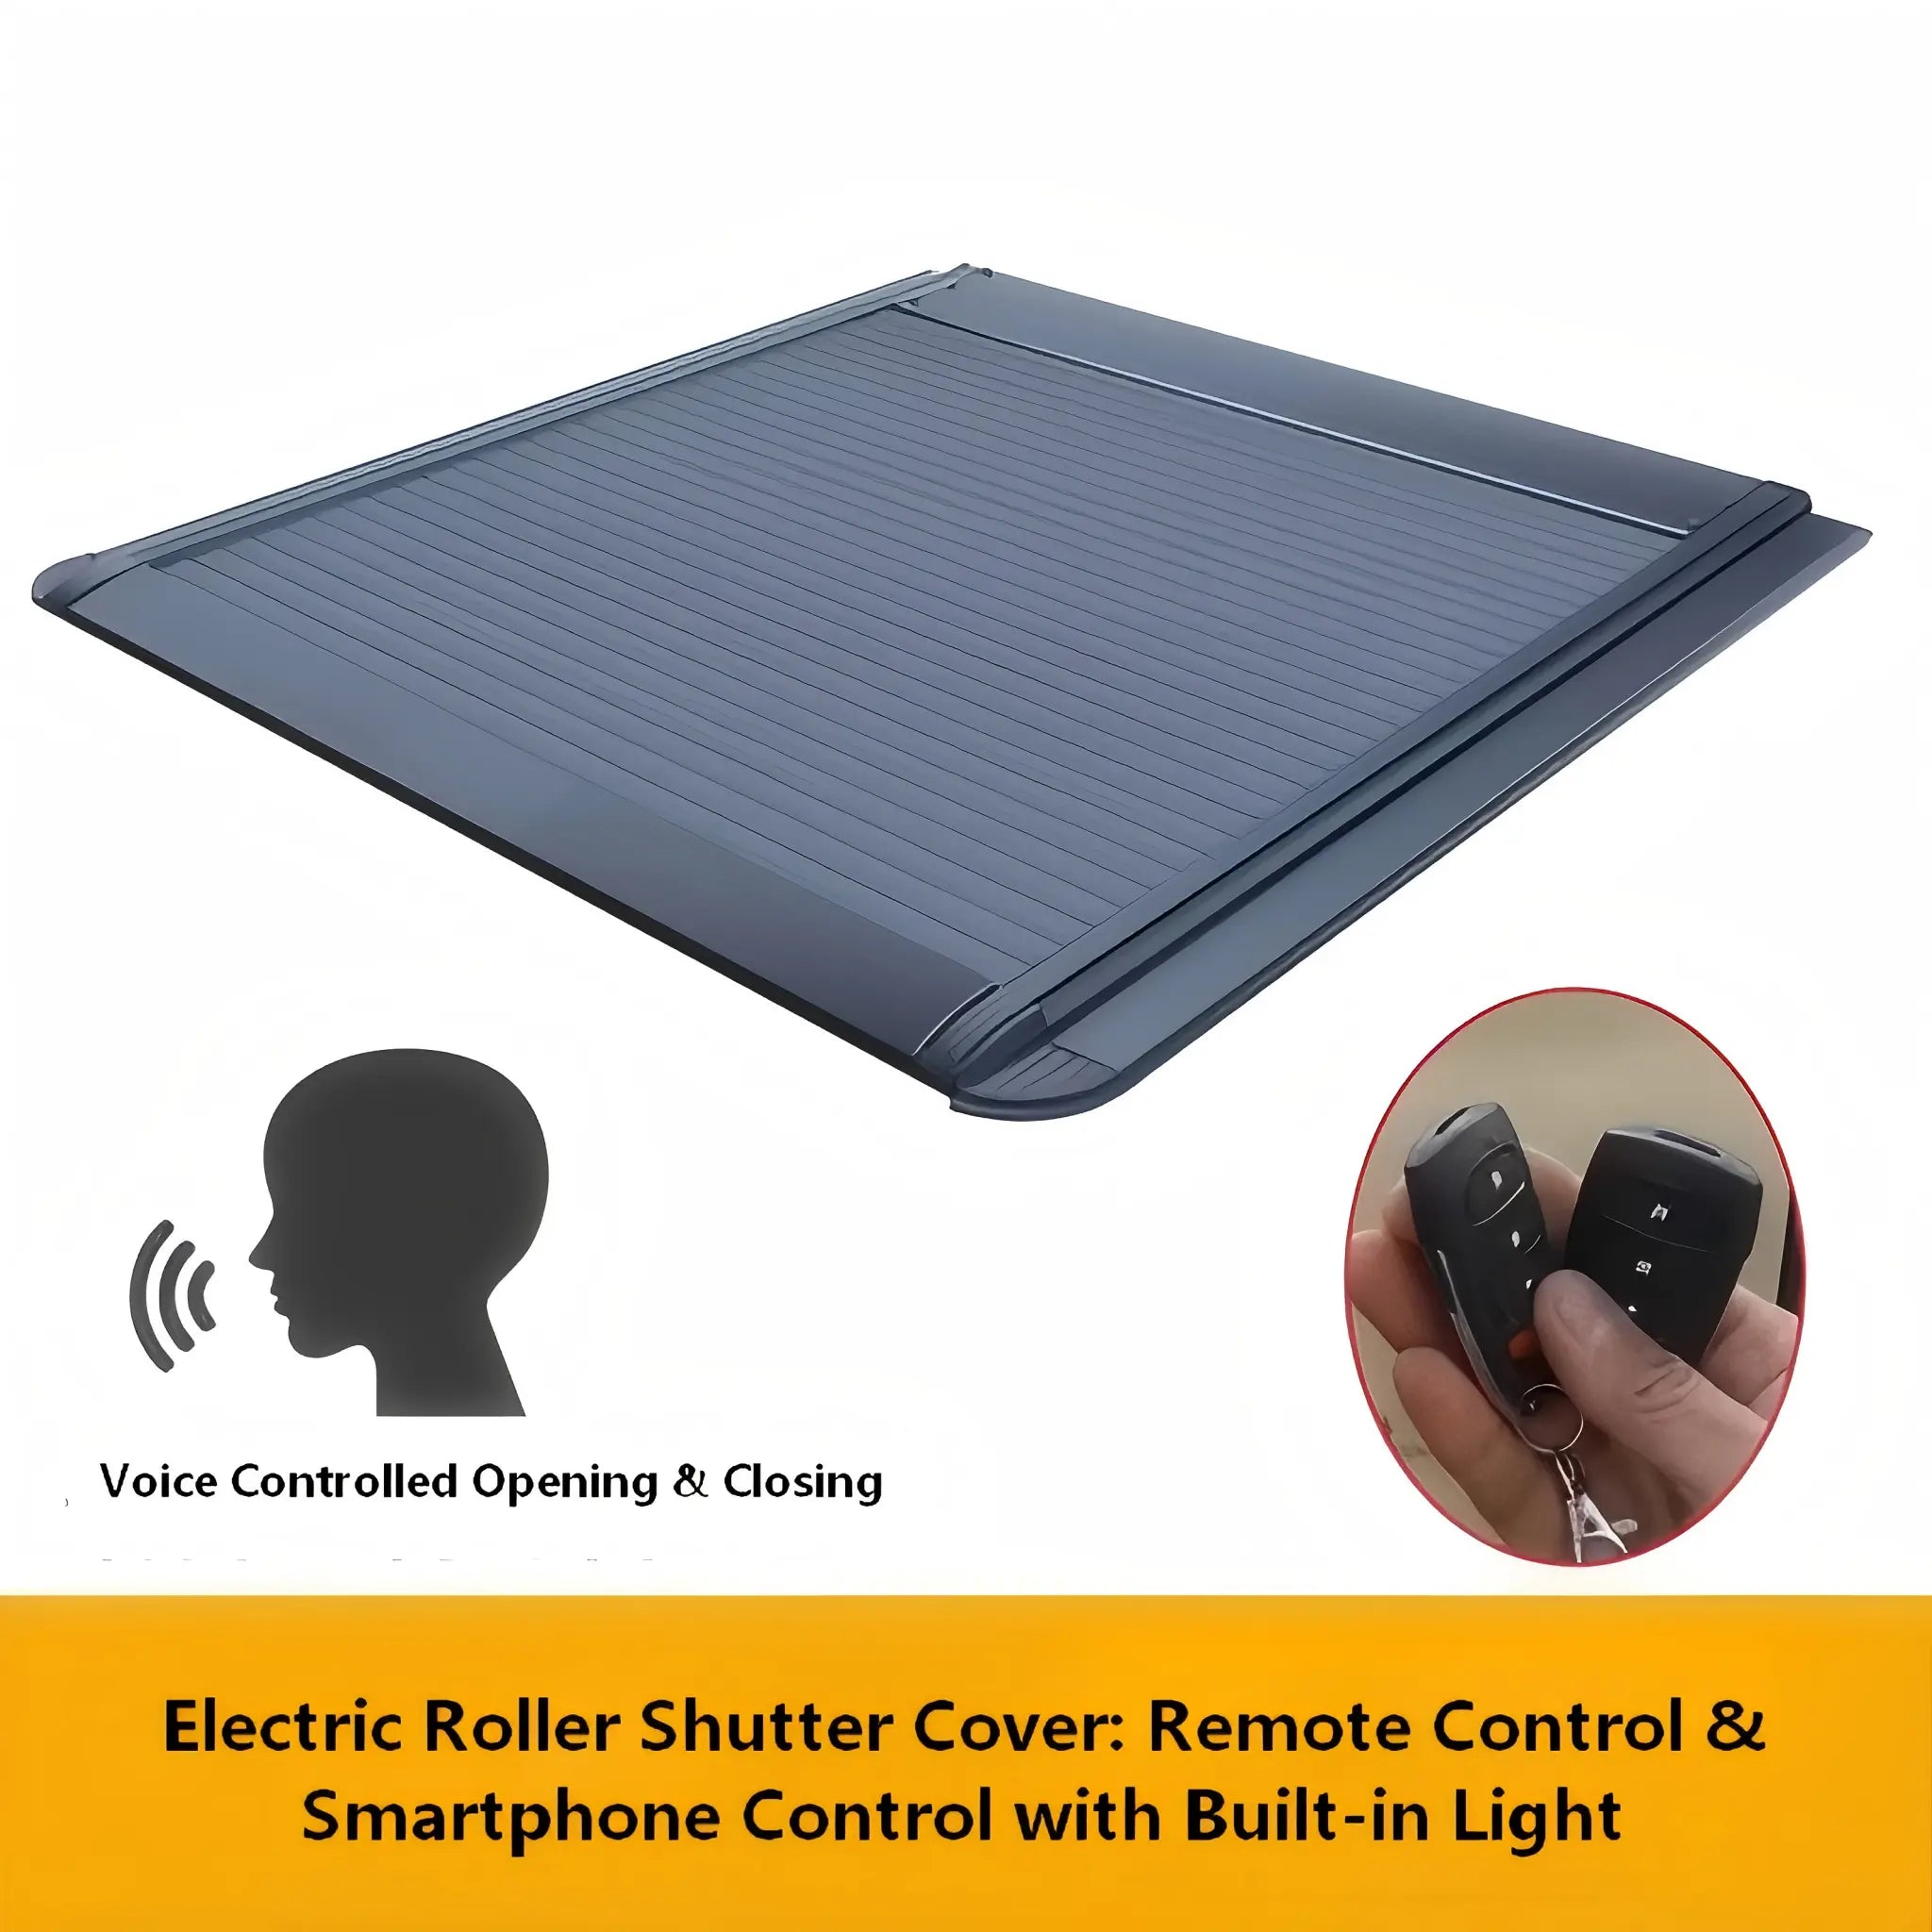
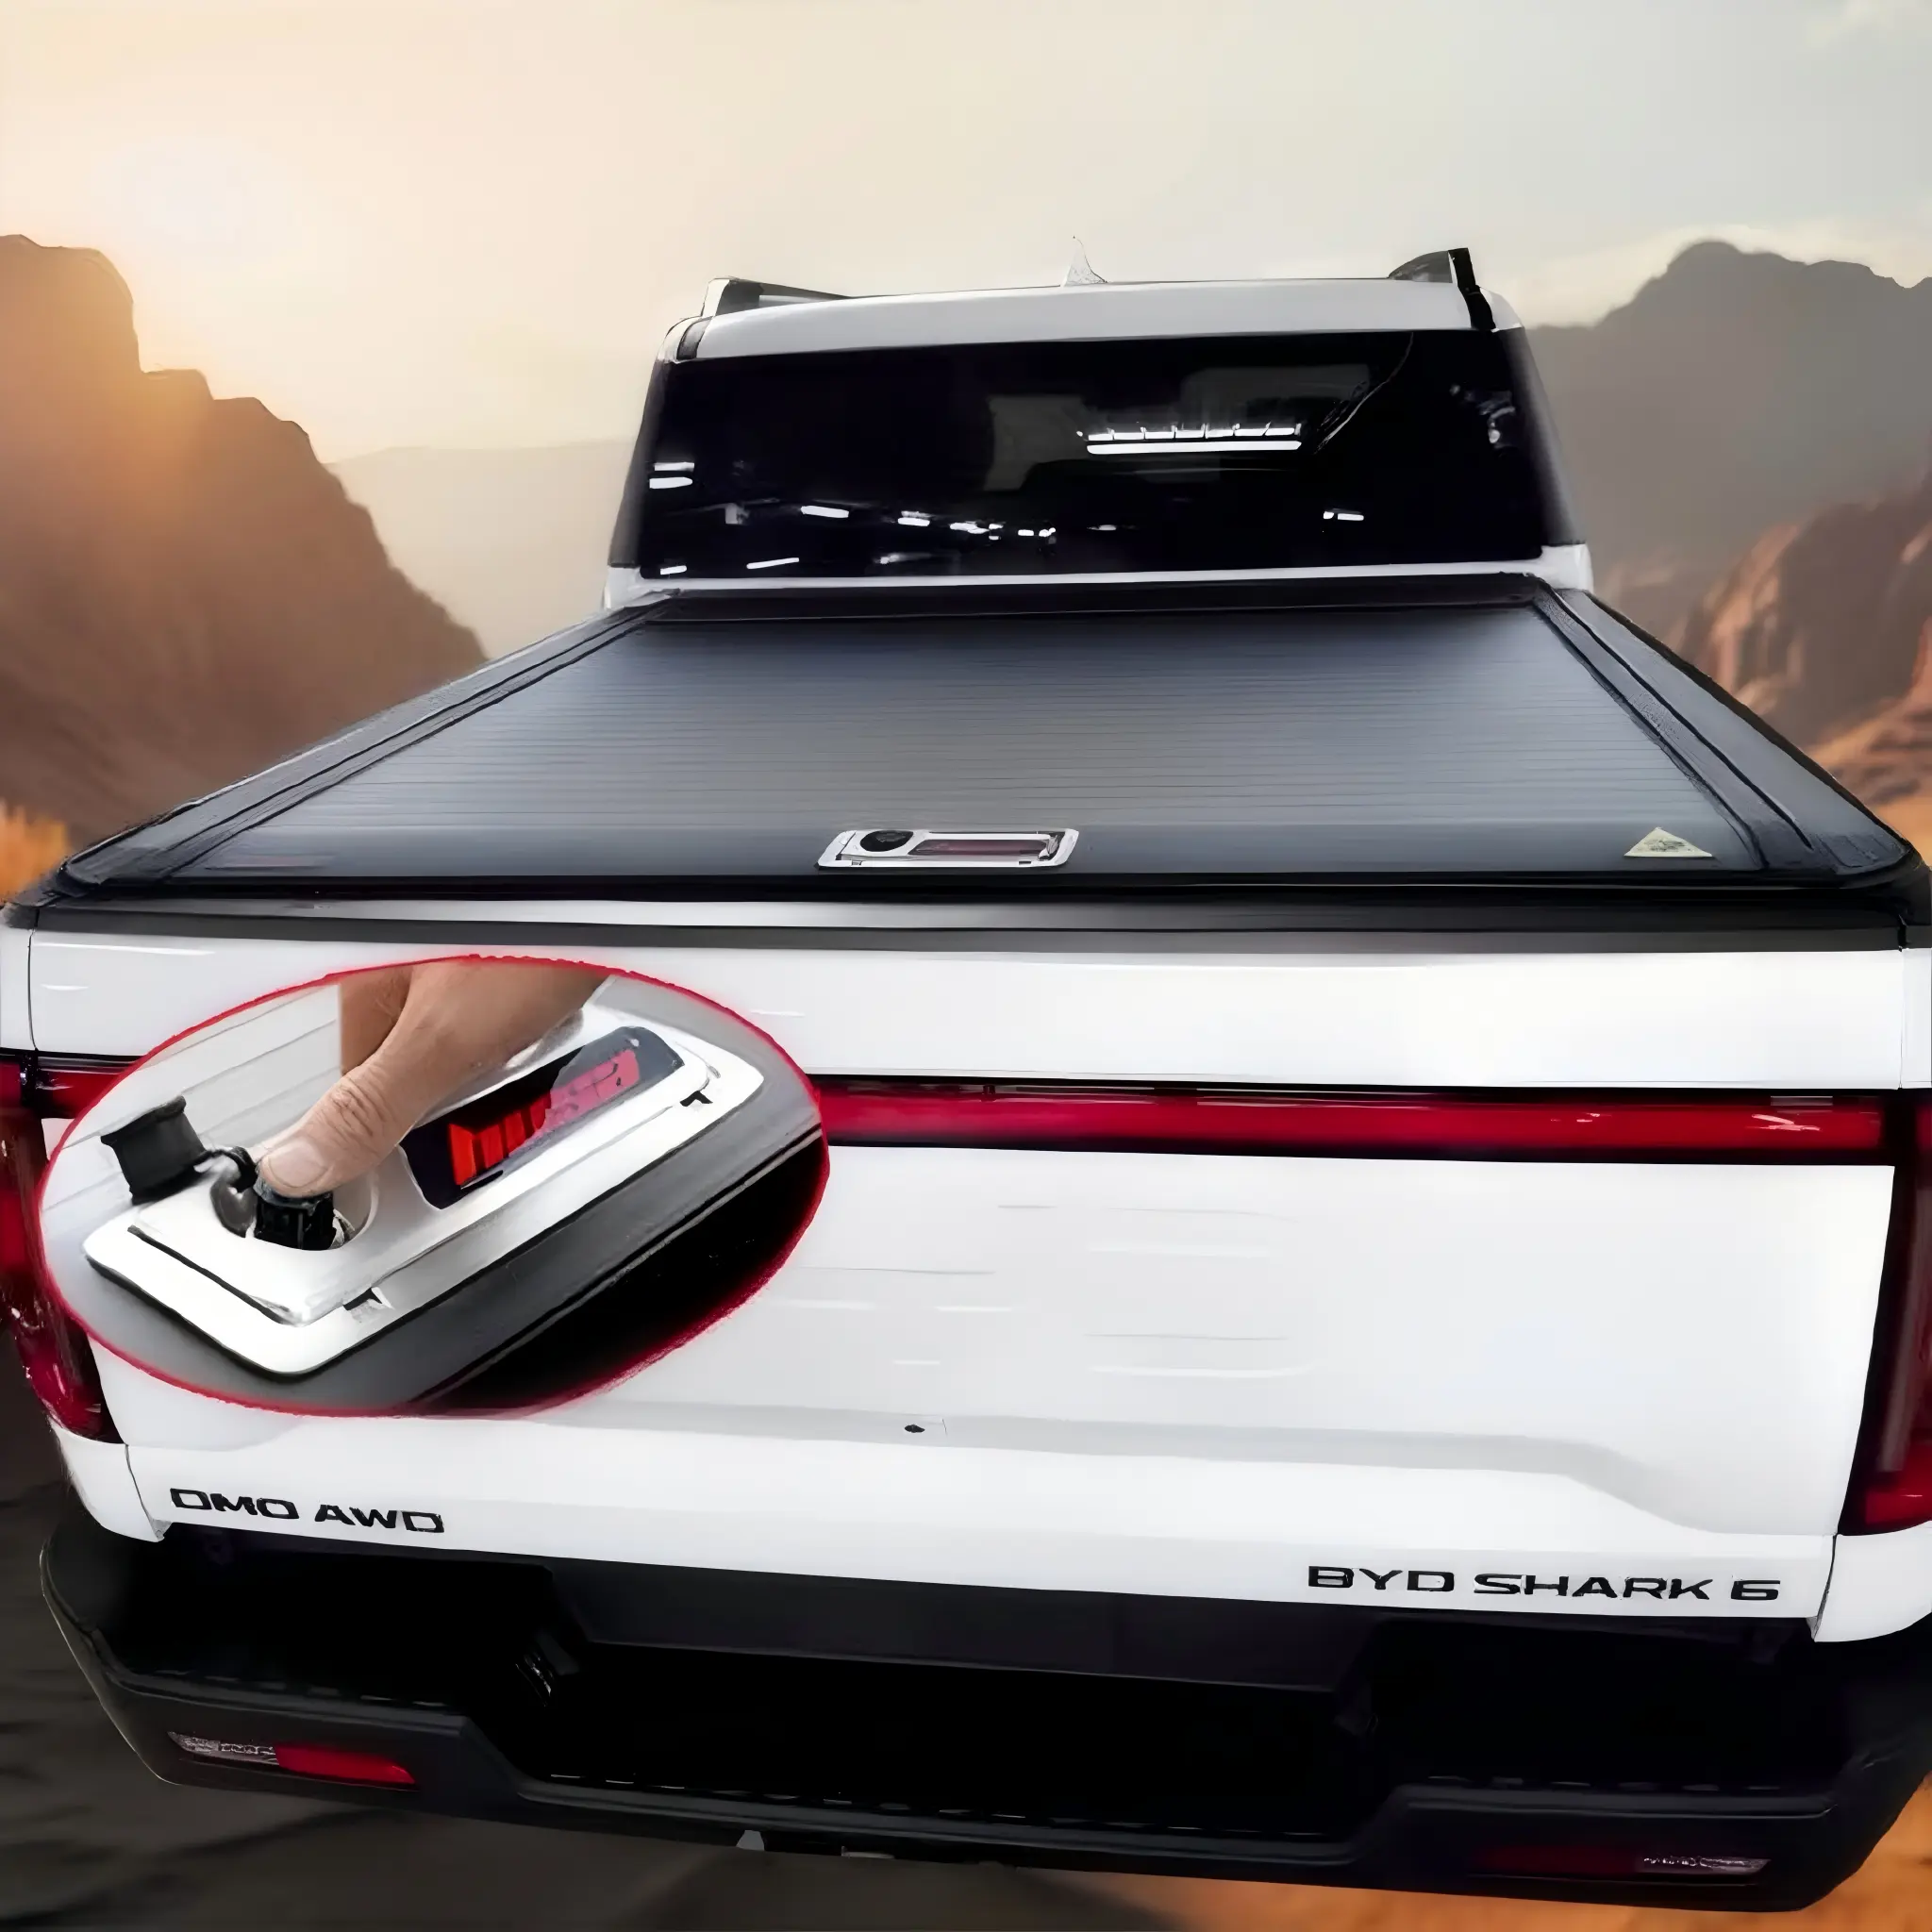
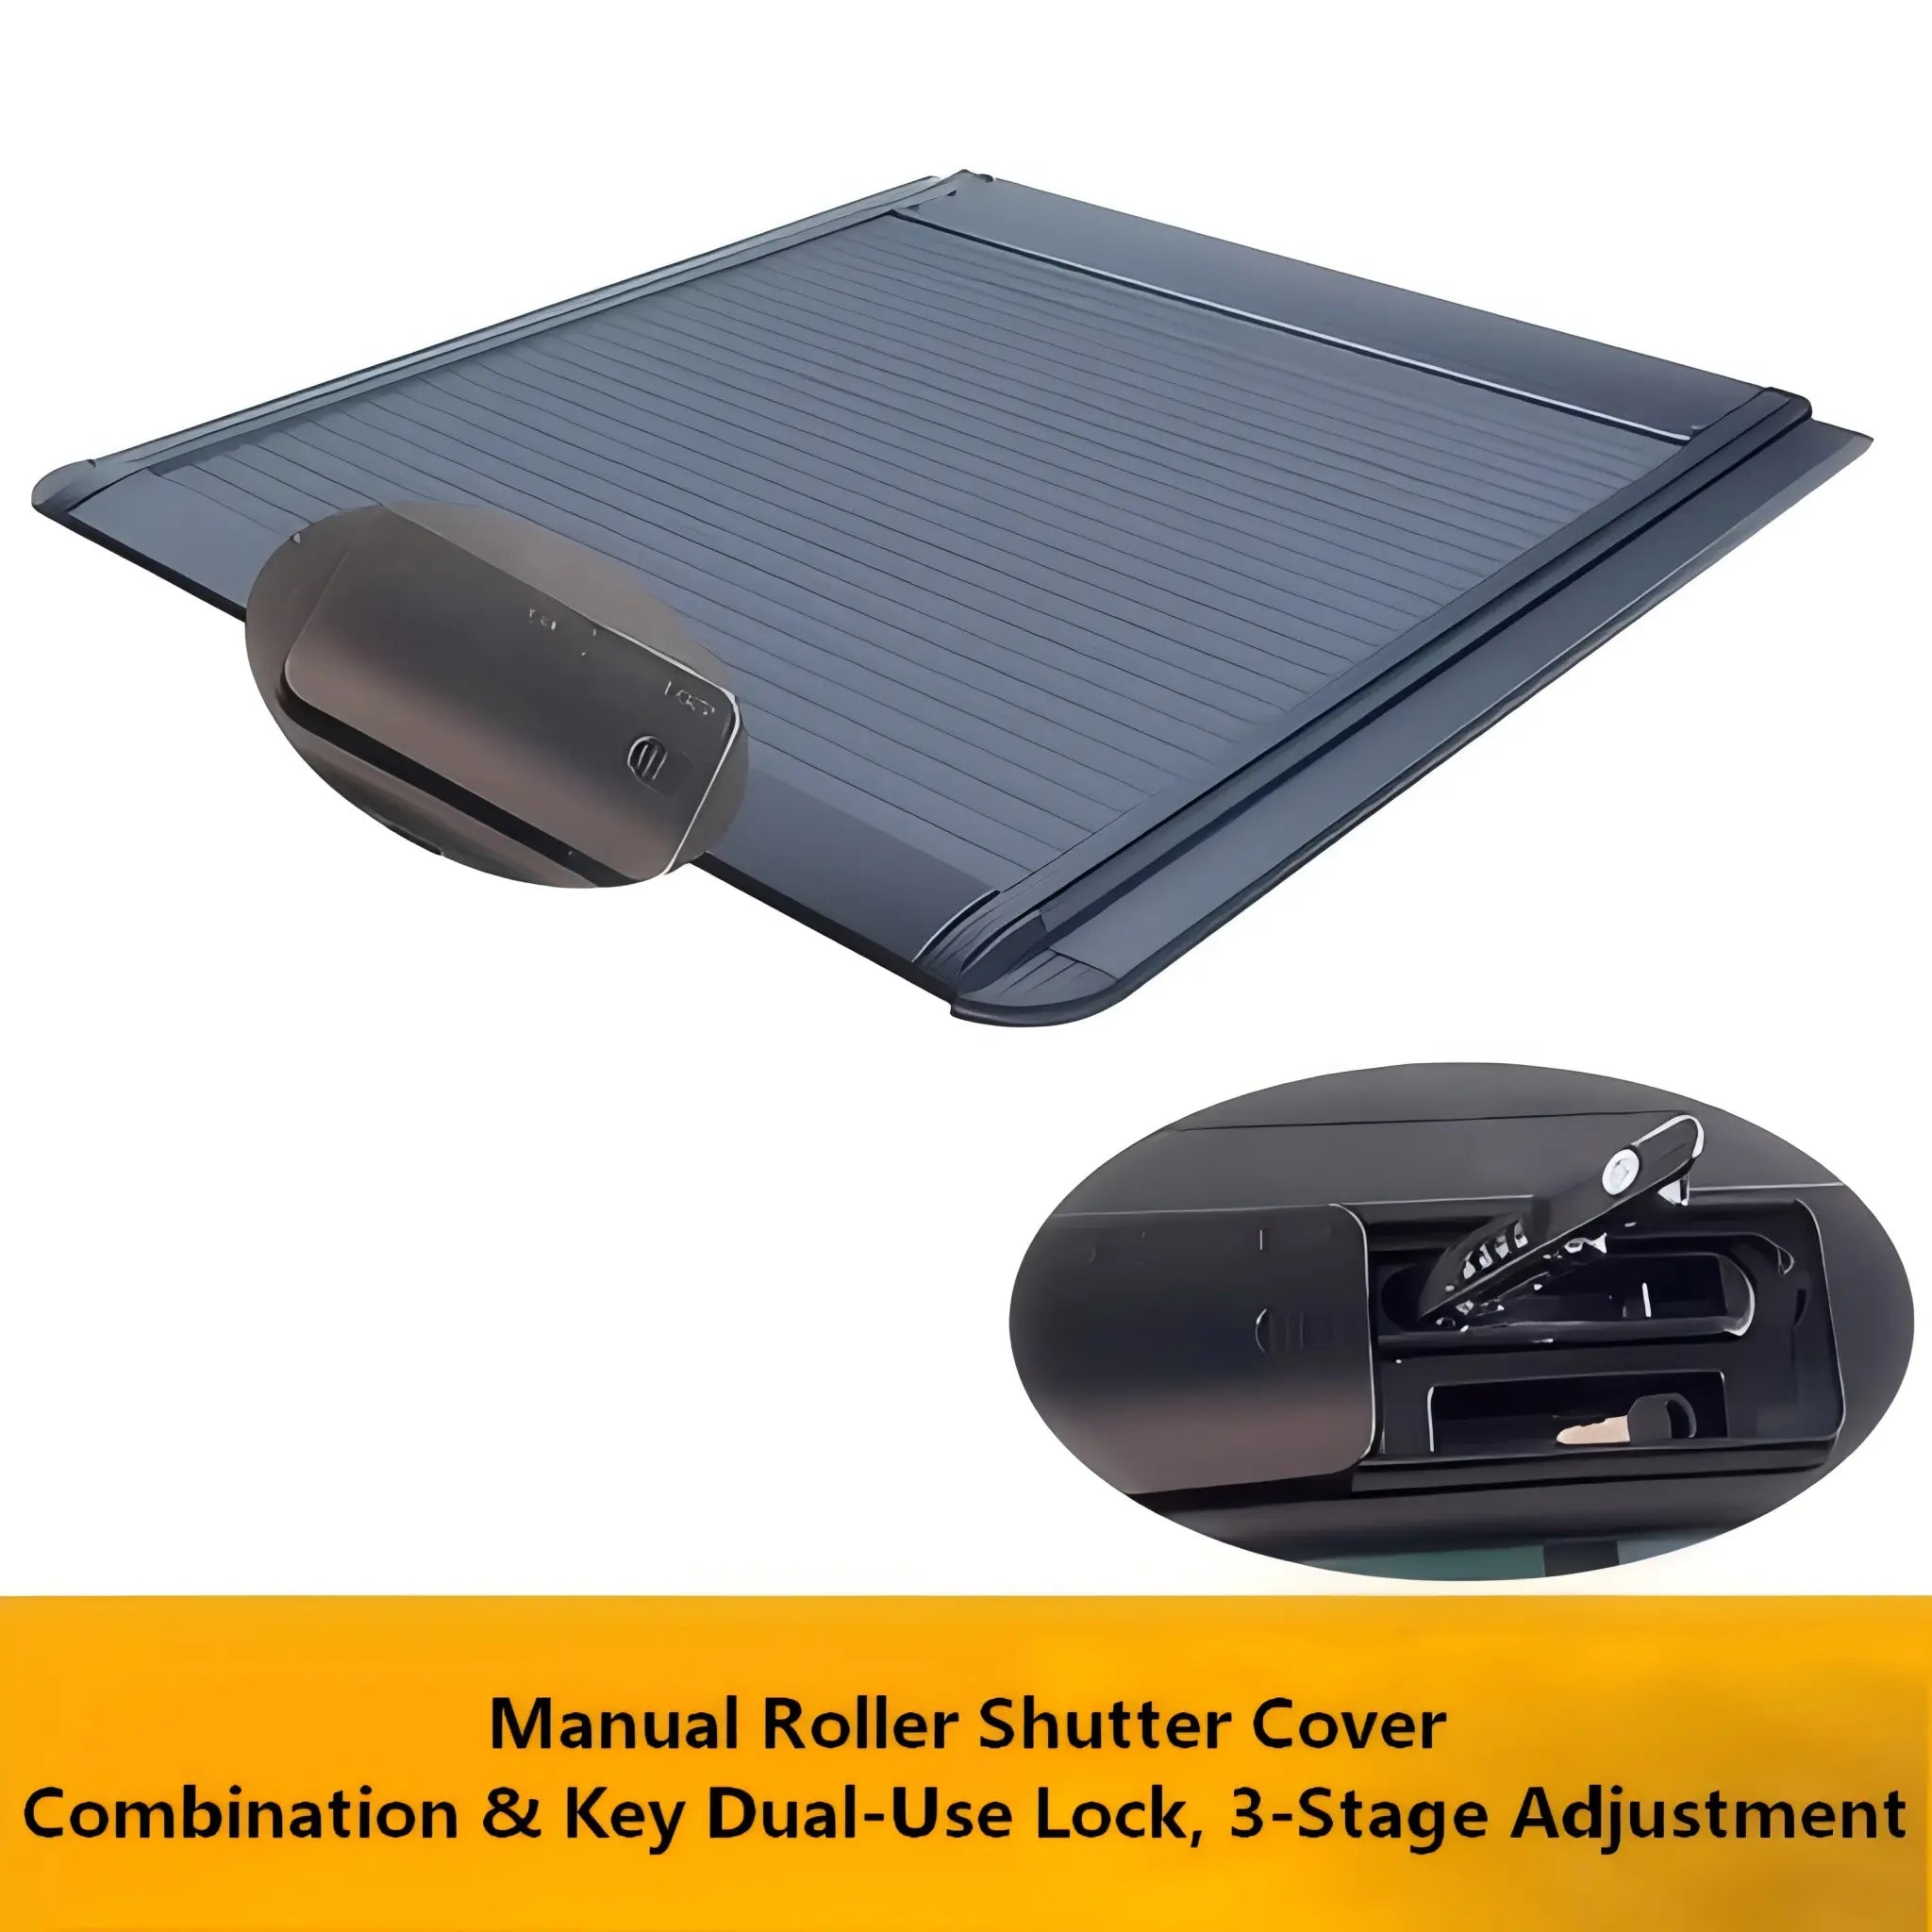
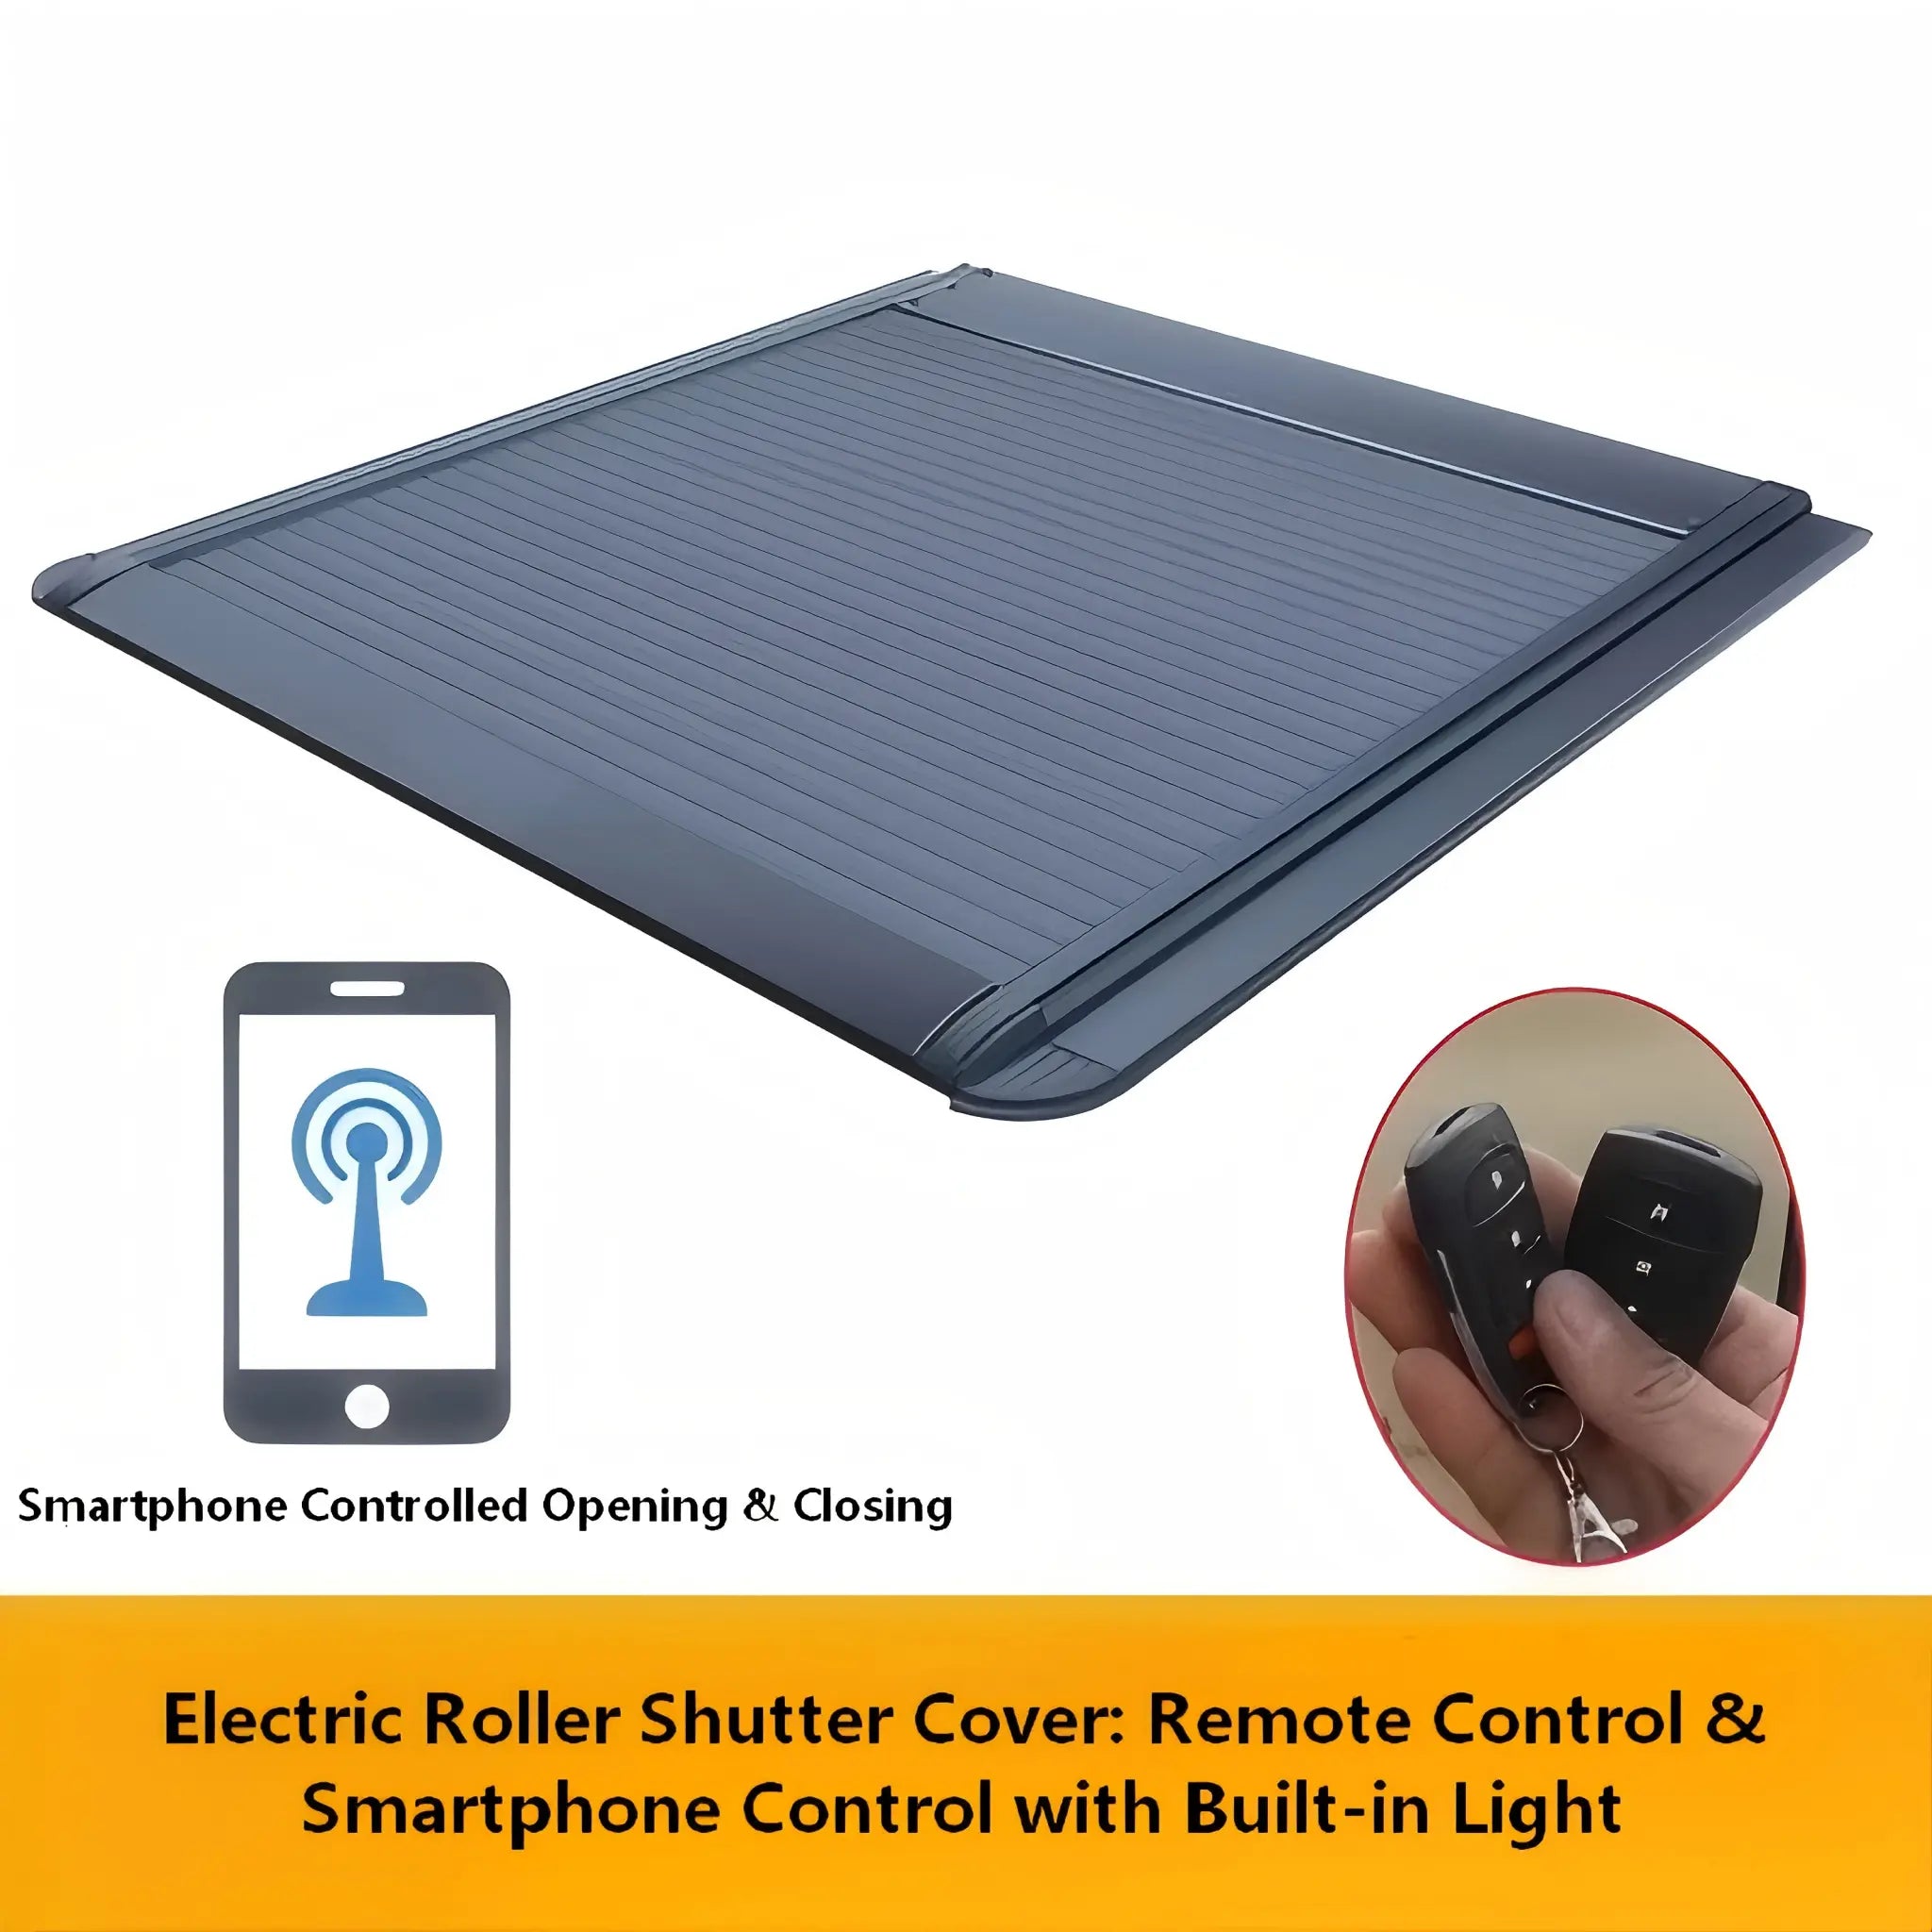
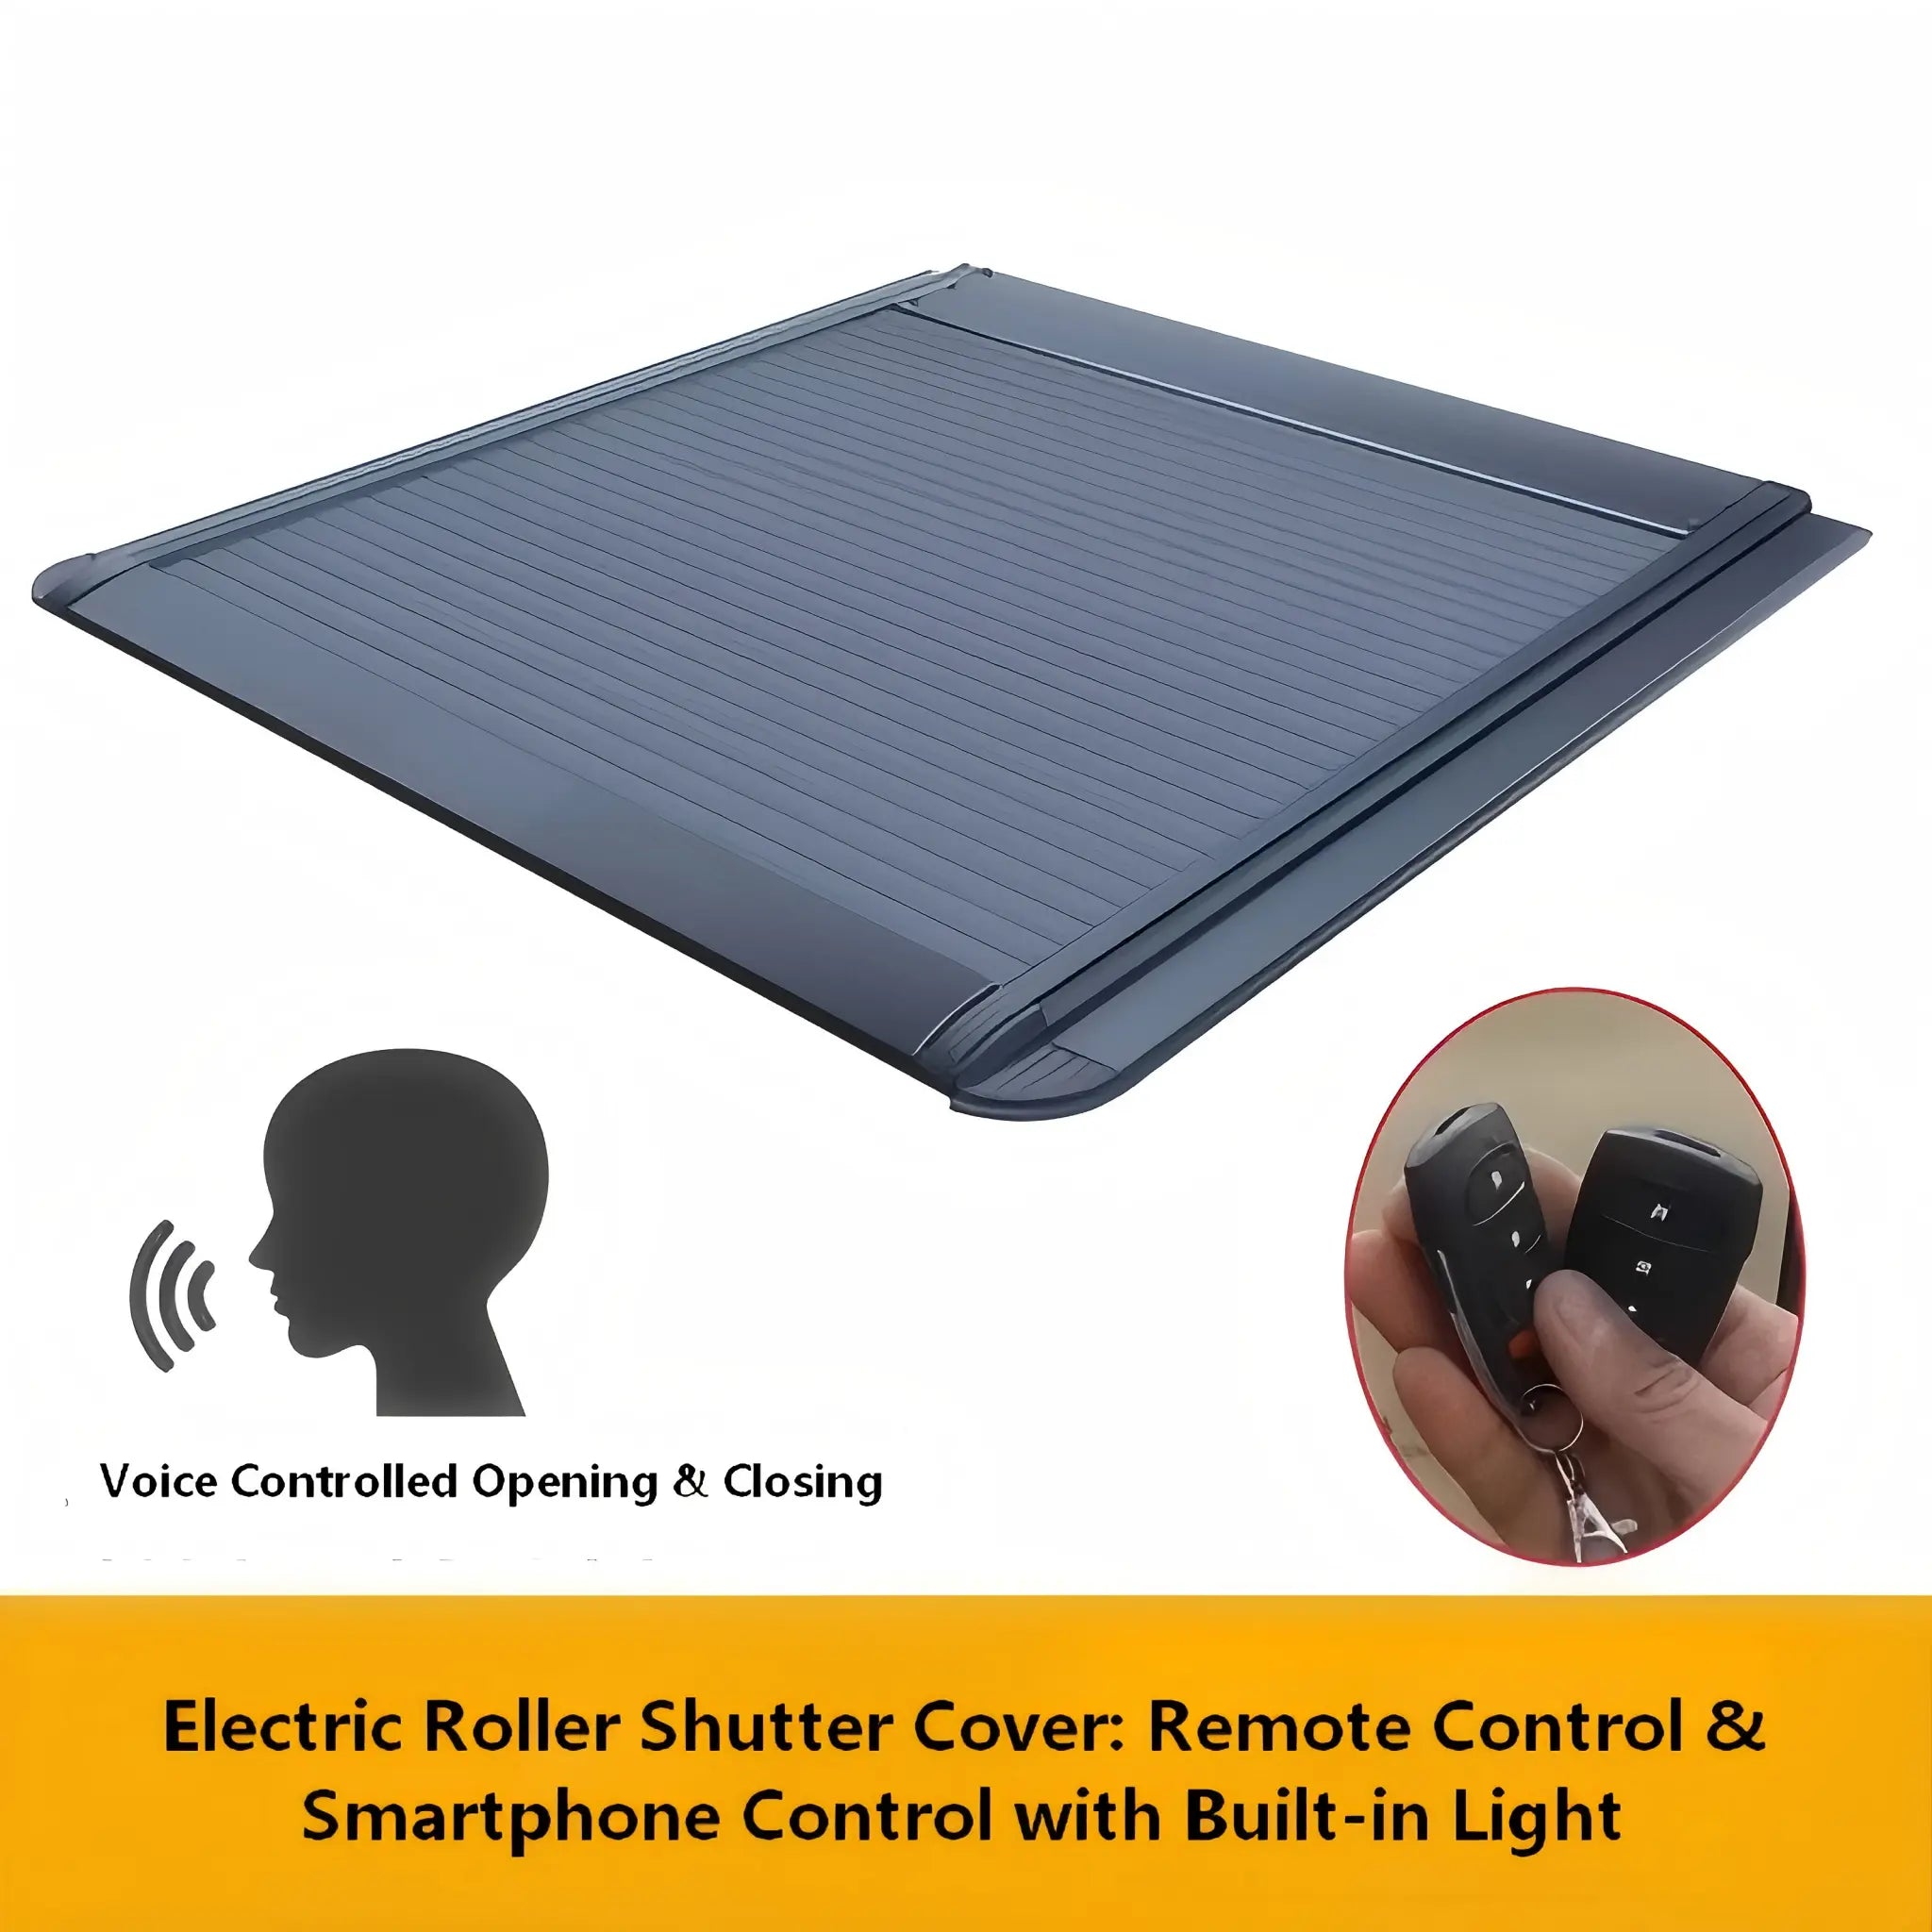
  • Electric or Manual Options: Choose between robust manual reliability with zero-fail operation, or upgrade to electric for hands-free convenience via smartphone app, voice control, or factory remote.
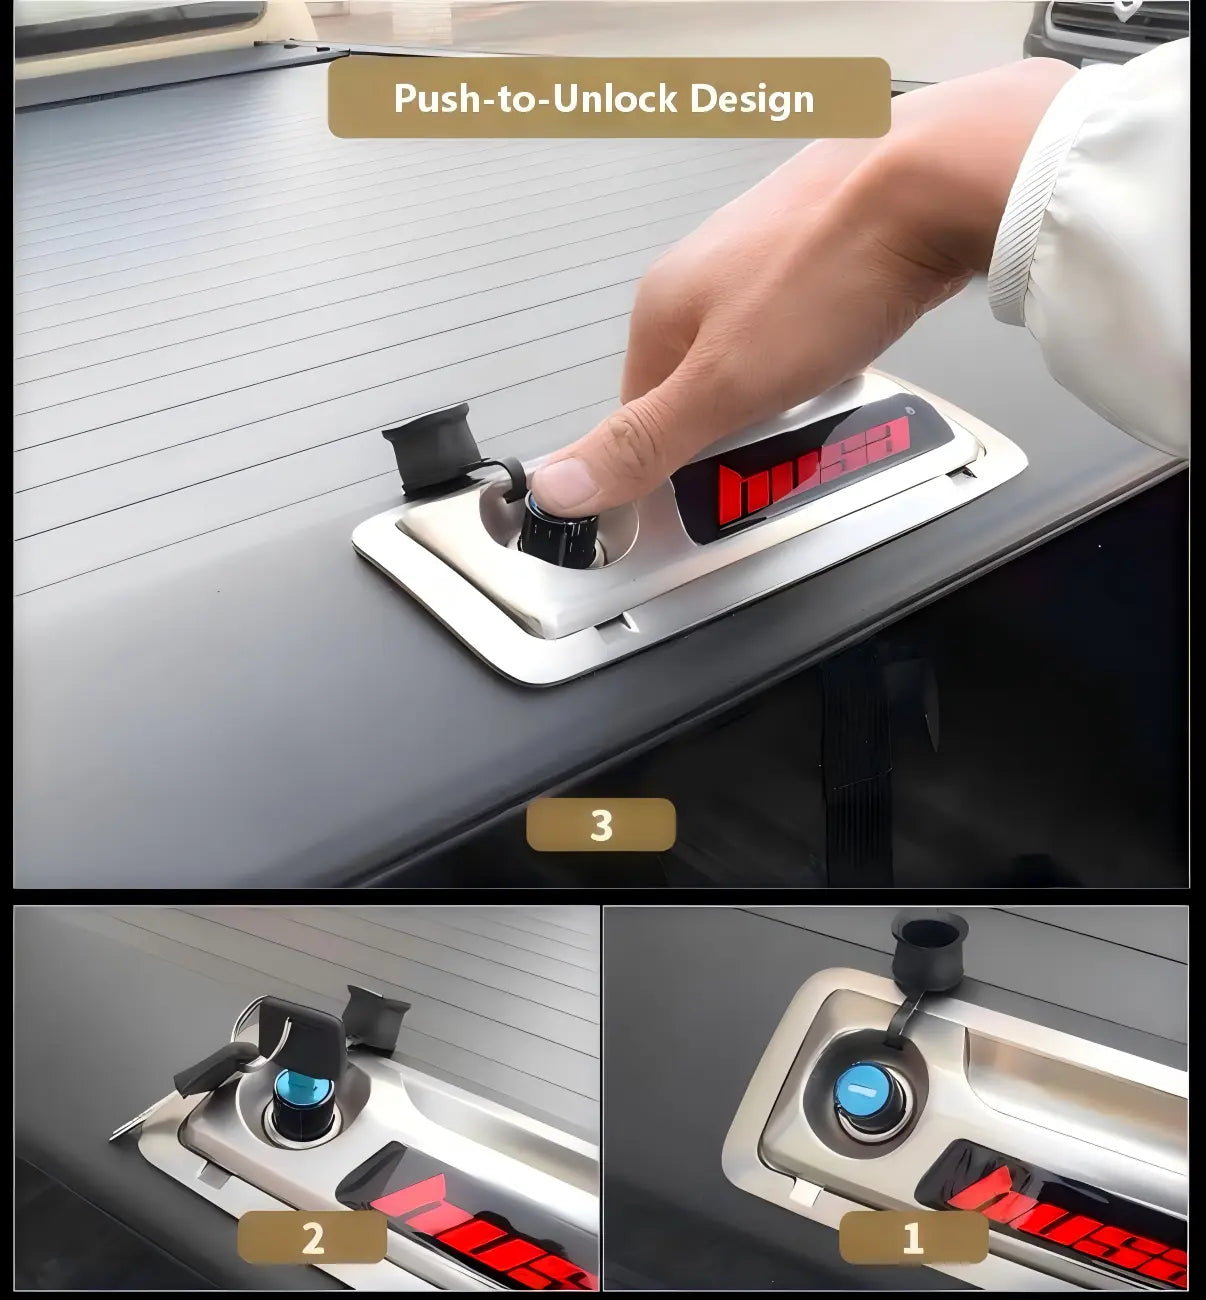
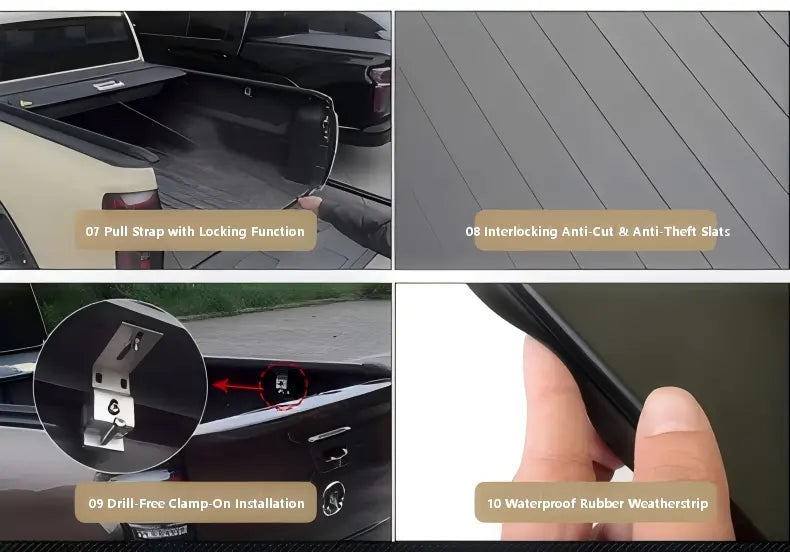
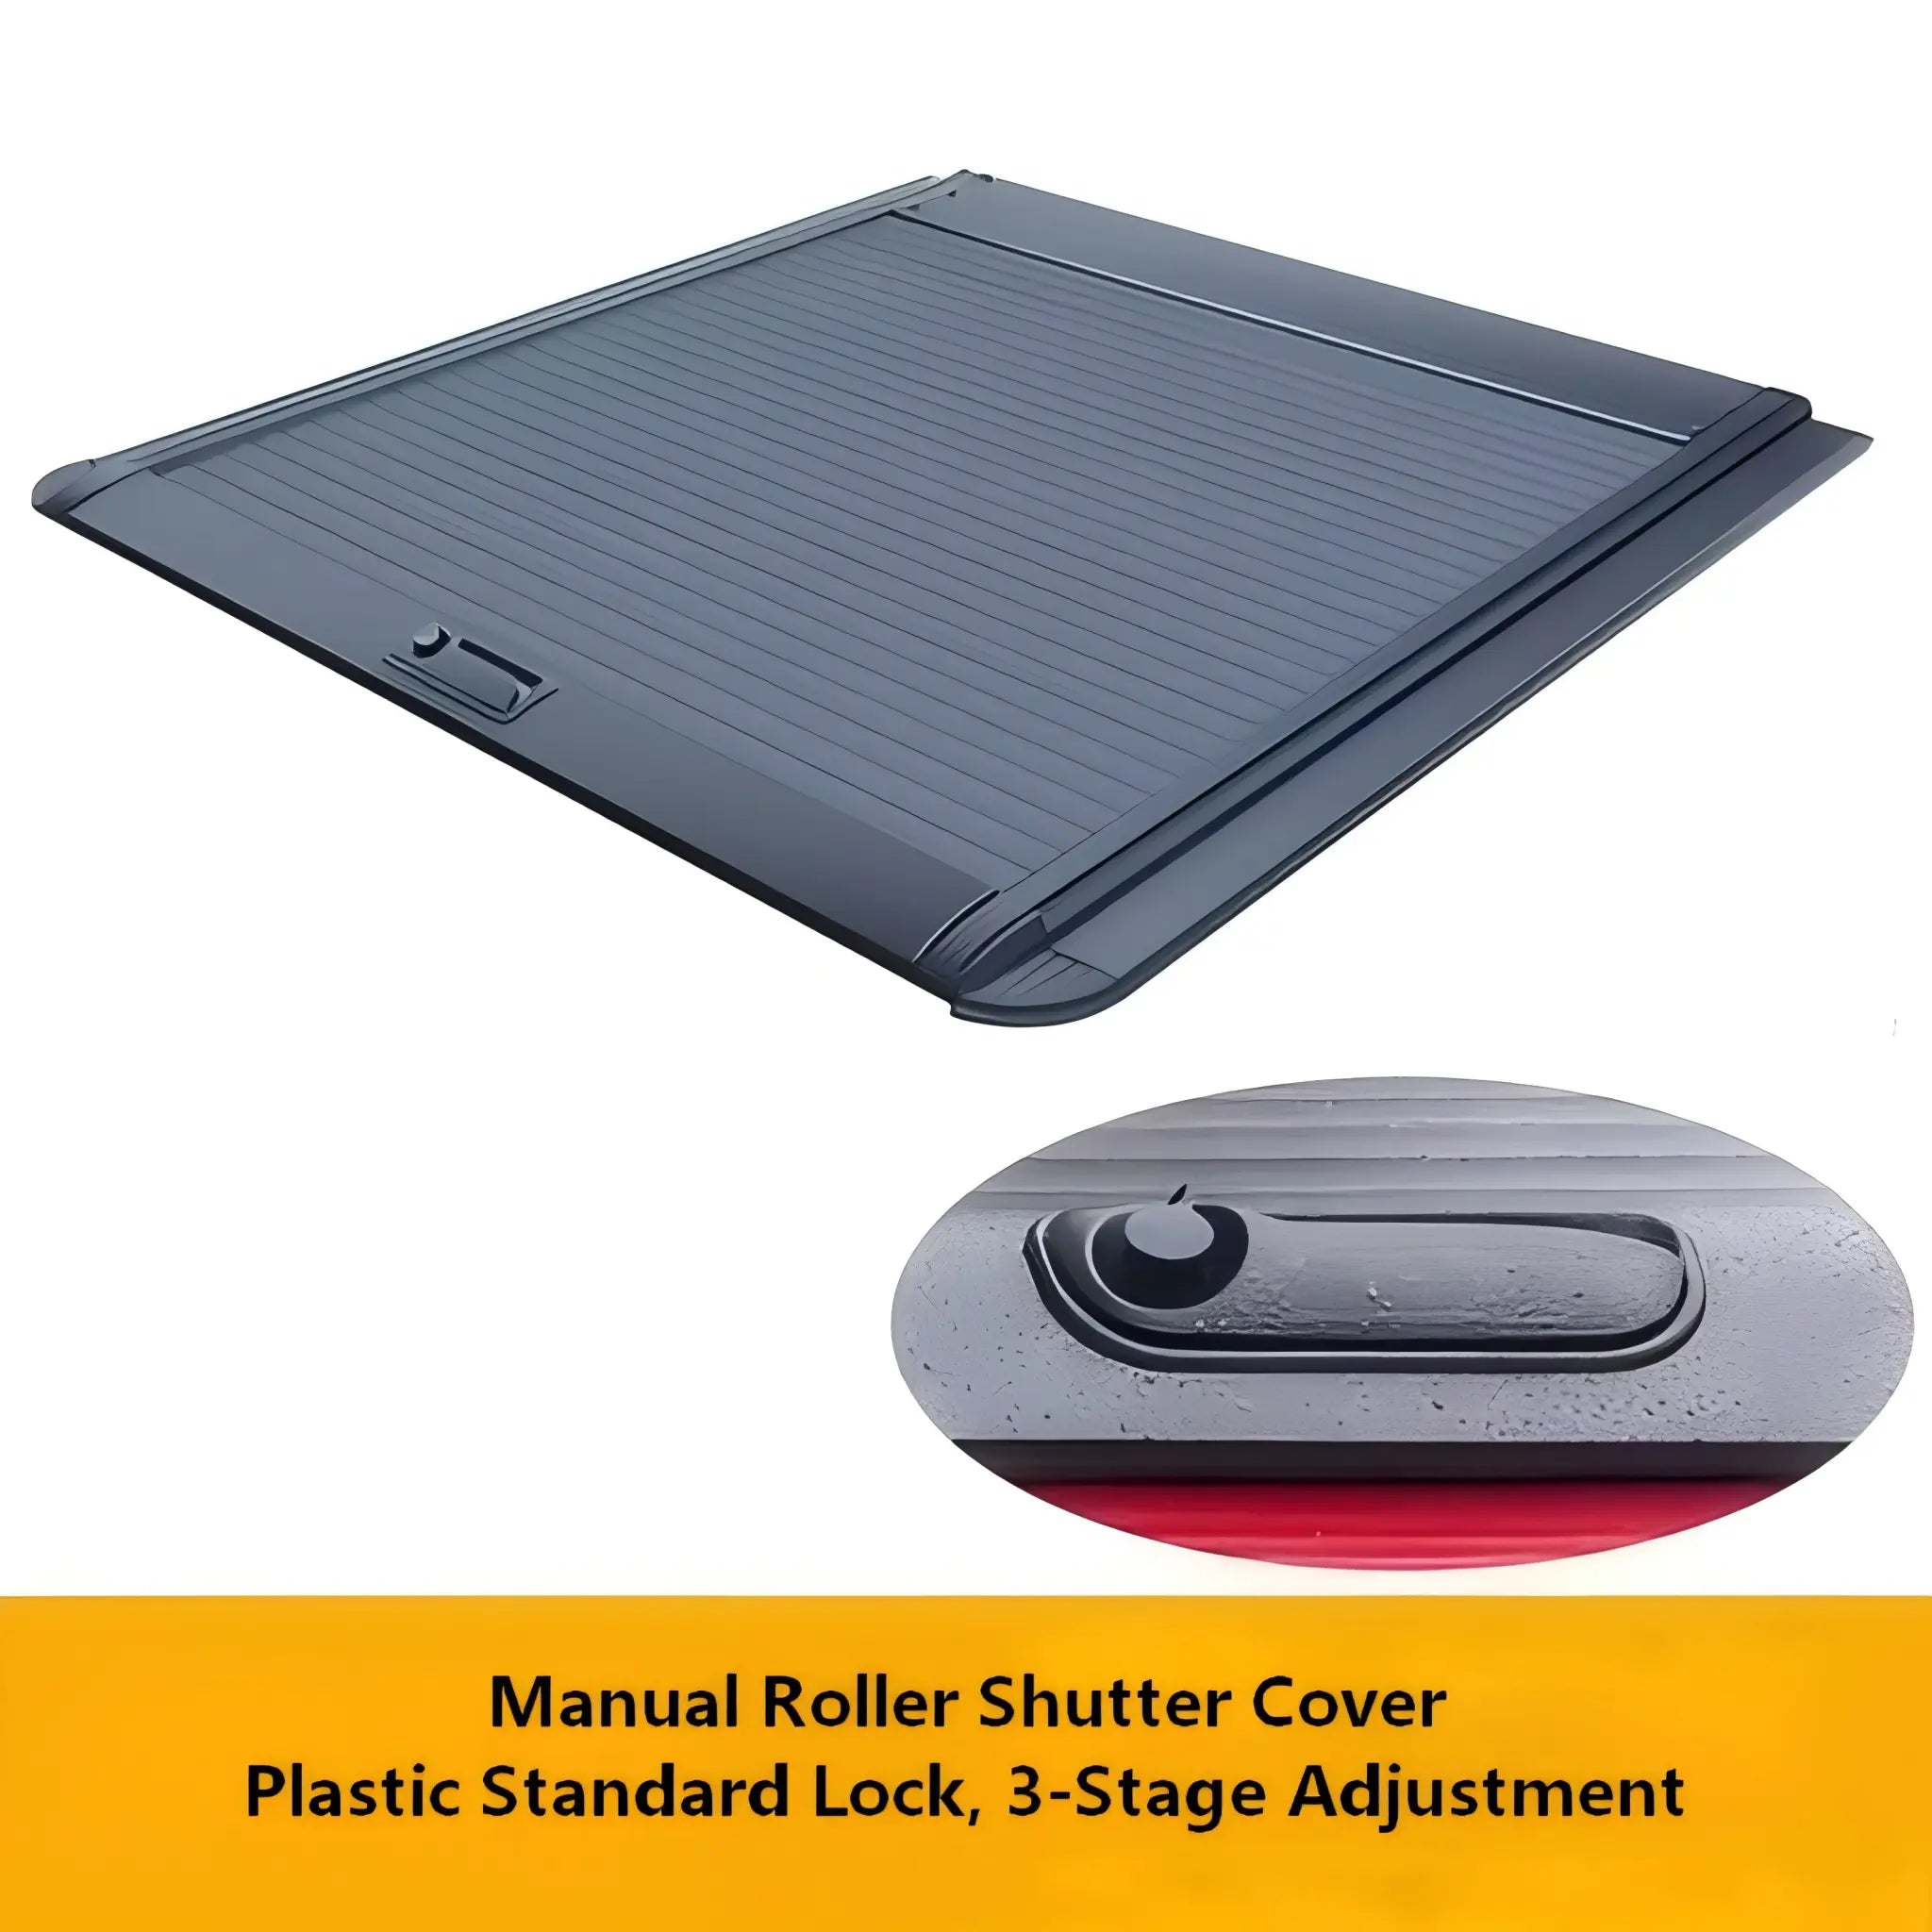
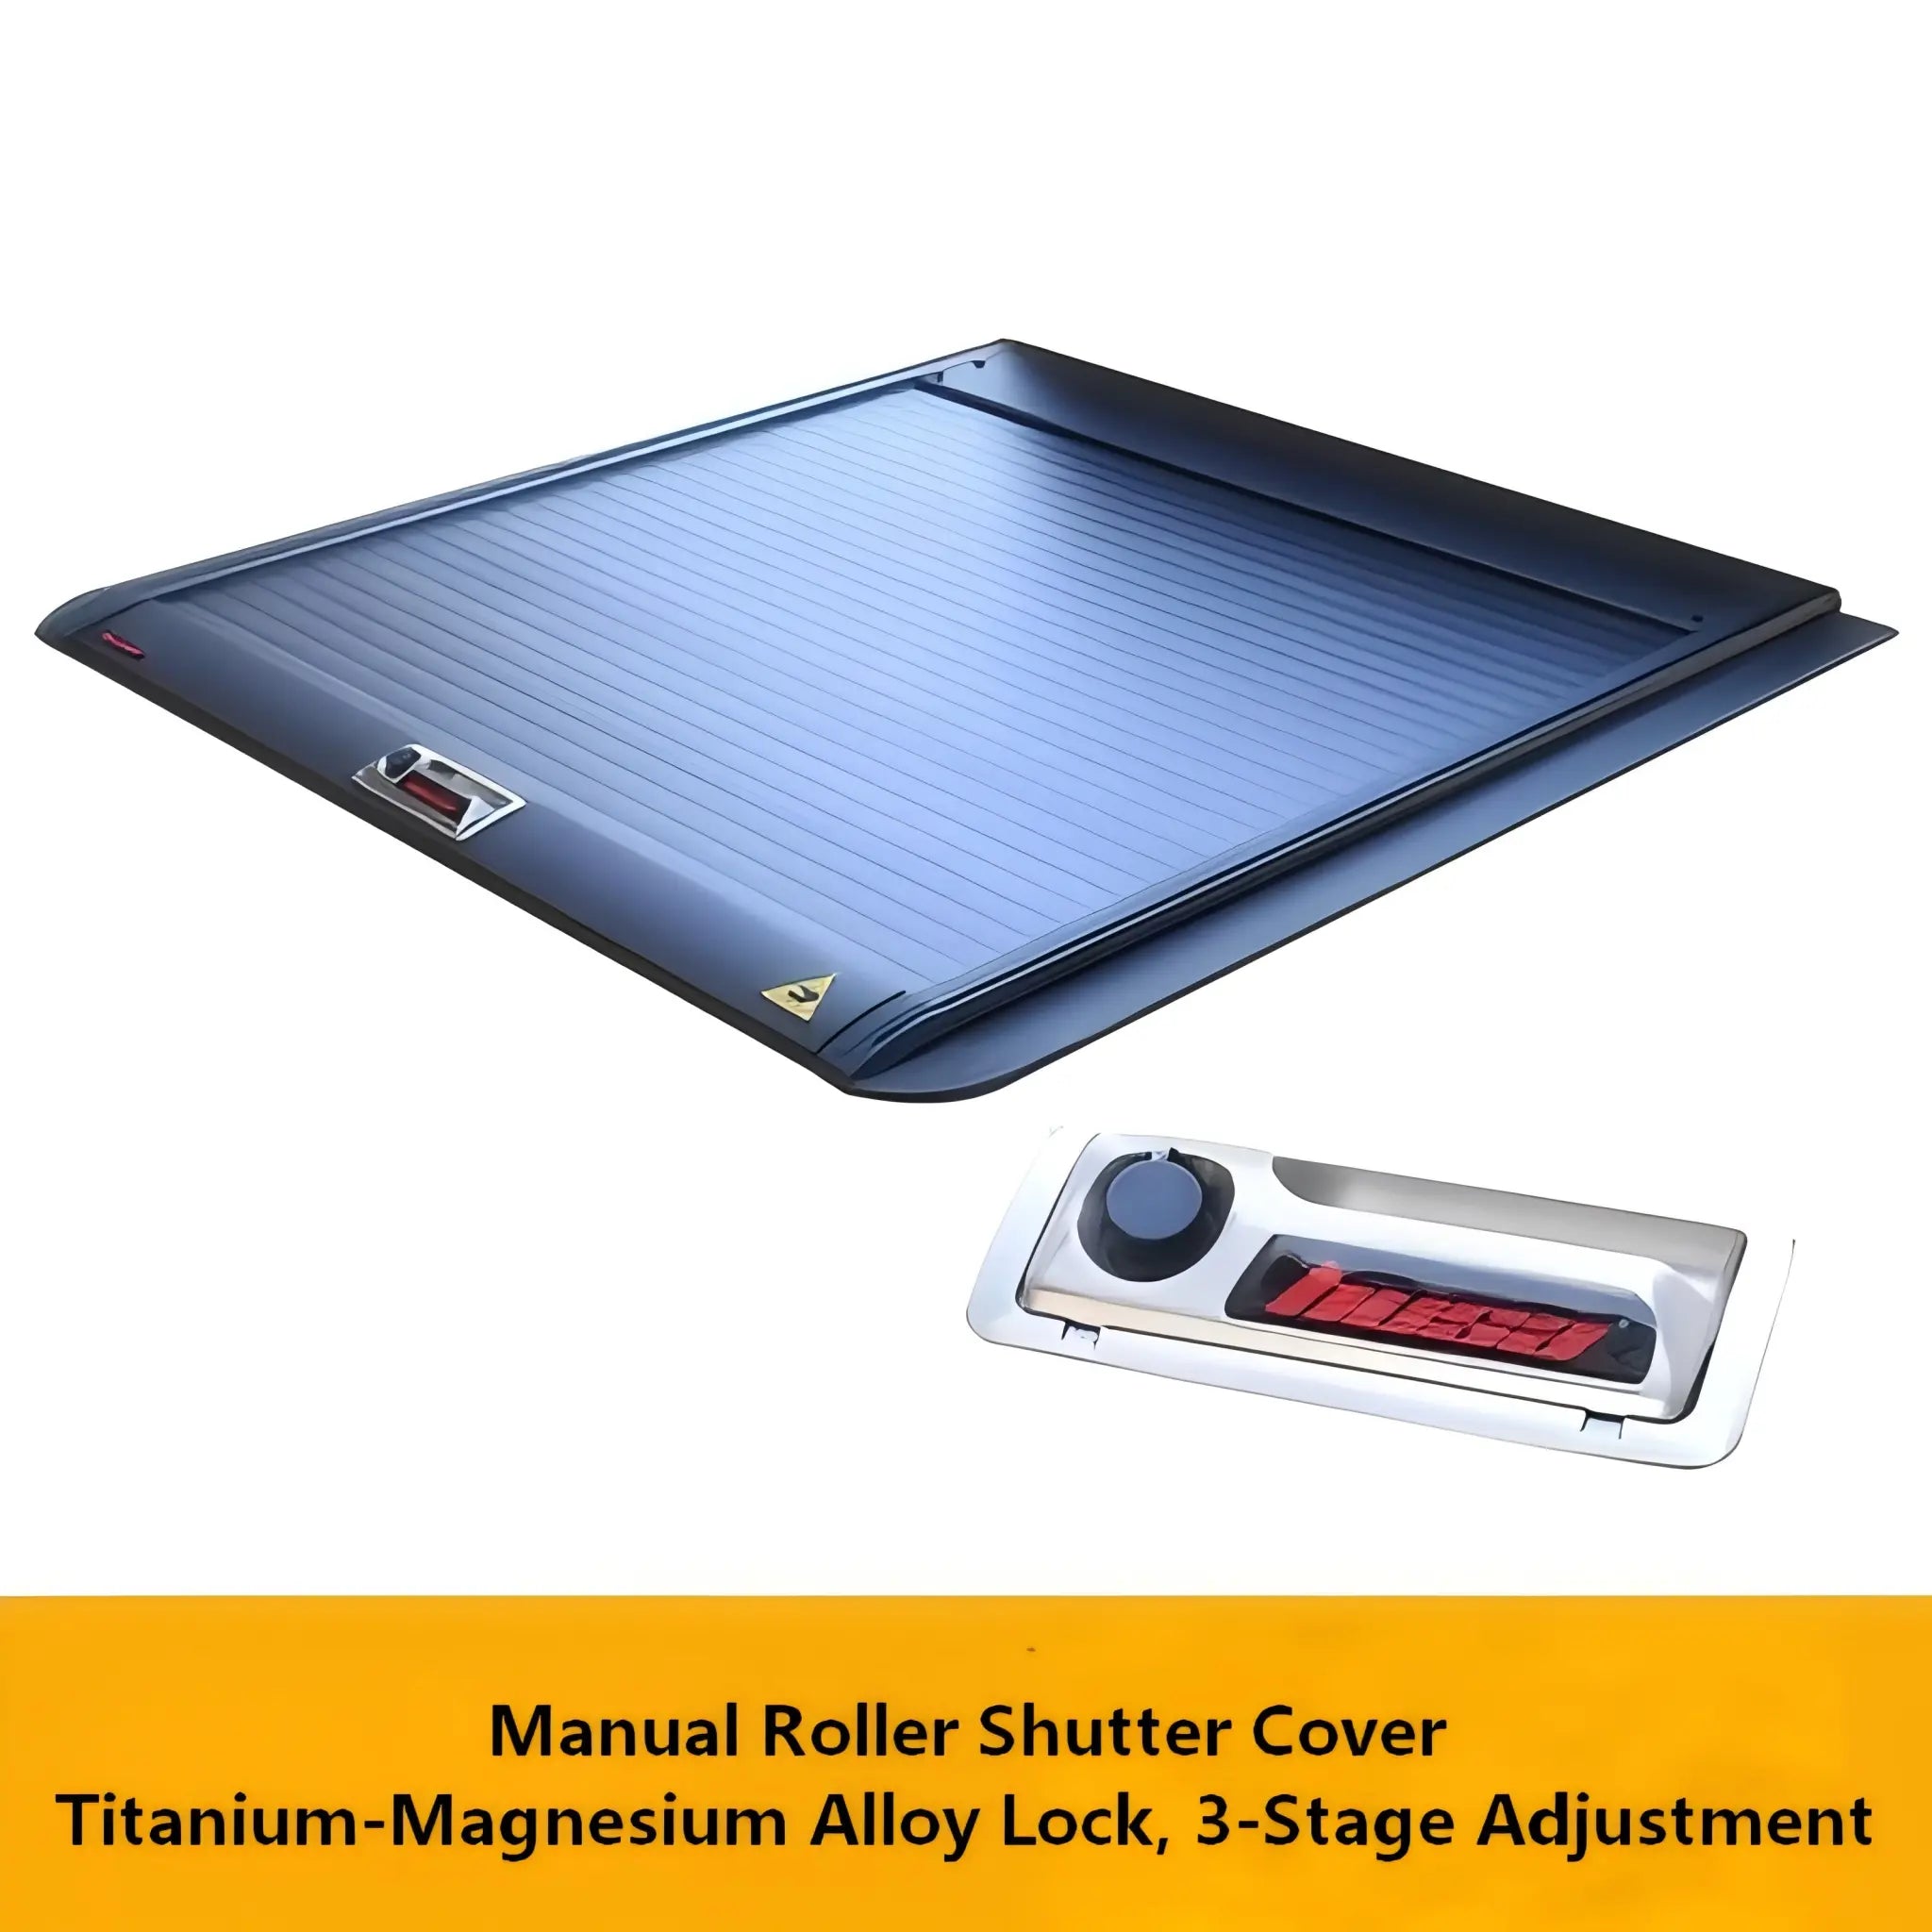
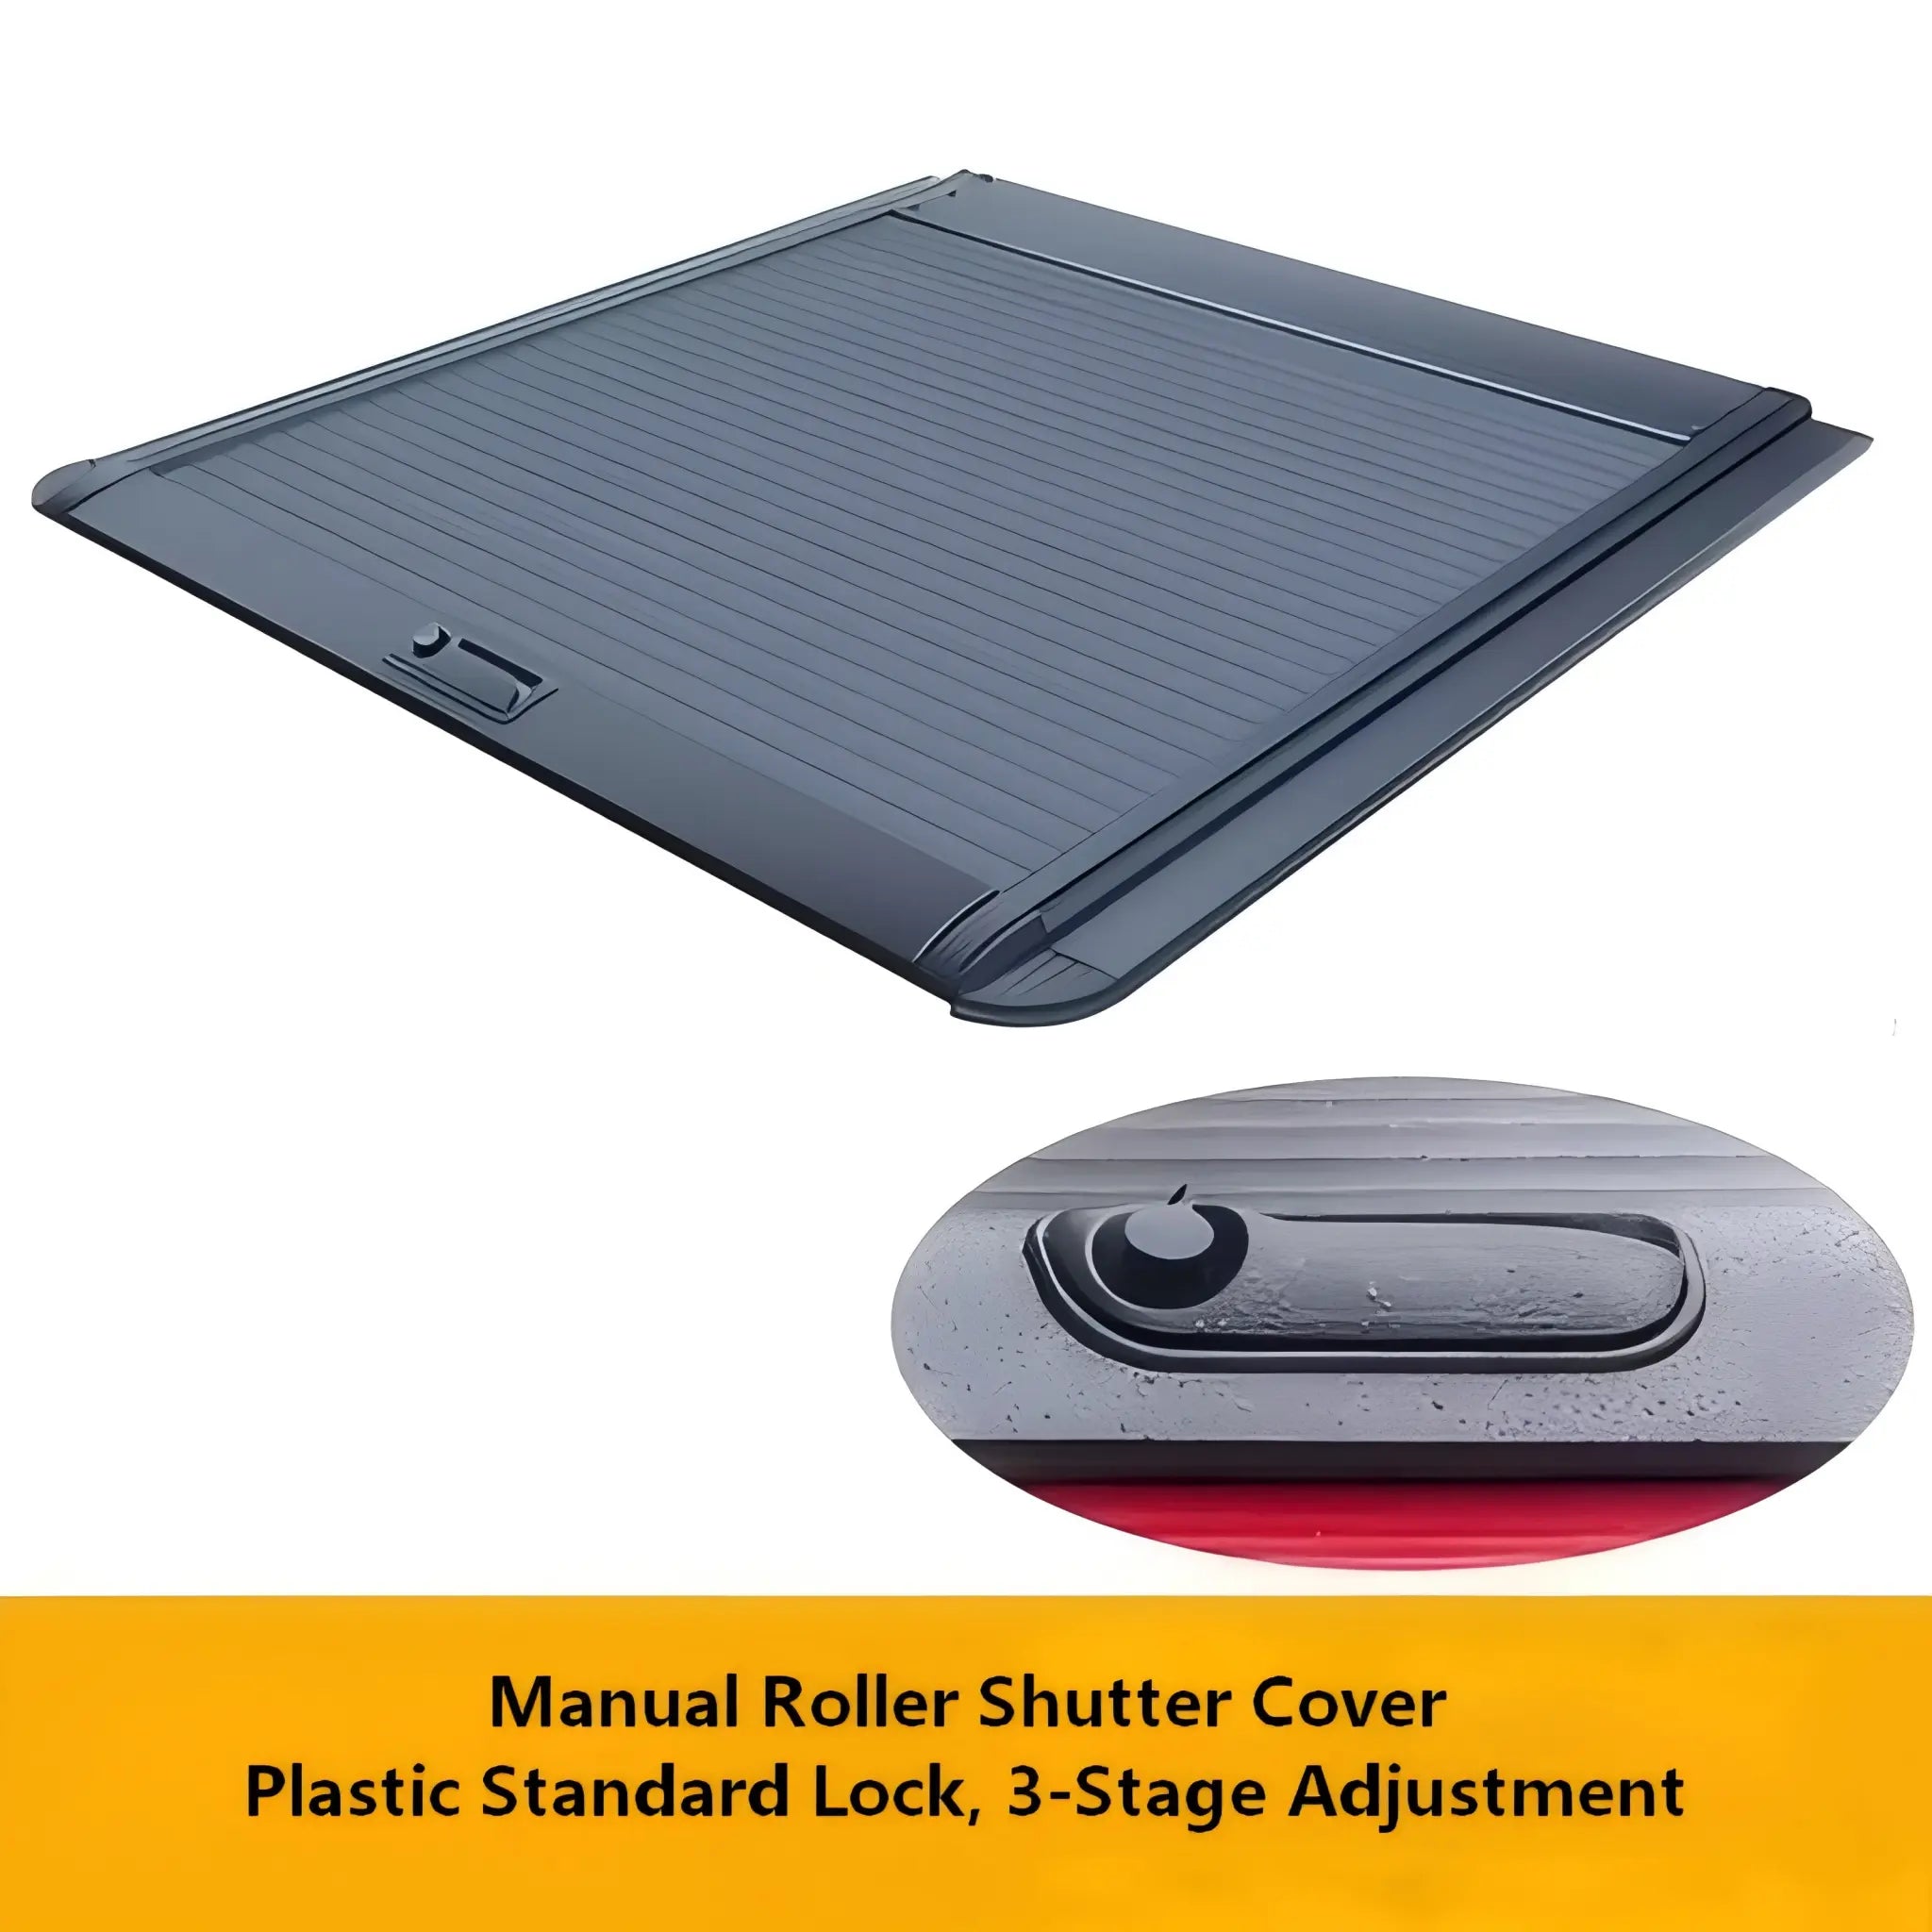
  • Heavy-Duty Security: Built with interlocking, thickened aluminium slats that are completely cut-resistant against Stanley knives. Manual version includes tough alloy lock and key for maximum protection.
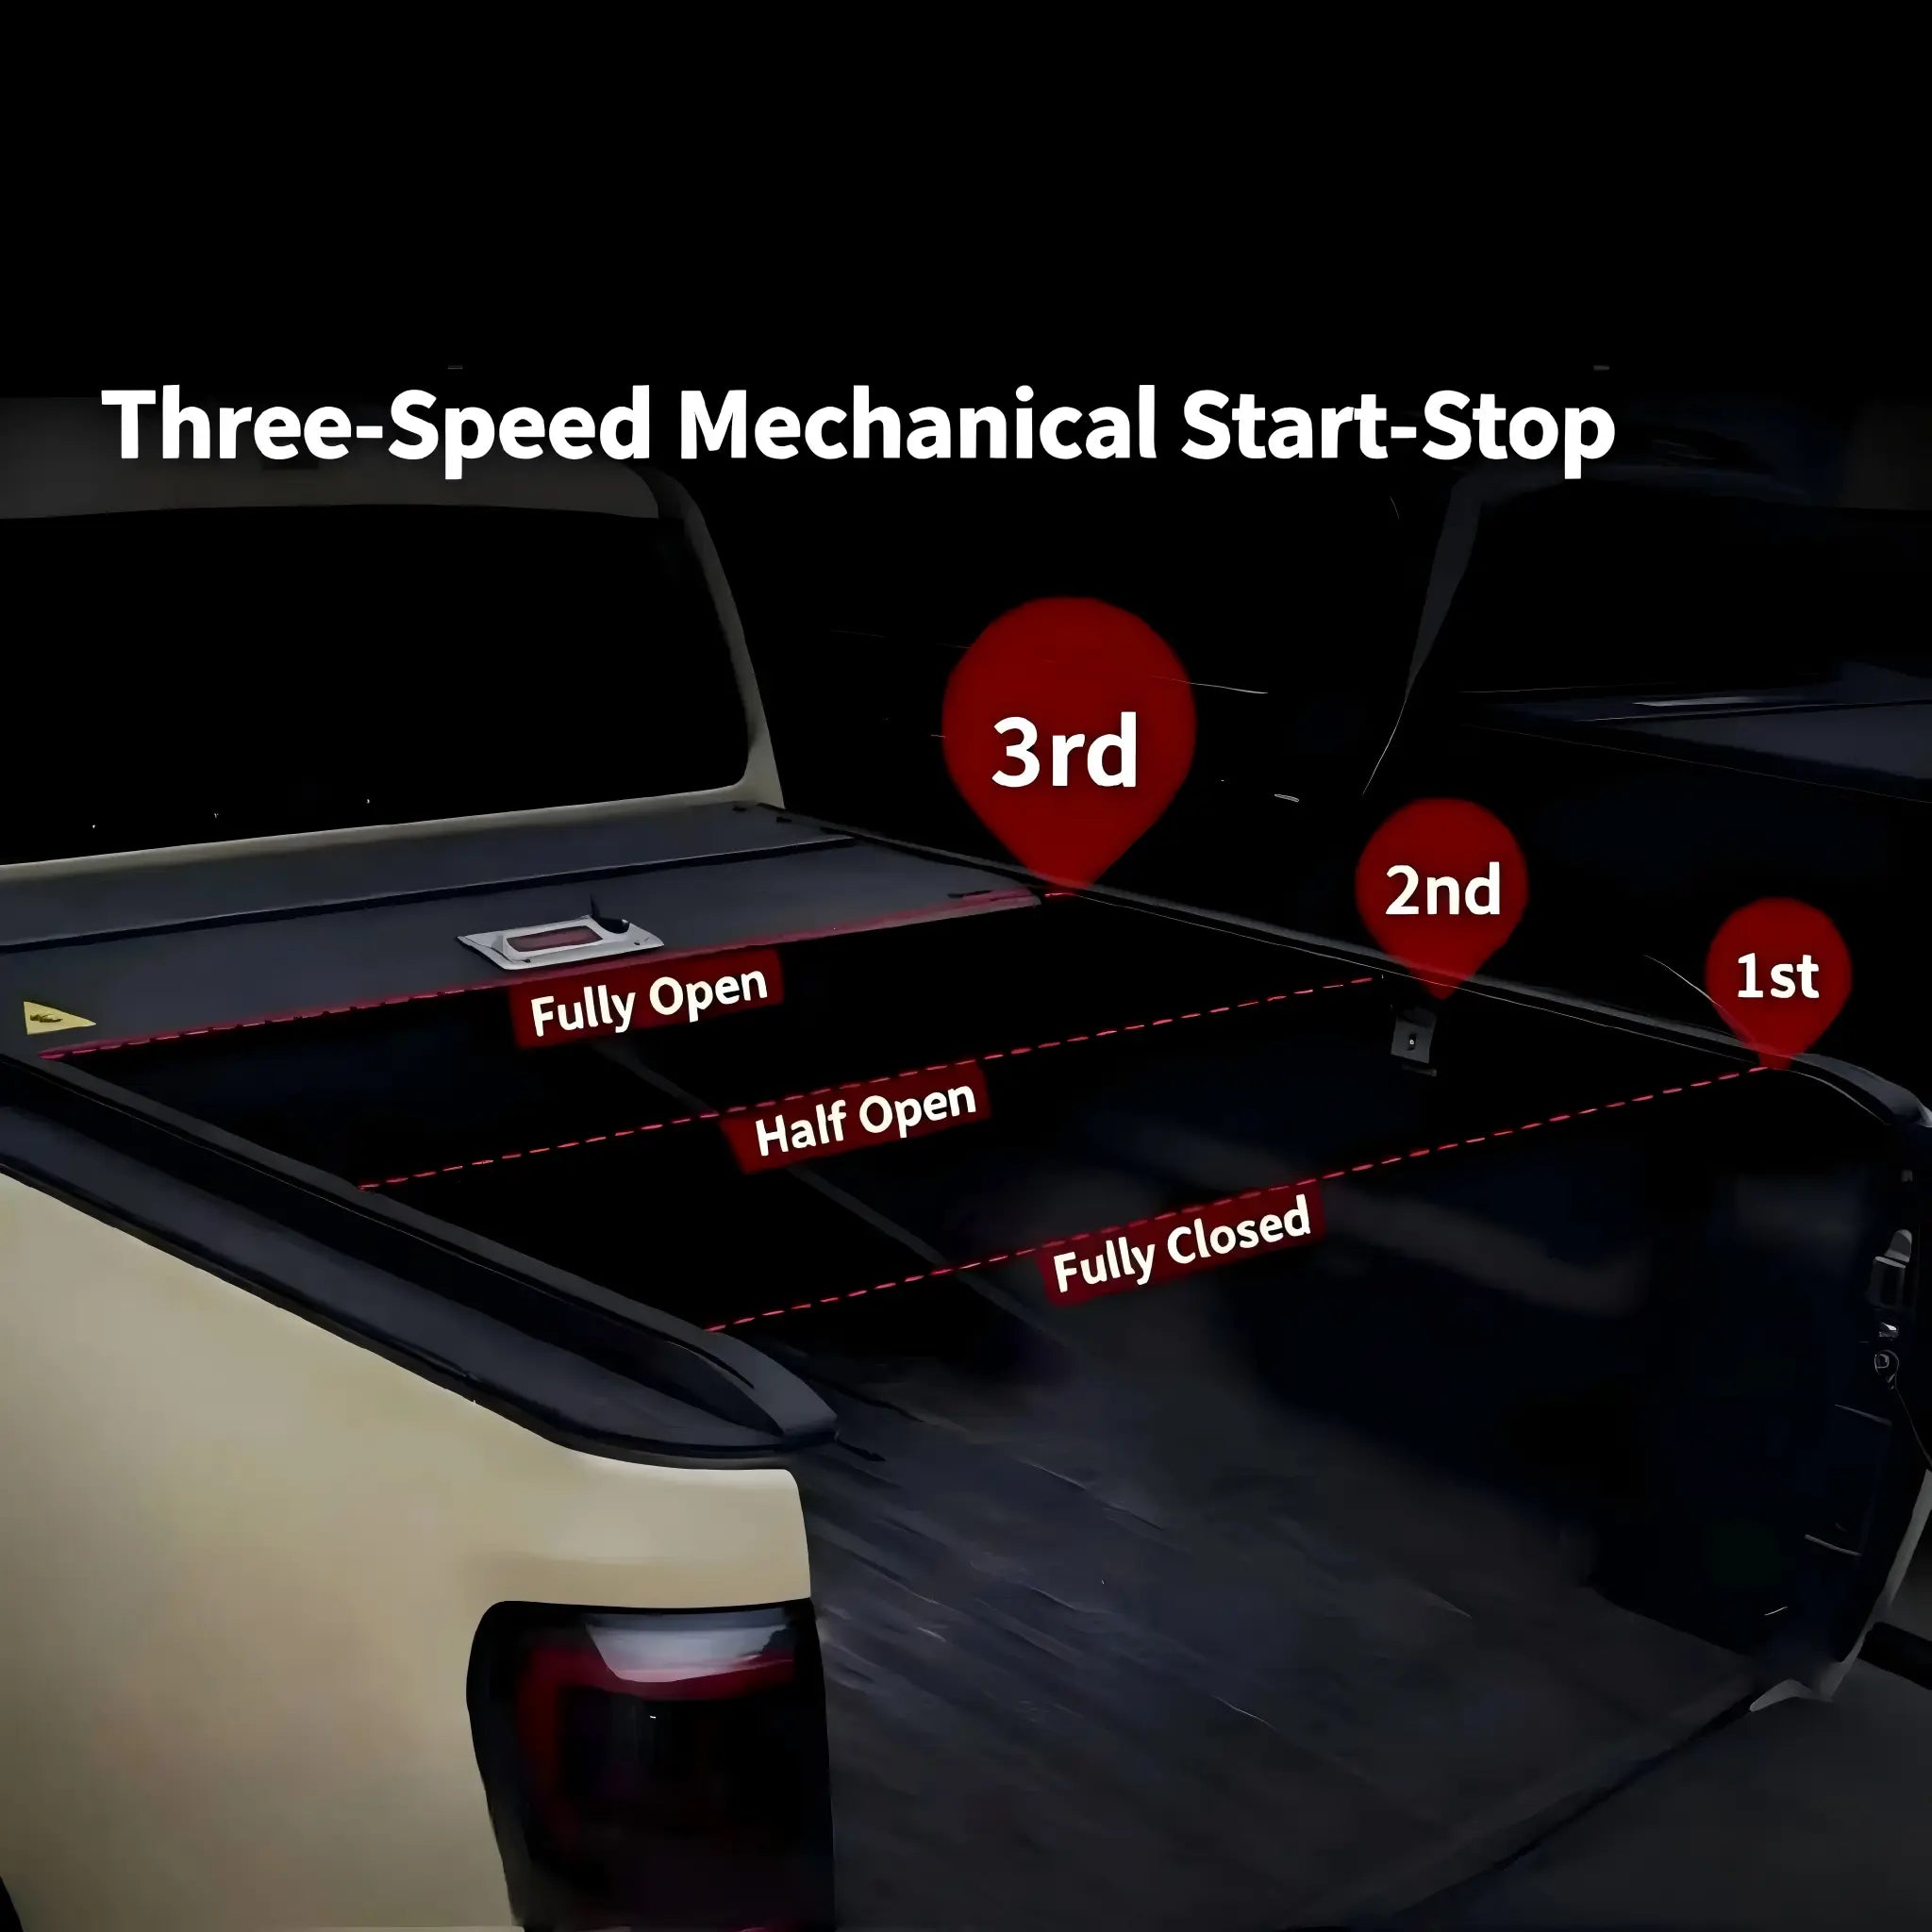
  • Multi-Stop Load Flexibility: Securely locks into multiple positions (Fully Closed, Half-Open, Fully Open) so you can maximize tub space on the fly without removing the unit.
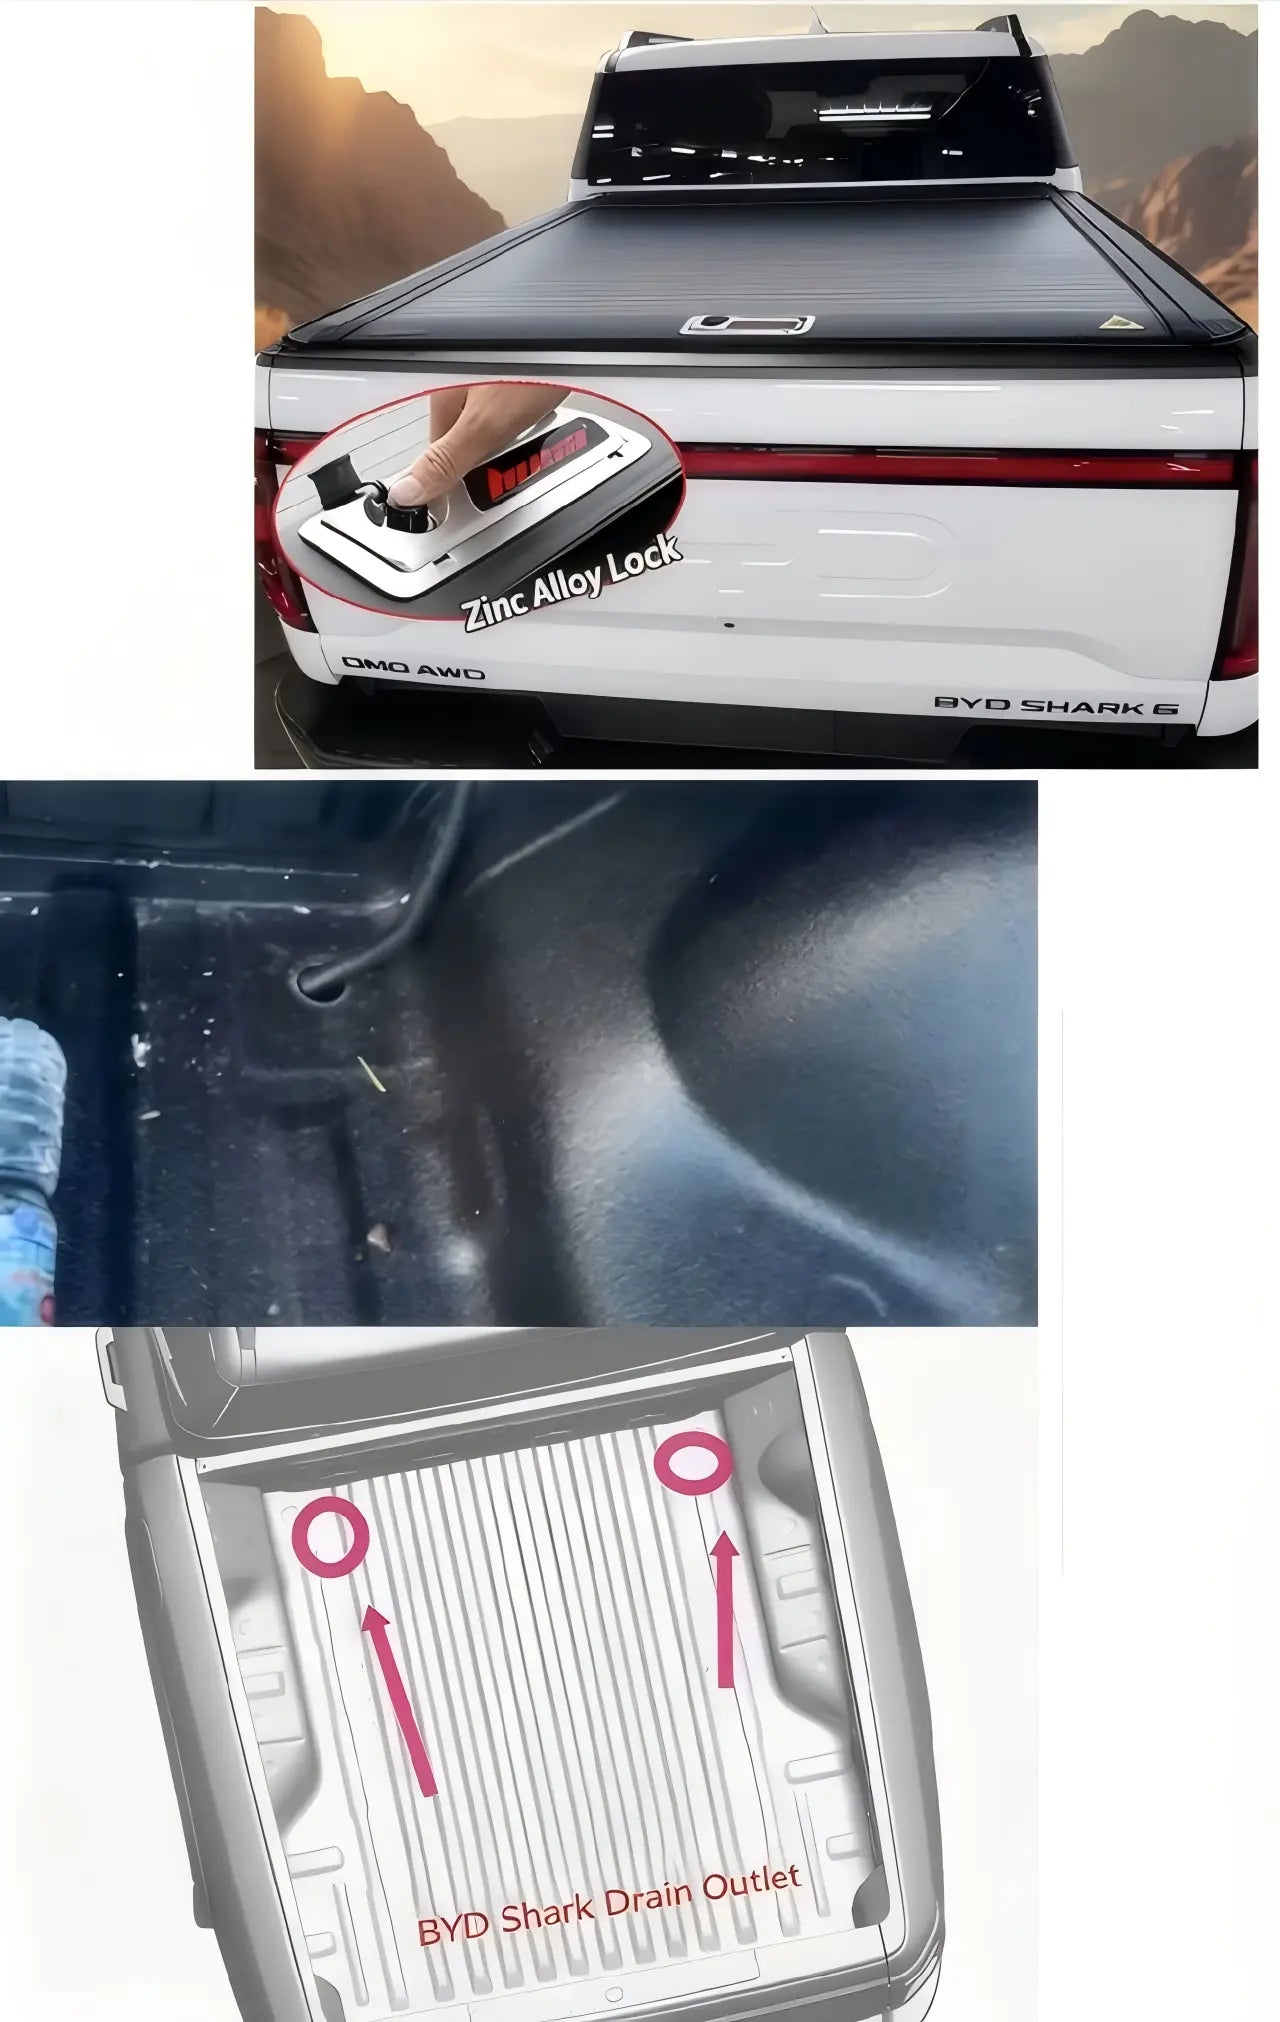
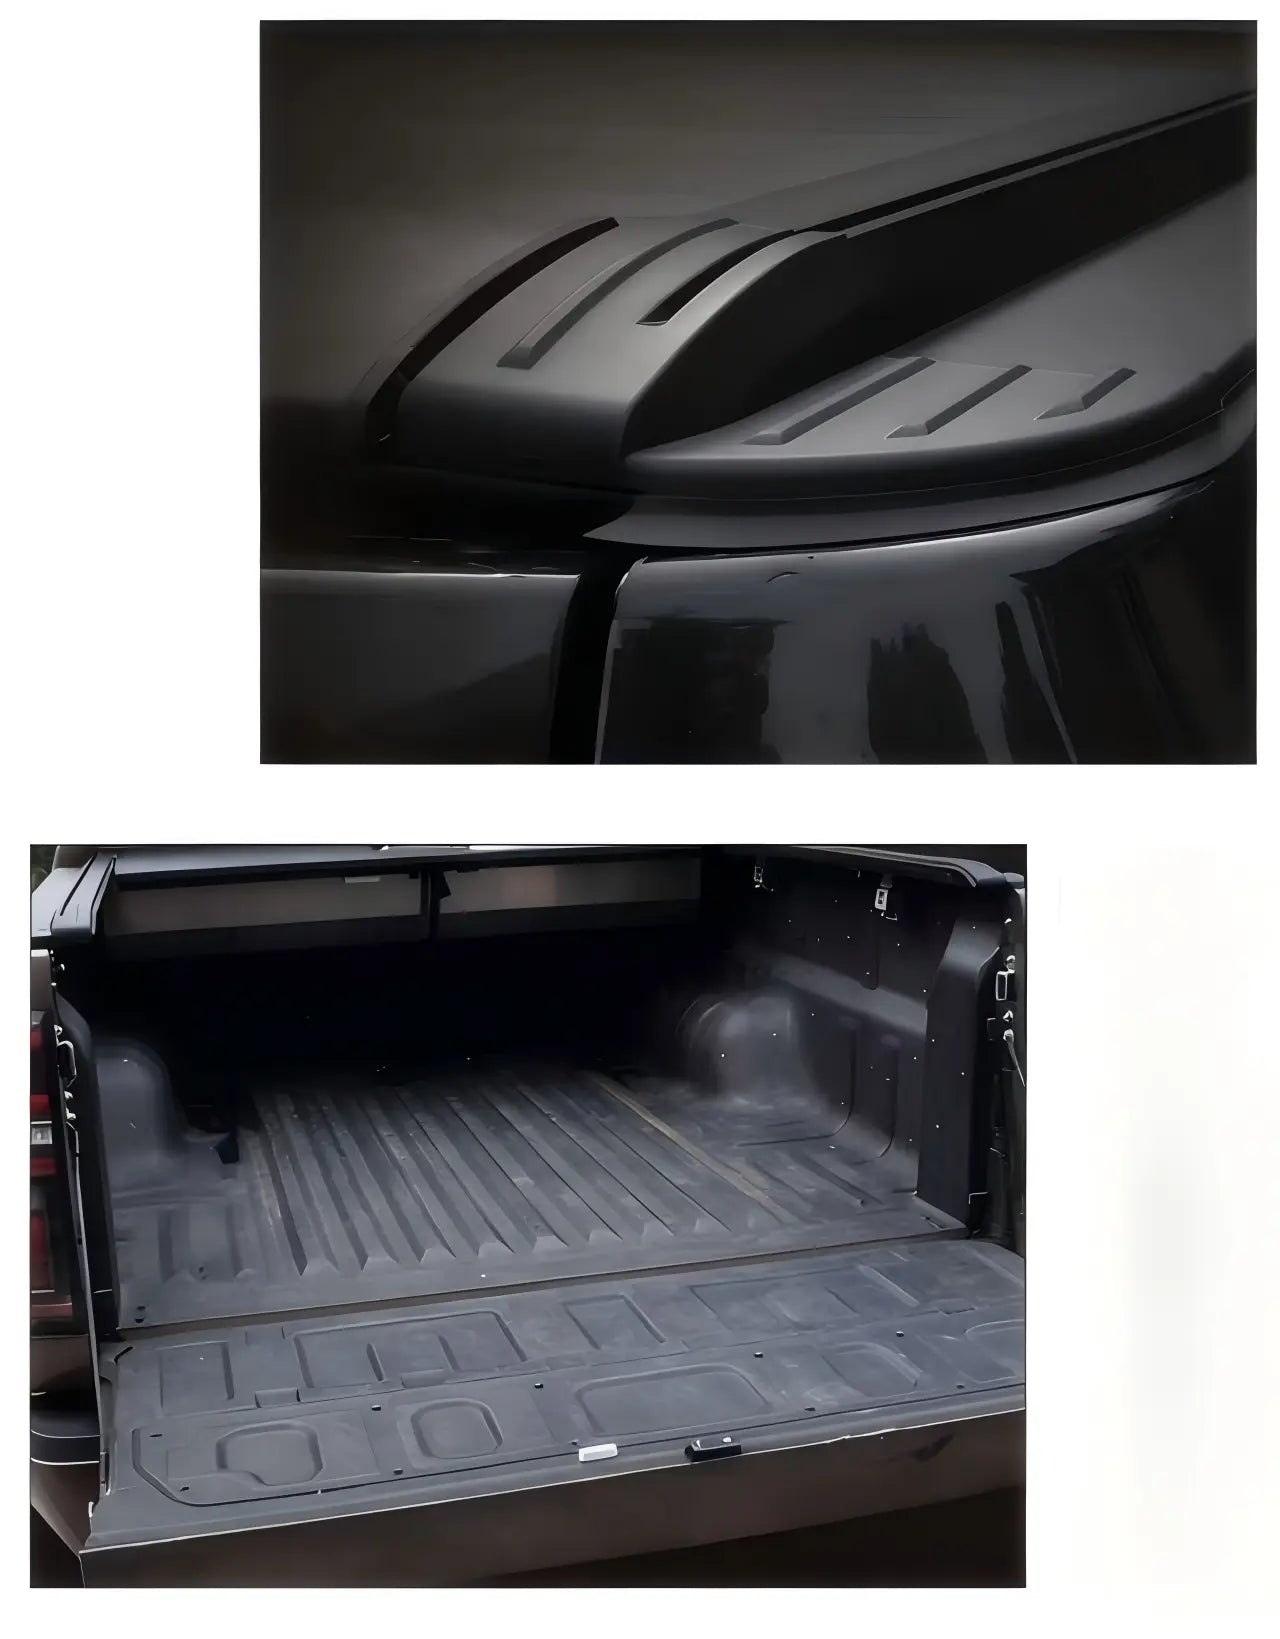
  • Aussie Weather-Ready Drainage: Deep perimeter gutter and high-capacity 4-point drainage system route water directly out through factory tub outlets, keeping cargo bone-dry in heavy downpours or dusty conditions.
  • No-Drill, Exact Fit: Custom-moulded from BYD Shark 6 3D scan data for seamless OEM look. Heavy-duty clamps enable 100% non-destructive, drill-free installation that preserves your factory warranty.
  • Smooth Gliding Operation: Premium aluminium construction with precision-engineered slats ensures effortless open and close cycles, backed by perimeter rubber weather strips for firm tailgate sealing.
What's Included

1x Roller Shutter Canister, 1x Left Side Guide Rail, 1x Right Side Guide Rail, 1x Mounting Hardware Clamp Kit, 4x Drainage Hoses, 1x Wiring Harness (electric models), 1x Lock Assembly (manual models), 1x Installation Guide

Product Gallery

Installation Guide

Total time
60-90 minutes
Drilling required
No - bolt-on
Warranty
Yes - non-invasive
  1. Unbox and Prepare Carefully unbox all components including the roller canister, side guide rails, mounting clamps, drainage tubes, and wiring harness (electric models only). Clean the inner top lips of your BYD Shark 6 truck bed rails to remove any dirt or debris.
  2. Install Side Rails Place the main roller shutter canister at the front of the truck bed closest to the cab. Align and slide the left and right side rails into the dedicated connection ports on the canister assembly, then secure tightly using the provided structural bolts.
  3. Position and Align Push the assembled roller structure flush against the front bulkhead of the truck bed. Measure both sides to ensure the side rails sit perfectly parallel and centered along the truck bed caps for a seamless factory profile fit.
  4. Secure with Clamps Position the heavy-duty structural mounting brackets evenly along the left and right guide rails, hooking them under the vehicle's internal bed lip. Progressively tighten the bolts with a wrench to lock the rails down securely without over-tightening.
  5. Route Drainage System Attach the four high-capacity drainage hoses into the pre-molded drainage ports underneath the canister and rear end of the side rails. Route the open ends directly out through the factory-existing drainage plugs at the bottom corners of the truck bed.
  6. Connect Electrical (Electric Models Only) Route the main power harness safely away from moving suspension parts underneath the vehicle. Connect to the vehicle's 12V battery supply with the built-in inline fuse, then sync the voice module, smartphone app, and remote controllers per the configuration guide.
  7. Test All Functions Cycle the tonneau cover open and closed multiple times to ensure smooth gliding operation. Verify mechanical lock positions work correctly and confirm that the perimeter rubber weather strip seals firmly against the closed tailgate.

Recently viewed