



- Aerospace-Grade Aluminum Construction: Precision-engineered from 6061-T6 aluminum alloy for superior durability and heat dissipation, ensuring no deformation under high-temperature braking conditions.
- Custom-Fit for BYD Models: Specifically designed for BYD Dolphin, Seal, Seal-U, Atto-3, Tang, Han EV, and Qin Plus with perfect 1:1 OEM-style fitment without interfering with the original braking system.
- Non-Destructive Installation: Features a specialized snap-on mounting system with stainless steel clips—no drilling, welding, or adhesive required, preserving your vehicle's factory warranty.
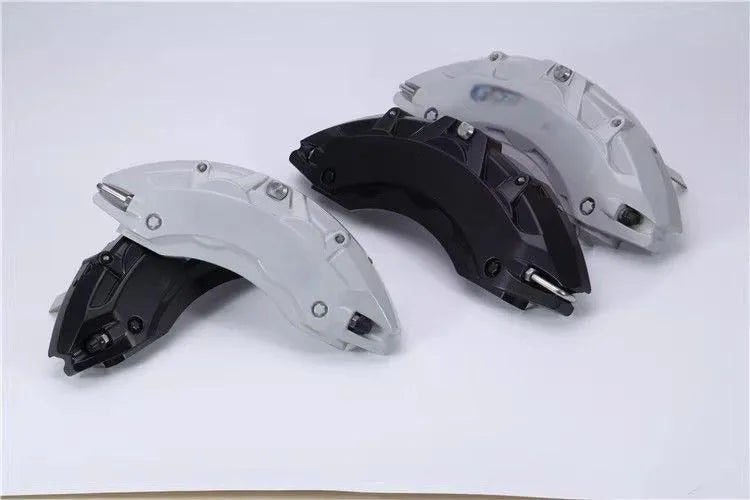
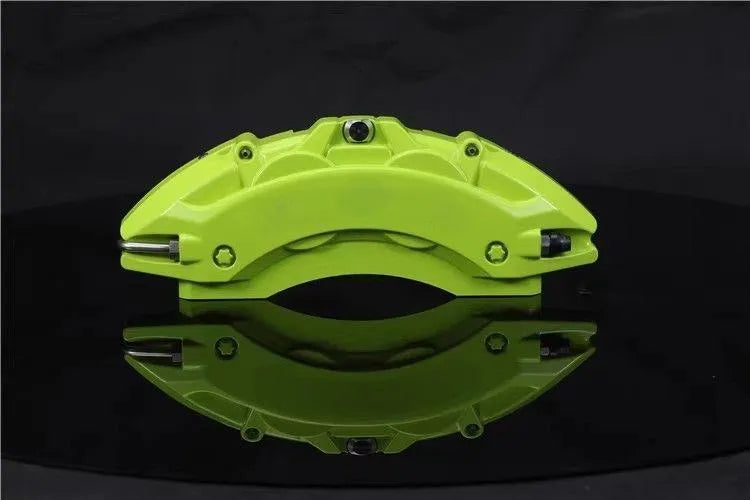
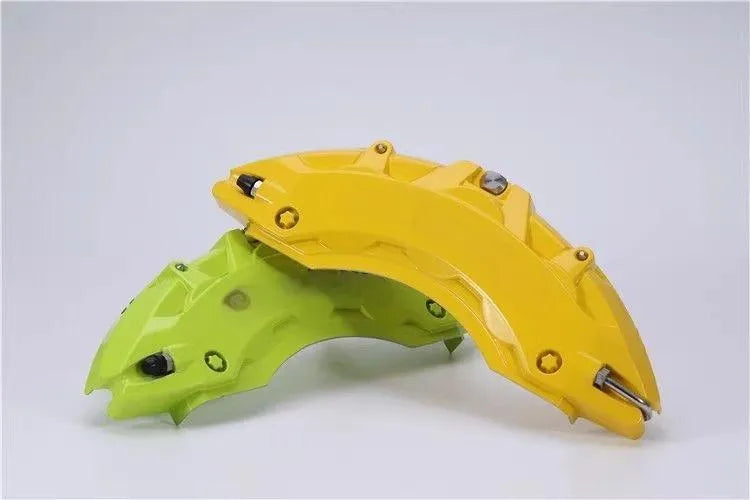
- UV-Resistant Powder Coating: Professional finish available in Red, Yellow, Cyan, Dark Blue, Black, White, and Gray, resistant to fading, chipping, and corrosion for lasting aesthetics.
- Thermal Balance Design: Open-back design and heat-conductive aluminum material wick heat away from calipers, preventing brake fade and outperforming plastic alternatives.
- Brake Dust Reduction: Protective shield keeps brake dust off wheel spokes, keeping rims cleaner longer and reducing washing frequency.


1
/
9
Features & Benefits
What's Included
Product Gallery


Installation Guide
Total time
45-60 minutes
Drilling required
No - clip-on
Warranty
Yes - non-invasive
Shipping insurance
In the event ofalost or damaged package we guarantee a full refund or replacement product
Expedited order support
We support expedited order processing, can contact us.
securety payments
Easy returns and refundsSecure payments
Return Policy
30-day return policyavailable forall purchases.