


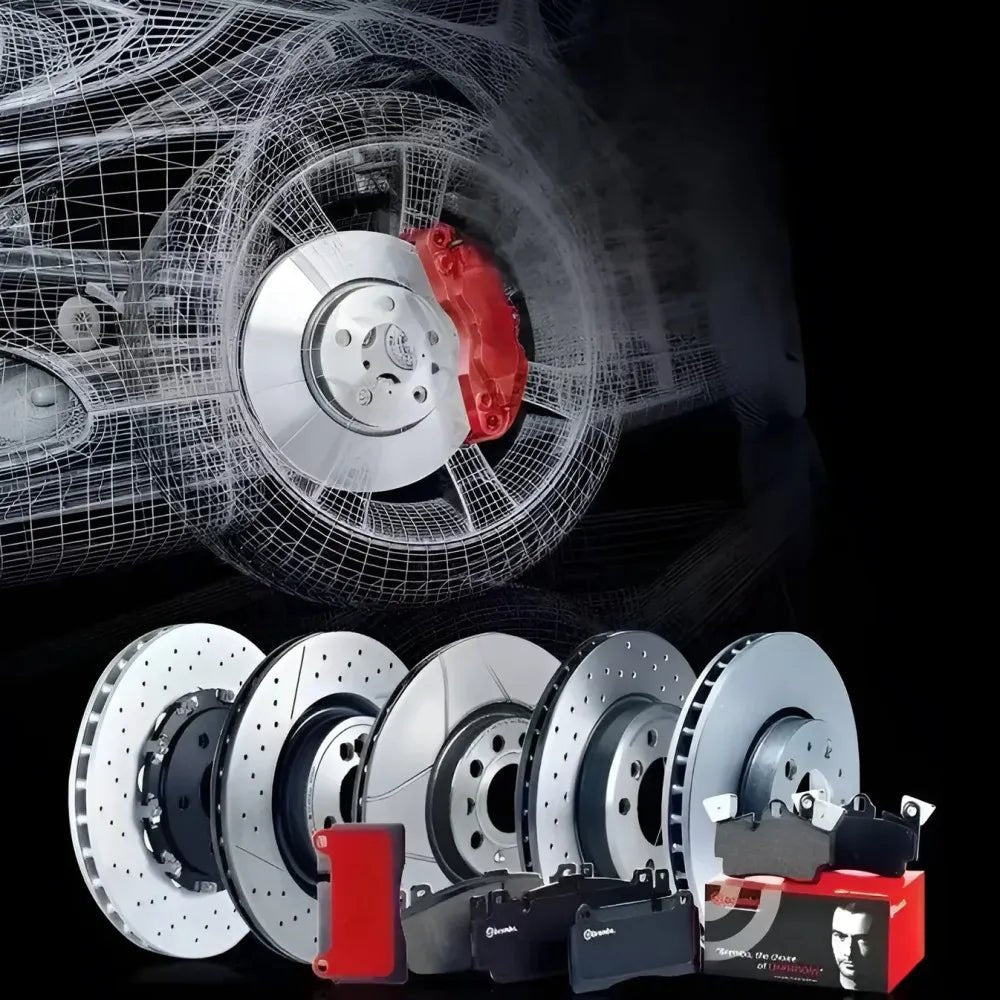


- High-Carbon Formula: Advanced high-carbon metallurgy significantly reduces noise and vibration for a quieter, smoother braking experience.
- Extreme Heat Resistance: Withstands temperatures up to 800°C, ensuring exceptional durability and extended rotor lifespan.
- Pillar Venting Technology: Unique pillar-shaped ventilation design maximizes heat dissipation and resists thermal cracking under demanding conditions.
- Slotted/Drilled Design: Rapidly disperses water, gas, and dust for immediate wet-weather braking response and consistent anti-fading performance.
- Dynamic Balancing: Each rotor undergoes precision balancing to eliminate high-speed judder and vibration for smooth operation.
- UV Anti-Corrosion Coating: Superior rust protection with long-lasting UV coating maintains clean appearance and structural integrity.
- Ready-to-Install Assembly: Pre-mounted studs and fixed assembly design enable quick, safe installation without additional modifications.



1
/
8
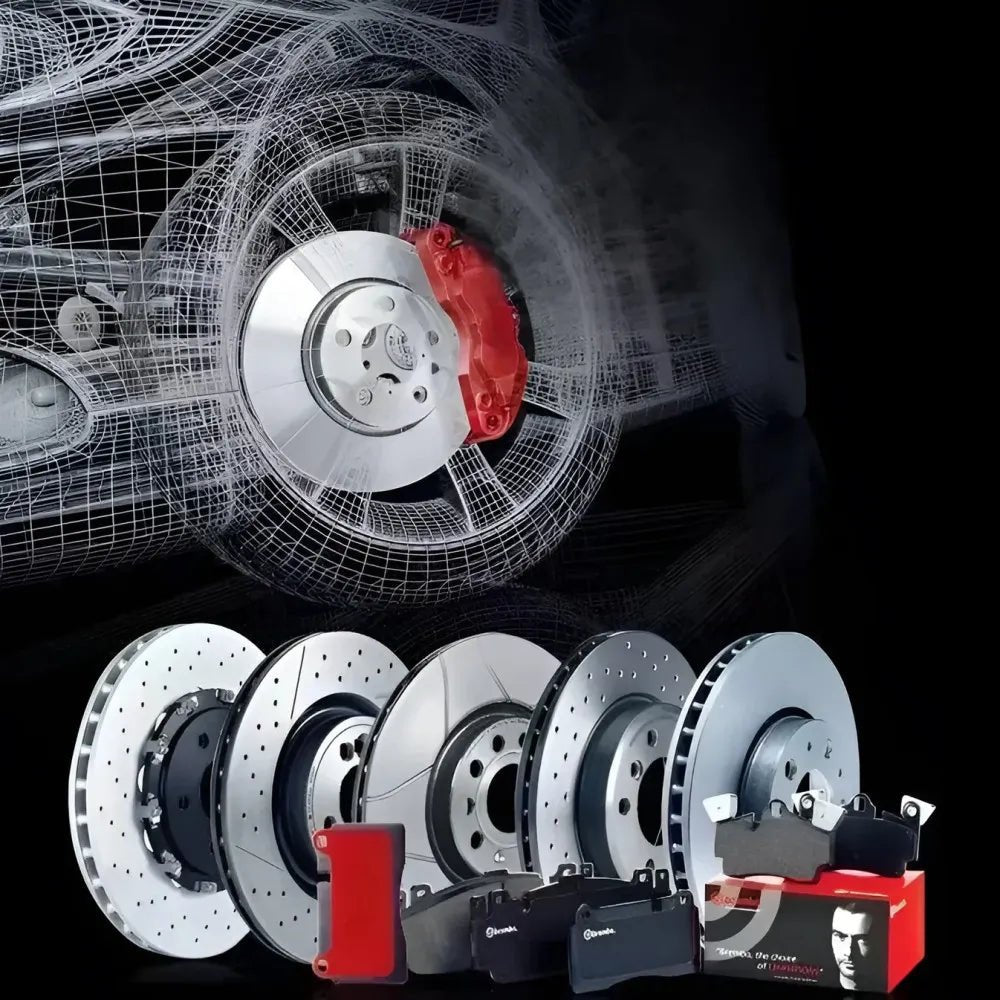
One pair Tailor-Made Brembo Brake Rotors - OEM Drilled Pads for Enhanced Friction - Vehicle Matched Brake Discs
$647.00 NZD
$841.00 NZD
Save $194.00 NZD
Shipping fees will be calculated at checkout.
Quantity
Shipping insurance
In the event ofalost or damaged package we guarantee a full refund or replacement product
Expedited order support
We support expedited order processing, can contact us.
securety payments
Easy returns and refundsSecure payments
Return Policy
30-day return policyavailable forall purchases.